

Google Voice Assistant (Optional)
Once cloud side configurations for the Google integration are done, you can go on to create and configure the Cloud-to-cloud integration in the Google Home Developer Console.
Google has moved smart home development from the Actions on Google Console to the Google Home Developer Console. Smart home Actions are now called Cloud-to-cloud integrations. The steps below use the new Developer Console.
Integrating the Cloud-to-cloud Integration with RainMaker
Log in to the Google Home Developer Console and open the project you created.
Creating the Cloud-to-cloud Integration
- In the left navigation bar, click
Cloud-to-cloud. - Click
Add Integration. - Click
Next. The development checklist page opens. - Click
Next step: Set up. TheSetup and configurationpage opens, where you fill in all the integration-related details.
Configuring the Cloud-to-cloud Integration
Integration Name and Branding
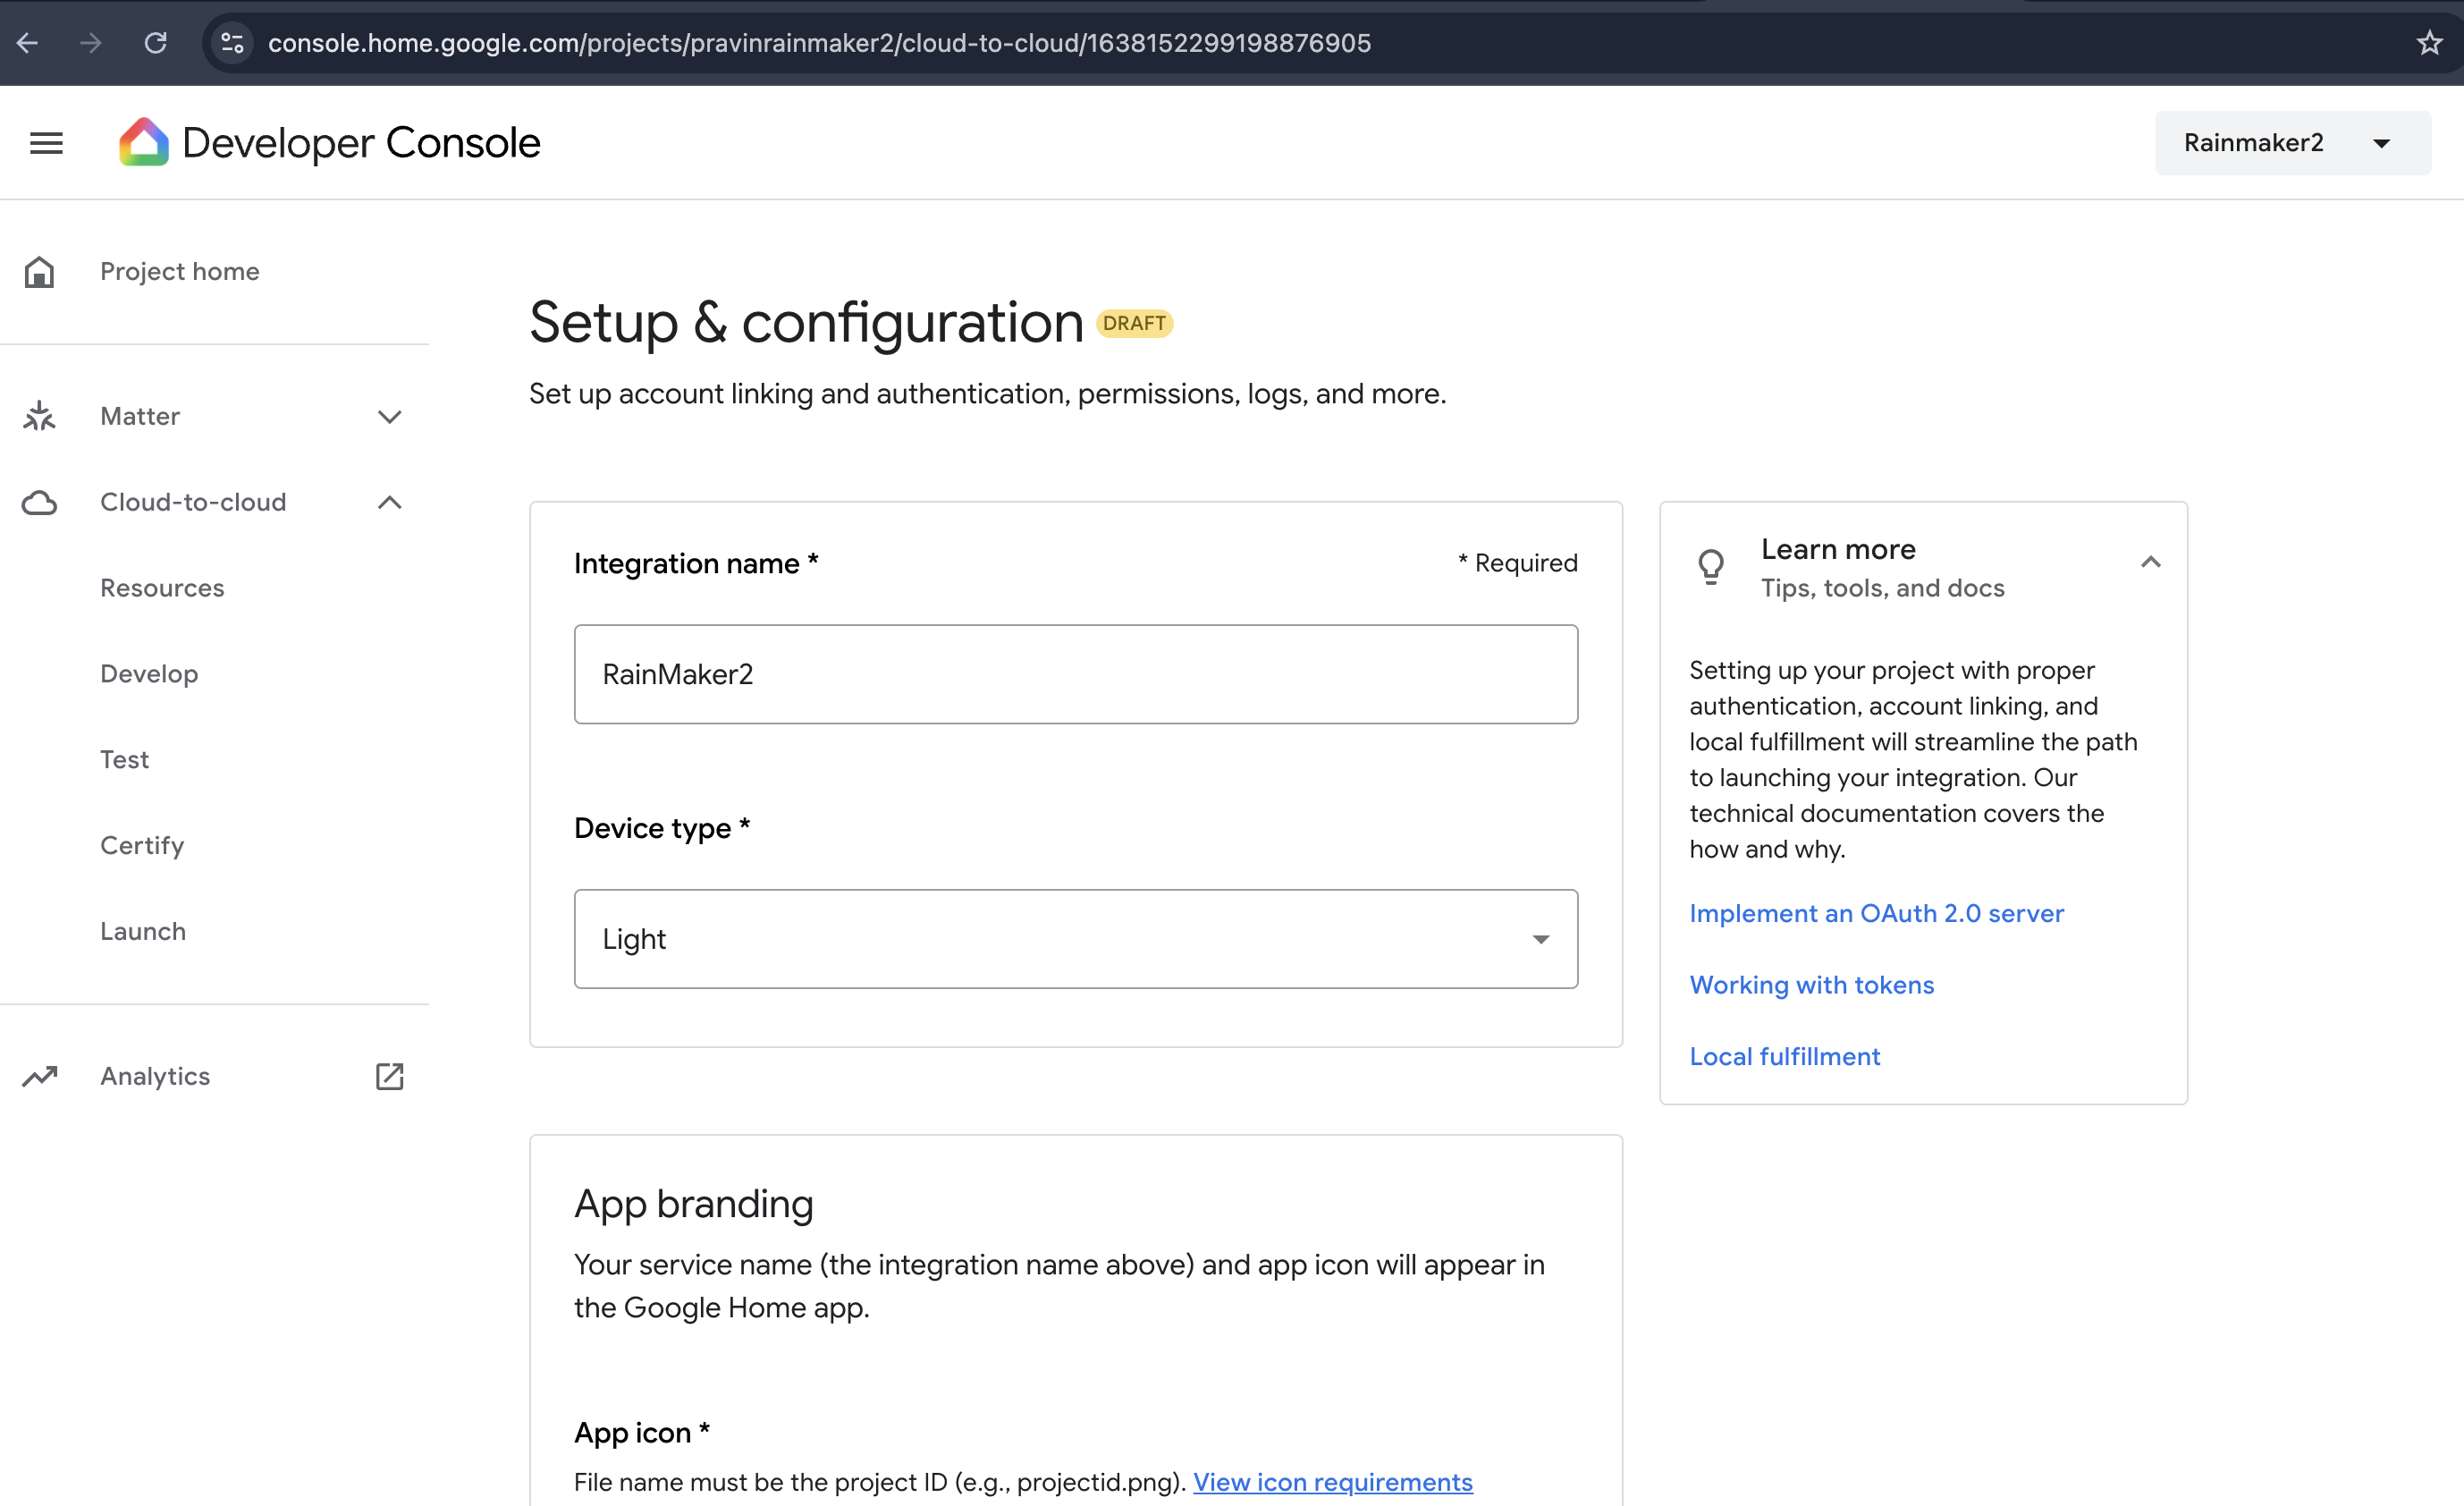
On the Setup and configuration page, fill in:
- Integration name - the display name for your integration. This name is shown to users in the Google Home app. Refer to naming requirement details.
- Device type - select the type of your device from the drop-down.
- App icon - upload the application icon shown in the Google Home app. The file name must be the project ID (for example,
projectid.png).
Account Linking
The account-linking information needs to be filled in after the skills stack deployment.
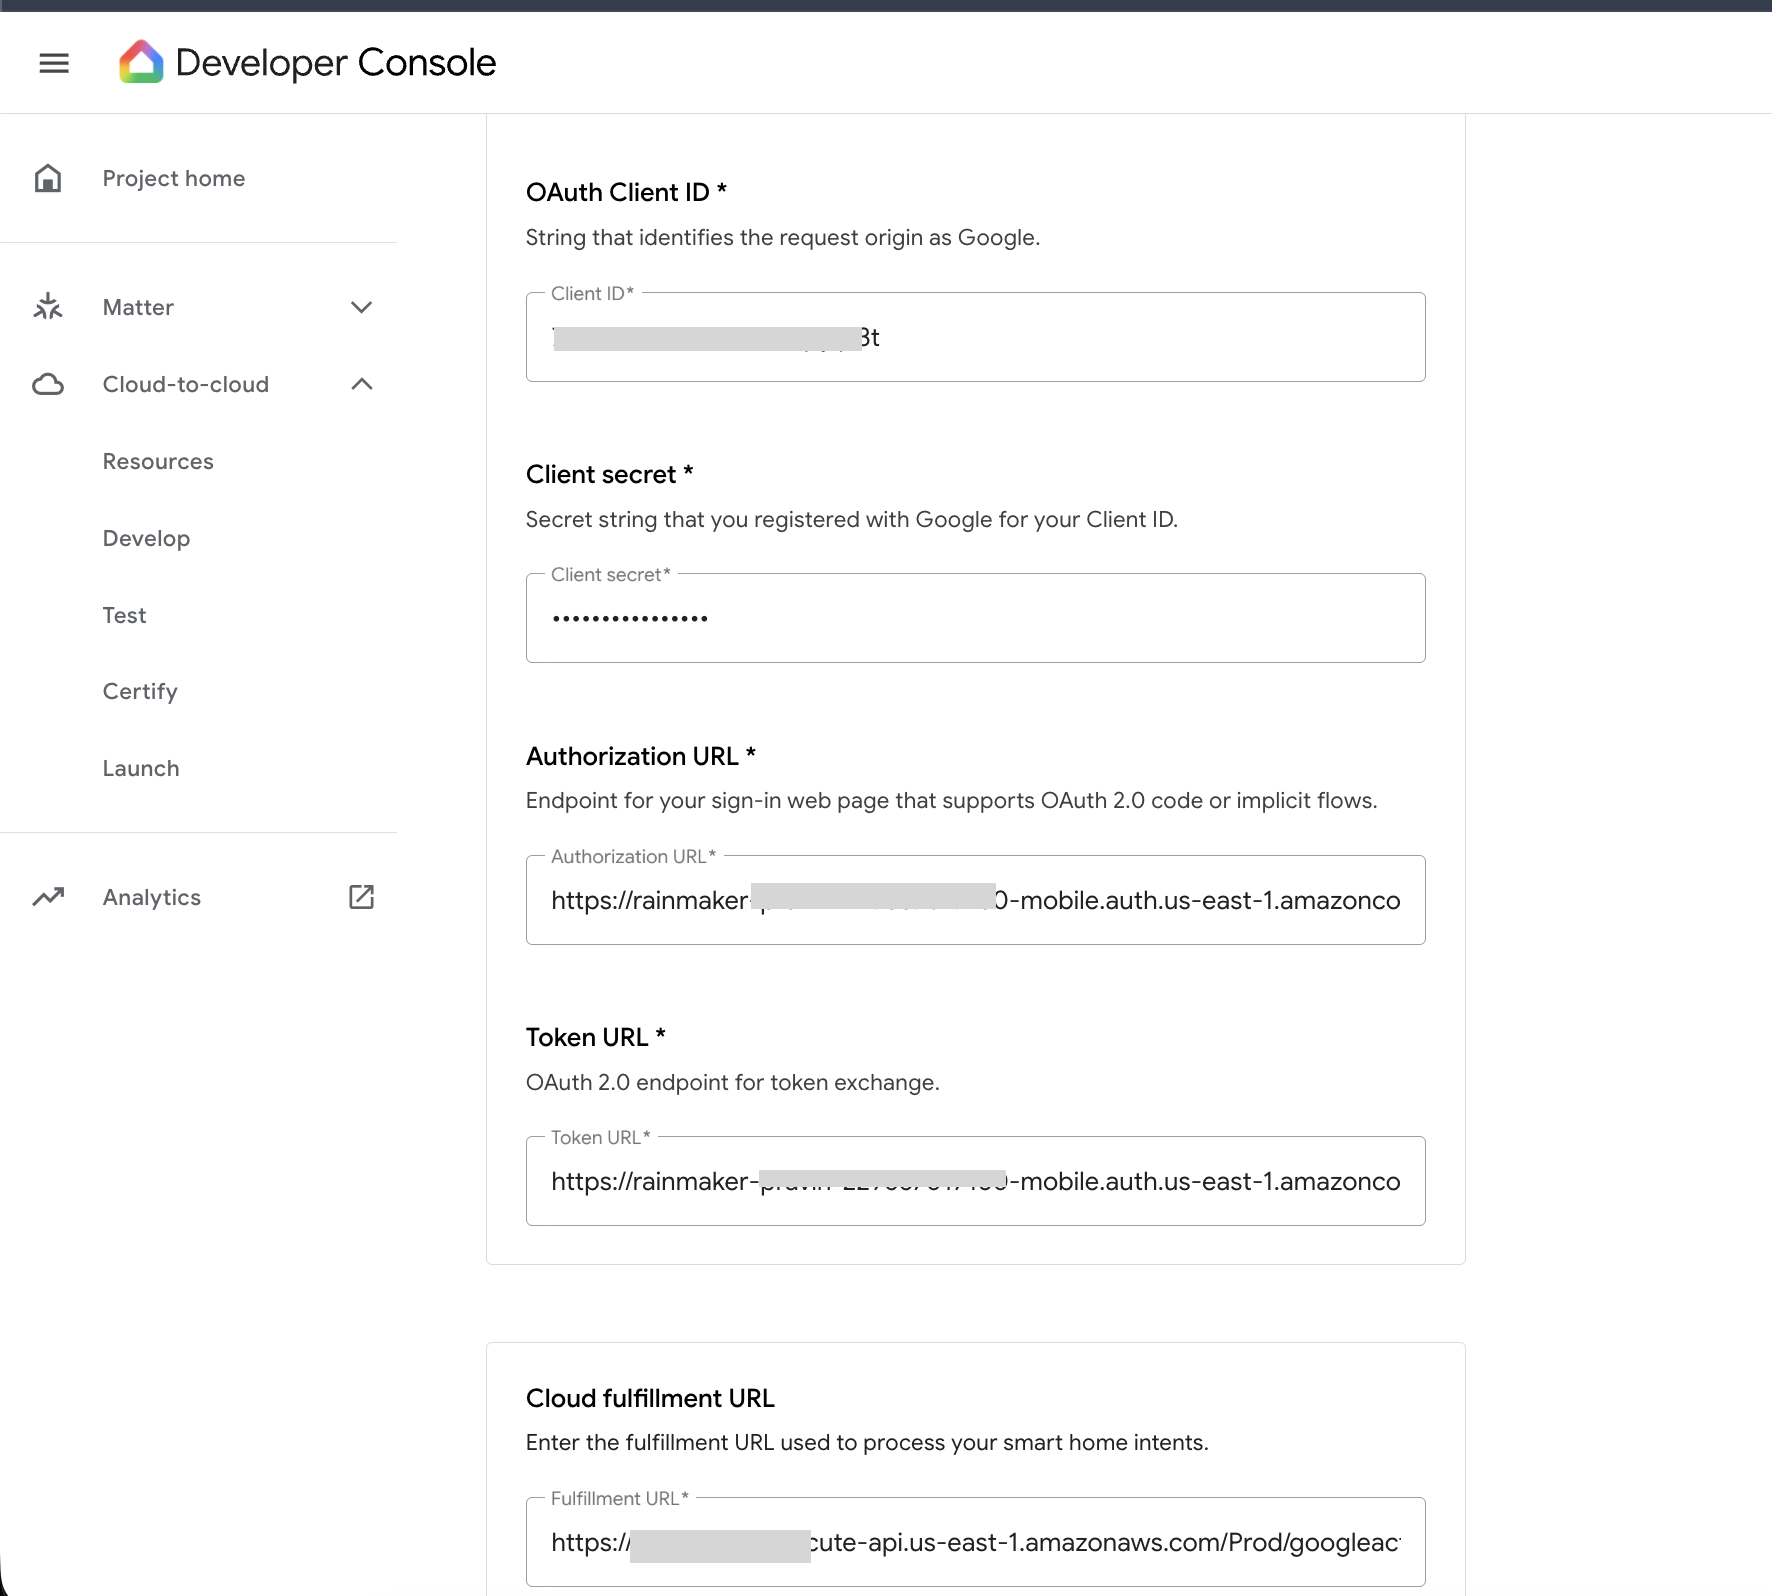
Add the client ID and client secret from the Google Voice Assistant App client by following the steps in Where do I find the Client ID and Callback URLs for Alexa and GVA? into the OAuth Client ID and Client secret fields.
Then add the Authorization URL and Token URL:
Standard RainMaker
- The domain name from the section Creating the AWS Cognito App Clients for Alexa and Google Voice Assistant will be used to construct the Authentication URLs.
- Authorization URL:
{domain-url}/oauth2/authorize - Token URL:
{domain-url}/oauth2/token
- Authorization URL:
OAuth-only RainMaker
- Authorization URL: Follow these steps to get the URL
- Token URL:
<HTTP API Endpoint>/token
Cloud Fulfillment URL
Enter the noted GoogleSmartHome value in the Cloud fulfillment URL field as mentioned in the section Getting the API Endpoint of the Deployed Google Action Handler
Scope(s) (optional)
In the Scope(s) section, add the scope that the user must agree to in order to use your service. For Standard RainMaker, add the scope aws.cognito.signin.user.admin.
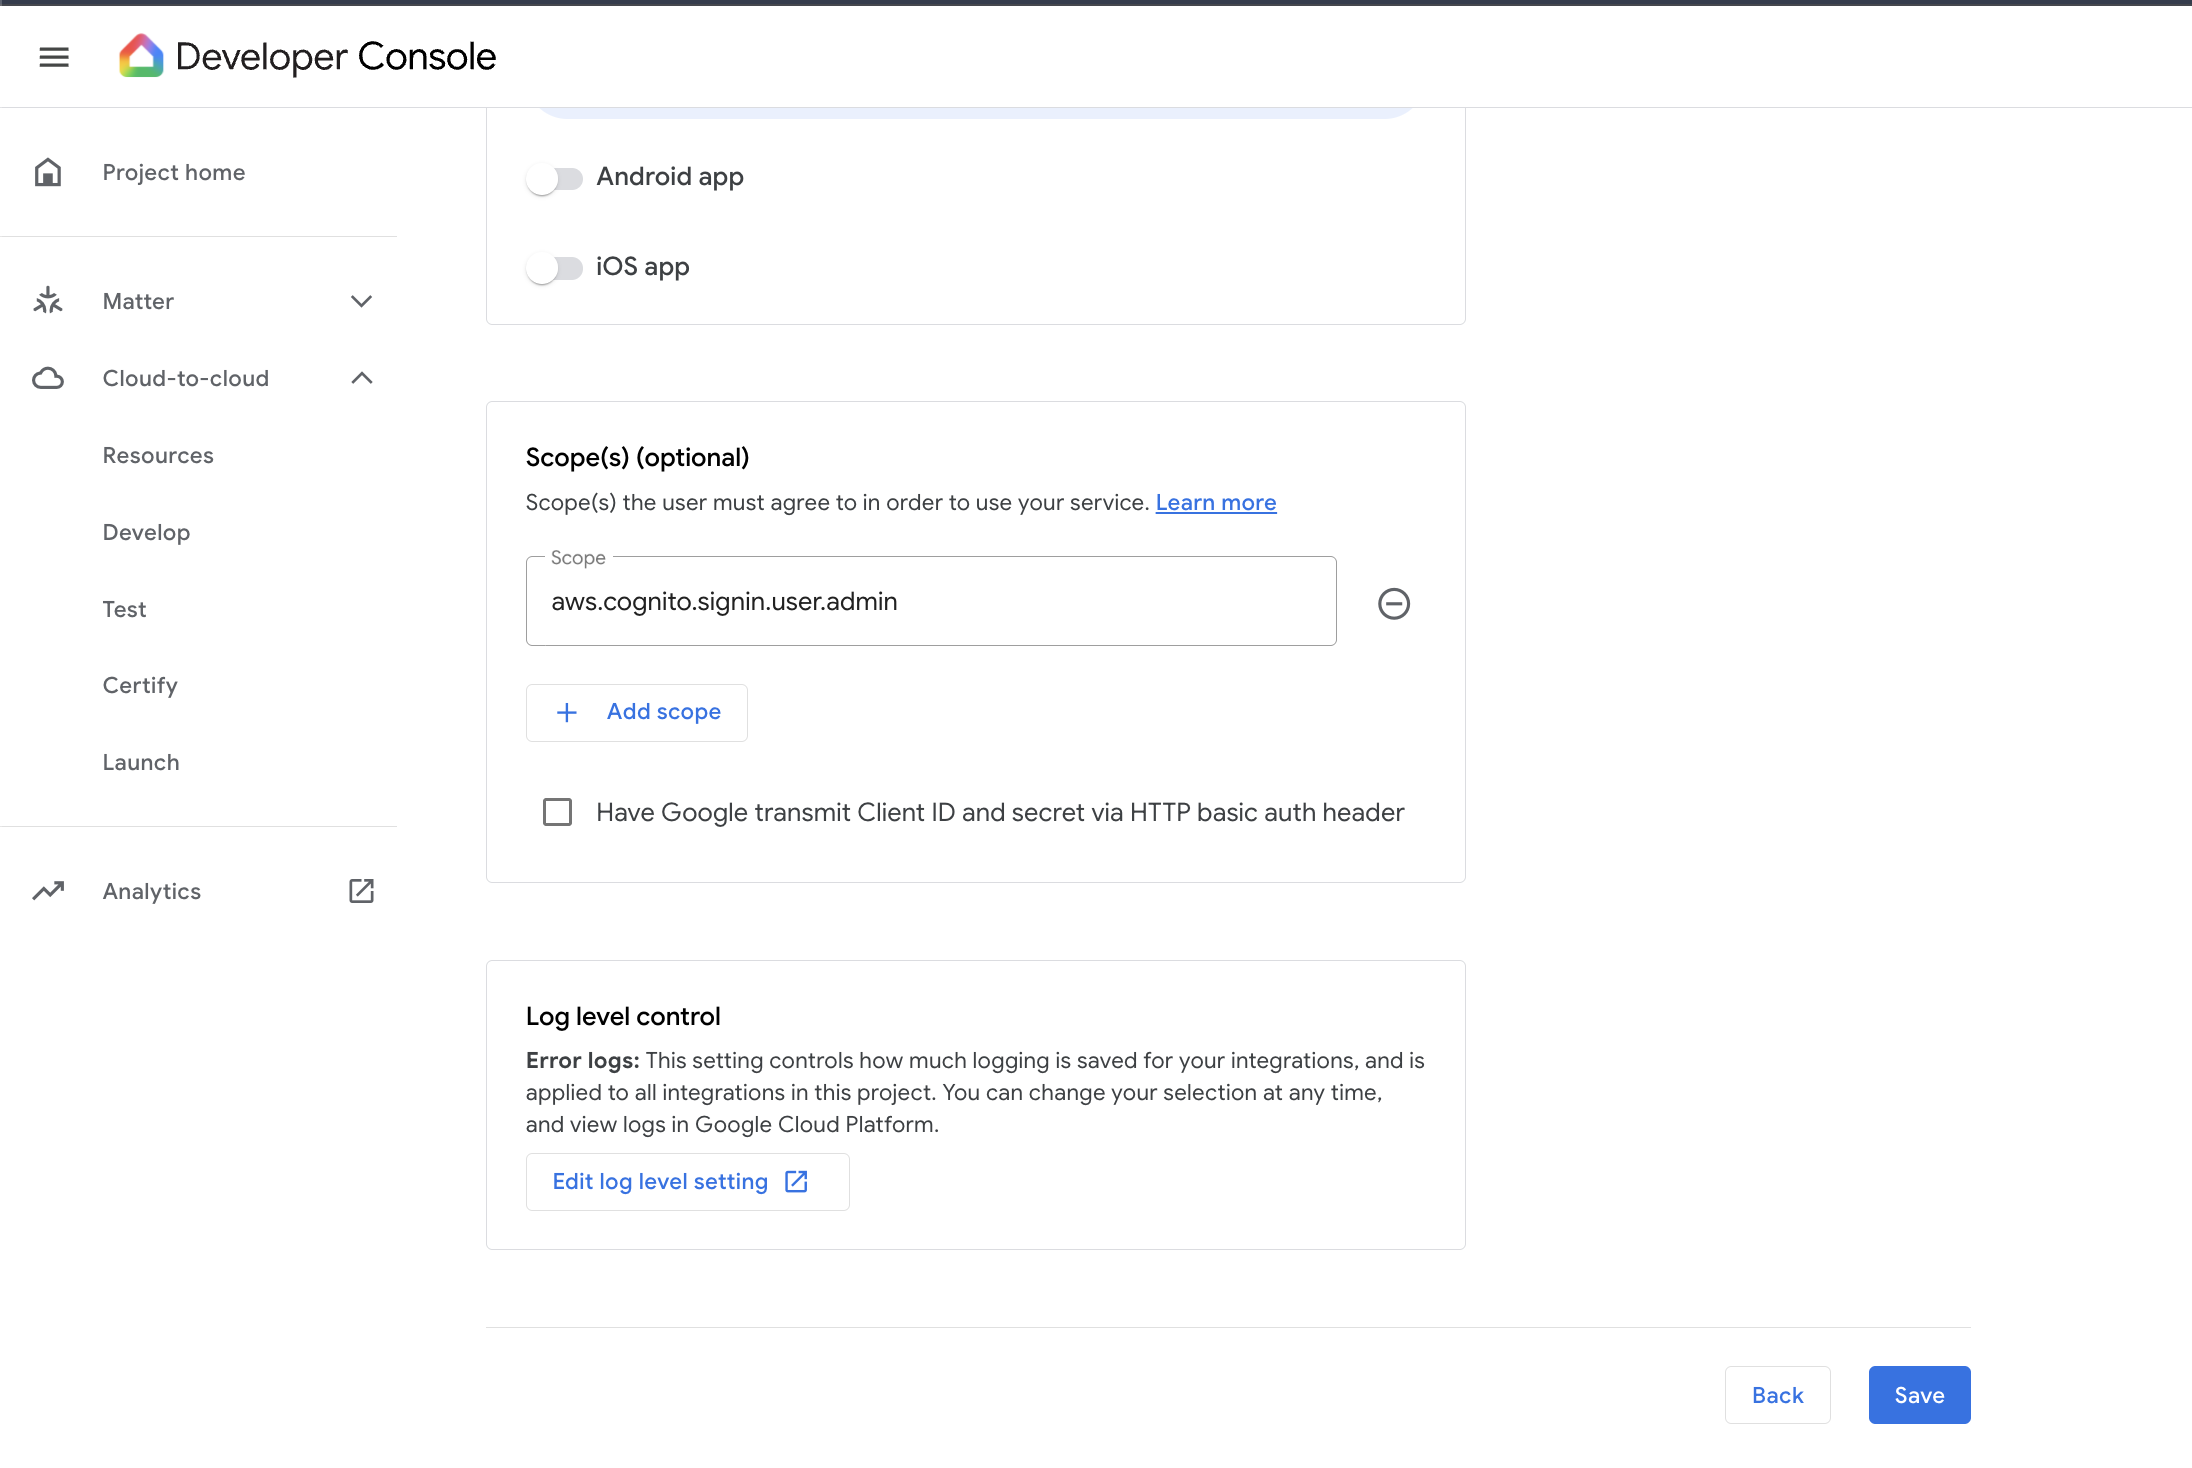
- Click
Saveto save the configuration.
Testing the Integration
-
While your Cloud-to-cloud integration is in development, it is automatically available for testing with the Google account associated with the integration. It is listed as
<Display-Name> [test]in the Google Home app. -
You can run the certification test suite and verify device state from the
Testpage of your integration. See Publishing GVA Action for the test suite and Home Graph Viewer steps.
Enabling the Integration via the Phone App
-
The integration will be visible in the
Google Home Applogged in with the credentials used to log into the Google Home Developer Console. -
Open the Google Home App, tap
+(top-left) >Set up a device>Works with Google. Search for<Display-Name> [test].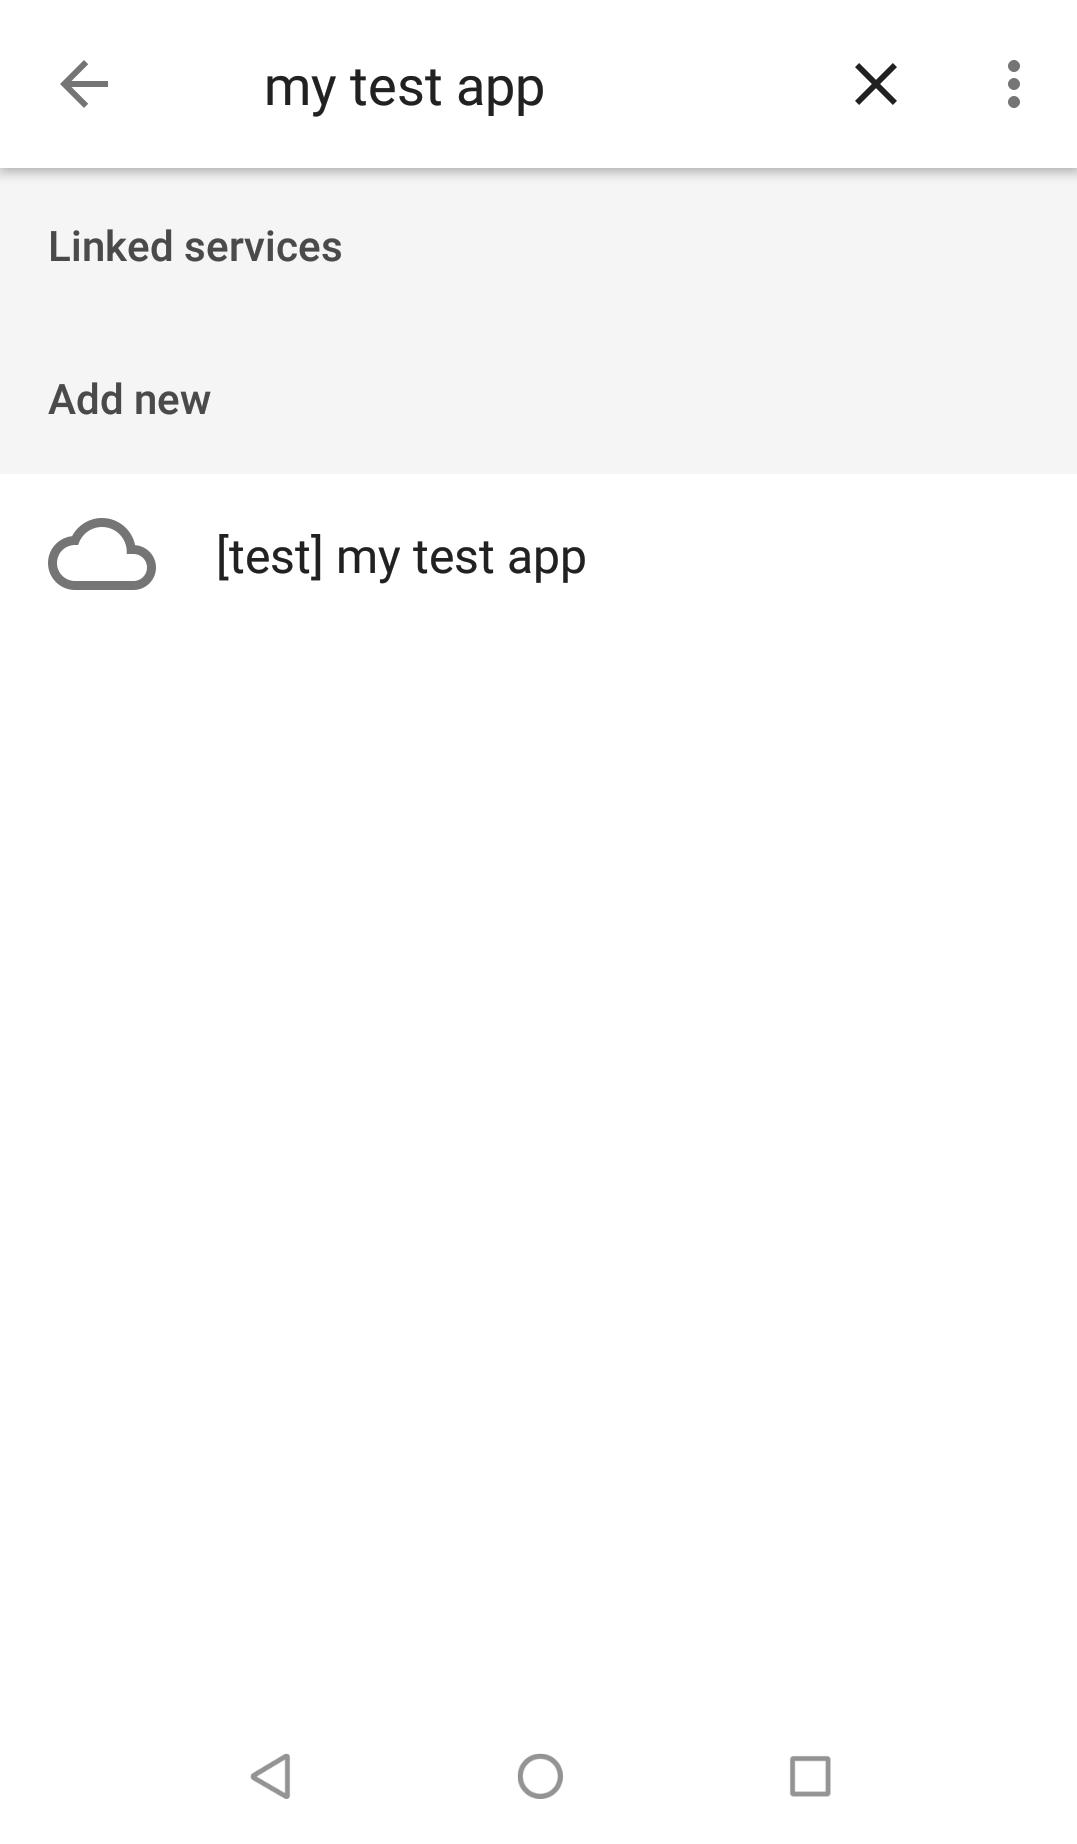
-
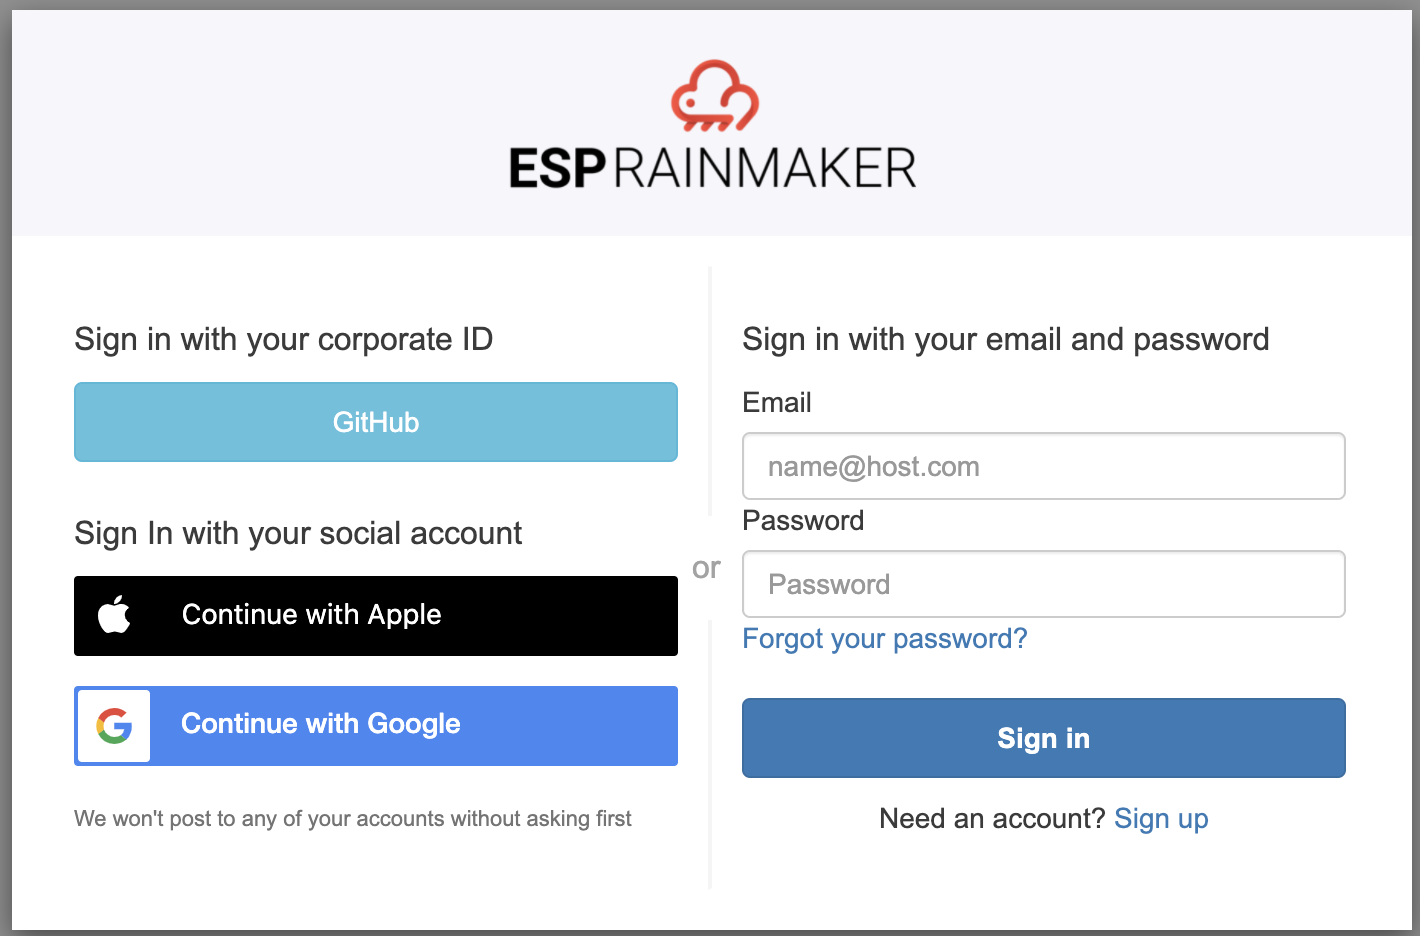
Link the integration with a RainMaker user account and the devices listed in the RainMaker account will be discovered by the assistant.
-
The devices can be viewed in the
Google HomeiOS/Android App.
Beta Testing
You can follow these steps to test and share your unpublished Cloud-to-cloud integration with a limited set of users.