Alexa Account Linking Starting from Your App (Optional)
Introduction
This account linking flow enables users to link their Alexa user account with their account in another service by starting from your app. When you start the account linking flow from the app, users can:
- Discover your Alexa skills through your app.
- Initiate skill enablement and account linking from within the app.
- Link their account without entering Alexa account credentials if already logged into Alexa app. They will have to log in to their app service once when trying to link accounts.
- Link their account from your app using Login with Amazon (LWA), when the Alexa app is not installed on their mobile device.
The developer documentation for the app-to-app linking starting from mobile app can be found here.
Prerequisites
RainMaker skills using StackSet must be deployed. The detailed steps are given in the section Voice Assistant Integration.
If not done, please follow the Voice Assistant Integration steps and come back here to enable app-to-app account linking.
Following are the steps to configure Alexa app-to-app account linking:
Creating Redirection URL for Mobile Apps
Users are redirected to your app after they acknowledge the linking request in the Alexa app or LWA. For this redirection to happen, it is required to create universal links for iOS app and app links for Android app.
Following are the steps to host the files for universal links and app links in AWS S3.
Please ensure that your user has admin privileges before moving onto the next steps.
Creating S3 Bucket
-
Go to
AWS Console>Services>S3. -
Click
Create bucket. -
Add the name for the bucket.
-
Select the region where you want to create the bucket.
-
Scroll down to
Object Ownershipsettings and select theACLs enabledoption.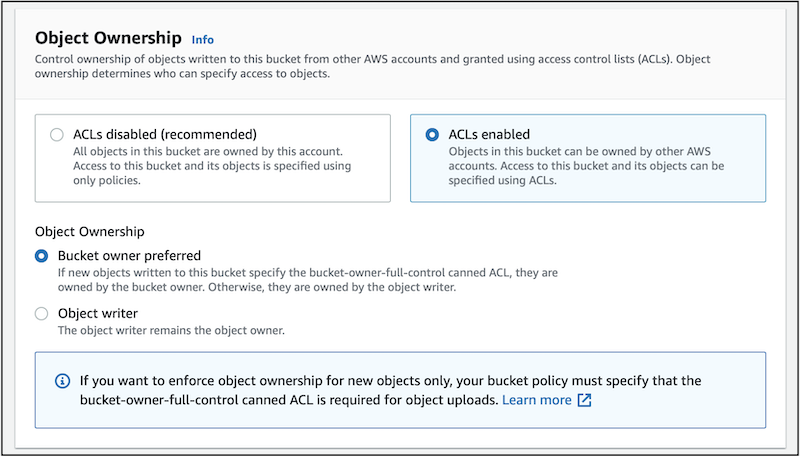
-
Scroll down to
Block Public Access settings for this bucketsettings. -
Untick the option
Block all public access, and accept the acknowledgment. Note that this step is mandatory for linking process.
-
Scroll to the end of the page and select
Create Bucket. -
From the list of the buckets, click the newly created bucket.
-
Click
Create Folderand create.well-knownfolder.
-
Tick the small box in front of the
.well-knownfolder and click theCopy URLoption.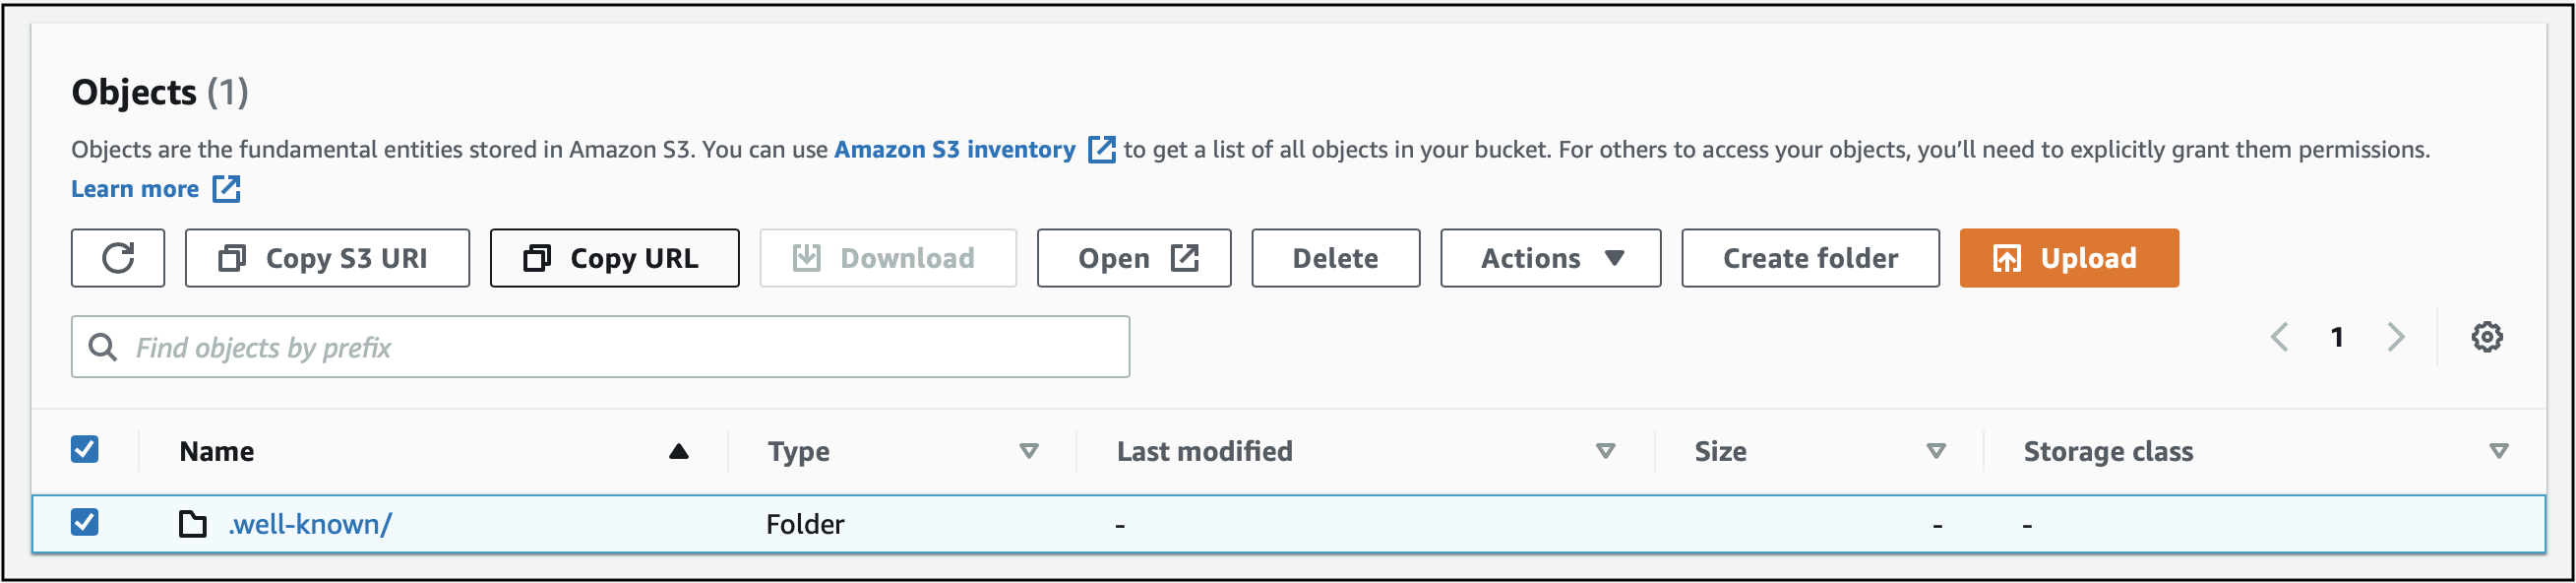
-
Remove the
.well-known/suffix from the URL noted in step 10. This value will be used in subsequent steps and is referred to as redirectURL. -
To create the app link (Android) or universal link (iOS), refer to the steps given in the following:
Uploading the Files to S3 with Public Read Access
-
Go to
AWS Console>Services>S3. -
From the list of the buckets, click the newly created bucket.
-
Go to
.well-knownfolder. -
Upload the files in
.well-knownfolder in S3 bucket:- For Android app links, upload the
assetslinks.jsonfile, created in the previous section. - For iOS universal links, upload the
apple-app-site-associationfile, created in the previous section.
noteIf you want to upload files for both iOS and Android, steps 5-10 need to be done for both files.
- For Android app links, upload the
-
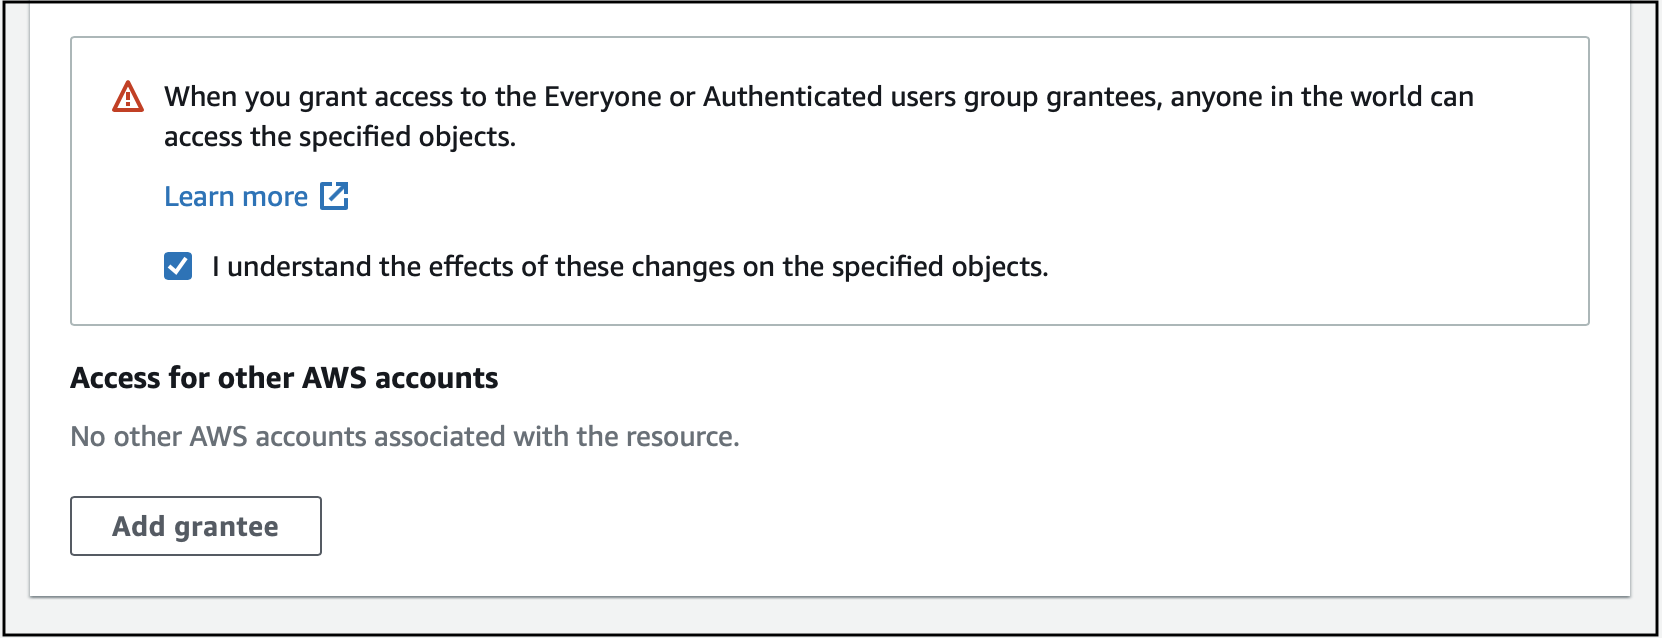
Scroll down and expand the
Permissionssection.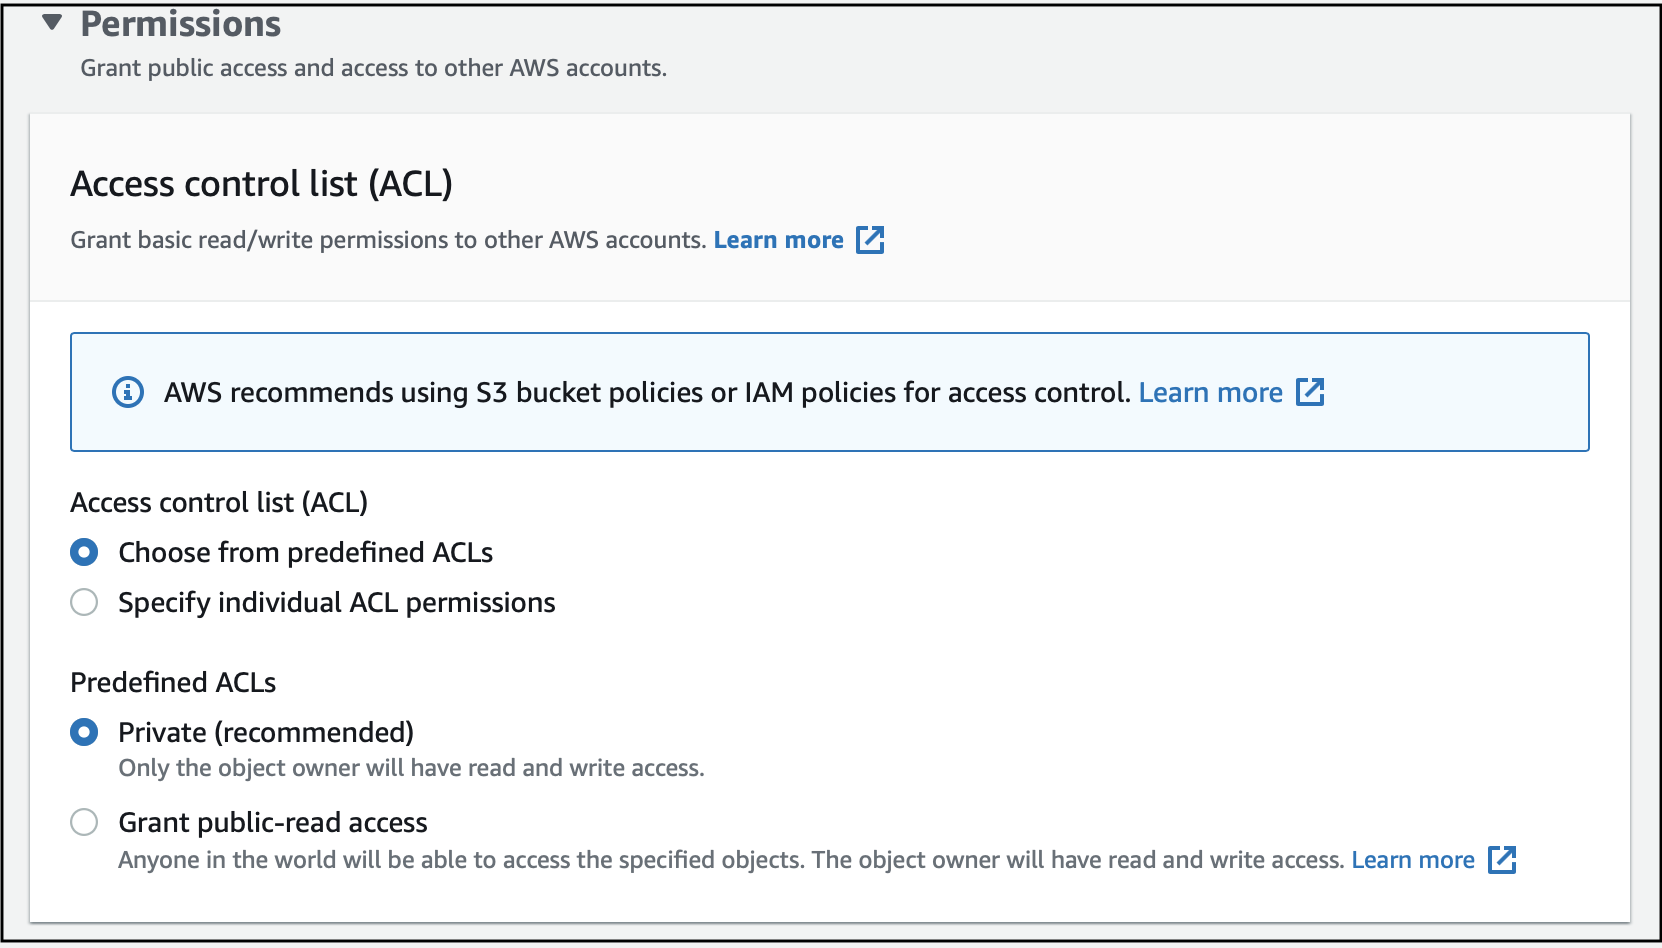
-
Select the
Grant public-read accessoption.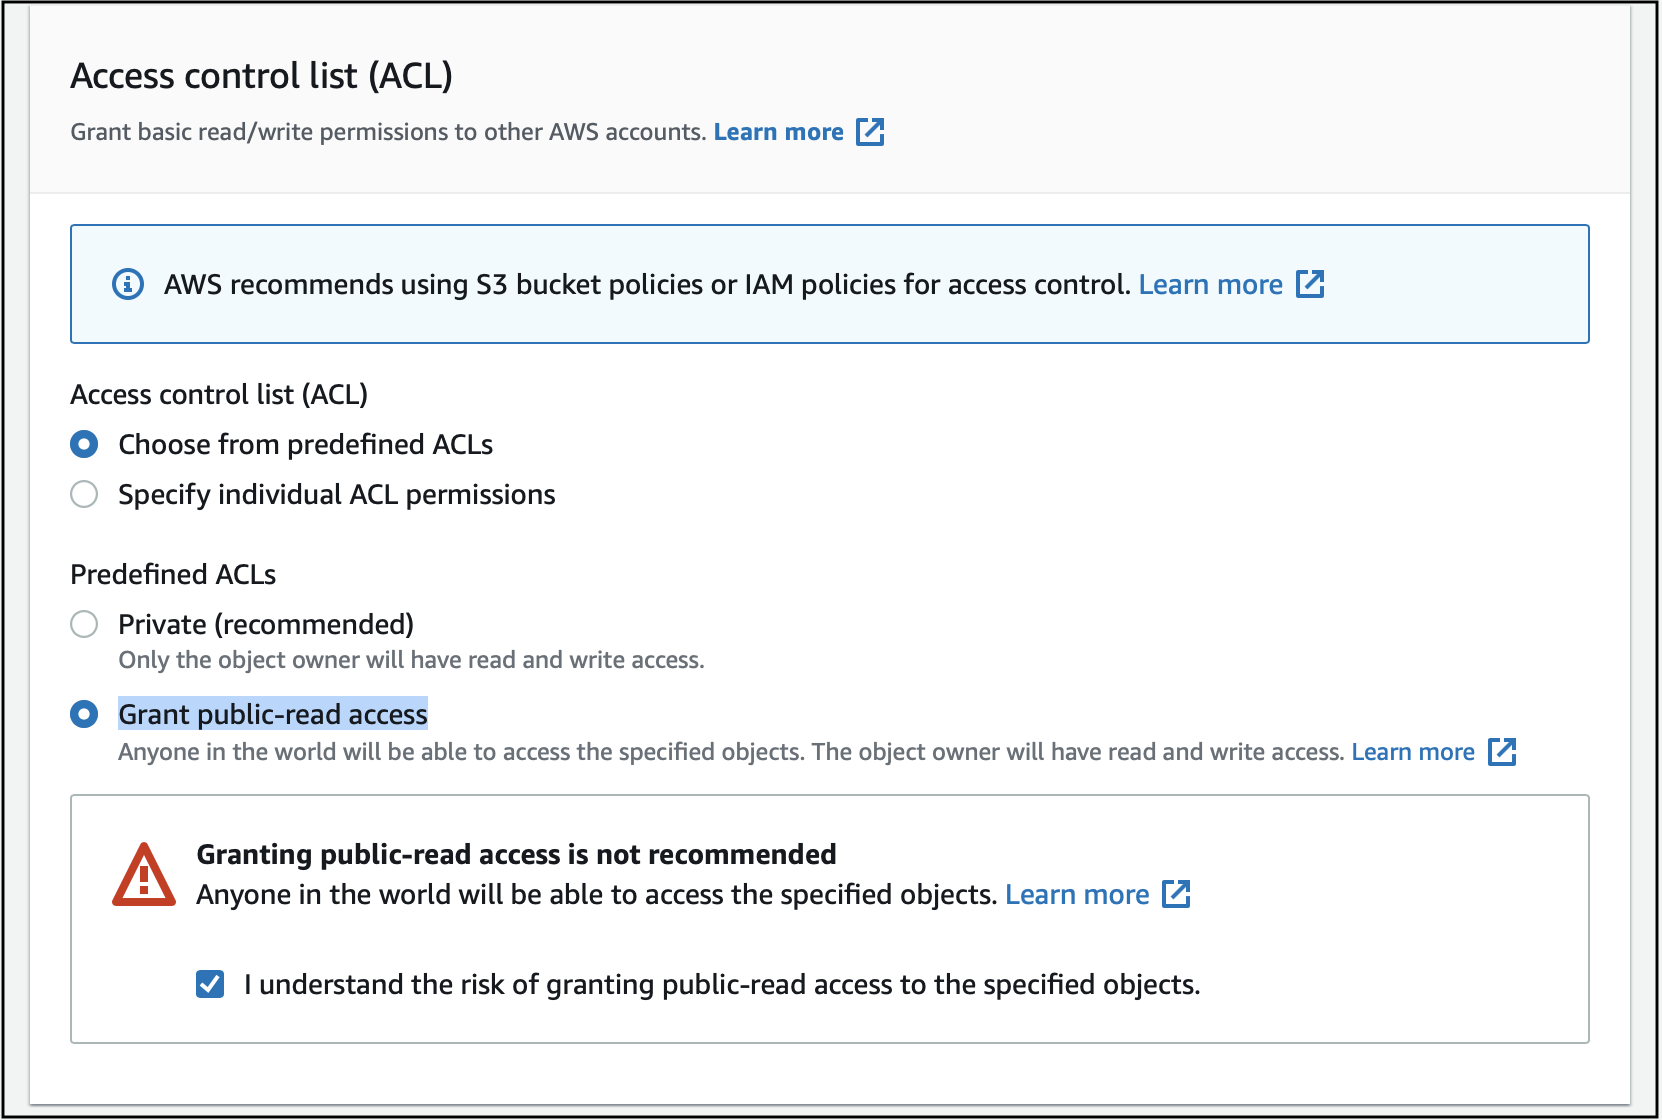
-
Accept the acknowledgment.
-
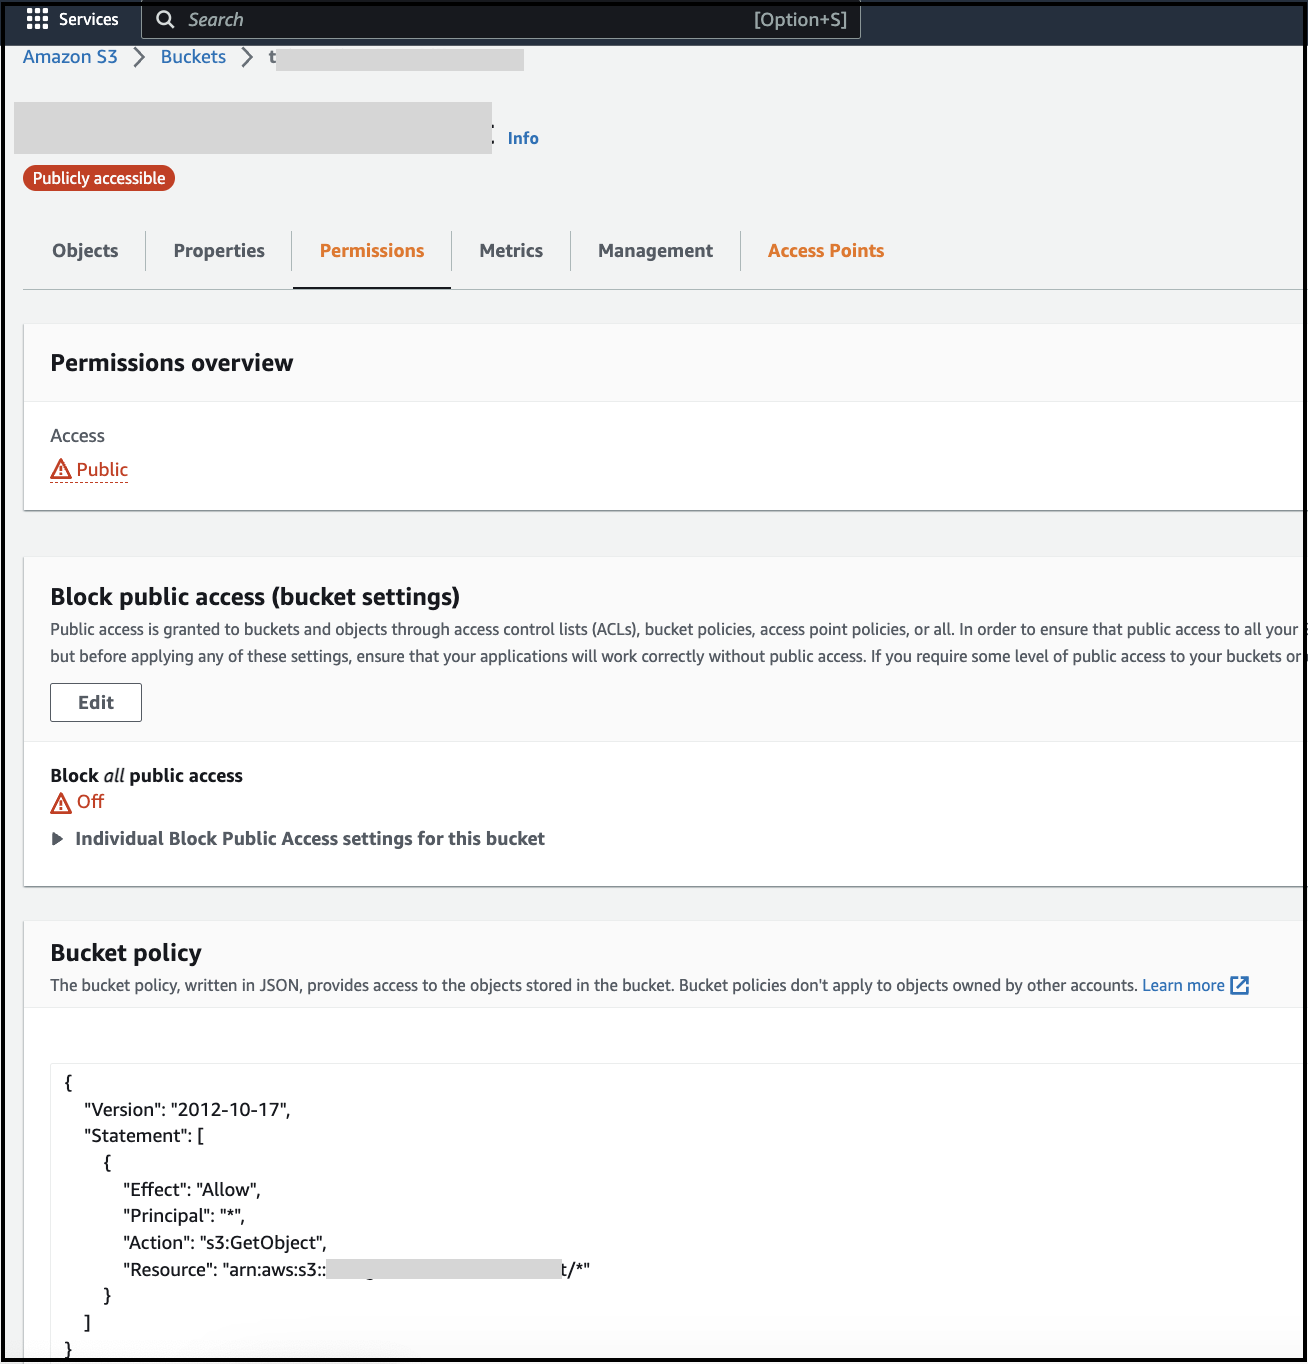
Click the
Permissionstab. Update the bucket policy by replacing the bucket name with your own, then save the changes.{
"Version": "2012-10-17",
"Statement": [
{
"Effect": "Allow",
"Principal": "*",
"Action": "s3:GetObject",
"Resource": "arn:aws:s3:::my-bucket-name/*"
}
]
}
-
Click the
Uploadbutton at the end of the page.
Configuring Callback URL in RainMaker
-
Log in to the RainMaker dashboard with admin credentials.
-
Go to the
Deployment Settingstab. -
Click
Identity Configurations. -
Look for Cognito app client with client name "esp-rainmaker-alexa-skill".
-
Update callback URLs for
esp-rainmaker-alexa-skillclient. Add the redirectURL value copied in step 12 of the Creating S3 bucket section, to the existing callback URLs.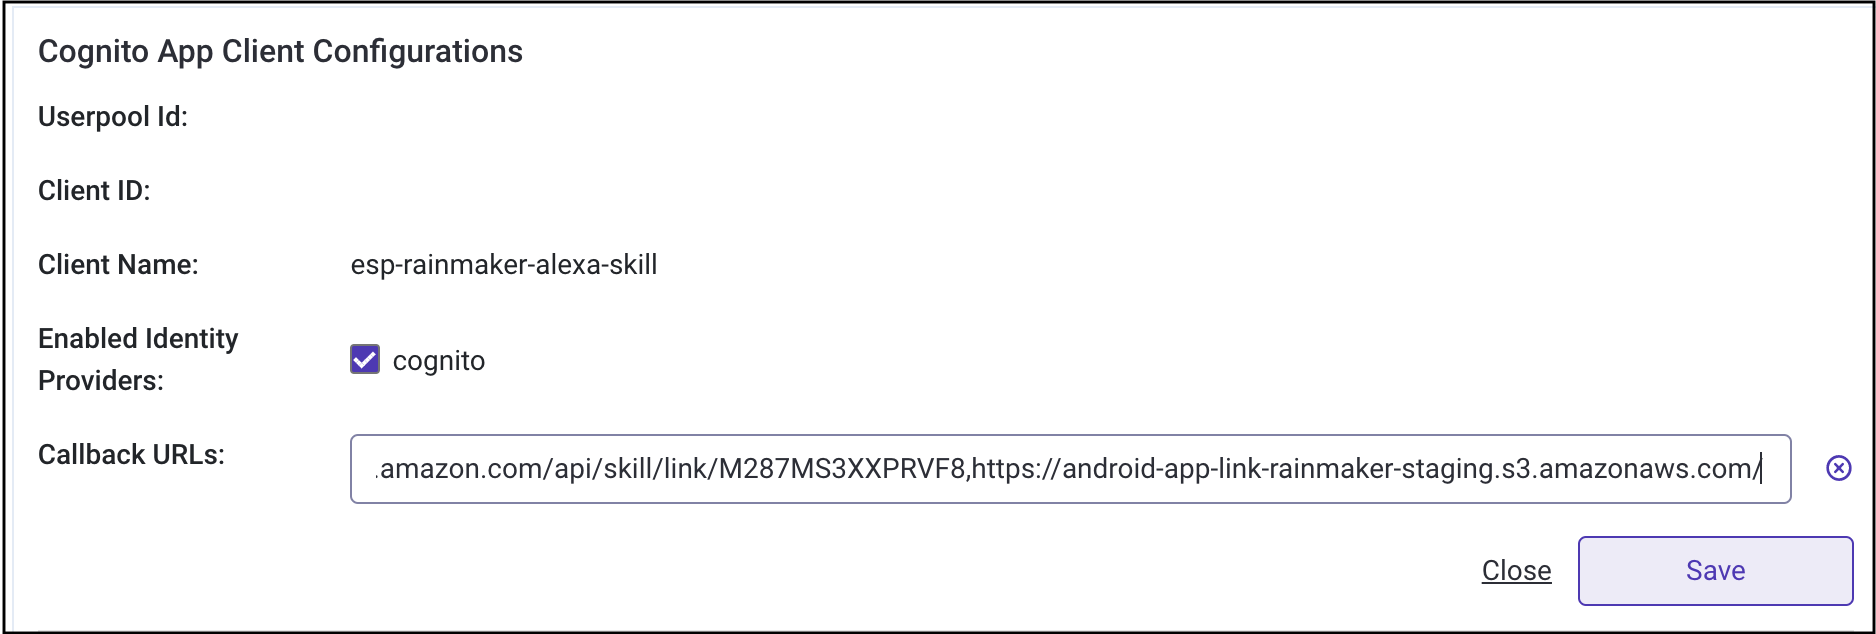 note
noteThe two URLs should be separated by a comma(,).
Enabling App-to-App Account Linking for Alexa Skills
-
Log in to Alexa Developer Console.
-
From the list of the skills, select the skills that you want to configure for app-to-app linking.
-
Click
ACCOUNT LINKINGon the left navigation bar.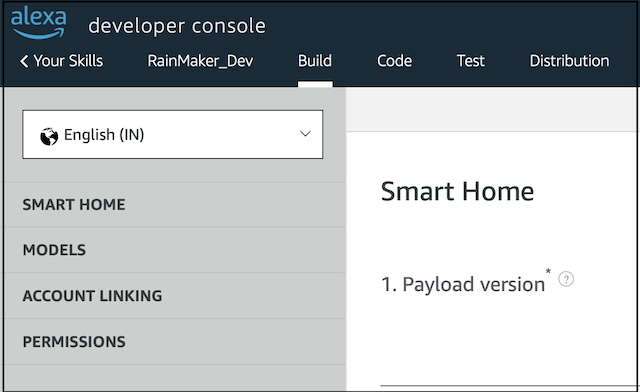
-
Enable the option
Allow users to link their account to your skill from within your application or website.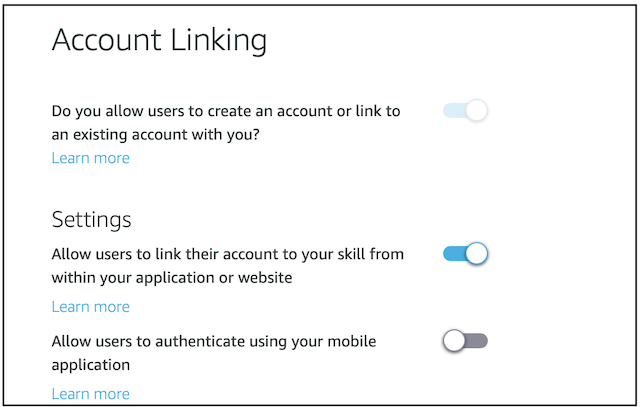
-
Scroll down to
Your Redirect URLssetting. -
Click the
+sign to add the redirect URL. -
Enter the redirectURL value copied in step 12 of the Creating S3 bucket section.

-
Add the client secret for
esp-rainmaker-alexa-skillapp client. You can find the steps to obtain the client ID and client secret here.
-
Save the changes.
Getting the Value of Alexa Access Token URL
Make sure you are in the same AWS region where you have deployed RainMaker.
-
Log in to AWS console and go to
API Gateway Service. -
Look for API Gateway
AlexaSkillLinking AWS Api Gateway.
-
Go to
Stagestab.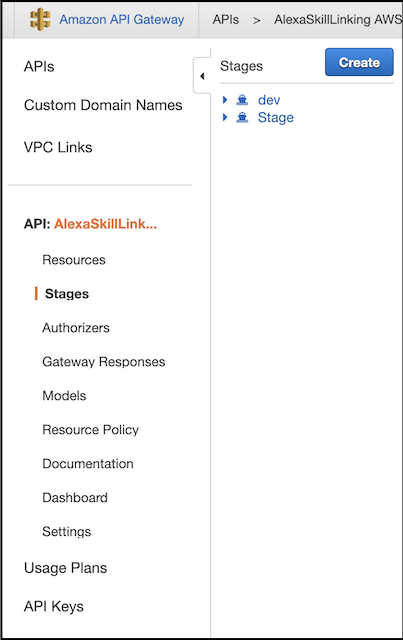
-
Expand the
devstage. -
Click
POSTmethod. -
Copy the Invoke URL. This URL will be required while configuring "alexaAccessTokenURL" for mobile apps.
