Publishing GVA action
Certify and Publish GVA Action
When GVA action is created and configured, it can be enabled with the admin account of the action. This is the account using which the GVA action was created and configured. The action can be shared with limited users for a limited period using Beta testing feature.
To make the GVA action publicly available, it is required to certify and publish the action. After testing your action with your firmware and ensuring it is working as expected, you can submit the action for certification.
This section provides the steps to certify and publish the GVA action in the Google Actions store.
Prerequisites
Adding the Logo and Authorization Statement to the OAuth Page
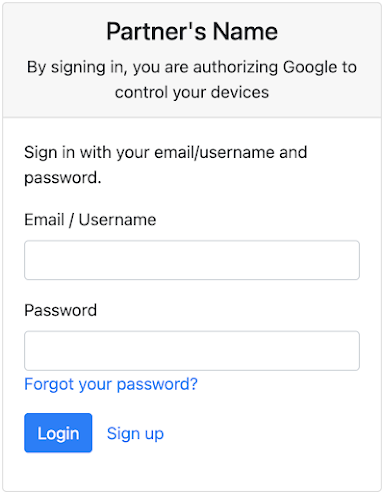
For Google Action certification, it is required that the OAuth Page mentions the authorization statement - "By signing in, you are authorizing Google to control your devices”. Follow steps below to include the authorization statement to your Google Action OAuth page.
- Keep an image ready with your logo and authorization statement - "By signing in, you are authorizing Google to control your devices". For example:
- The sign-in page will look like the image below.
-
Log in to AWS Console. Go to Cognito service page. Switch to
New console experienceif you can see the option. -
Click
User Pools. -
Click
rainmaker-user-email-mobile-pool. -
In the
App Integrationsection, scroll down and selectesp-rainmaker-google-action. -
Scroll down to
Hosted UI customization. -
Upload the image in
logofield ofUI customization. -
Scroll up and click
View Hosted UIto check if the OAuth Page now includes the logo.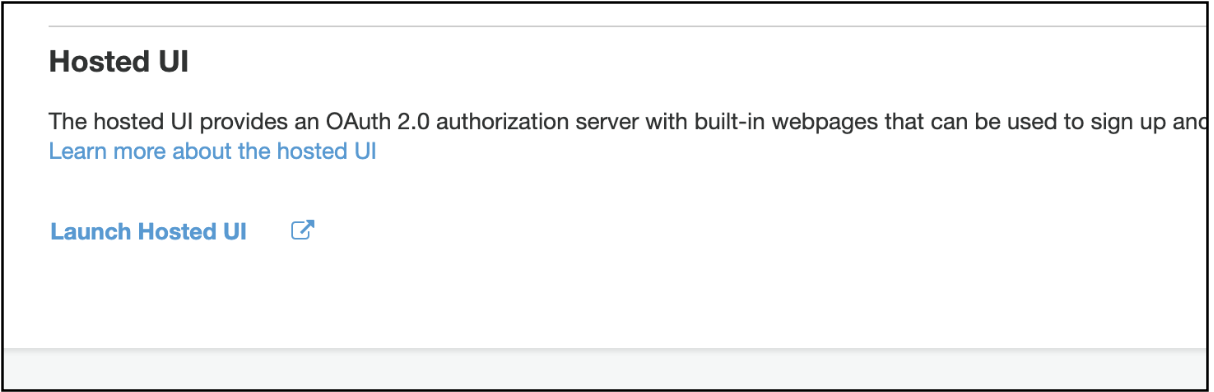
-
Try account linking for your action using Google Home app, ensure that Login page shows the logo along with authorization statement.
Required Details
Keep the following details ready before we publish the action.
- Privacy Policy and Terms of use URL for your action.
- Brand Name - the brand name of your product.
- Link(s) to the product on the market.
- Short description - one-line description of your action.
- The full description - Description that users will see for your action. The description should give details about what can be done using the action.
- Keywords - Simple search words that relate to or describe this action.
- Example phrases (examples of supported voice commands).
- Public name of your GVA action.
- A test account with at least one test device.
- OAuth page - the screenshot of your OAuth page that will be visible when the user will link the account with your action.
- Small logo(icon) - requirements for a small action logo are:
- Round logo
- 192 x 192 pixels
- A transparent background, using PNG format
- If your logo is white, a colored border must be added
- Large banner image - requirements are:
- 1920x1080 pixels.
- A transparent background, using PNG format
- App Logo (icon) - requirements are:
- Round logo
- 144 x 144 pixels
- A transparent background, using PNG format
- If your logo is white, a colored border must be added
- Contact details - Developer name and email. This information will be used by the Google team to contact you regarding the certification status of your action.
- Developer details.
Getting Test Suite Results
- Keep your test device or development board online.
- Ensure that the above test node is associated with a test user and the test user has completed the account linking from the Google Home app.
- Go to the Google Actions console and go to your smart home action.
- Select the
Testtab from the menu. - Click
Go to test suite. - Sign in using your Google account and enter the project ID for your google action.
- Your devices will be listed. Select your test device.
- Scroll down and click
Configure test environment. - Start the tests.
- It will take some time to complete the test suite.
- Once the test suite is completed, ensure that there is not any
Failedtest case. - If there is no failed test case, you can click the
Results and Submissionbutton. - Download the
Resultfile on your computer. - The
Resultfile will need to be submitted while filling out the certification request form.
Filling in the Deployment Details
- Login to the Google Actions console and open the smart home action which is to be certified.
- Go to the
Deploytab from the menu. - Go to the
Directory Informationsection. - Fill out all the details on the page and save the changes.
- Go to the
Company Detailssection. - Fill out the required details and save the changes.
- Click the
Certification Request Formoption. - Fill out the certification request form.
Adding the answers for common required questions in the Google Action Certification Request form:
- Is this action tied to a commercial product? -> Yes.
- Does your action implement SCENE trait only? -> No.
- Type of Submission -> Cloud.
- Traits that require manual testing -> Select "I have no traits that require manual testing" if your device can report state, choose "Command Only" otherwise.
- Have you implemented Notifications to your devices, and requires certification -> No.
- If you cannot implement notifications on compatible traits, please specify an ETA when it can be implemented. -> Keep this empty, if your device is not a sensor.
- Have you added app flip to your action, and need that to be certified? -> No.
- If no, please specify an ETA if you have one. -> Keep empty.
- Updating information that require manual verification -> Keep empty.
- UL Certificate -> Skip uploading this, if your device is not a cooking appliance.
- After the certification request form is submitted, submit the action for release.
- Go to the
Releaseoption on the Actions console. - Click
Start Release. - Select channel
production. - Select the pre-launch checklist items and submit the action for rollout.
- You can optionally link your website to your action in the
Brand verificationsection. - You will receive the certification status update from the Google Action certification team in 5–10 days.