Upgrading via SAM
Upgrading the RainMaker Backend via SAM
To upgrade the RainMaker backend components using SAM (Serverless Application Model), follow the detailed steps below:
Supported Repositories
- ESP-Rainmaker-Base
- ESP-Rainmaker-Core
- ESP-Rainmaker-AddOns
- ESP-Rainmaker-Timeseries
All the parent stacks mentioned above can be upgraded to the latest version using the following process. Upgrades are similar to the deployment process.
Steps to Upgrade SAM Repositories
-
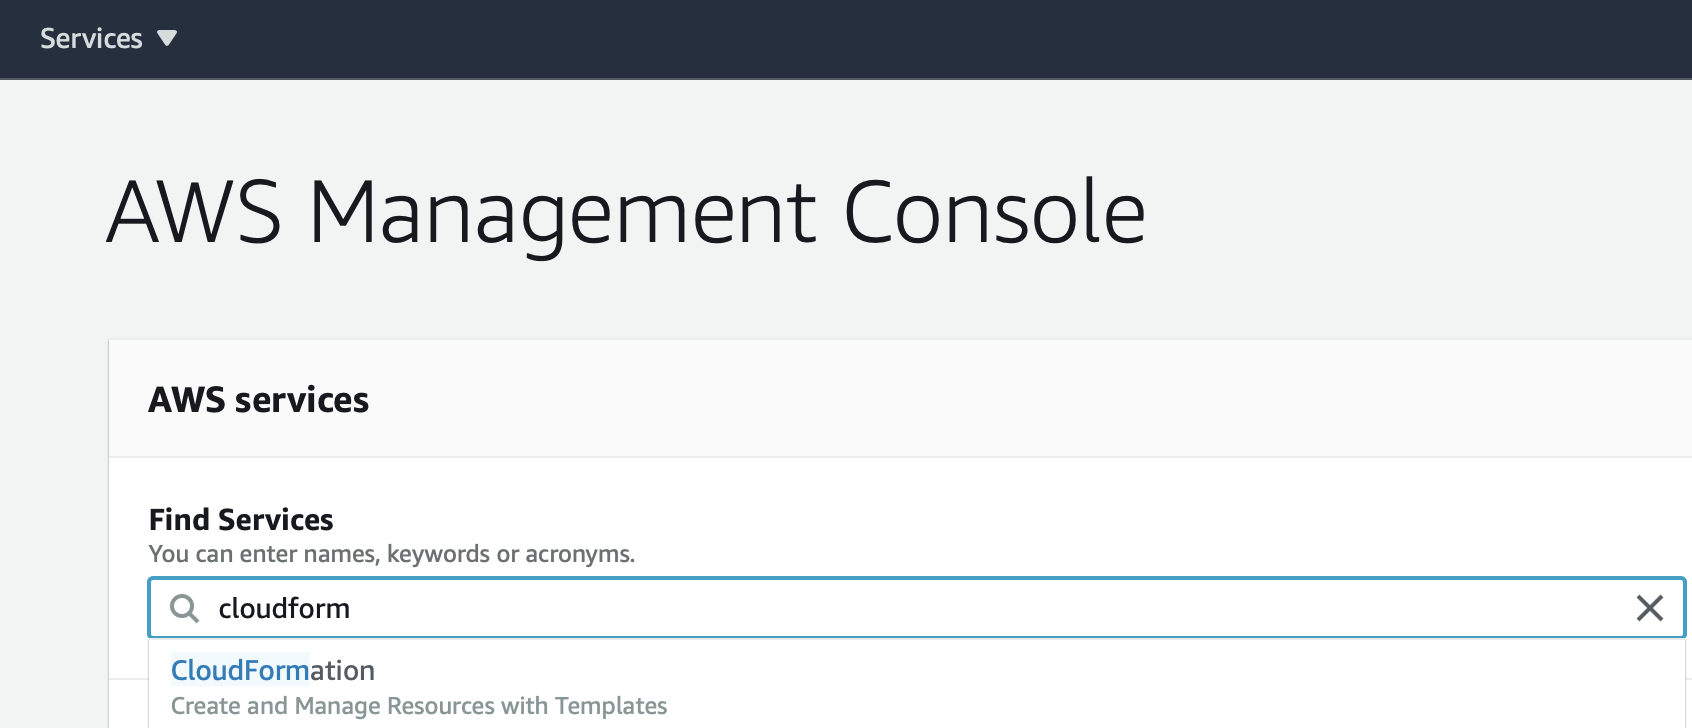
Log in to AWS Console
- From the AWS console, go to
Services, search forCloudFormation.
- From the AWS console, go to
-
Select the parent stack
- Go to
Stacksand find the required parent stack you want to upgrade (e.g., ESP-Rainmaker-Base).
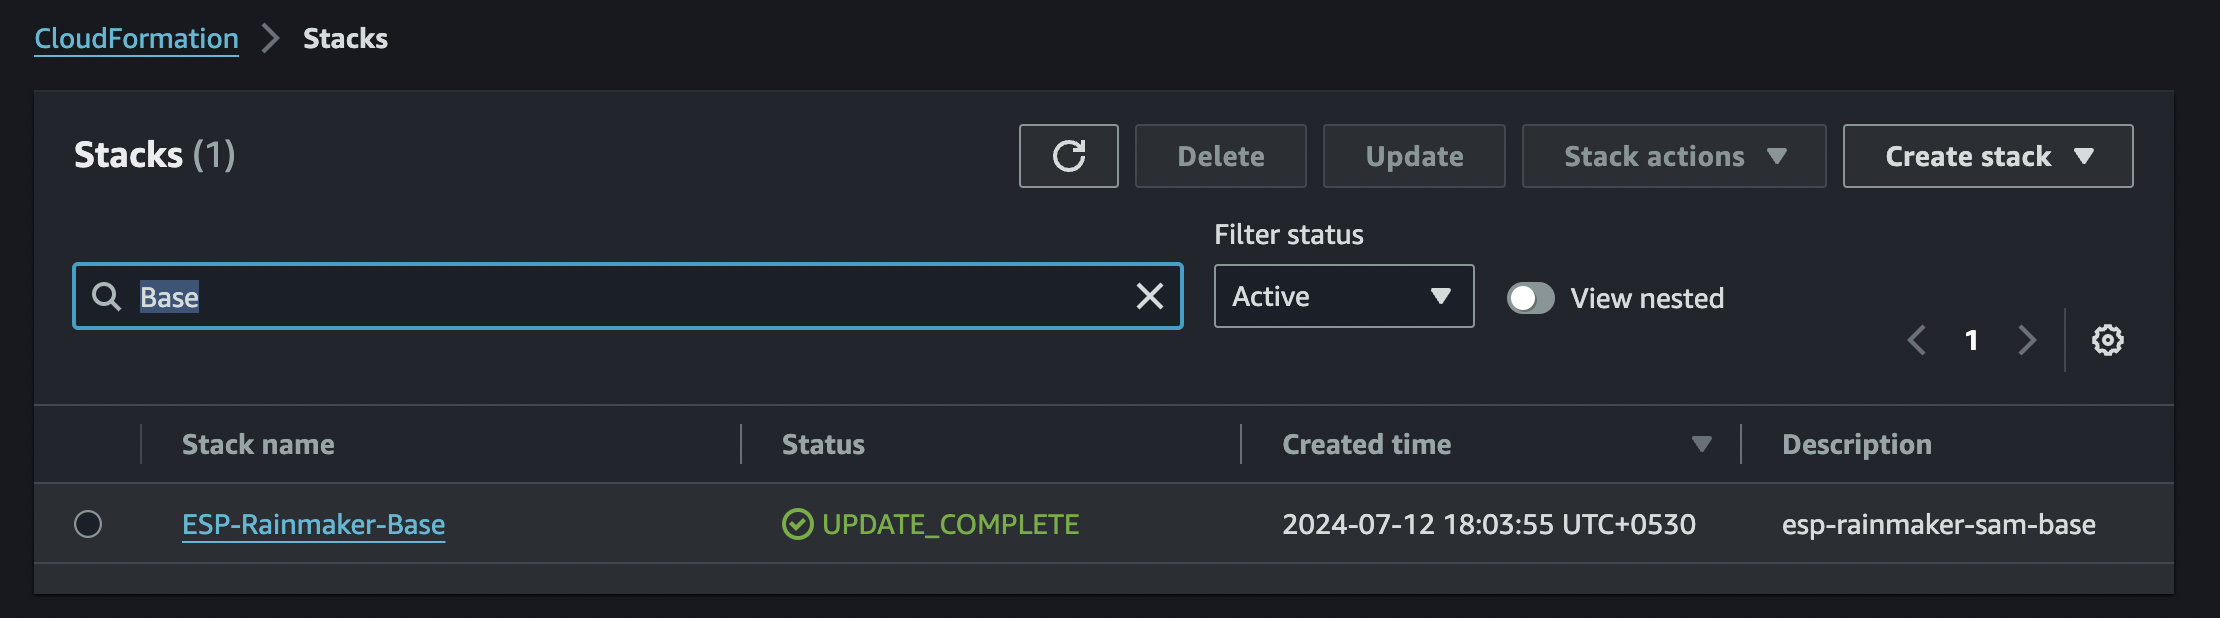
- Go to
-
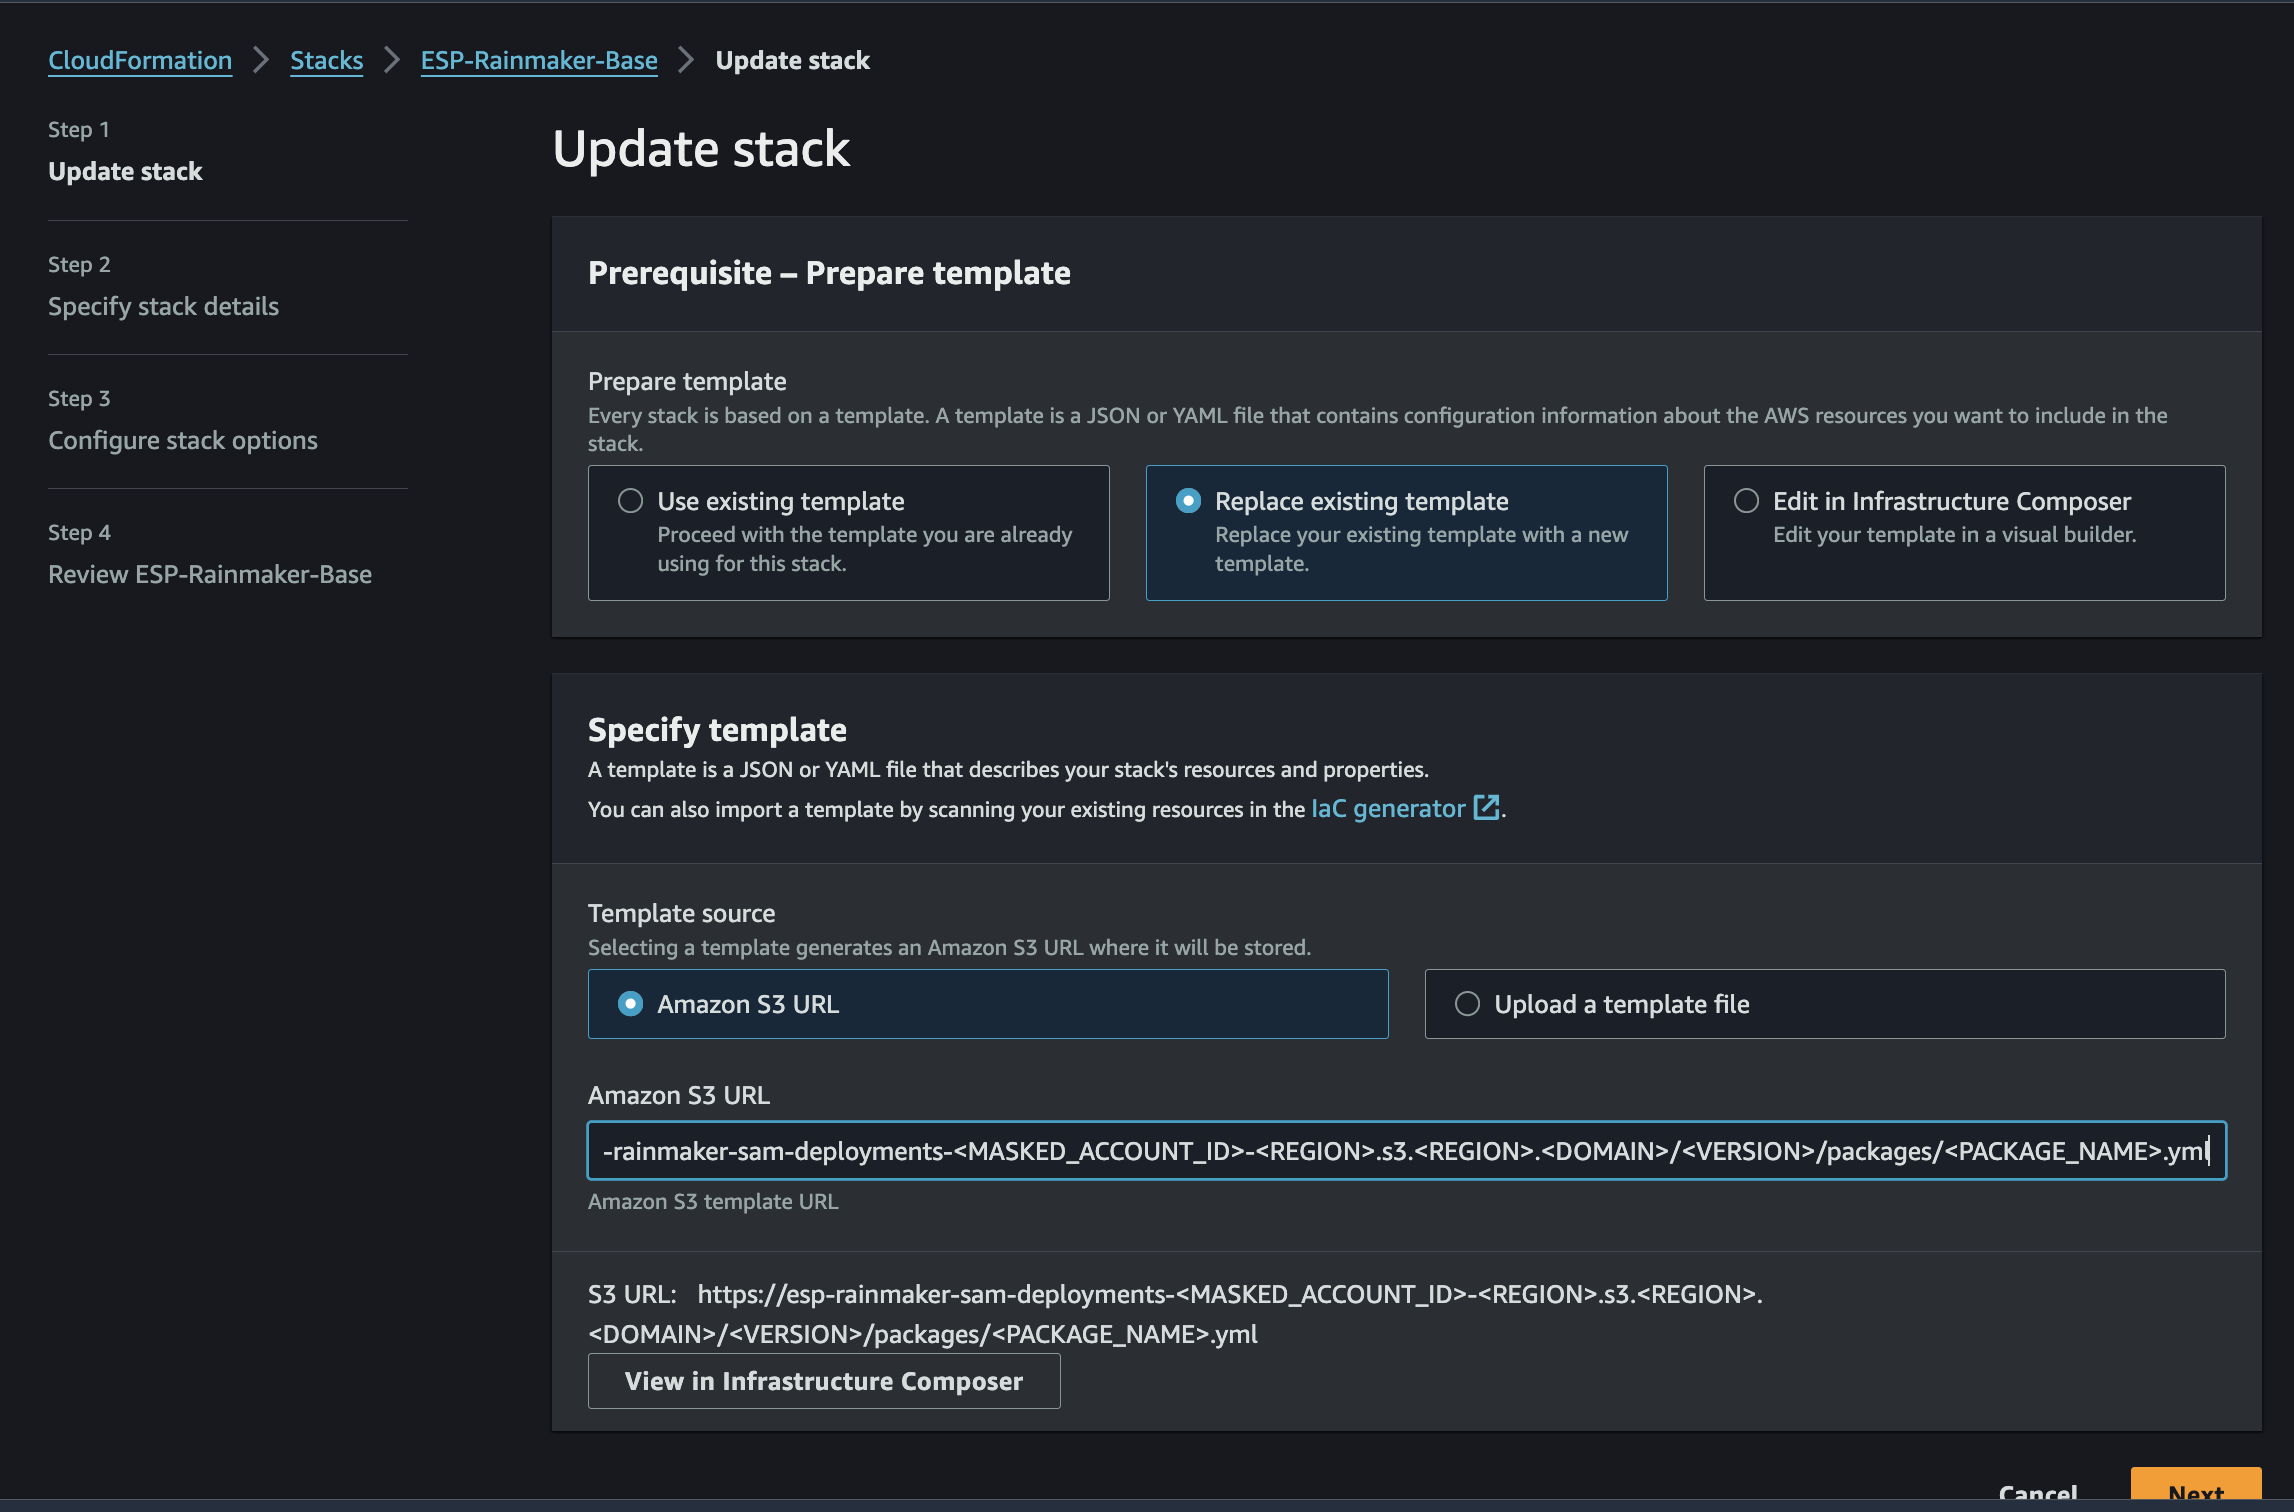
Initiate the upgrade
- Click the selected stack.
- Choose
Update. - Select
Replace existing template. - Enter the updated URL link by modifying the version in the link provided in the documentation.
-
Follow the stack creation process
- Proceed through the steps similar to when creating the stack initially. You can refer to your original stack creation process screenshots in Backend Deployment for guidance.
-
Review and submit
- Review the stack details and click
Submit.
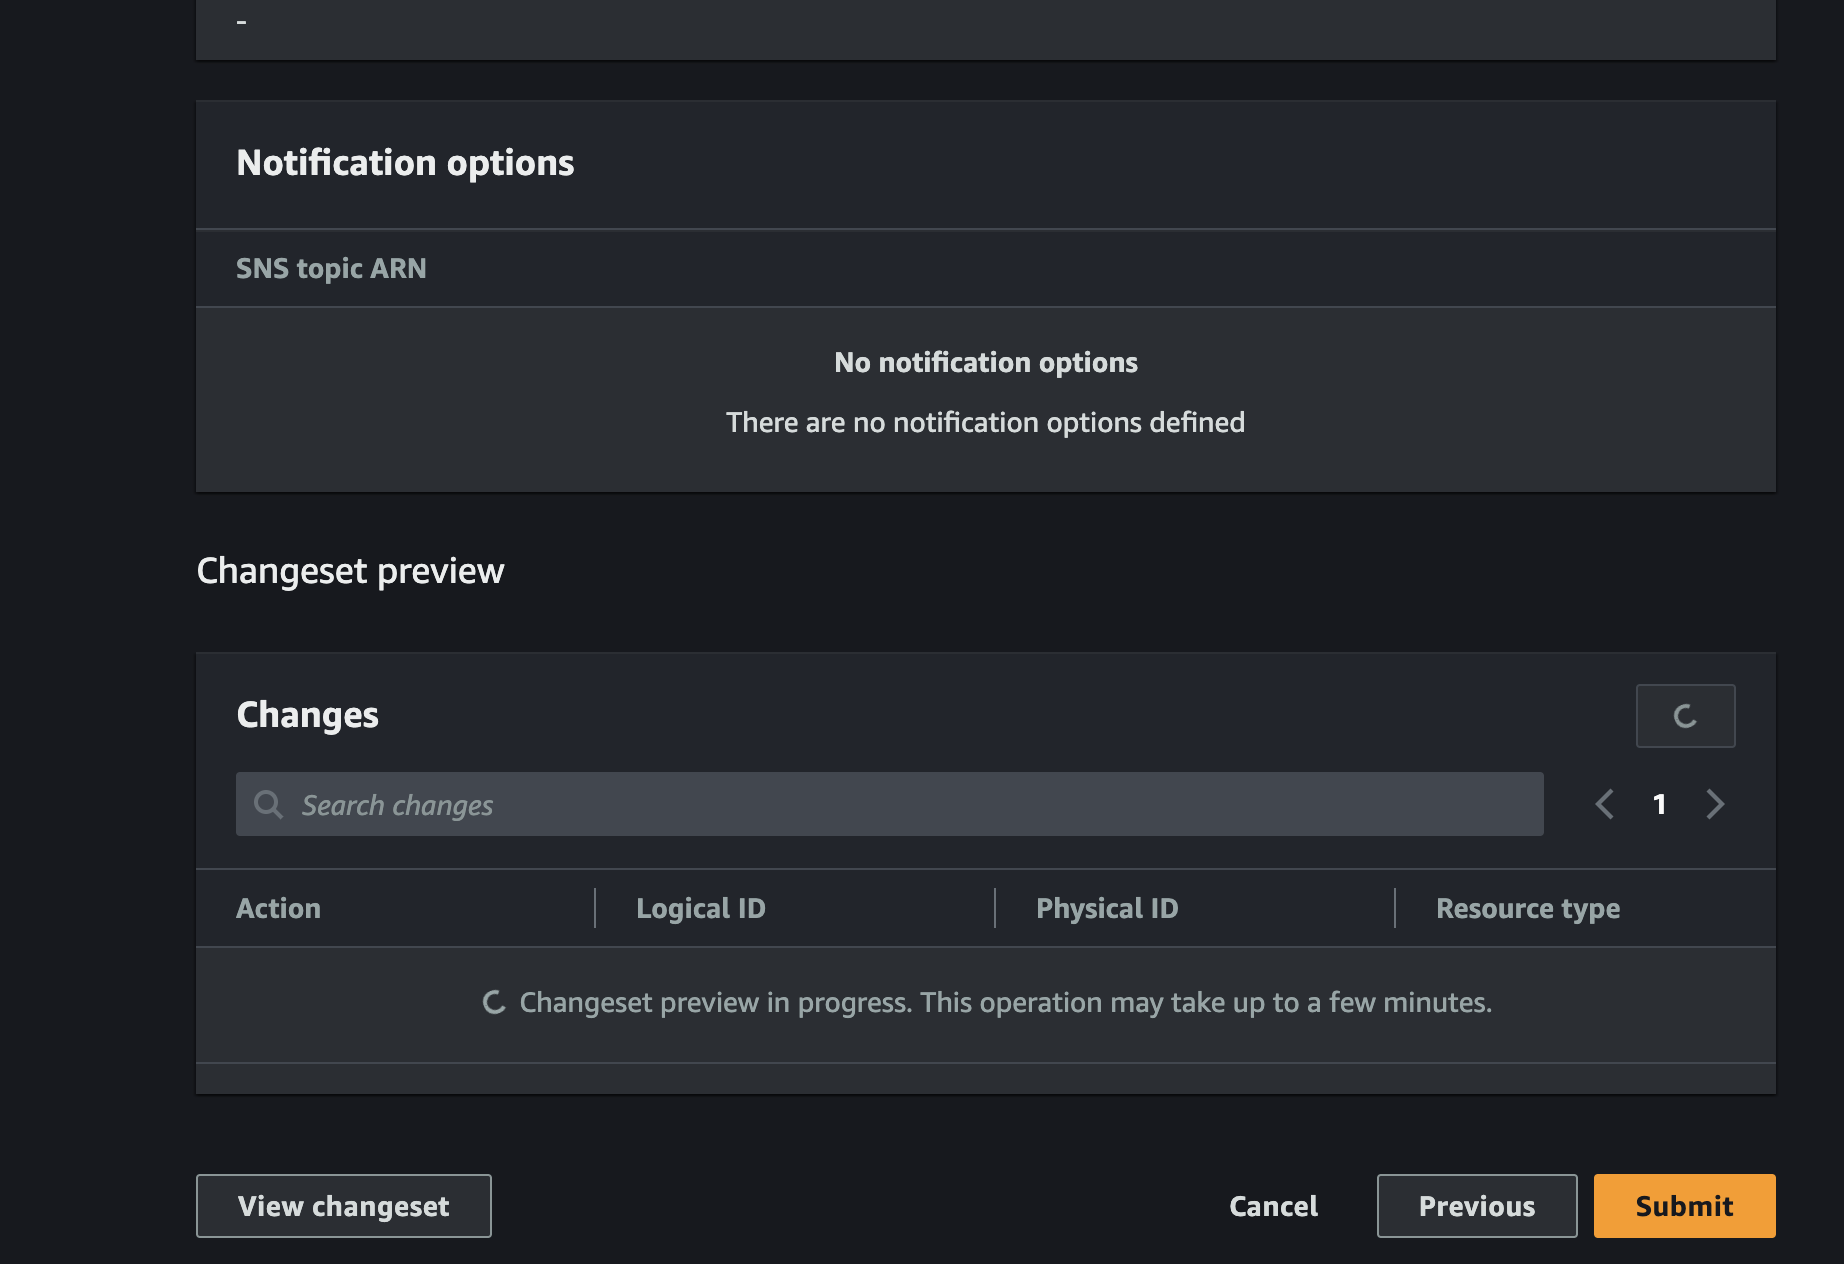
- Review the stack details and click
-
Monitor upgrade progress
- After initiating the upgrade, CloudFormation will start updating the stack. You can monitor the status to ensure it completes successfully.
Repeat these steps for all the necessary stacks you wish to upgrade.
Make sure to backup your Cognito settings before proceeding with the upgrades. Refer to the backup guide here.
Upgrading the RainMaker Dashboard
From the dashboard, the admin user needs to check if any newer version of the dashboard is available. If any newer version is available, the admin user can upgrade it.
Here are the steps to upgrade the RainMaker frontend.
Log in to the RainMaker Dashboard.
At the bottom, the current version will be displayed.
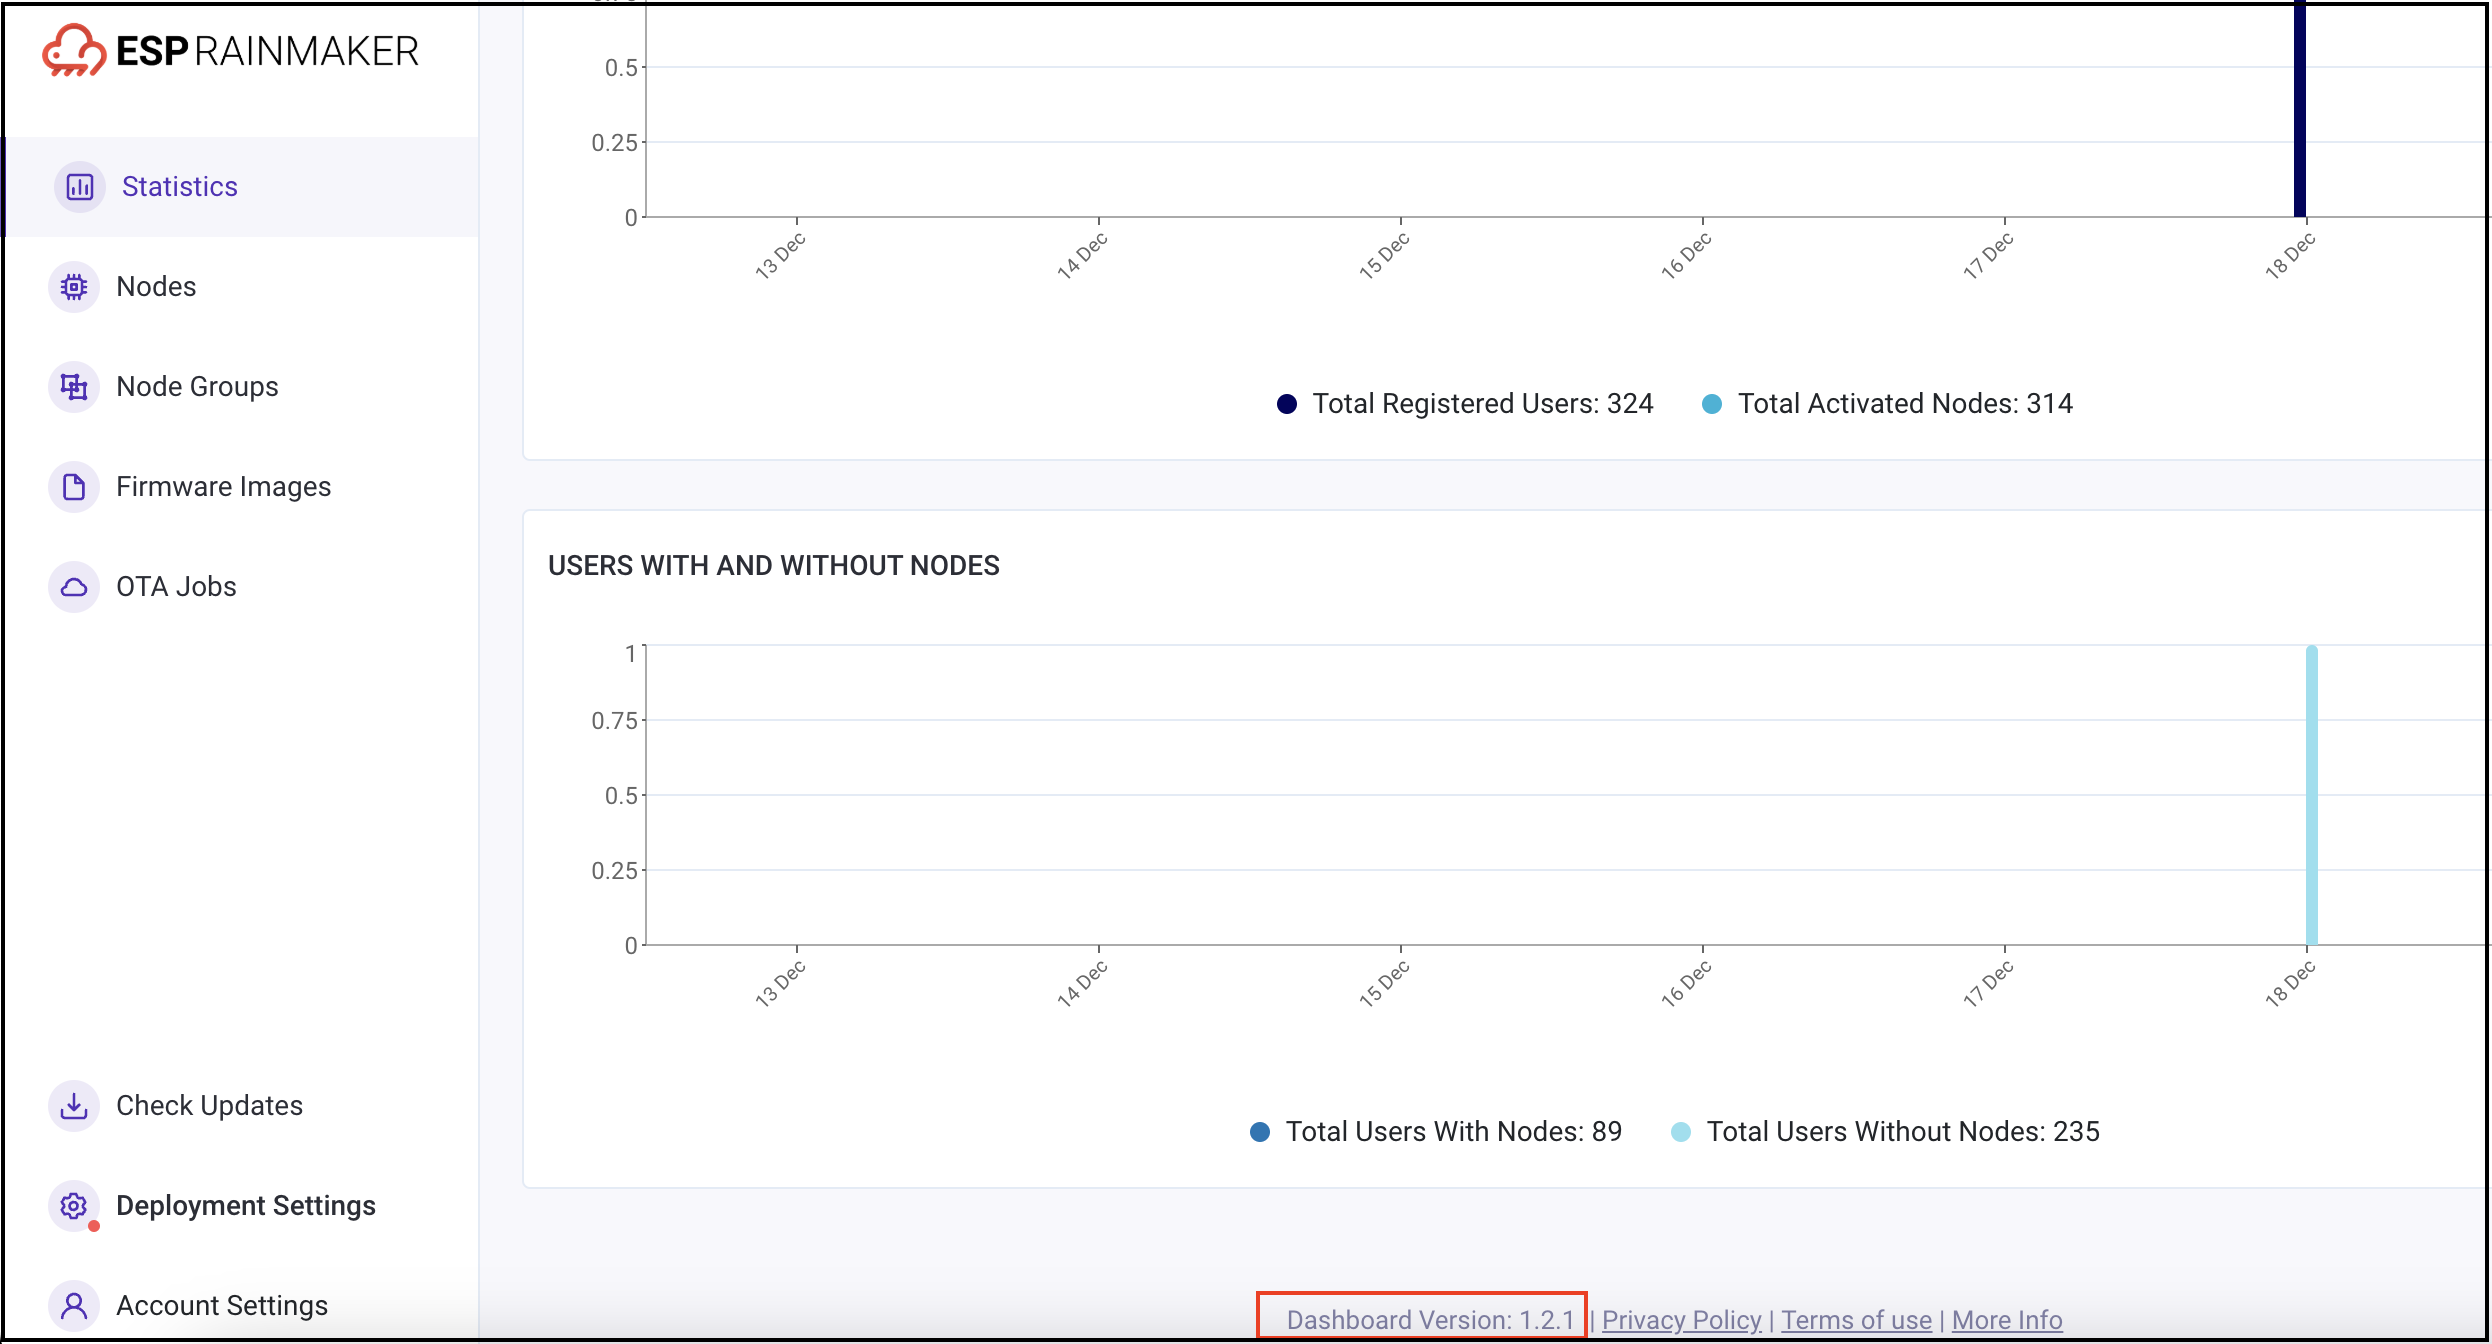
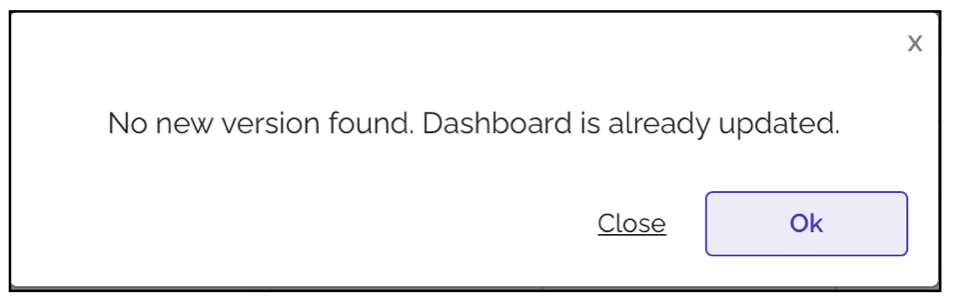
Click Check Updates option to see if any newer version is available. If there are no new versions are available, the below pop-up will be displayed:
If there are newer versions available for the dashboard, the below pop-up will be displayed:

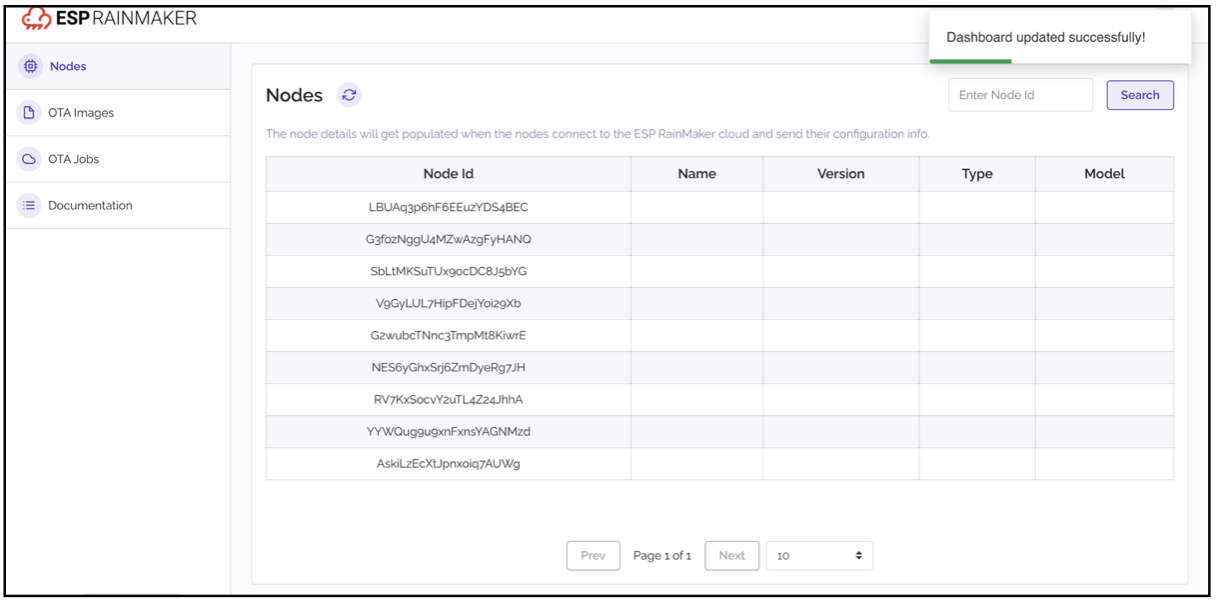
To upgrade to this newer version, click the Update Dashboard button.
The upgrade generally takes around five minutes. After the upgrade is successful, you will need to refresh the screen or need to log out and log in again.
Upgrading ESP-3P-Integrations-Skills-Add-Ons
The following guide provides step-by-step instructions for upgrading the ESP-3P-Integrations-Skills-Add-Ons StackSet in AWS CloudFormation. This upgrade involves updating the stack template to the latest version. The steps are similar to the deployment process.
Steps to Upgrade ESP-3P-Integrations-Skills-Add-Ons
-
Log in to AWS Console
- Go to the AWS Management Console.
- From the
Servicesmenu, search forCloudFormation.
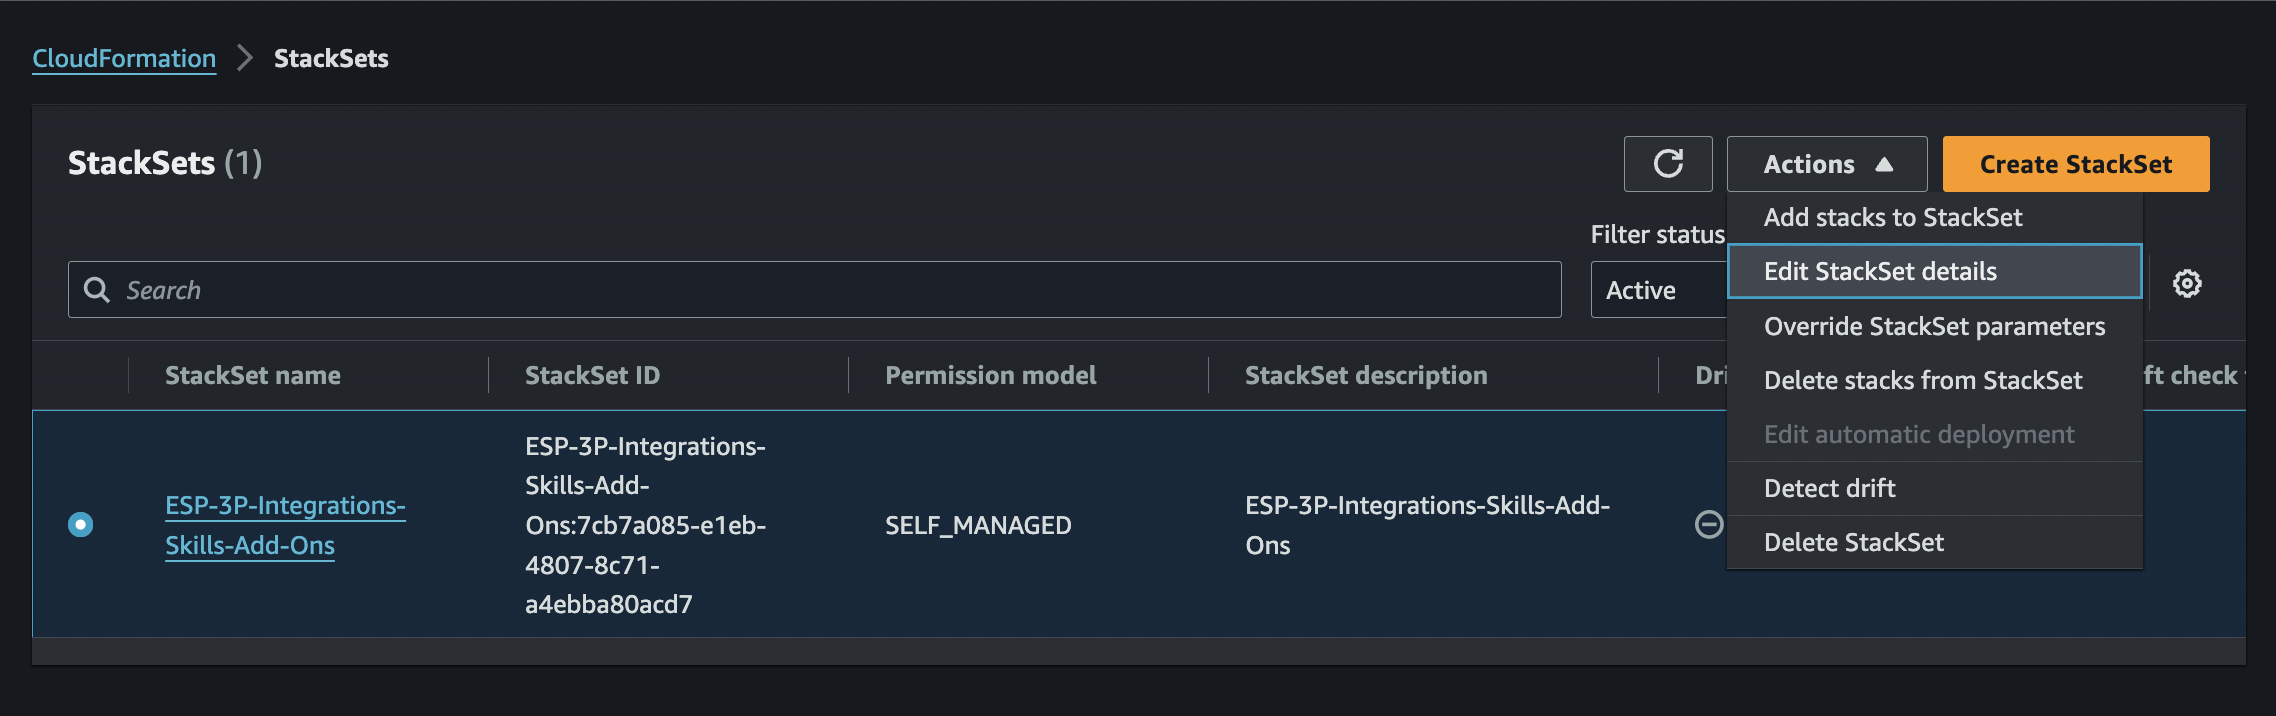
-
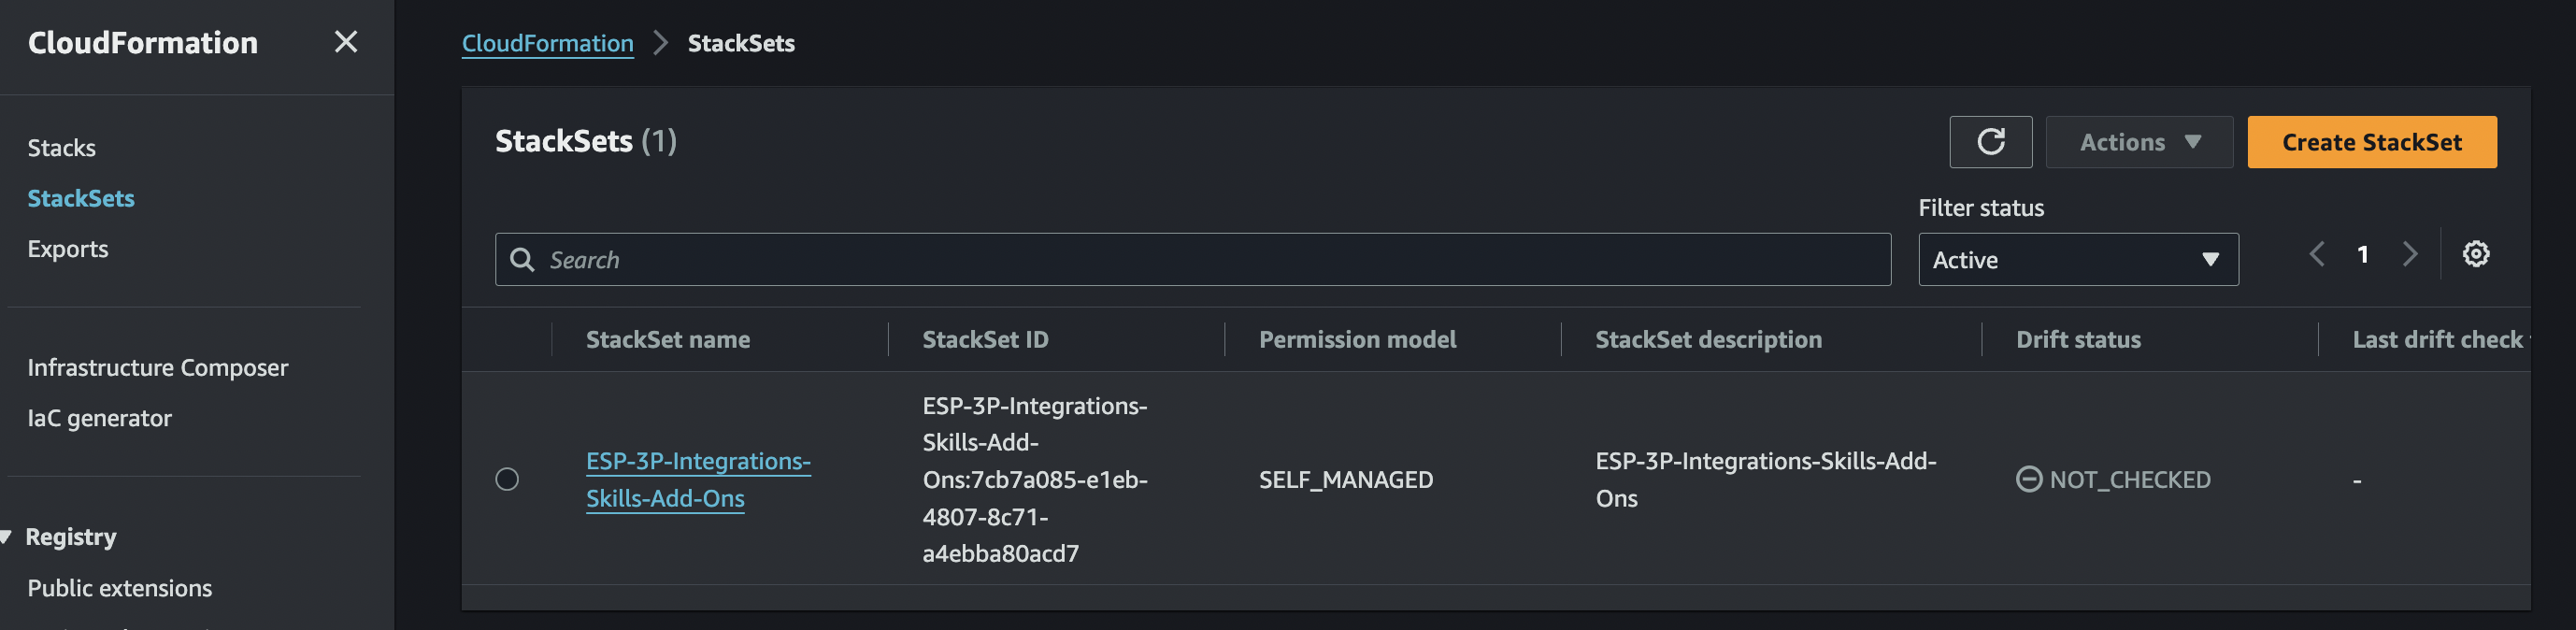
Access StackSets
- In the CloudFormation dashboard, select
StackSetsfrom the left-hand menu. - In the list of StackSets, find and select the
ESP-3P-Integrations-Skills-Add-OnsStackSet.
- In the CloudFormation dashboard, select
- Edit StackSet details
- With the StackSet selected, go to
Actionsin the top menu. - Click
Edit StackSet details.
- With the StackSet selected, go to
-
Replace the current template
- In the
Prepare templatesection, selectReplace current template. - Provide the URL for the latest version of the template:
- Template URL: Enter the new template URL. This URL should point to the latest version of the template, provided by your organization.

- In the
-
Specify new template details
- After entering the template URL, proceed to the next steps as you would when creating a new StackSet:
- Follow similar steps to those shown in the initial StackSet creation screenshots.
- Ensure that you carefully review all template parameters, modifying them if necessary to match the latest requirements.
- After entering the template URL, proceed to the next steps as you would when creating a new StackSet:
-
Reselect AWS account ID and regions
- In the
Deploy Stacks In Accountssection, reselect the AWS account ID where the StackSet should be deployed. - In the
Specify Regionssection, select the regions where you want the updated StackSet to be deployed. Ensure you select the appropriate regions to align with your organization's deployment policy.
- In the
-
Review and submit
- Review all changes made to the StackSet configuration.
- Once confirmed, click
Submitto initiate the update.
-
Monitor StackSet update progress
- After submission, monitor the status of the StackSet in CloudFormation to ensure the update completes successfully.
- Go to
CloudFormation>StackSets>Operations, and check the progress of the update across selected regions. Status: A successful update will show aSUCCEEDEDstatus in all regions.
- Go to
- After submission, monitor the status of the StackSet in CloudFormation to ensure the update completes successfully.