Backend Deployment
This section outlines the deployment steps for ESP-Rainmaker-Base and ESP-Rainmaker-Core stacks.
The ESP-Rainmaker-Base stack must be deployed first, followed by the ESP-Rainmaker-Core stacks in sequence.
For each stack, you need to utilize the S3 URLs configured in the previous section, set stack parameters such as log levels and stage names, and wait for deployment completion.
Additionally, the RainMaker super-admin user credentials and deployment details are sent upon successful completion.
ESP-Rainmaker-Base
This stack contains the following modules:
- ESP-RainMaker-Base-API
- ESP-RainMaker-Base
We will base the deployment of the stacks on the corresponding steps from Generic steps to create a CloudFormation Stack.
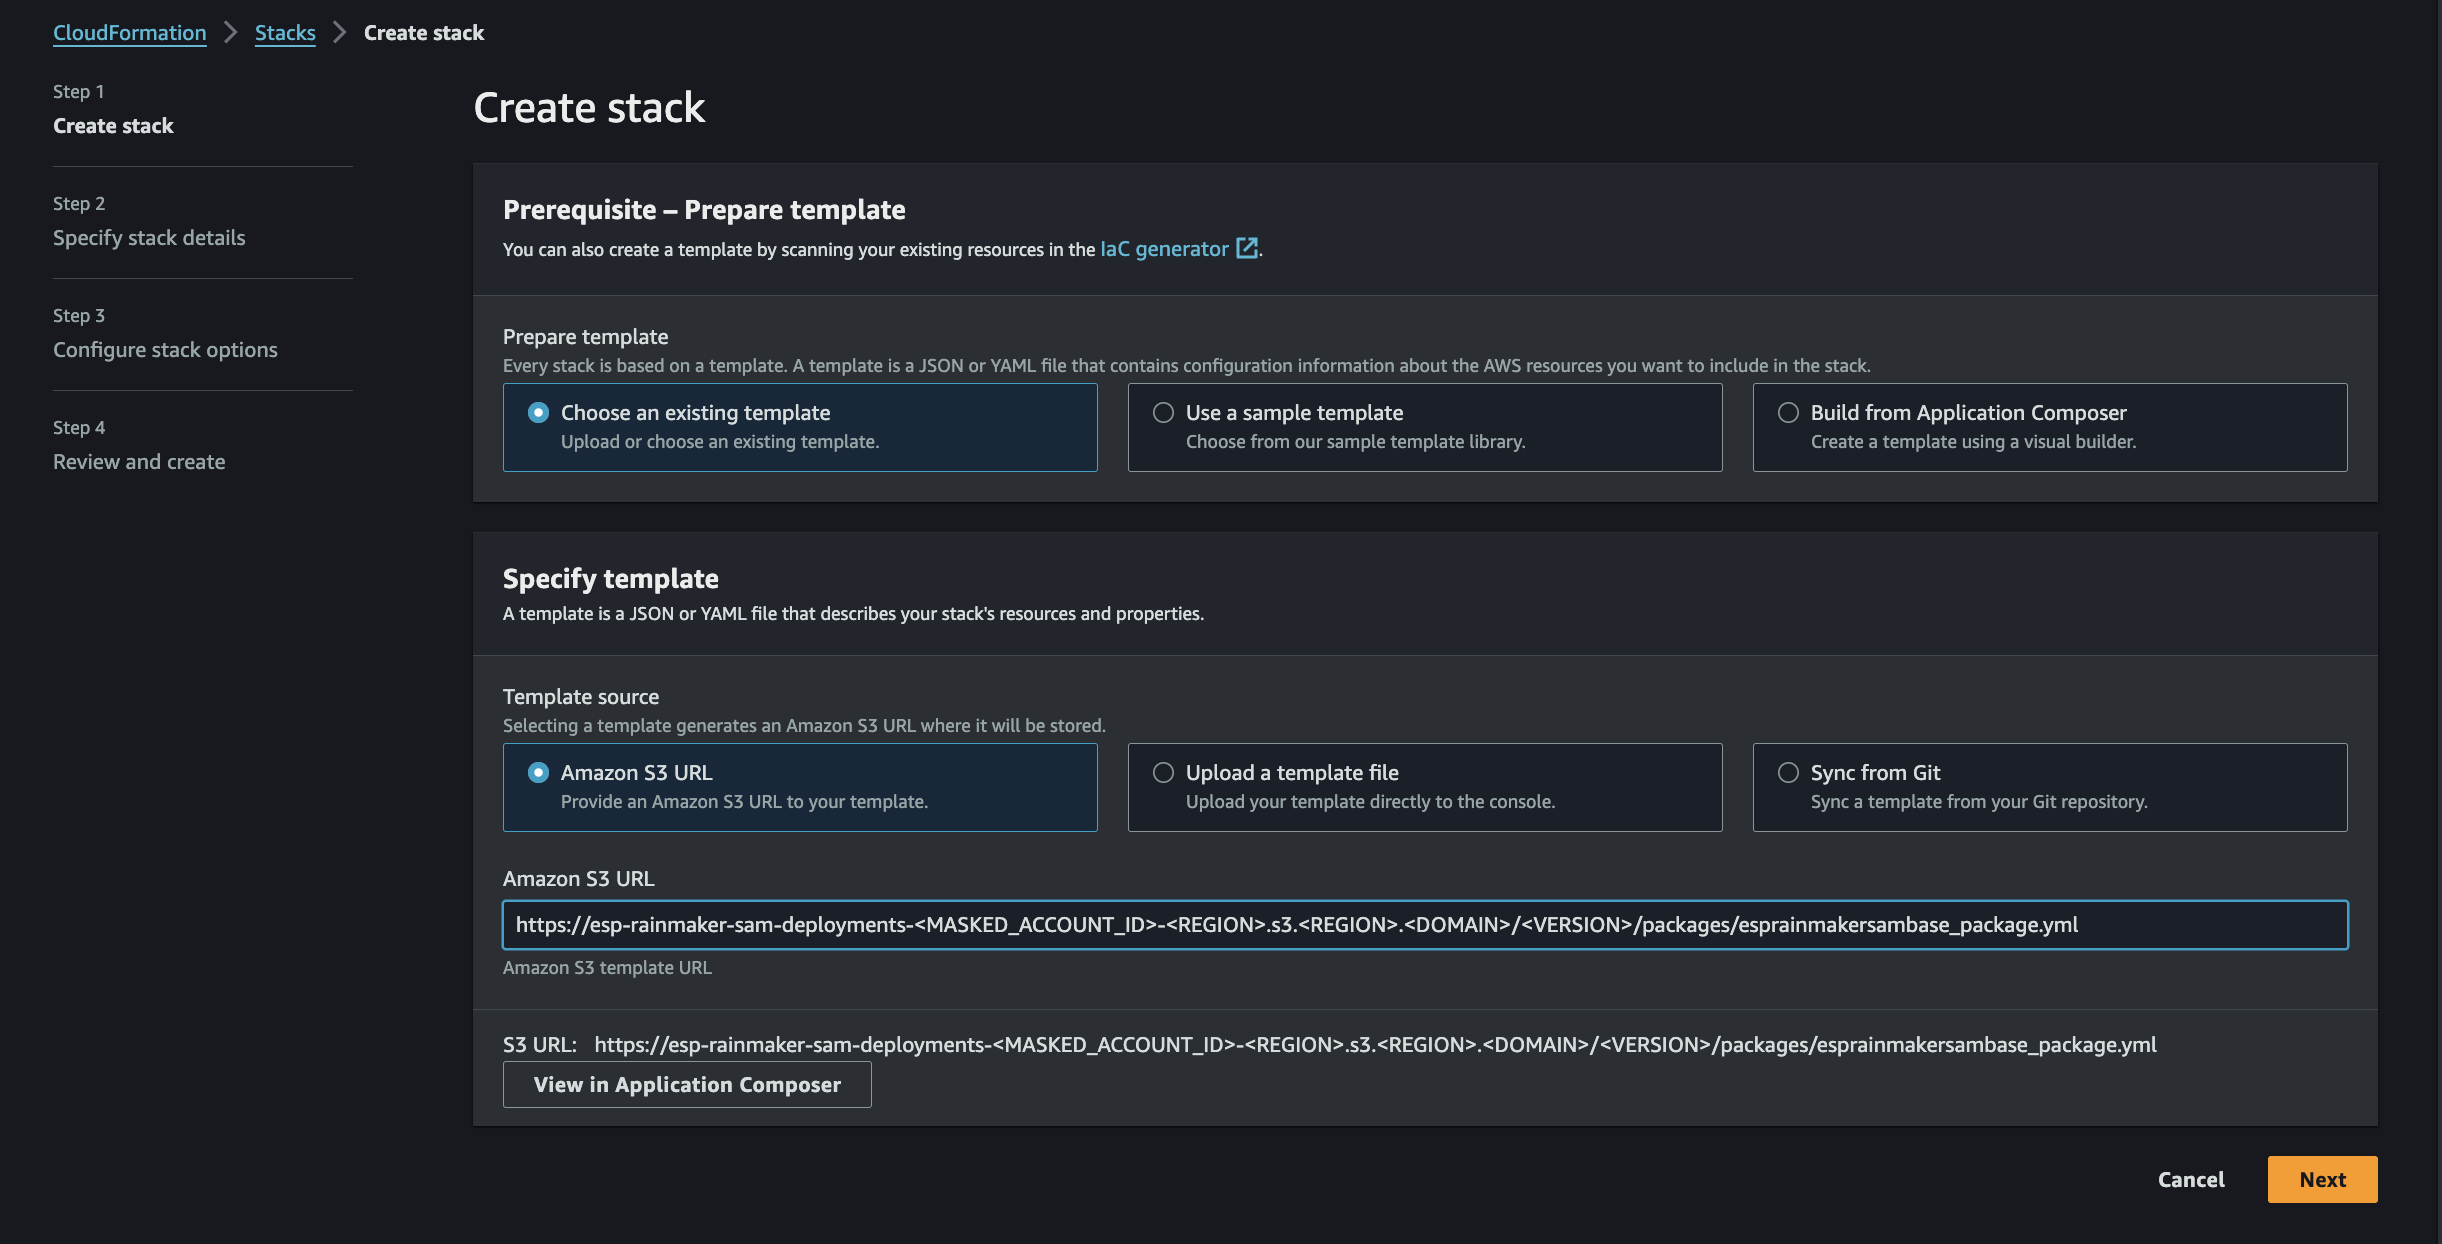
On step 3 (Select Template):
- Use the configured S3 URL for the package (ESP-Rainmaker-Base), and paste it in "Amazon S3 URL".
If you have not configured the S3 URL, please view how here.
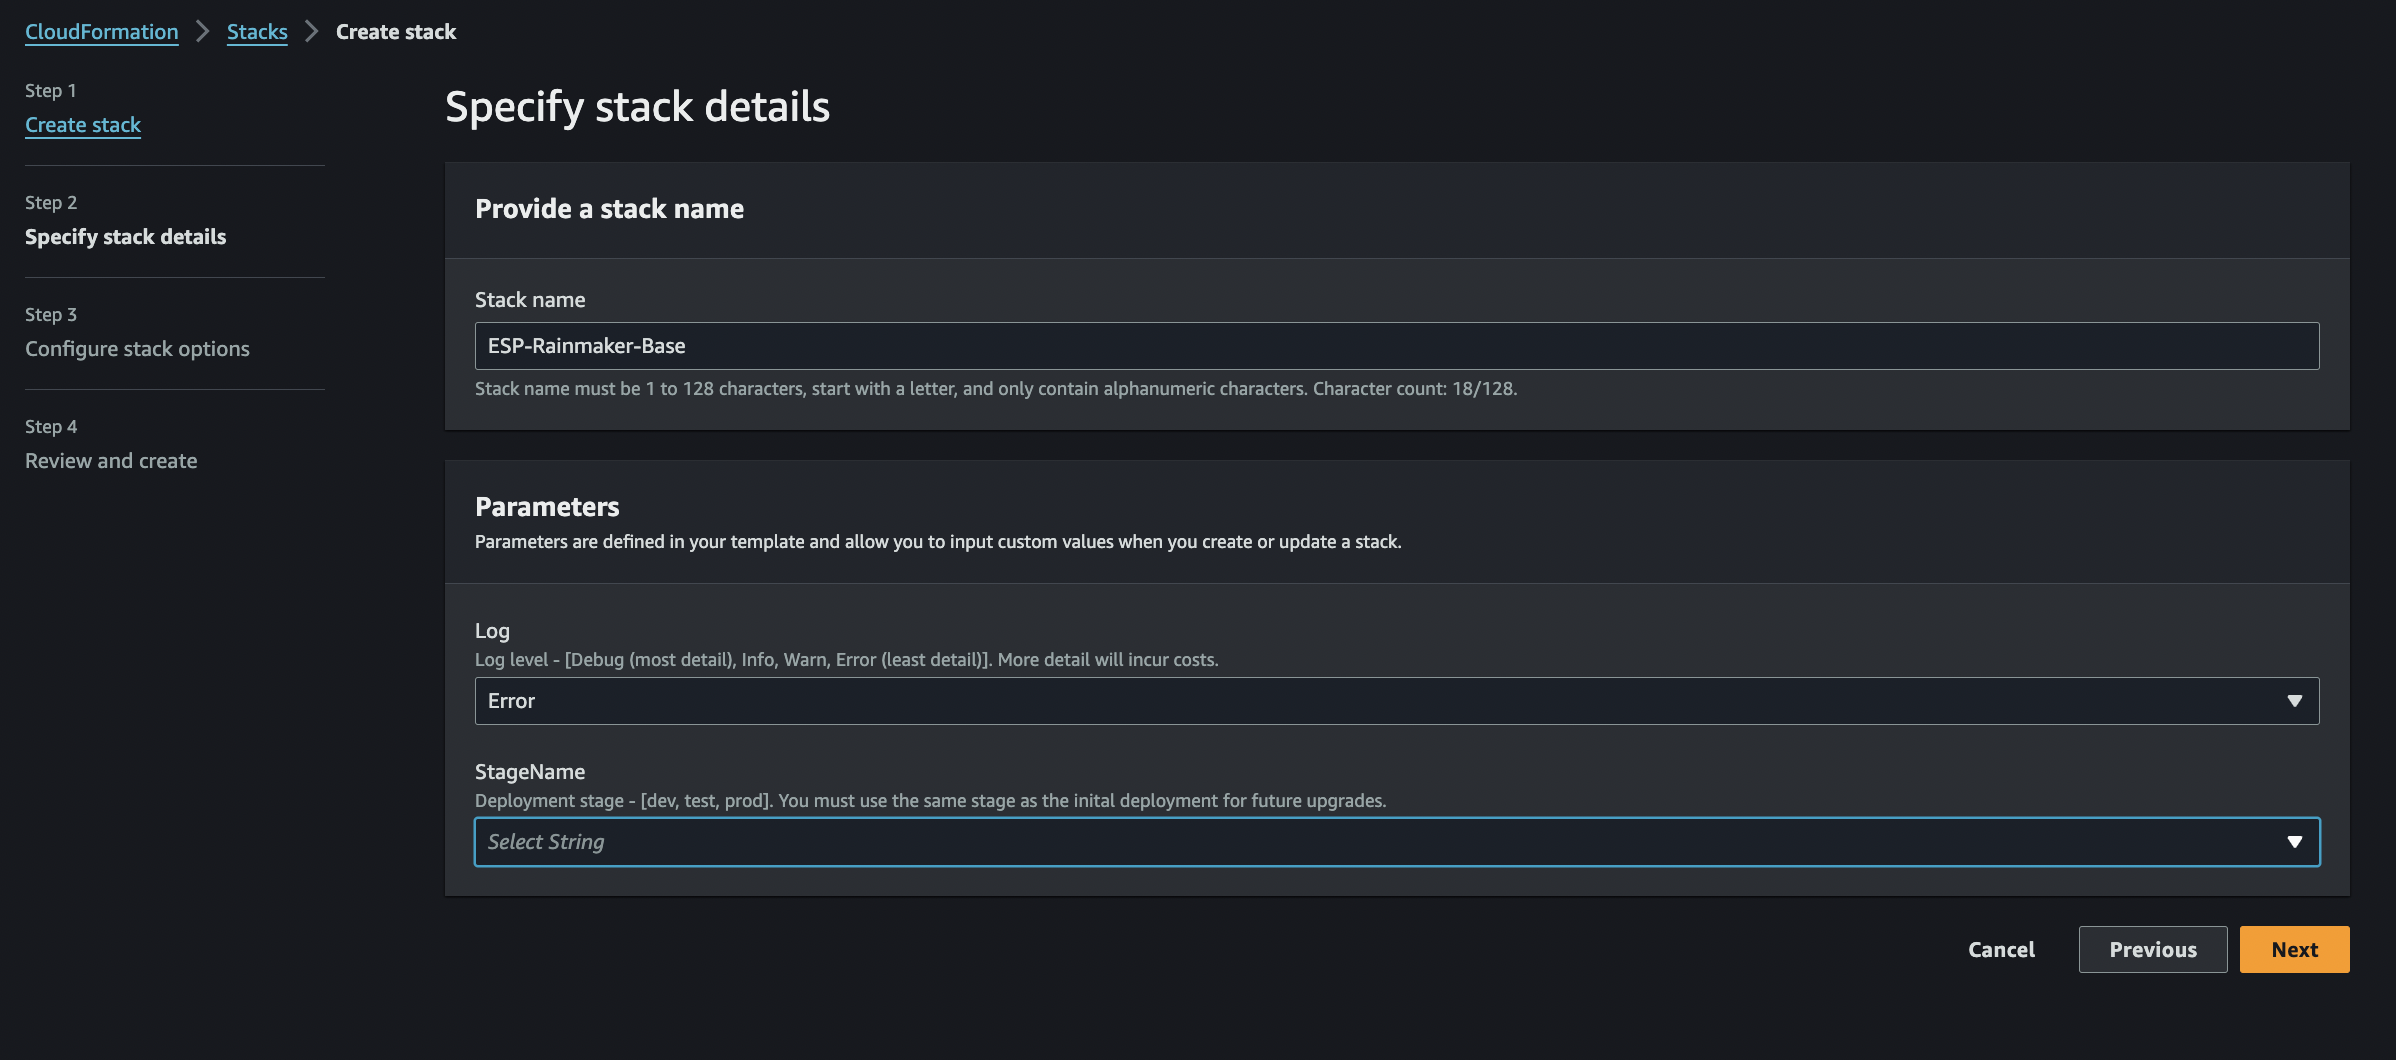
On step 4 (Configure Stack):
-
Enter stack name as ESP-Rainmaker-Base.
-
Set the following parameters:
- Log - Choose an appropriate Log level.
Debug (most detailed), Info, Warn, Error (least detailed)
tipThe more detailed the logs are, the more costly it is.
Most would go with Debug.- StageName - Deployment stage.
dev, test, prod
NoteYou must use the same stage as the initial deployment for future upgrades.
- Log - Choose an appropriate Log level.
On step 7 (Wait for Completion):

This will take around 15–20 minutes.
ESP-Rainmaker-Core
This contains the following modules:
- ESP-Rainmaker-Core
- rainmaker-node-registration
- ESP-RainMaker-Dashboard
We will base the deployment of the stacks on the corresponding steps from
Generic steps to create a CloudFormation Stack.
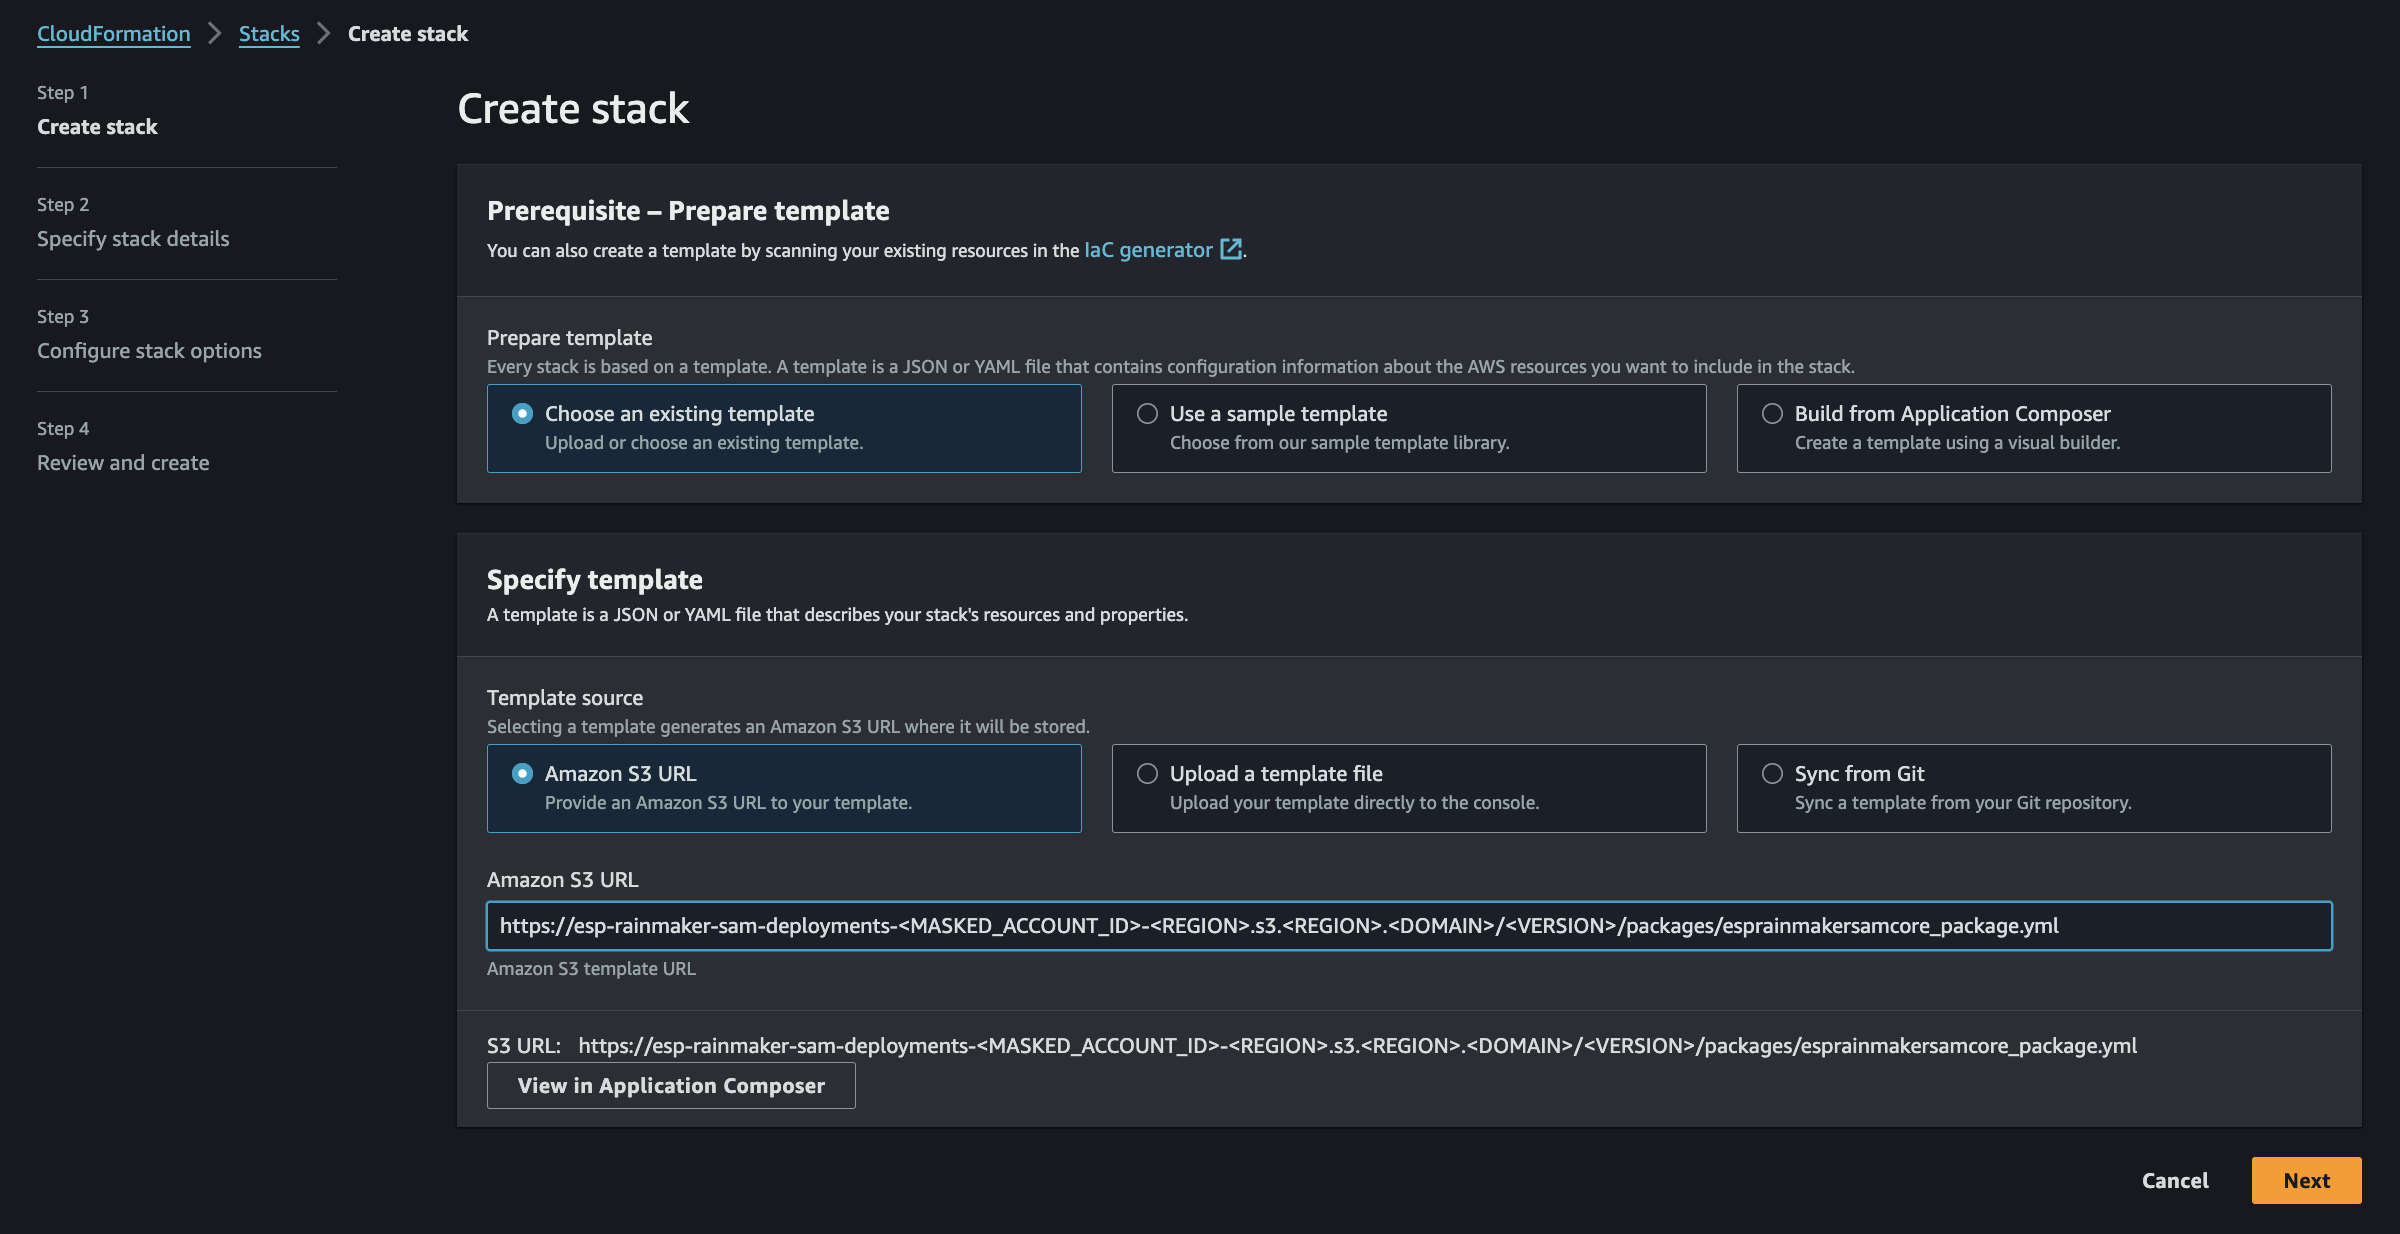
On step 3 (Select Template):
-
Use the configured S3 URL for the package (ESP-Rainmaker-Core), and paste it in Amazon S3 URL.
ReminderIf you have not configured the S3 URL, please view how here.
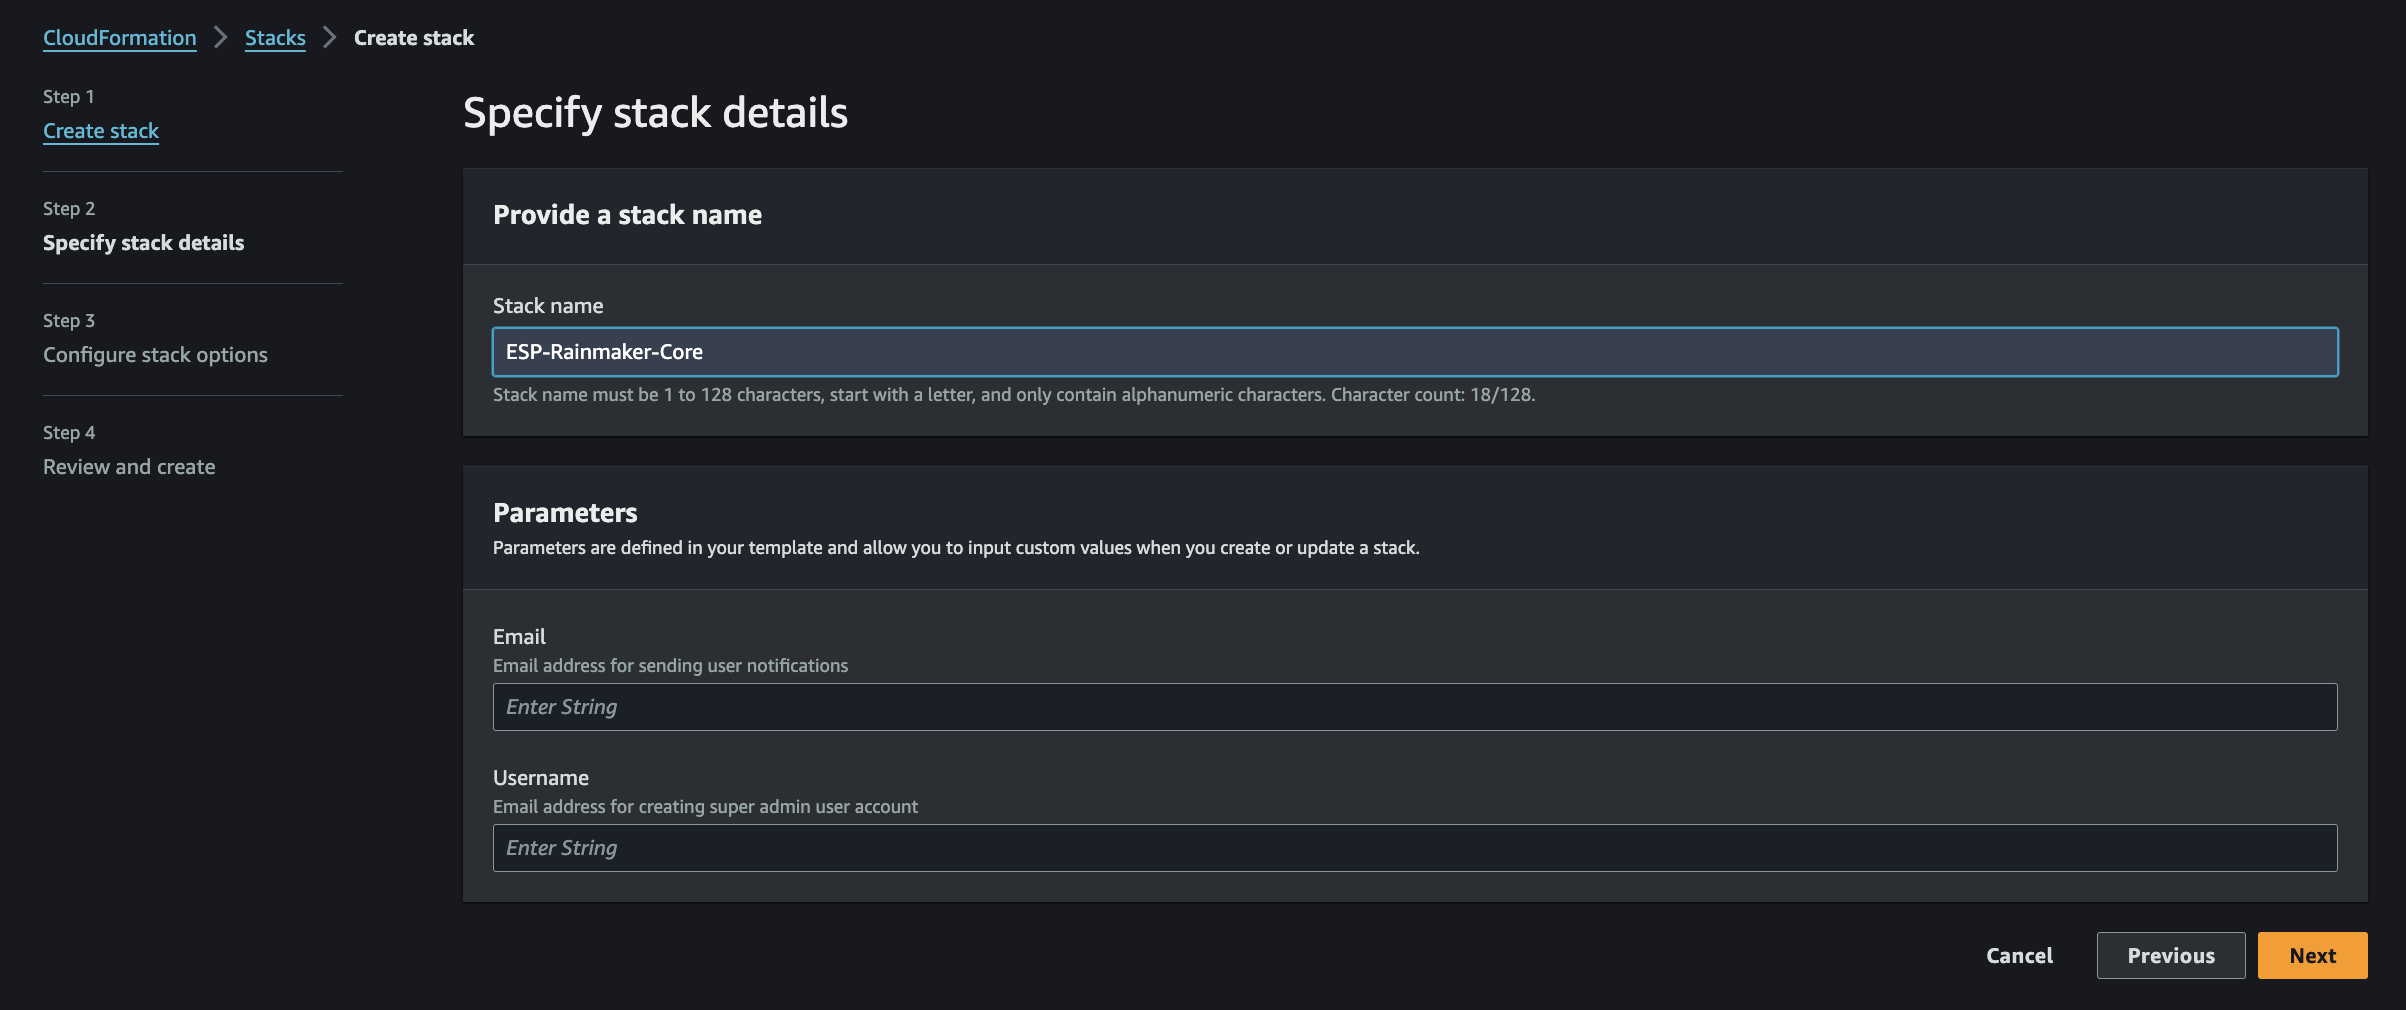
On step 4 (Configure Stack):
-
Enter stack name as "ESP-Rainmaker-Core".
-
Set the following parameters:
- Email - Email Address for sending user notifications. When a new user signs-up, they will receive the verification code from this email address.
ReminderPlease note that this email address should be verified by AWS Simple Email Service, as shown in the Section - Configure Simple Email Service
-
Username - Email address to create the Superadmin user. User with this email will automatically get created after deployment is successful. The login credentials and deployment details will be sent to this email after successful deployment.
CautionIt is not recommended to use personal mail ID for the Superadmin user. Use a generic mail ID instead. Access to this generic email should be limited to very few set of people as this user will be the most privileged user in RainMaker deployment. e.g.,
service@<company_domain_name>。Take note- This user, which will be created during the deployment will have Superadmin privileges.
- Only this user will have access to services like RainMaker Admin CLI.
:::
On step 7 (Wait for Completion):

This will take around 1 hour.
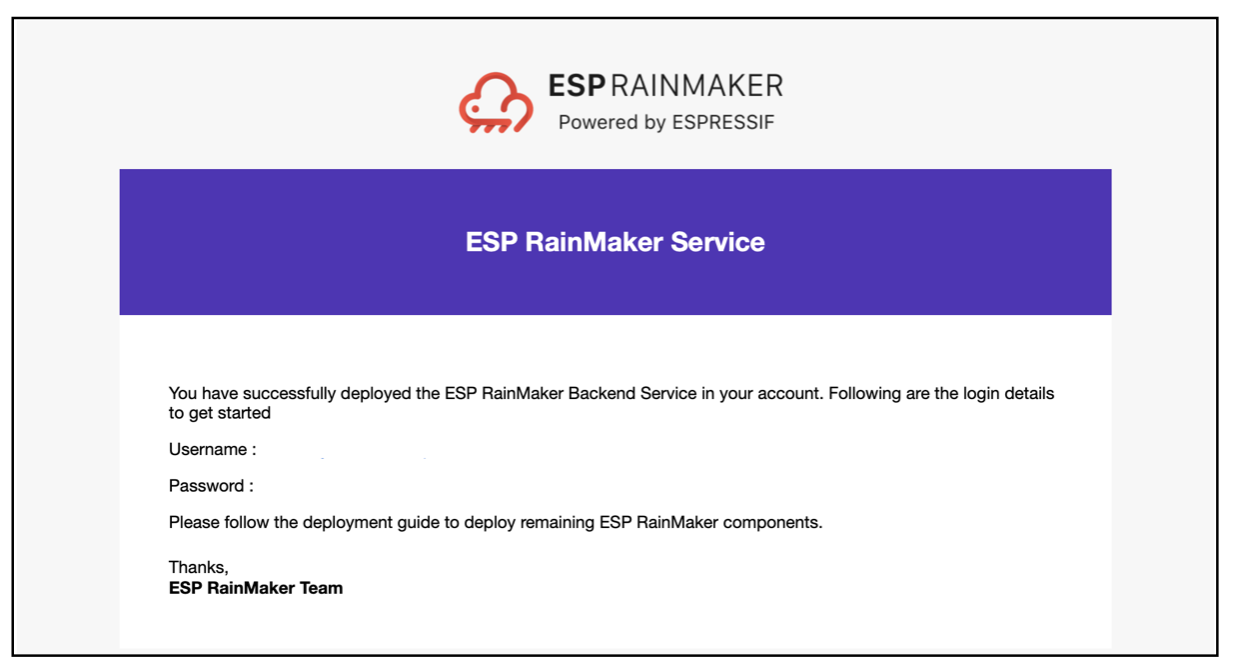
Completion Confirmation
When ESP RainMaker Backend Service is successfully deployed, an email containing the credentials for the RainMaker Superadmin user will be sent to the email address which was configured during deployment of the stack. These credentials will be used to login on the RainMaker dashboard.
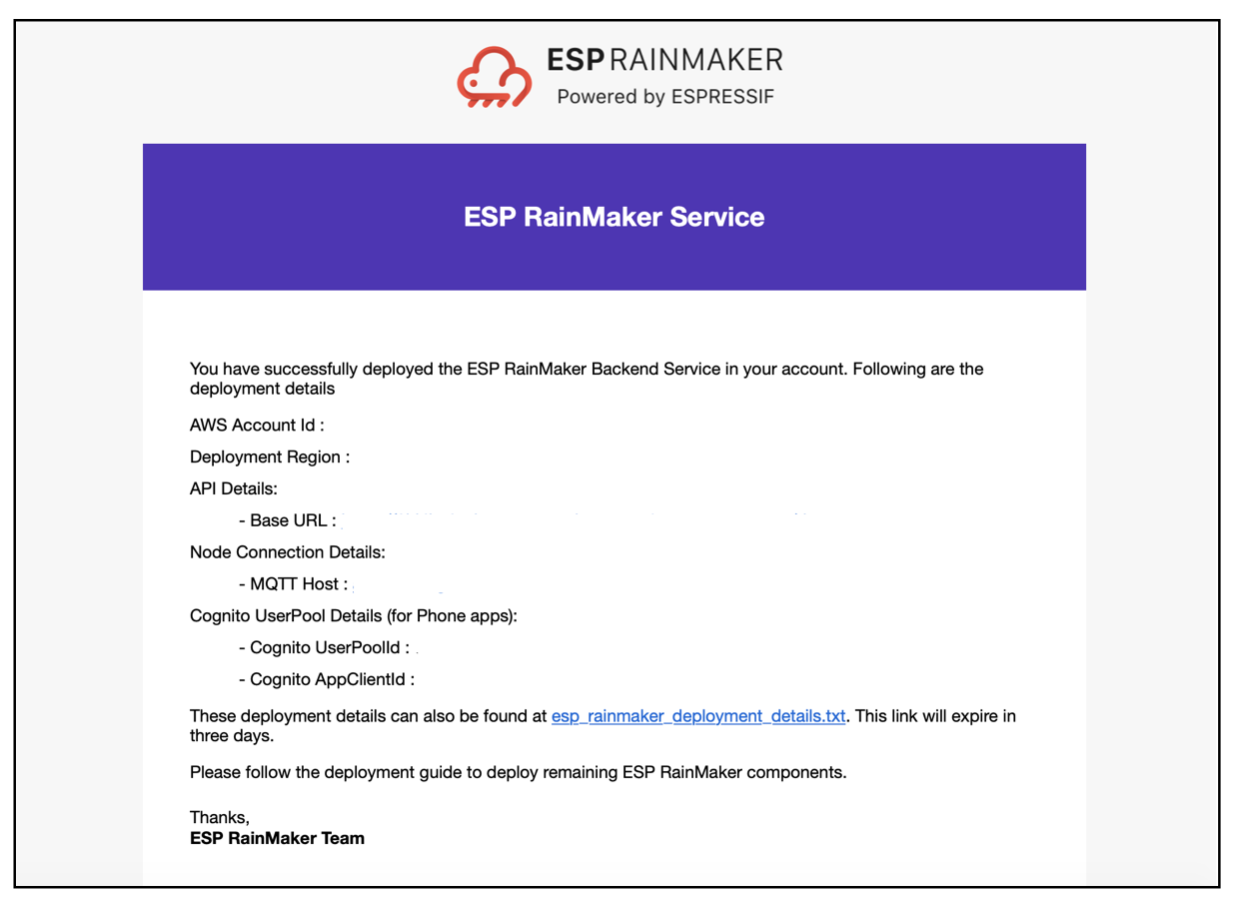
Another email which contains the deployment details of the RainMaker platform will be sent after sometime. This email contains the details about the Base API URL and other details.
Verification of Backend Deployment
When all the backend components are deployed successfully the status of all the stacks will be ** ✅CREATE_COMPLETE**.
- Go to
AWS Console->Services->CloudFormation. The list of stacks deployed will be shown. - You will see an entries for the below repositories:

Verification of Frontend Deployment (Dashboard)
We will verify the deployment of dashboard which is a module within the deployment of the ESP-RainMaker-Core stack.
- To test the deployment of RainMaker frontend, get the URL of the CloudFront distribution, and open it in the browser.
- Go to CloudFront Service.
Note down the URL for the domain name and open it in the Web browser.
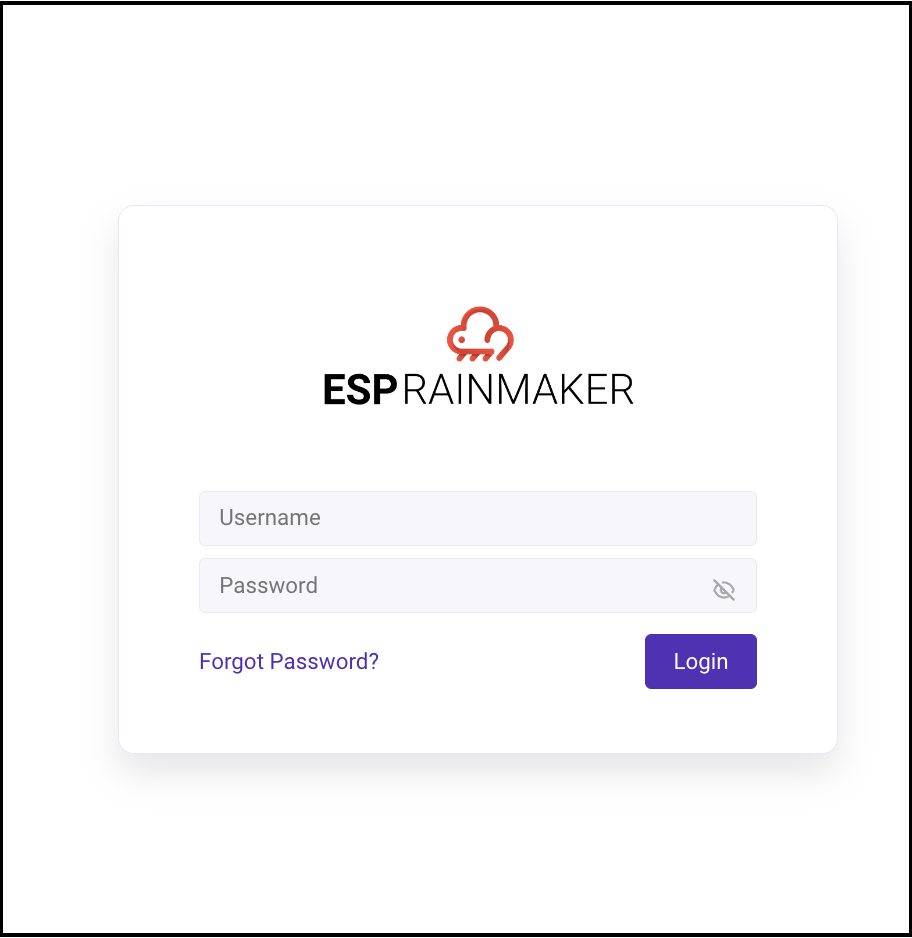
- The RainMaker dashboard landing page is as follows. If this page loads successfully, the RainMaker Frontend deployment is successful.
Based on the region, the CloudFront distribution propagation may take some time, around 15-20 mins.
So if you are not able to access the dashboard, you can re-try after 15-20 mins.
With that, you have successfully deployed RainMaker Backend Services! 🎉