基本配置
ESP RainMaker Home 是一款混合型应用,可连接至你在 AWS 账户中私有部署的 ESP RainMaker 云服务。开箱即用的应用需要进行配置,才能与私有部署的 ESP RainMaker 实例配合使用。
前提条件:你已克隆 ESP RainMaker Home 应用的开源 GitHub 仓库。请进入该仓库,前往根目录,编辑 rainmaker.config.ts 文件。
云端配置
在下表的配置中修改 baseUrl 参数,使其指向云服务后端的服务地址。
| 键 | 类型 | 描述 |
|---|---|---|
| baseUrl | 字符串 | 与每个 API 端点相对应。获取端点请参考获取 RainMaker API URL。 |
第三方登录
此外,还需要根据部署修改 authUrl、clientId 和 redirectUrl 等参数。
| 键 | 类型 | 描述 |
|---|---|---|
| clientId | 字符串 | 用于识别用户池中的应用。详细内容请参阅获取 Client ID 的步骤。 |
| authUrl | 字符串 | 用于第三方登录的 OAuth 认证 URL。详细内容请参阅获取认证 URL 的步骤。 |
| redirectUri | 字符串 | 第三方登录完成后,用于将用户重定向回应用的自定义 URI scheme。你还需要将该值复制到 rainmaker.config.ts 文件中,详见设置重定向 URI。 |
在根目录编辑 rainmaker.config.ts 文件:
export const SDKConfig = {
  baseUrl: "<private_rainmaker_deployment_endpoint>",
  version: "v1",
  authUrl: "https://3pauth.rainmaker.espressif.com",
  clientId: "1h7ujqjs8140n17v0ahb4n51m2",
  redirectUrl: "rainmaker://com.espressif.novahome/success",
  customStorageAdapter: asyncStorageAdapter,
  localDiscoveryAdapter: EspLocalDiscoveryAdapter,
  localControlAdapter: ESPLocalControlAdapter,
  provisionAdapter: provisionAdapter,
  notificationAdapter: ESPNotificationAdapter,
  oauthAdapter: espOauthAdapter,
  appUtilityAdapter: ESPAppUtilityAdapter,
};

export const CDFConfig = {
  autoSync: true, // 启用数据自动同步
};
外部链接
这些是在应用内浏览器中打开与项目相关文档的链接。
| 键 | 类型 | 描述 |
|---|---|---|
| WEBSITE_LINK | 字符串 | 公司、产品或服务的网站链接。 |
| PRIVACY_POLICY_LINK | 字符串 | 隐私政策链接。 |
| TERMS_OF_USE_LINK | 字符串 | 使用条款链接。 |
请在 constants.ts 文件中为每种文档类型提供有效的 URL:
export const WEBSITE_LINK = "https://rainmaker.espressif.com";
export const TERMS_OF_USE_LINK =
  "https://rainmaker.espressif.com/docs/terms-of-use.html";
export const PRIVACY_POLICY_LINK =
  "https://rainmaker.espressif.com/docs/privacy-policy.html";
iOS 专属配置
苹果开发者设置
在苹果开发者控制台创建应用 ID
-
打开苹果开发者网站。
-
点击左侧菜单中的
Identifiers,点击+图标,添加新的标识符。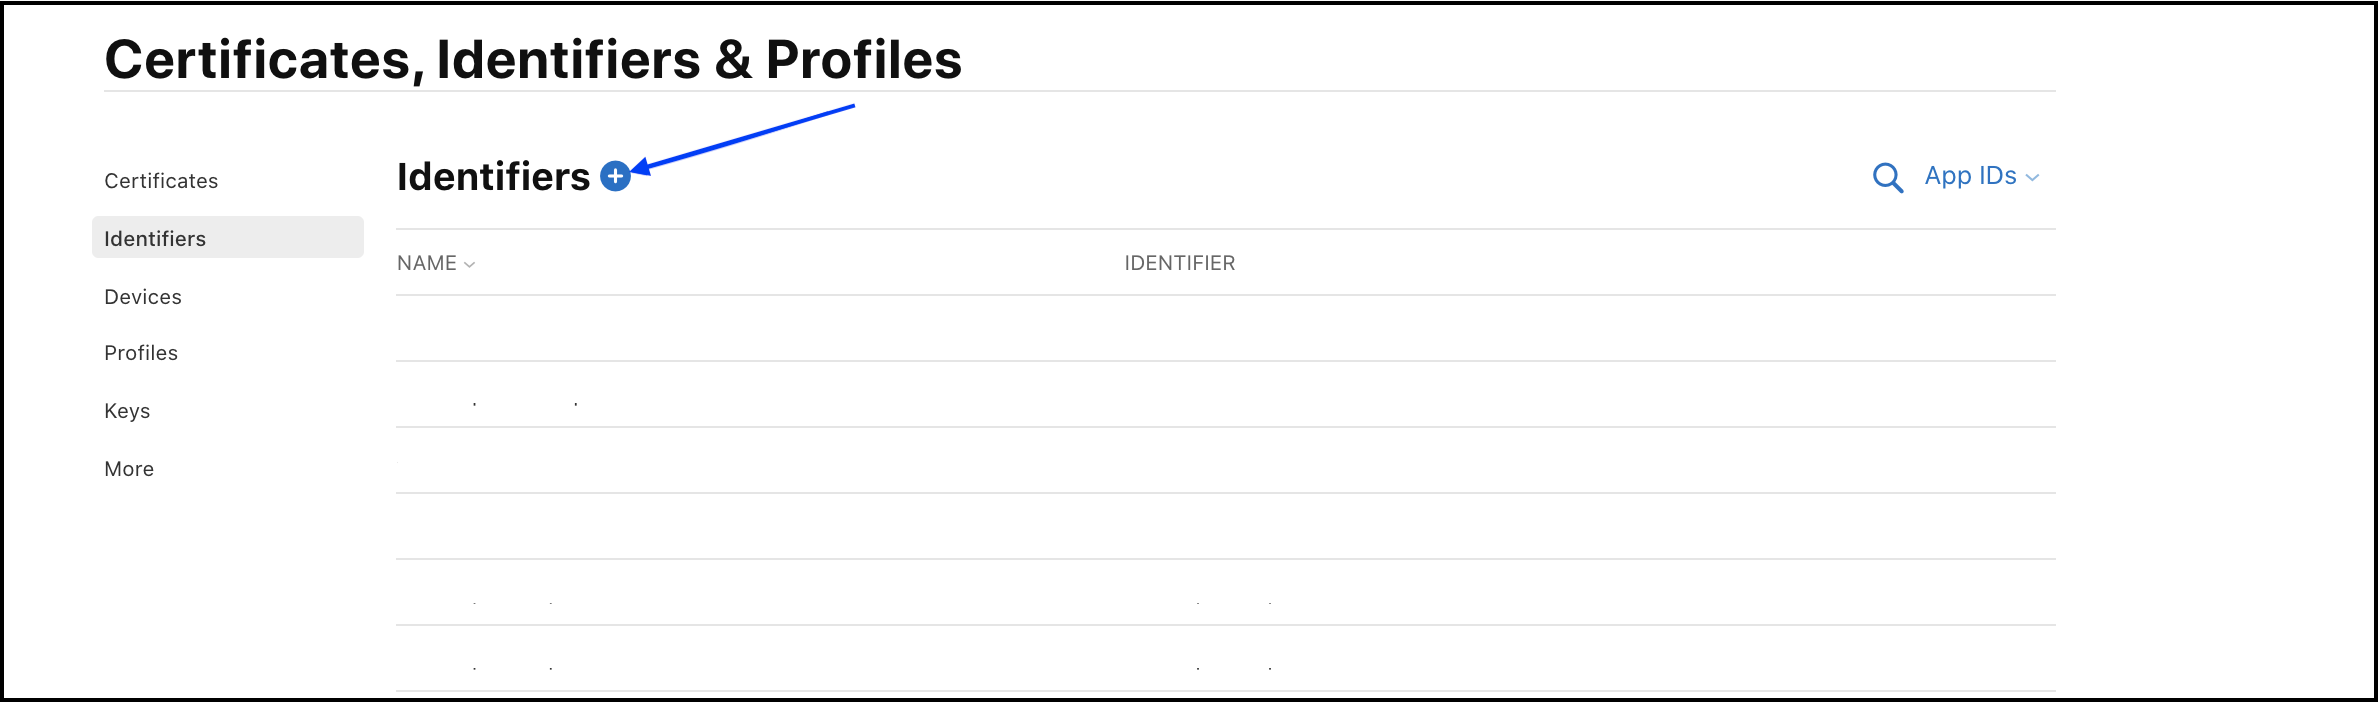
-
从列表中选择
App IDs,然后点击Continue。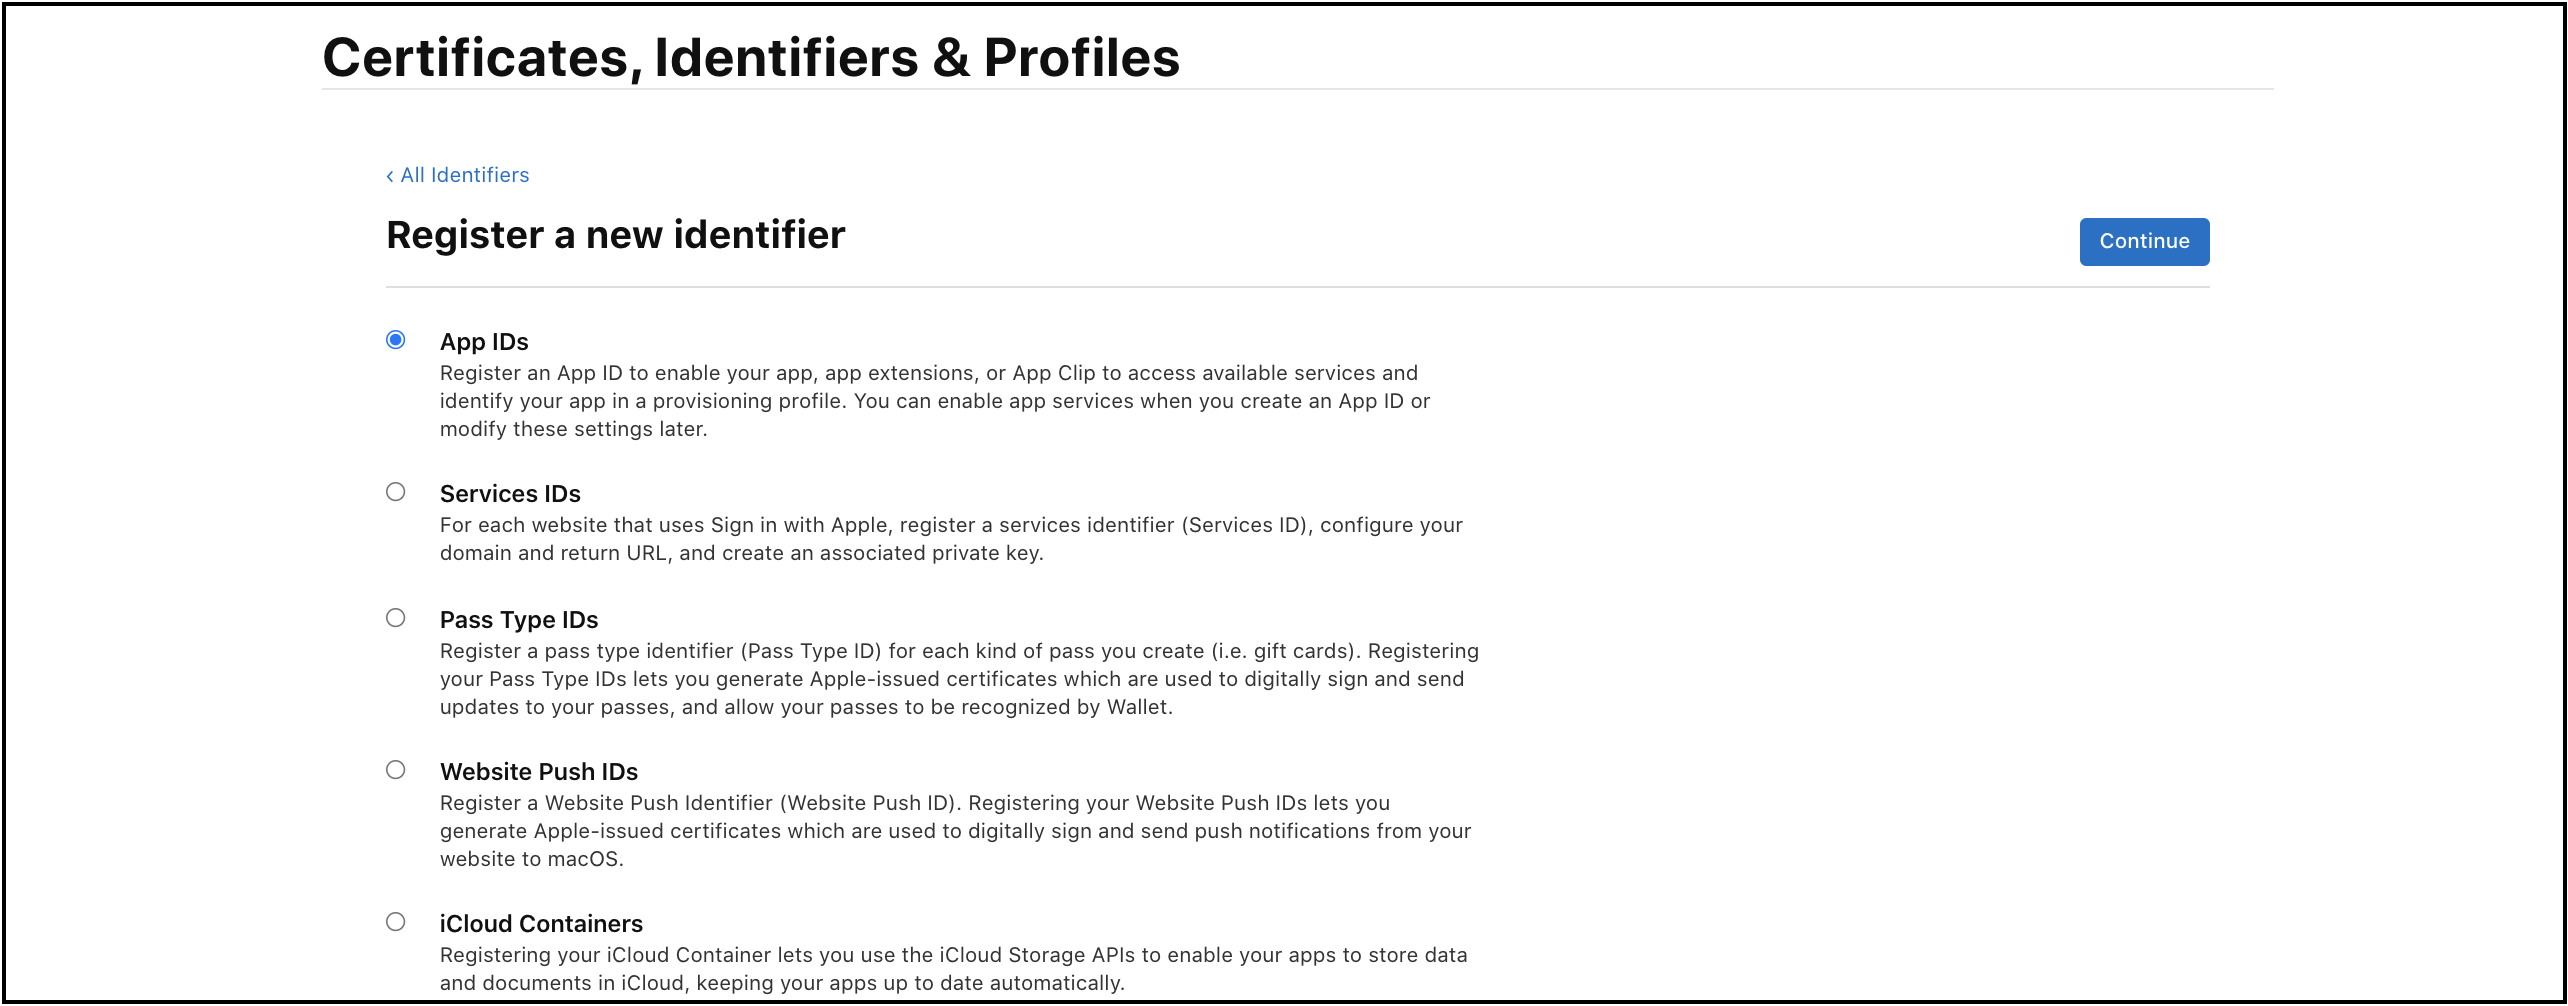
-
从类型中选择
App。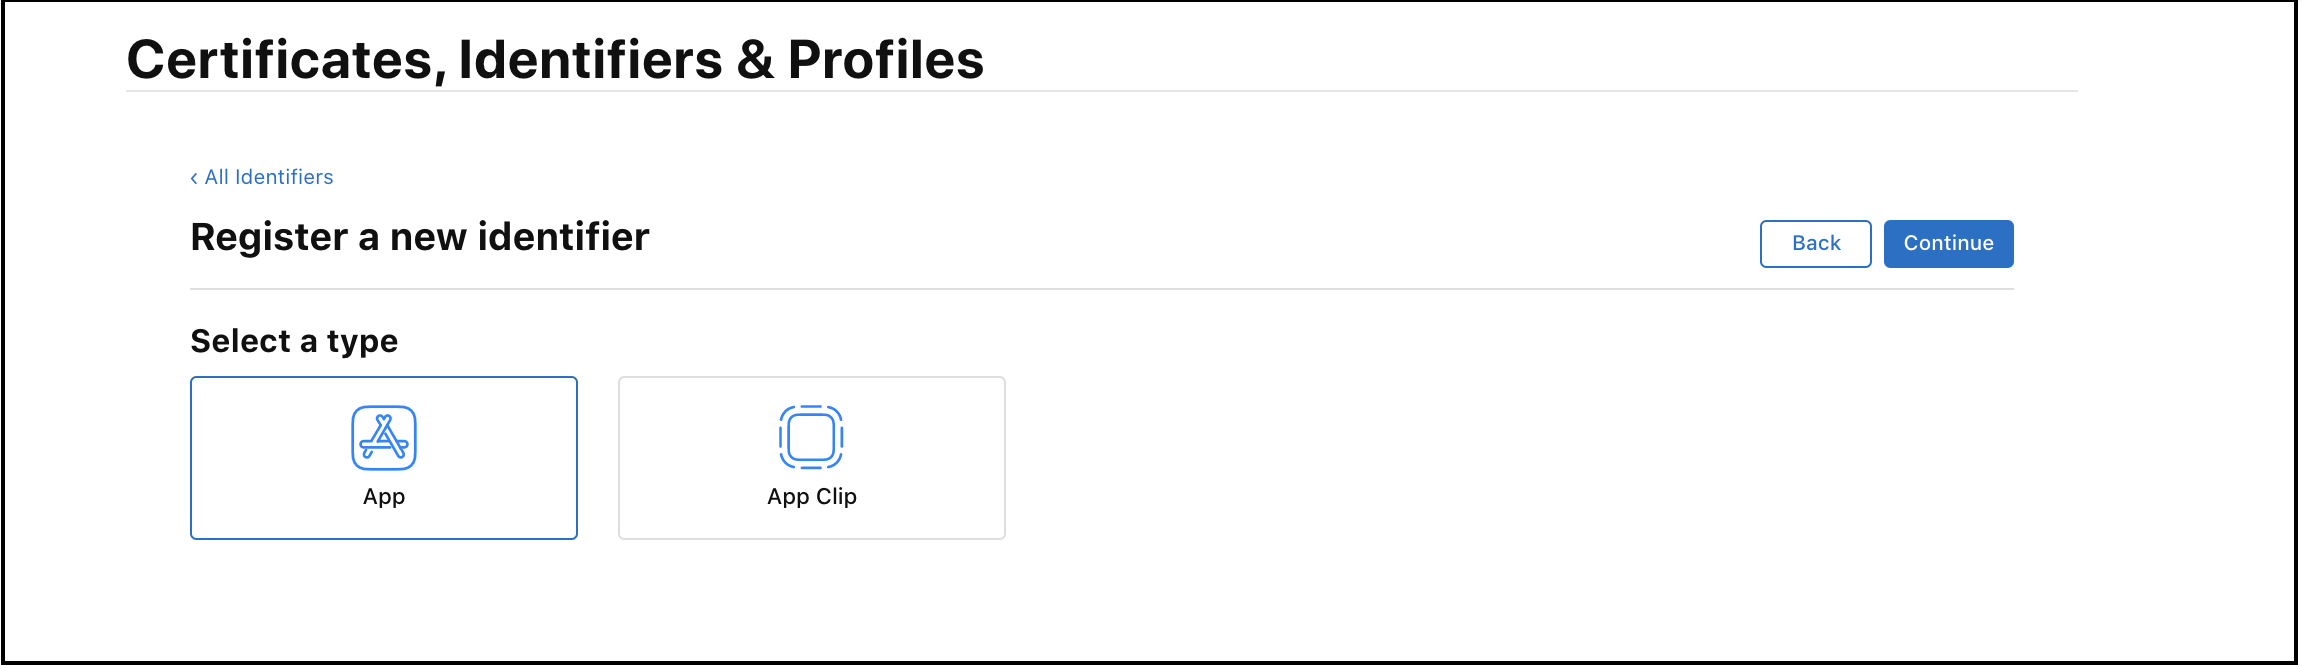
-
为你的应用添加
Bundle ID和Description字段,请保证Bundle ID与你在 RainMaker iOS 应用中所使用的 ID 保持一致。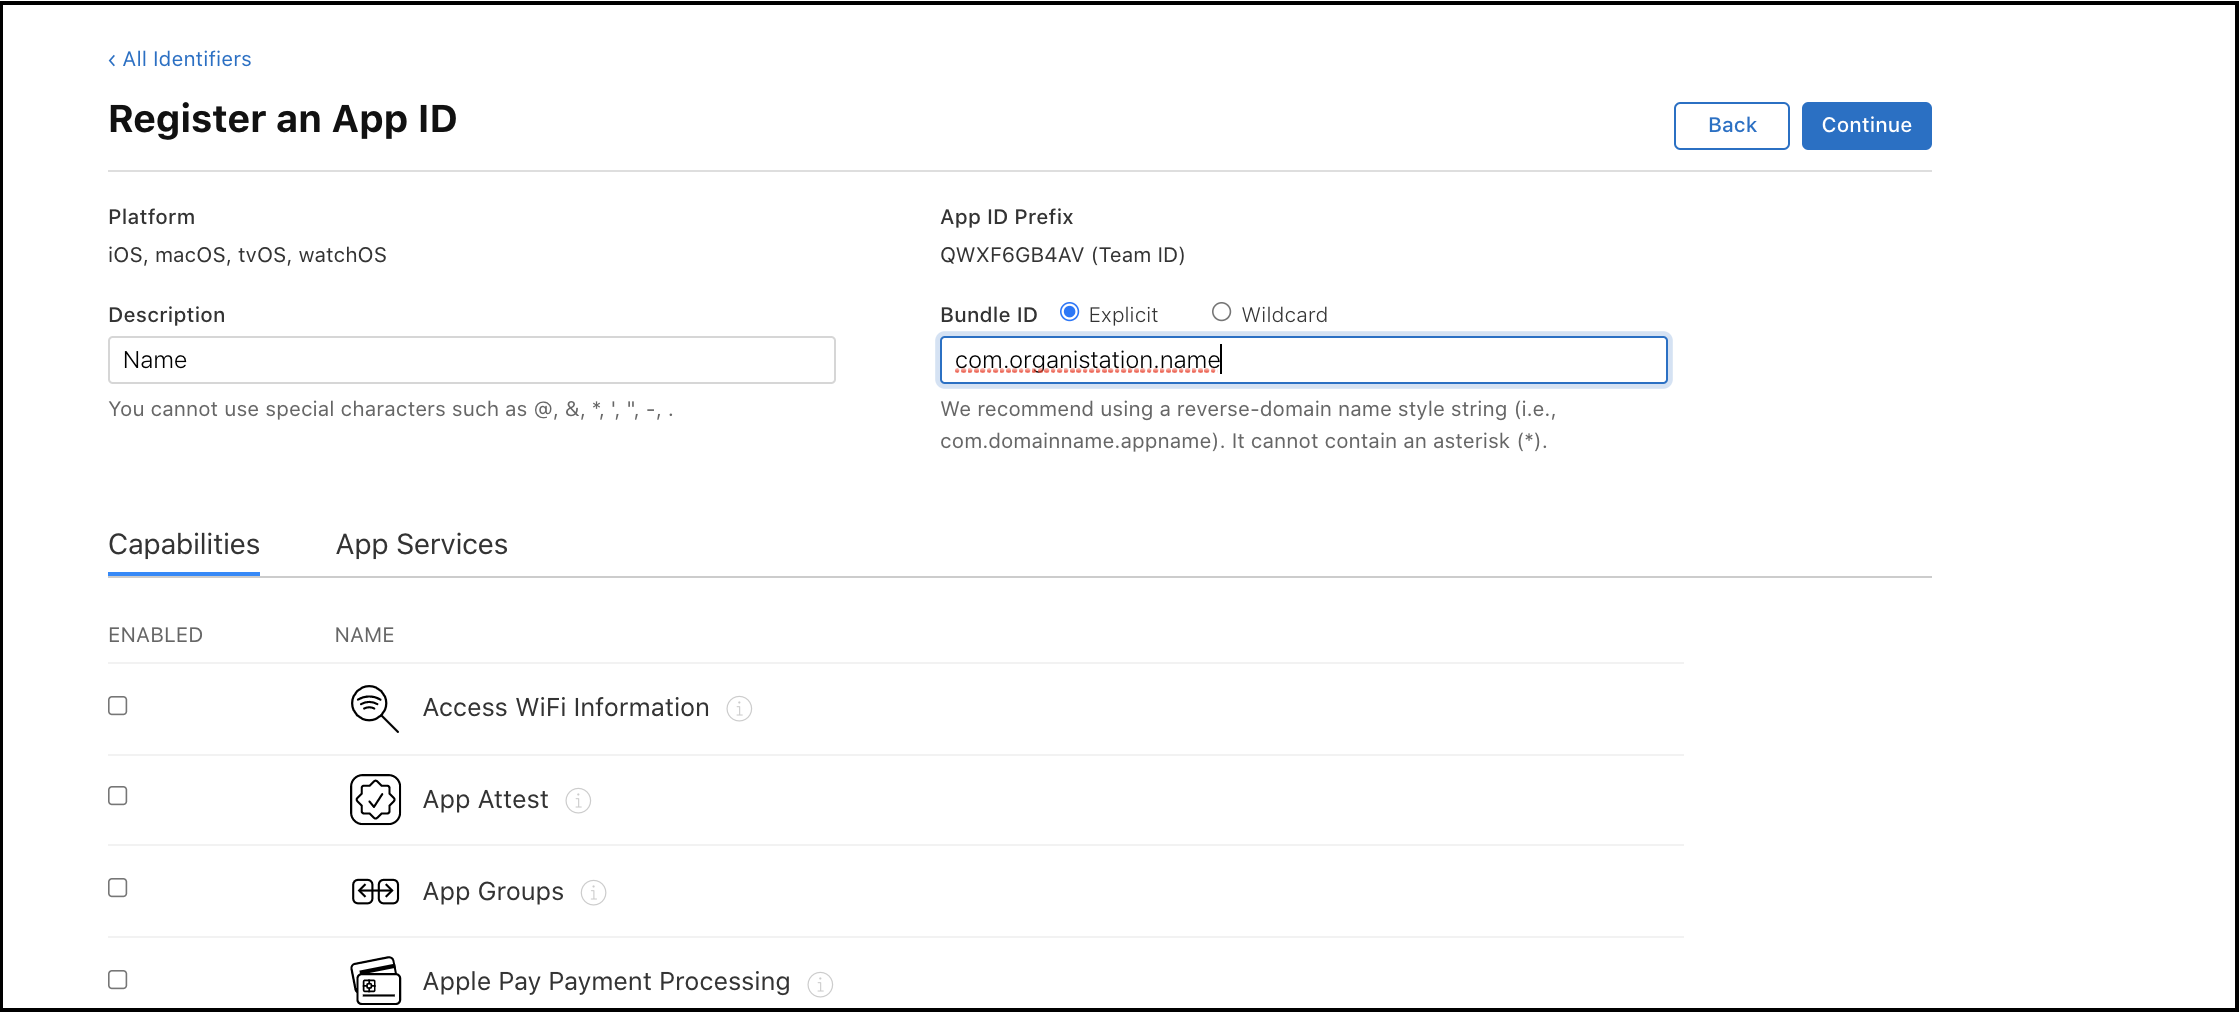
-
向下滚动页面,选择
Push Notifications和Sign In with Apple功能,并点击Continue。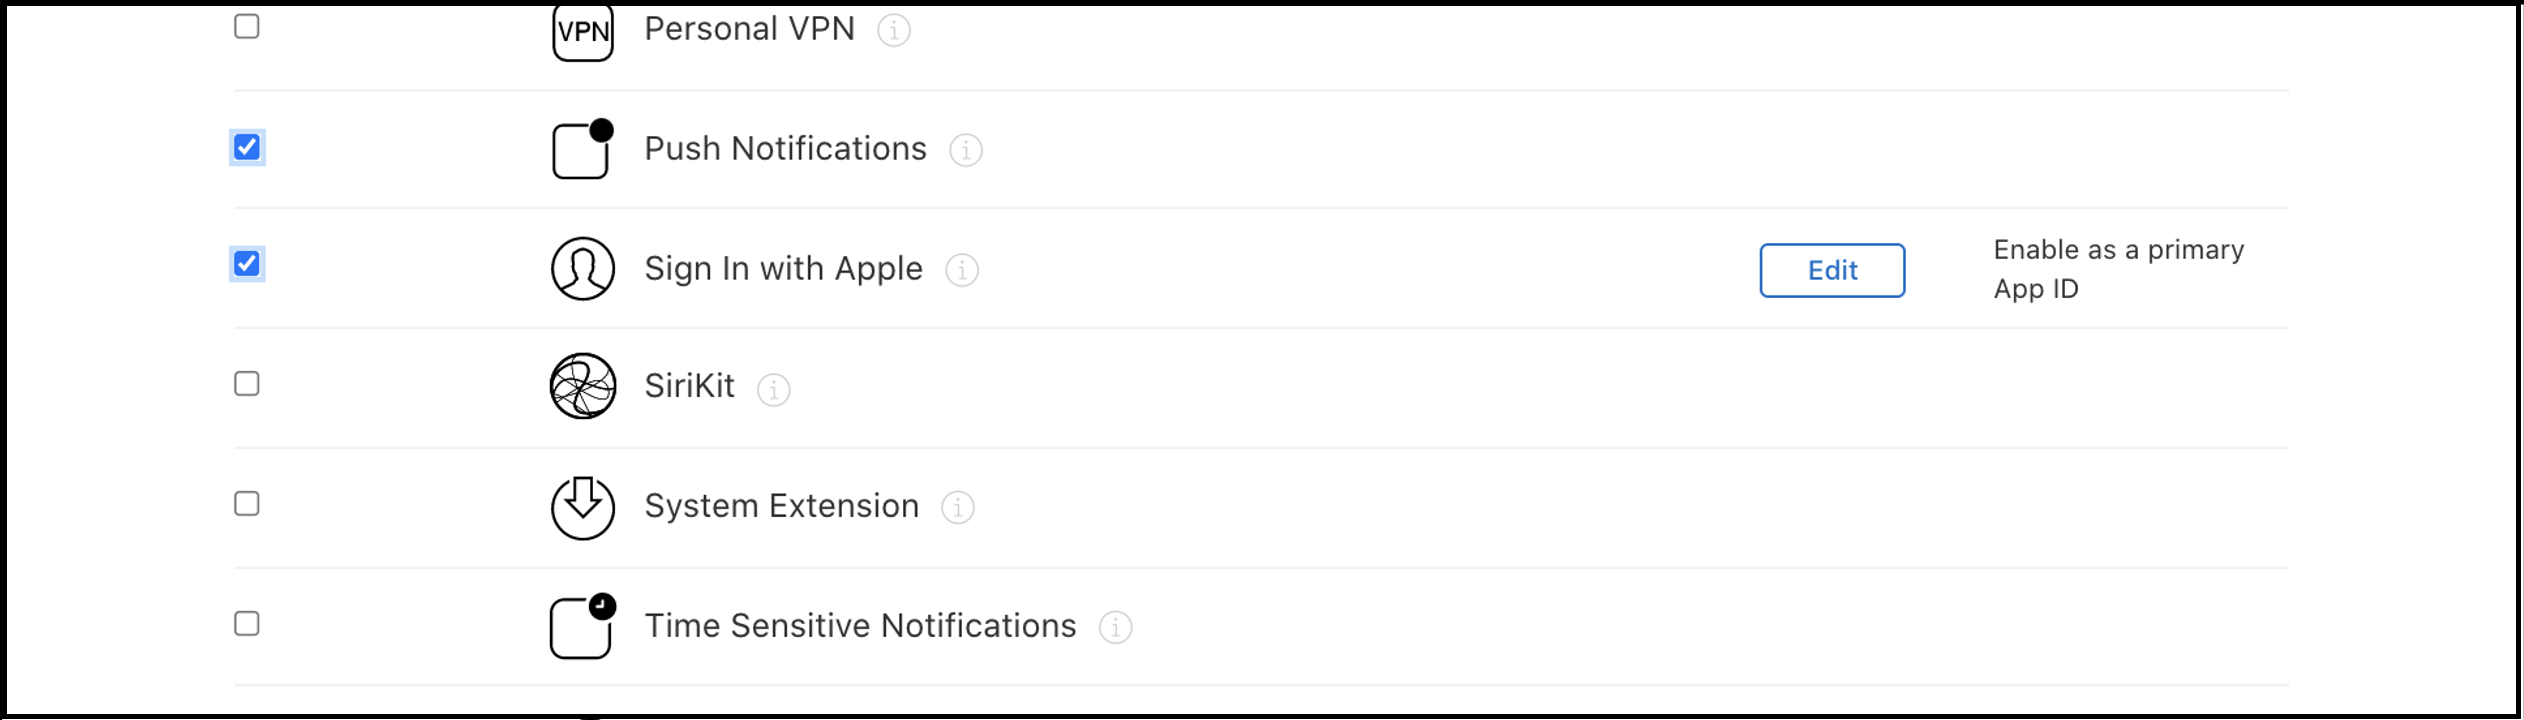
-
检查更改并确认配置。
-
请记录下你的 Team ID(
App ID Prefix值)和Bundle ID值,然后点击Register保存更改。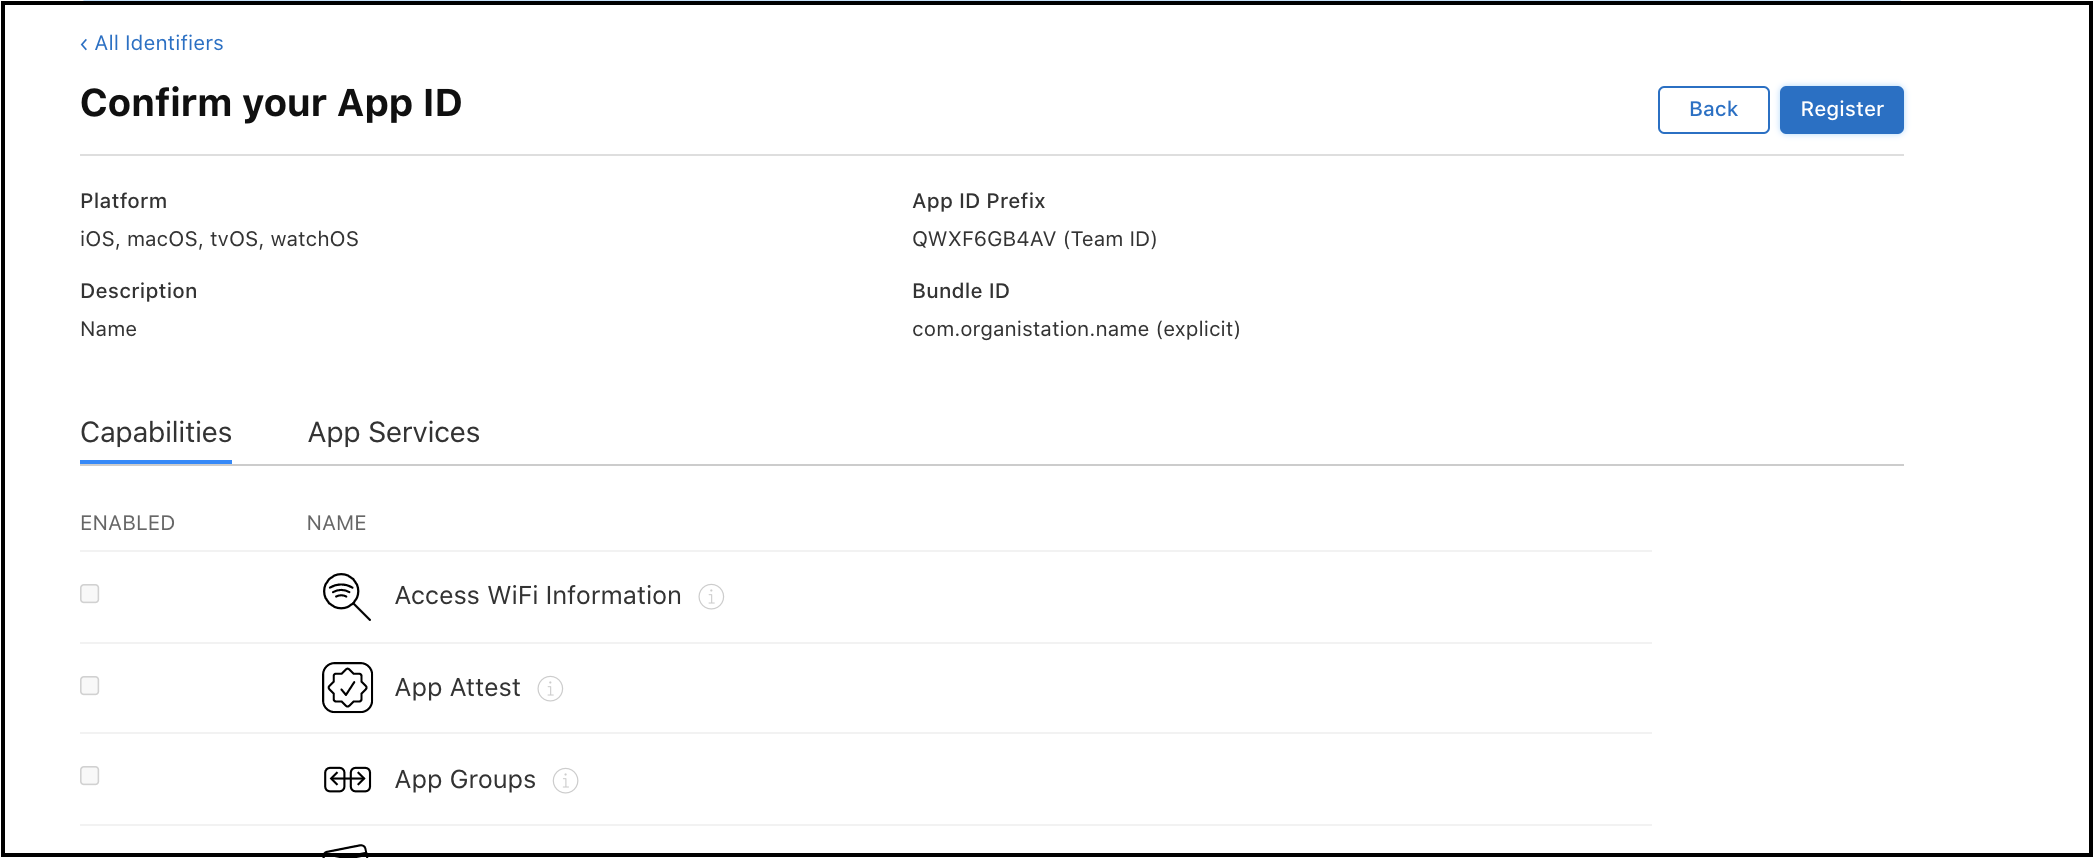
对于 iOS 应用,创建应用群组可以生成一个用于共享存储的容器。此步骤是使用通知服务所必需的。
应用群组
应用群组支持同一开发团队下的多个应用使用共享容器 (存储空间)。此时,该容器由应用程序和扩展通知服务共享。共享容器用于存储节点的详细信息,这些信息用于通知服务中的自定义通知功能。更多信息请参阅什么是 iOS 的应用群组。
配置应用群组
-
进入苹果开发者控制台,点击
identifiers:https://developer.apple.com/account/resources/identifiers/list。 -
点击
+图标,添加新的标识符。 -
从列表中选择
App Groups并点击Continue。
-
为你的应用群组填写
Description和Identifier字段,点击Continue。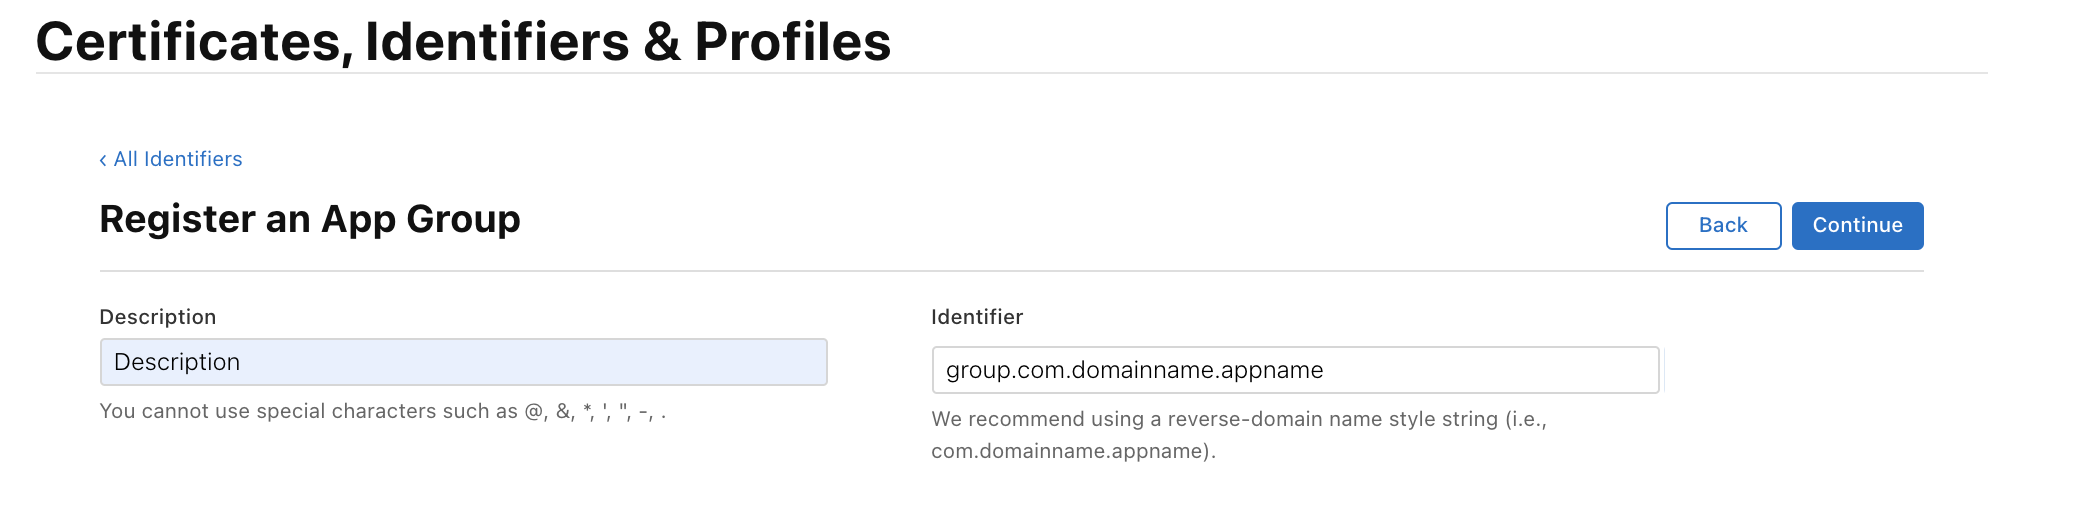
-
检查改动并点击
Register保存更改。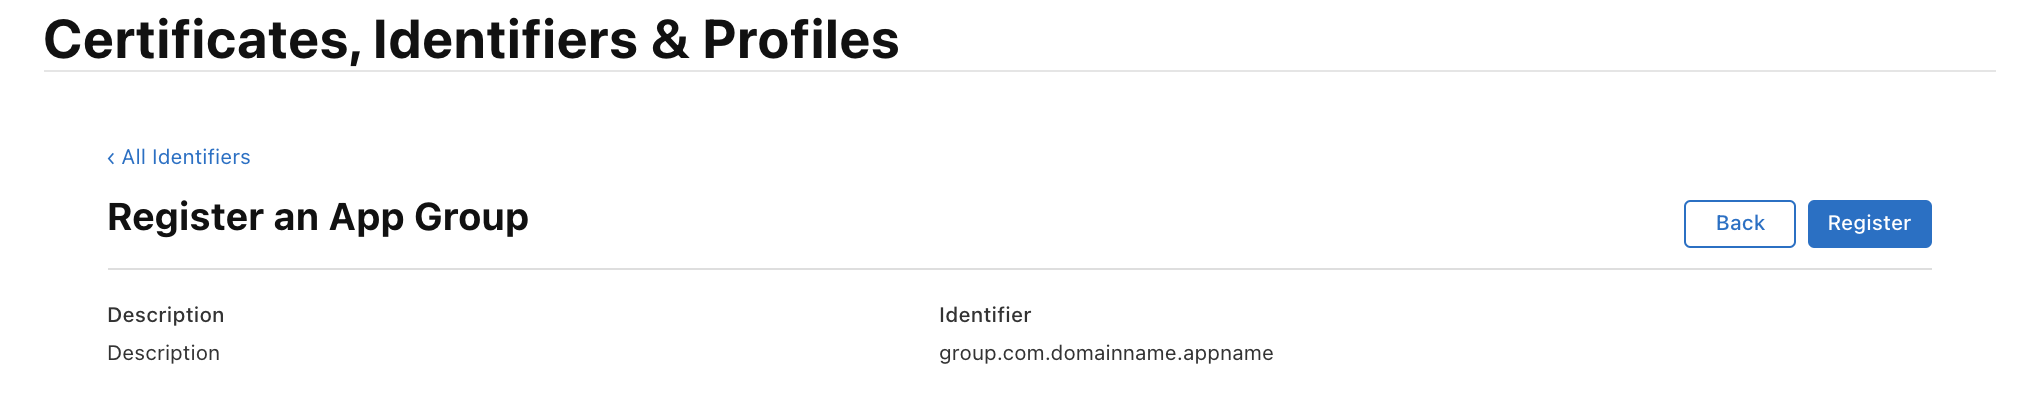
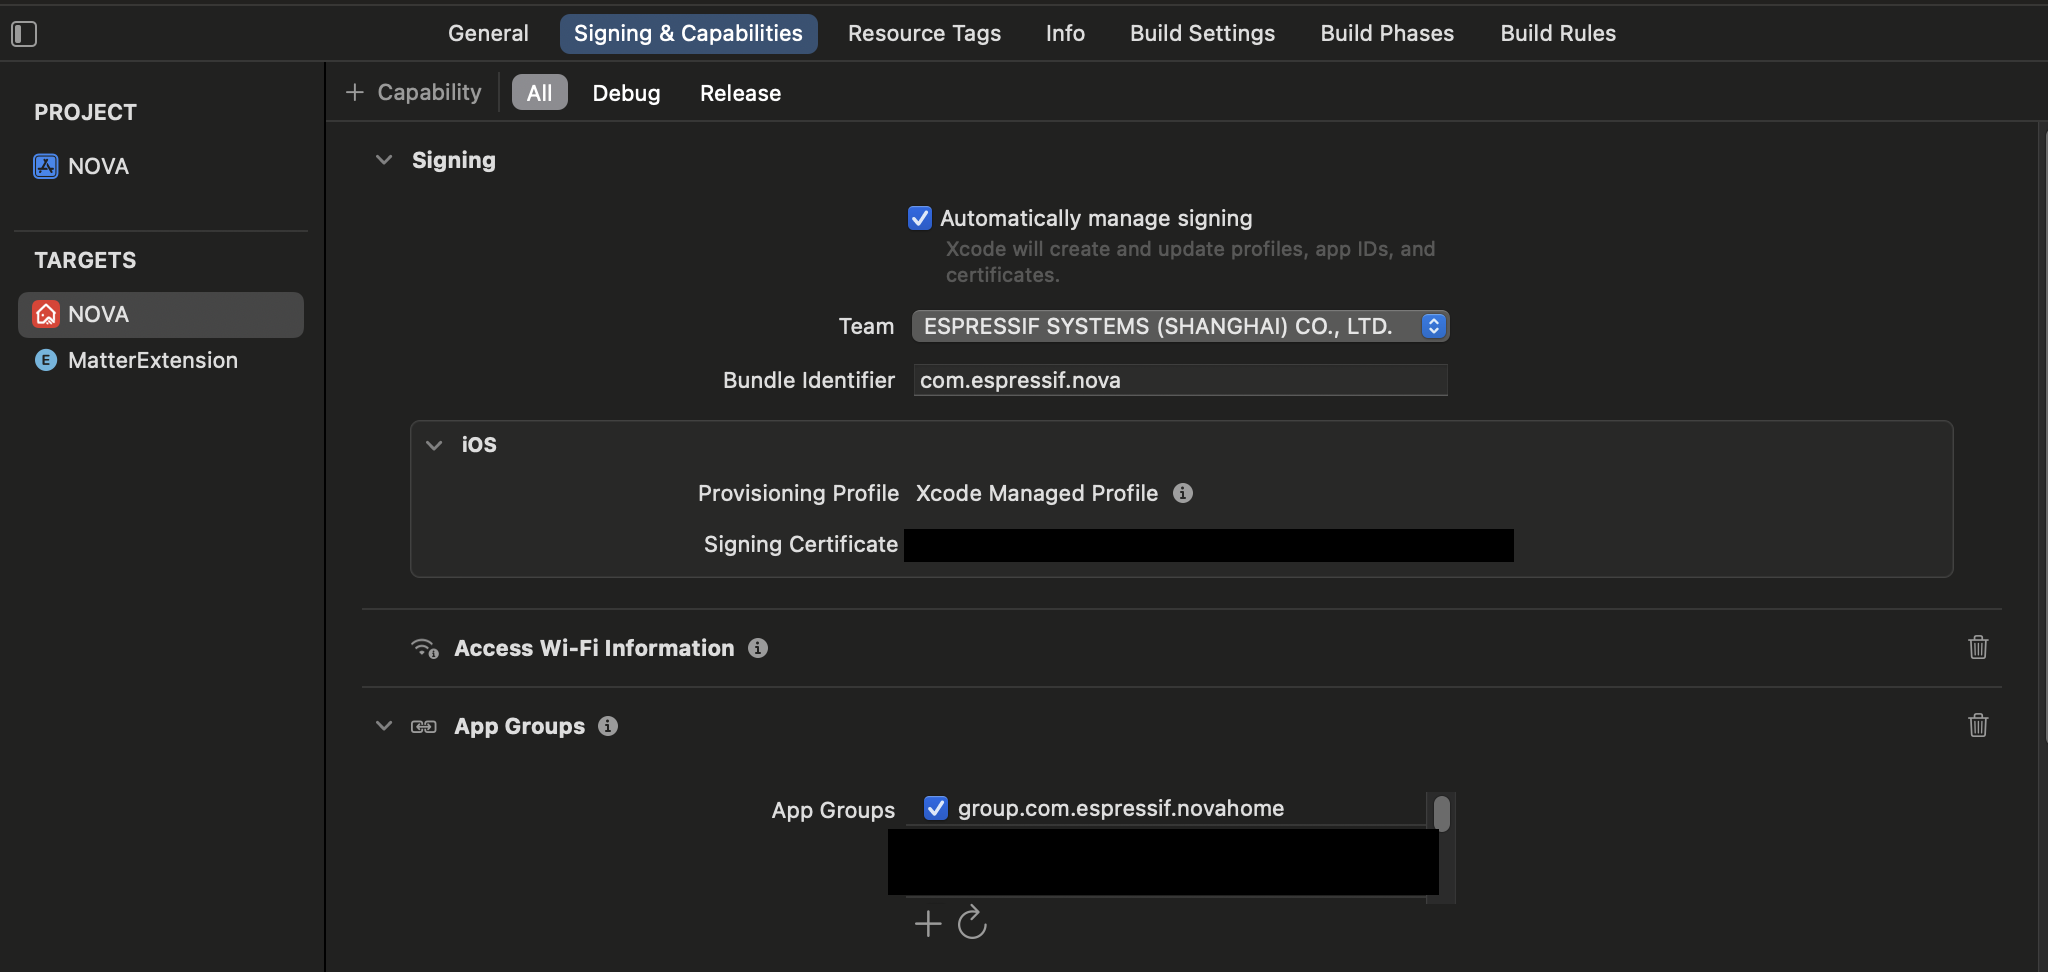
在 Xcode 中配置应用群组
- 打开 Xcode 项目,在你的主应用目标中,打开
Signing & Capabilities。 - 在
App Groups中勾选你之前配置的应用群组。