Basic Configurations
ESP RainMaker Home is a hybrid application that connects with the ESP RainMaker cloud which might be privately deployed in your AWS account. The out-of-the-box app needs to be configured to use with your privately deployed instance of ESP RainMaker.
Assumption is that you have already cloned the open source GitHub repo of ESP RainMaker Home App. Go to your cloned repo and its home directory. Edit the rainmaker.config.ts file.
Cloud Configuration
Change the baseUrl config parameter in the config section below, pointing to your cloud backend endpoint.
| Key | Type | Description |
|---|---|---|
| baseUrl | String | Consistent part of each API endpoint. Follow Get Base Url steps to fetch the endpoint. |
Third-Party Login
Further you will have to change the authUrl and other parameters like clientId and redirectUrl as per your deployment.
| Key | Type | Description |
|---|---|---|
| clientId | String | Uniquely identifies an app in a user pool. Check steps to get the Client ID. |
| authUrl | String | OAuth URL for third party login. Check steps to get the Authentication URL. |
| redirectUri | String | Custom URI schemes needed for redirecting user back to your app after third party login is completed. You also need to copy this value into rainmaker.config.ts file, refer here. |
Edit rainmaker.config.ts file in the root folder:
export const SDKConfig = {
  baseUrl: "<private_rainmaker_deployment_endpoint>",
  version: "v1",
  authUrl: "https://3pauth.rainmaker.espressif.com",
  clientId: "1h7ujqjs8140n17v0ahb4n51m2",
  redirectUrl: "rainmaker://com.espressif.novahome/success",
  customStorageAdapter: asyncStorageAdapter,
  localDiscoveryAdapter: EspLocalDiscoveryAdapter,
  localControlAdapter: ESPLocalControlAdapter,
  provisionAdapter: provisionAdapter,
  notificationAdapter: ESPNotificationAdapter,
  oauthAdapter: espOauthAdapter,
  appUtilityAdapter: ESPAppUtilityAdapter,
};

export const CDFConfig = {
  autoSync: true, // Enable automatic data synchronization
};
External Links
These consist of links that open your project related documentation within the app browser.
| Key | Type | Description |
|---|---|---|
| WEBSITE_LINK | String | Your company, product or service website link. |
| PRIVACY_POLICY_LINK | String | Privacy Policy link. |
| TERMS_OF_USE_LINK | String | Terms of Use link. |
Please provide valid URLs for each document type in the constants.ts file:
export const WEBSITE_LINK = "https://rainmaker.espressif.com";
export const TERMS_OF_USE_LINK =
  "https://rainmaker.espressif.com/docs/terms-of-use.html";
export const PRIVACY_POLICY_LINK =
  "https://rainmaker.espressif.com/docs/privacy-policy.html";
iOS Specific Configurations
Apple Developer Settings
Creating App ID in Apple Developer Console
-
Go to the Apple Developer portal: https://developer.apple.com/account/resources.
-
Click
Identifiersfrom the left menu. Click the+button to register a new identifier.
-
Select
App IDsfrom the list and clickContinue.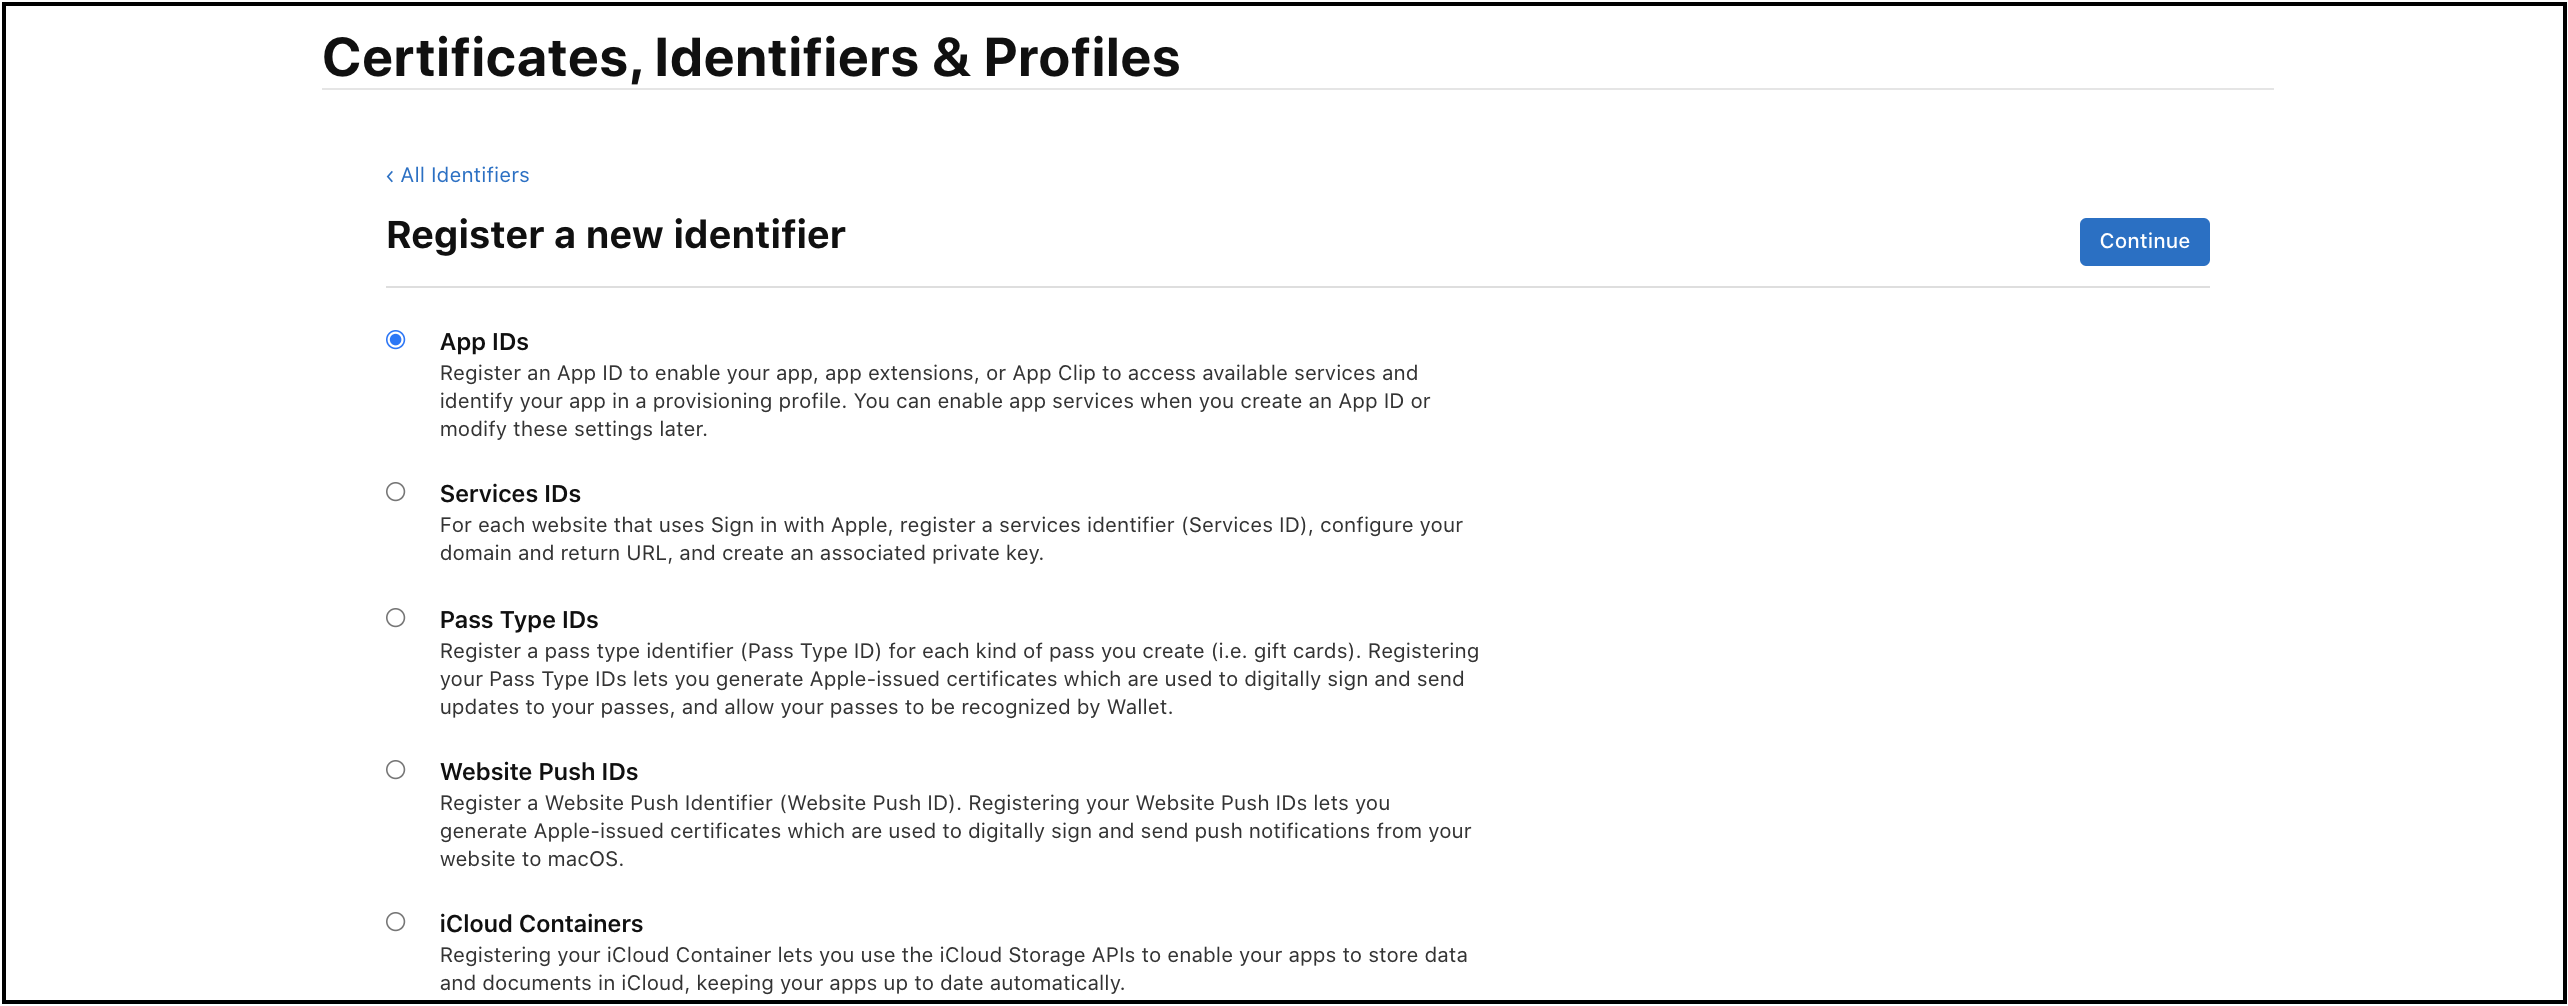
-
Select
Appfrom the type.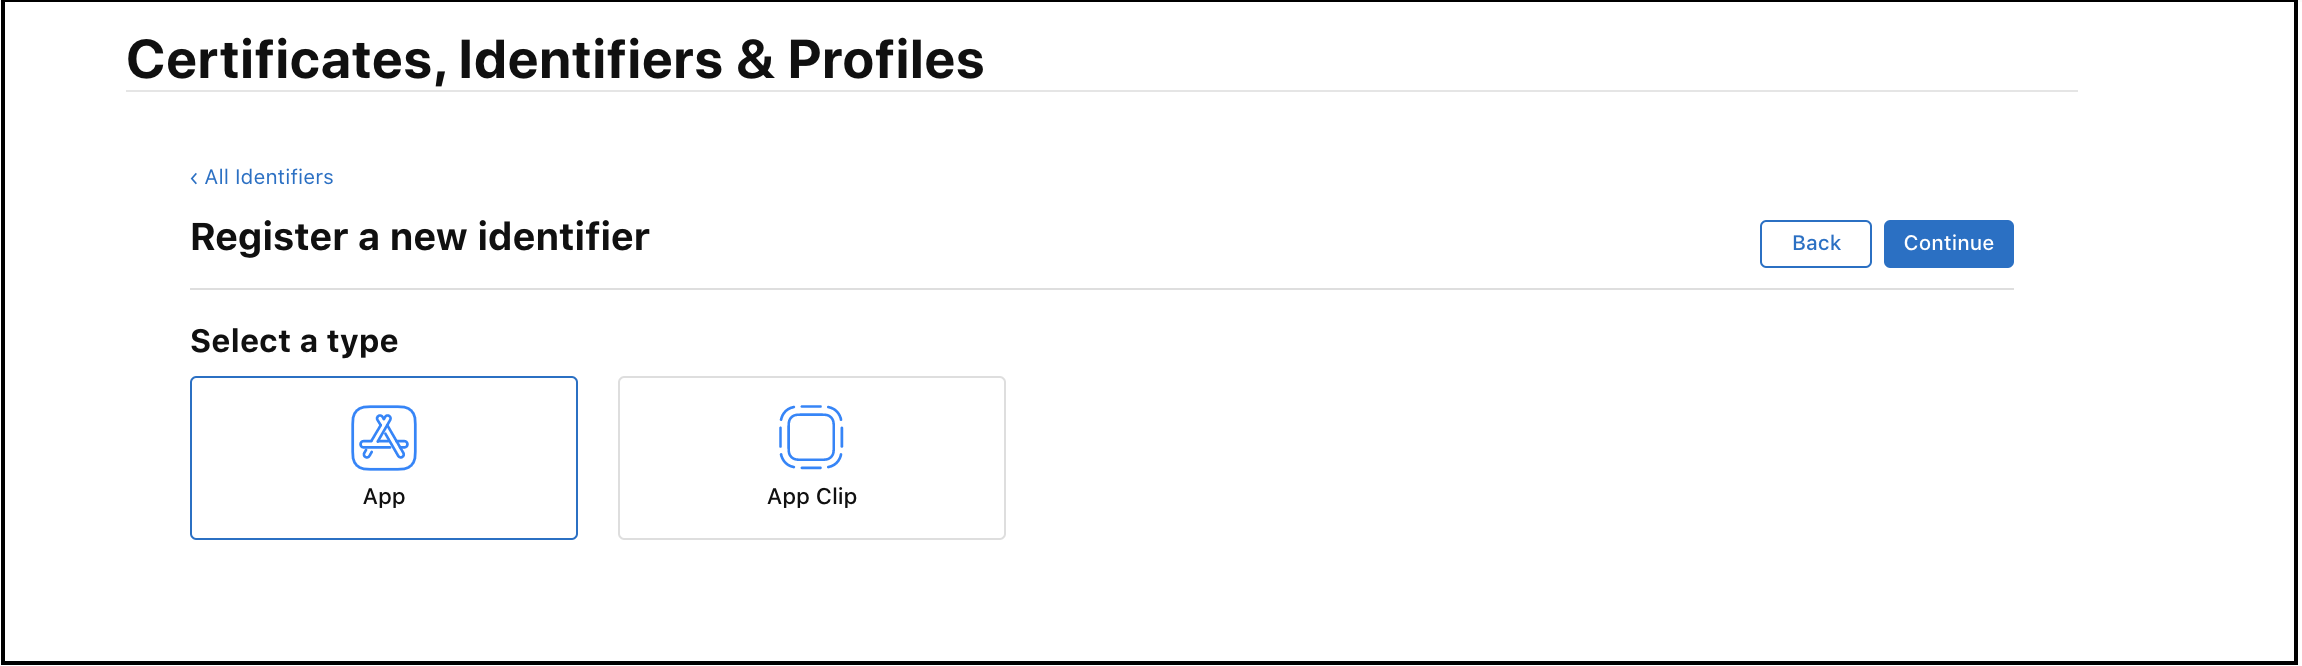
-
Add
Bundle IDandDescriptionfor your app. Keep thisBundle IDthe same as the one used in your RainMaker iOS app project.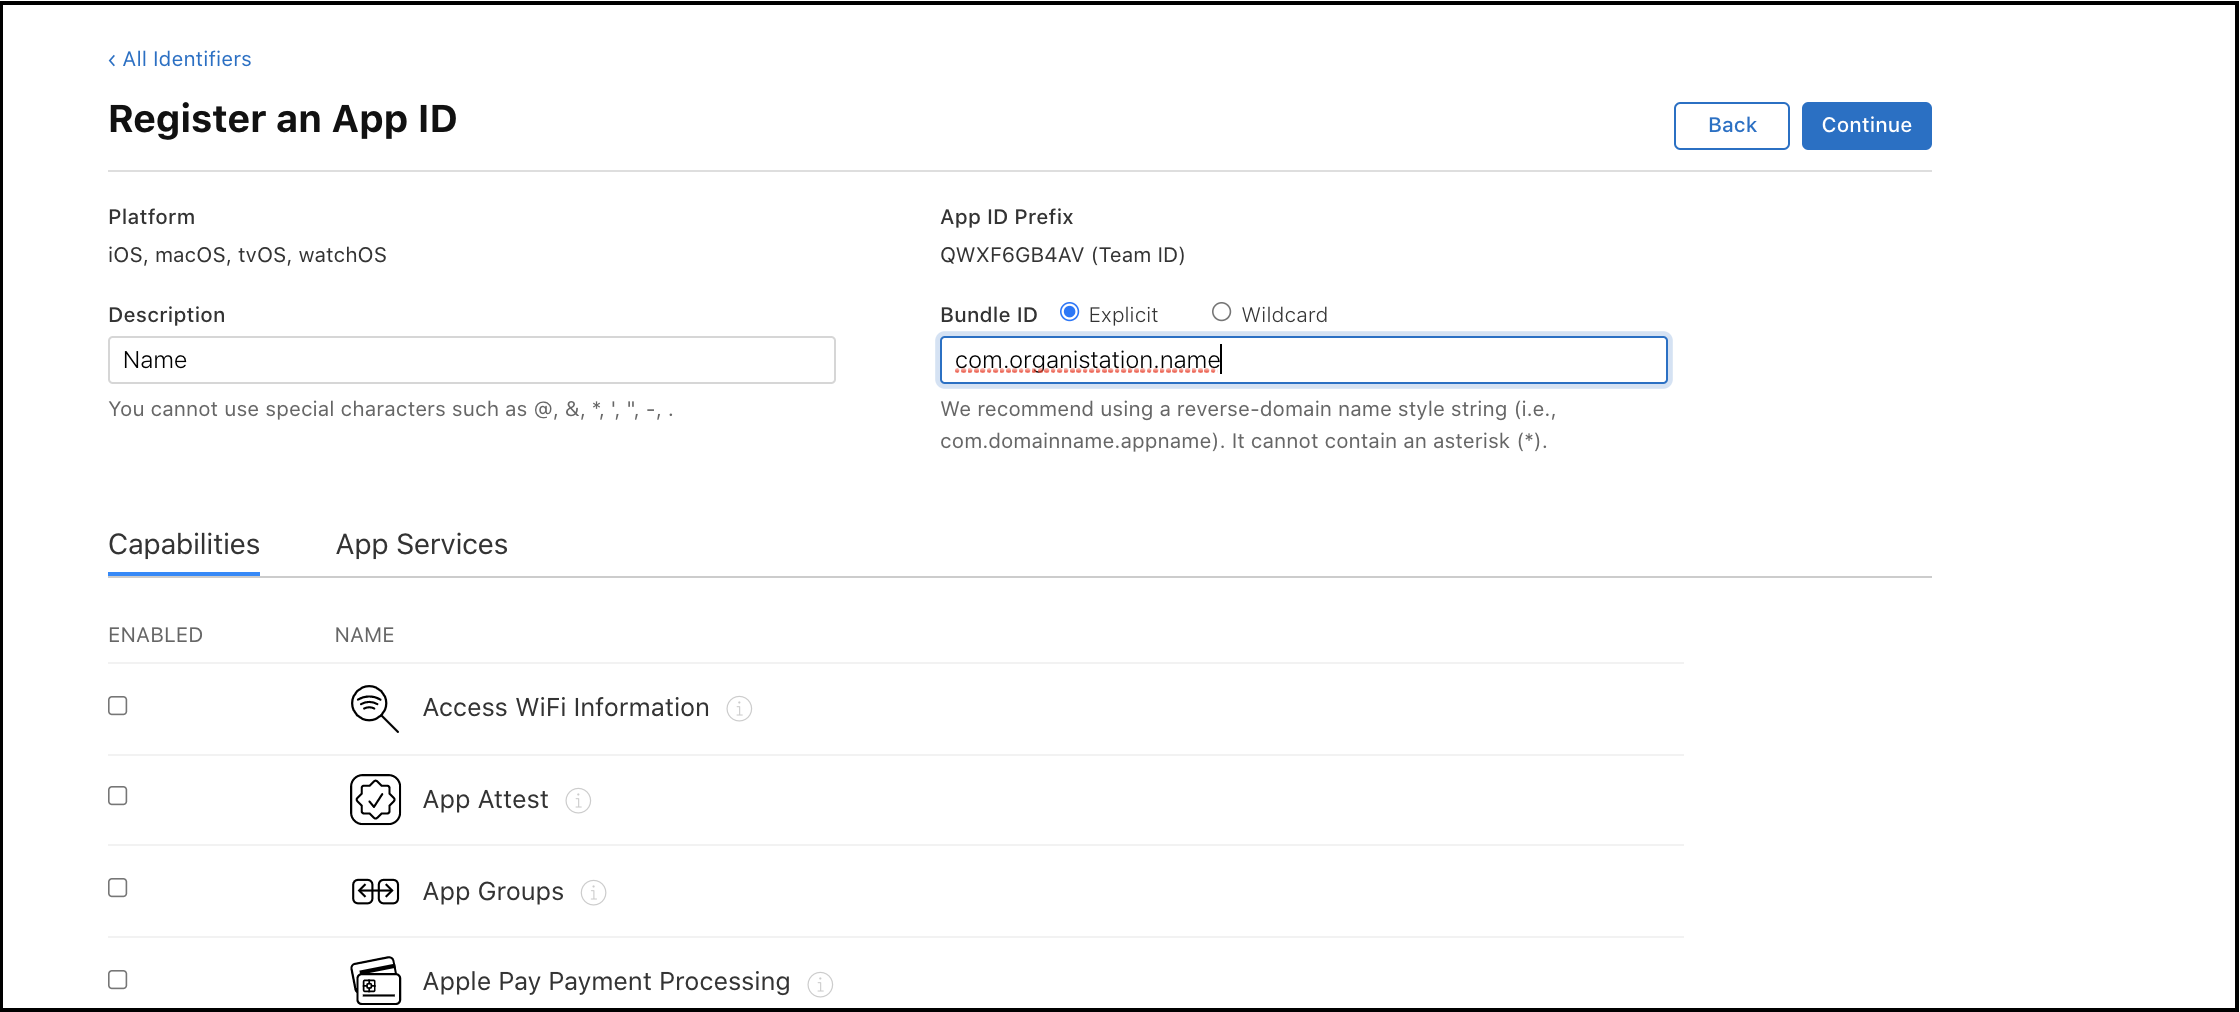
-
Scroll down the page. Select
Push NotificationsandSign in with Appleas capabilities. ClickContinue.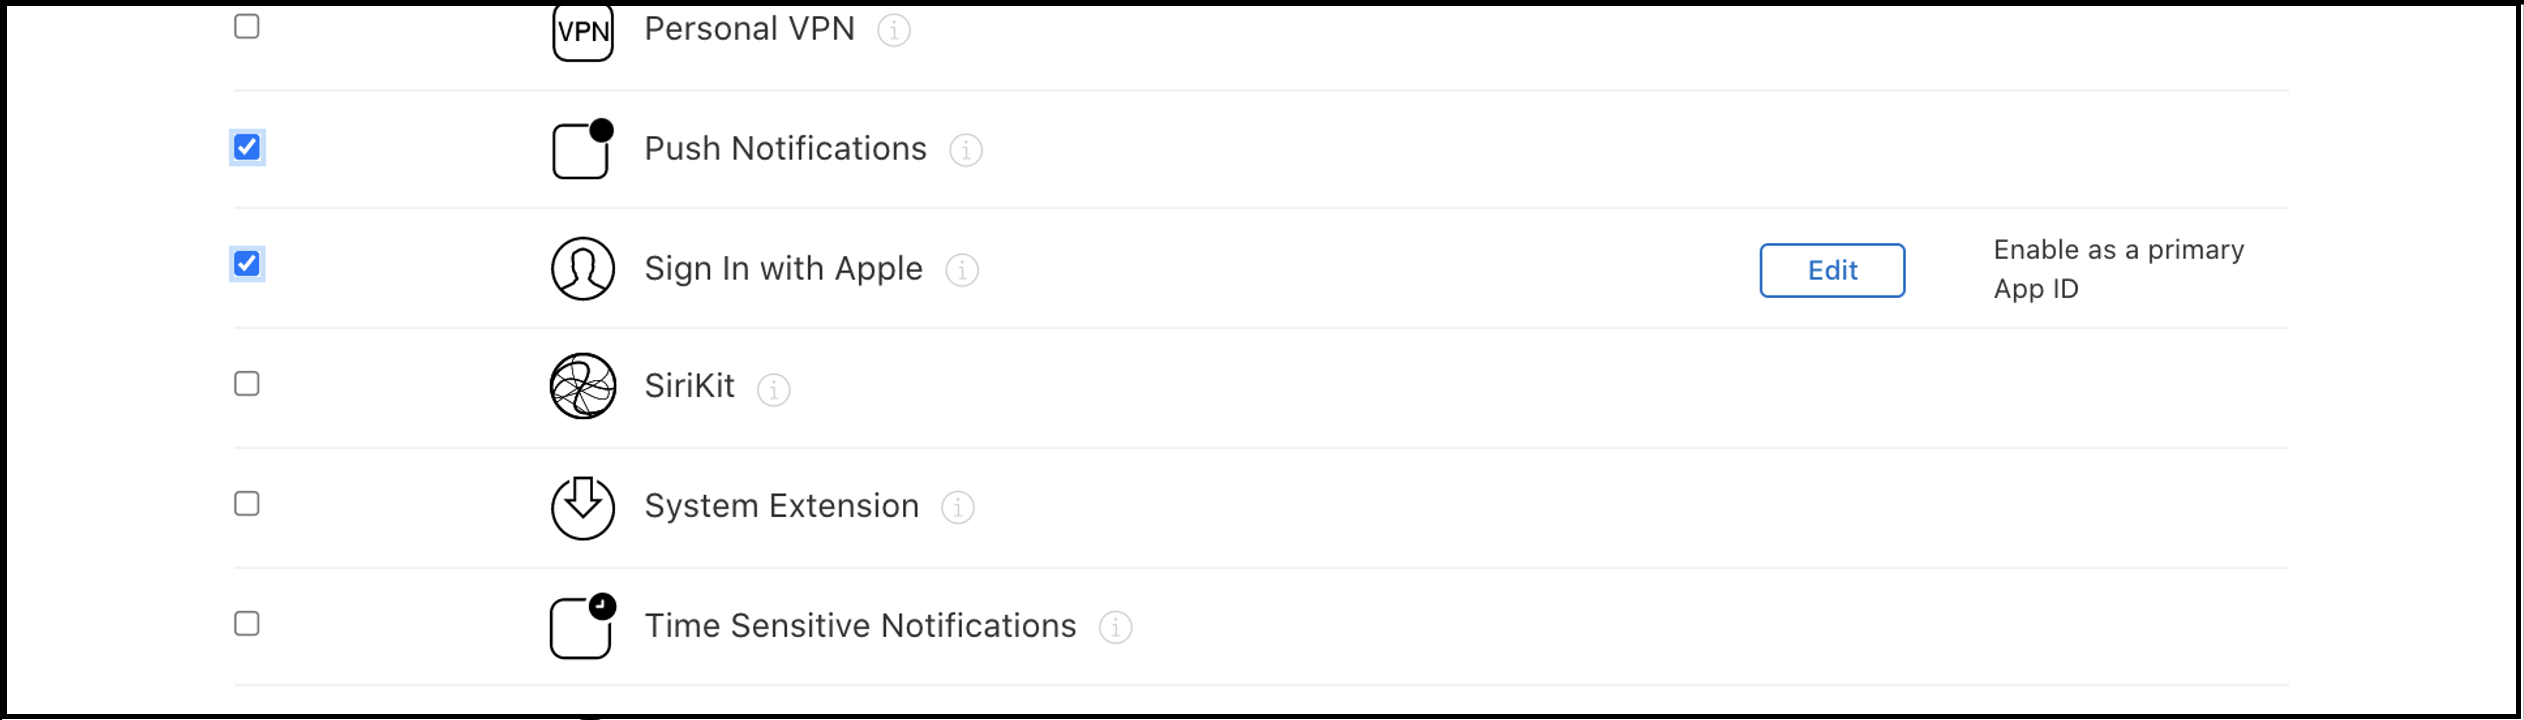
-
Review and confirm the configurations.
-
Take note of Team ID (
App ID prefix) andBundle IDvalue. ClickRegister.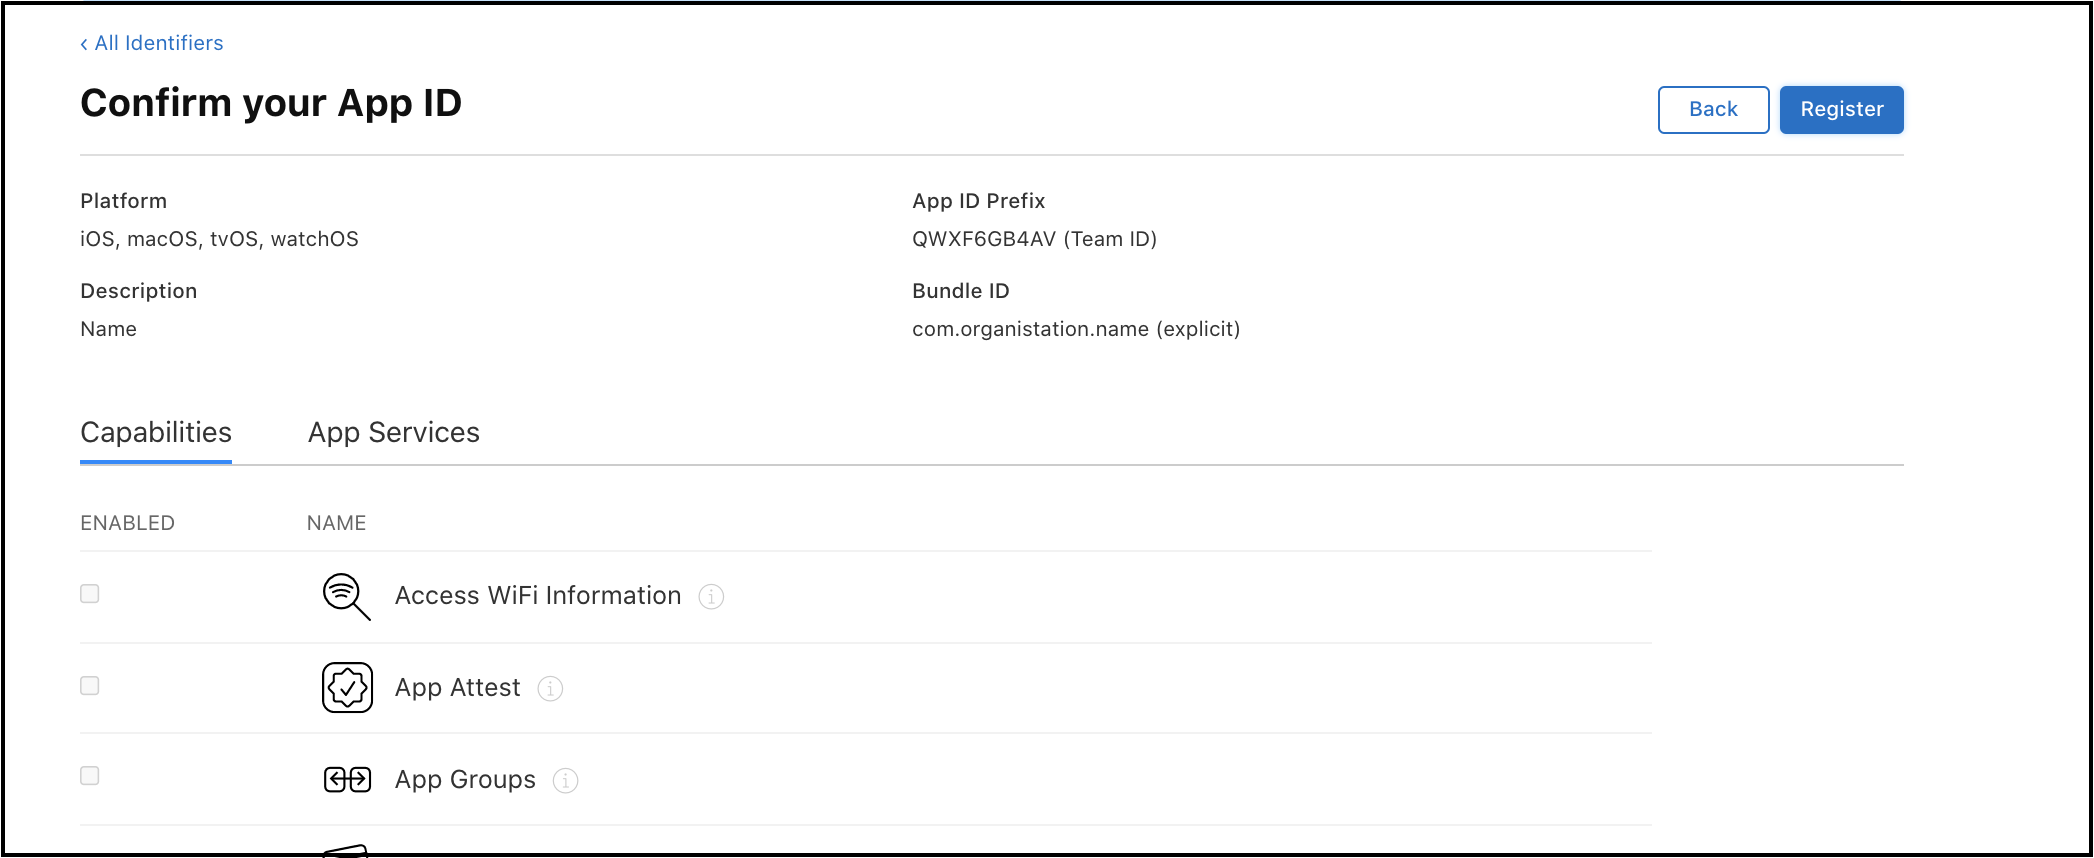
In case of iOS apps, creating app groups allows you to create a container as a shared storage space. This is a necessary step for notification service usage.
App Group
App groups allow multiple apps produced by a single development team to maintain shared container (storage space). In this particular case, this container is shared between the app and the notification service extension. It is used to store node details which are required by the notification service to customize notification messages. Find more information on app groups here.
Configuring App Group
-
Go to Apple Developer Console and click
identifiers: https://developer.apple.com/account/resources/identifiers/list. -
Add a new identifier by clicking on the
+button. -
Select
App Groupsfrom the list and clickContinue.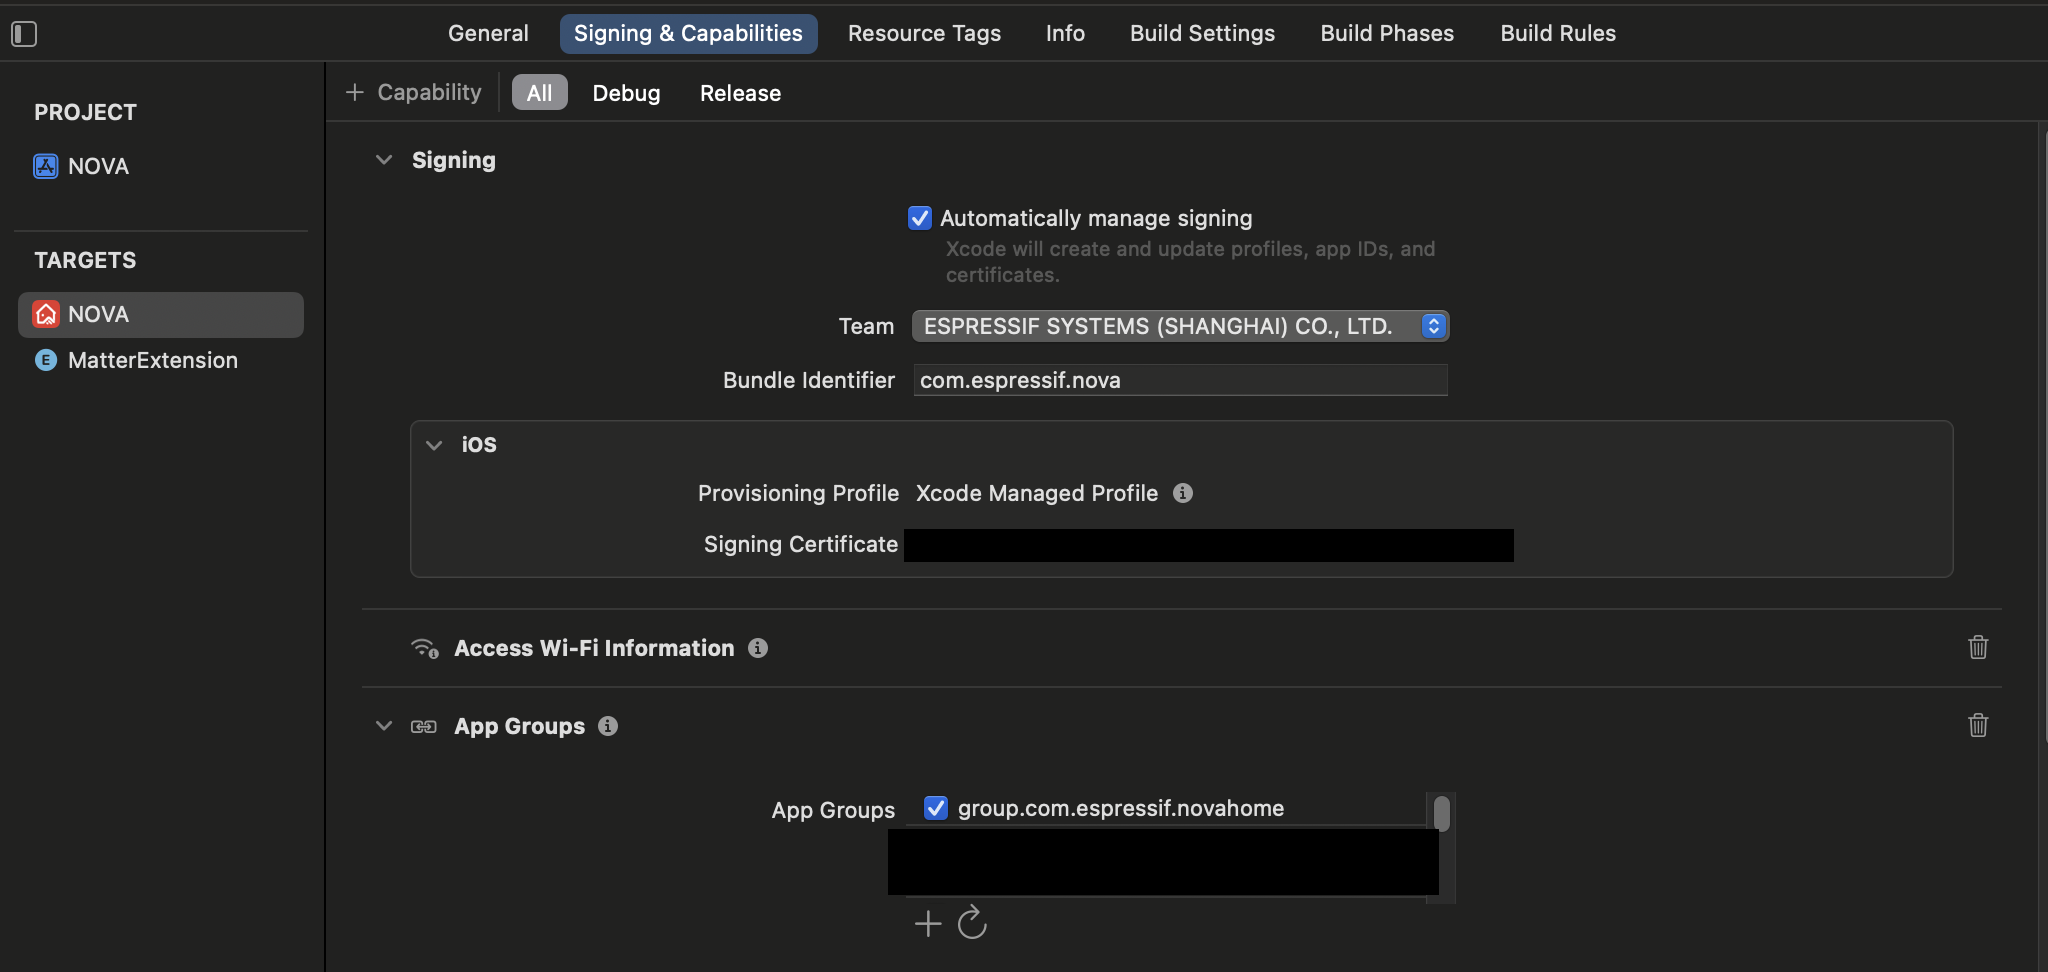
-
Add
DescriptionandIdentifierfor your app group and continue.
-
Review your changes and click
Registerto save it.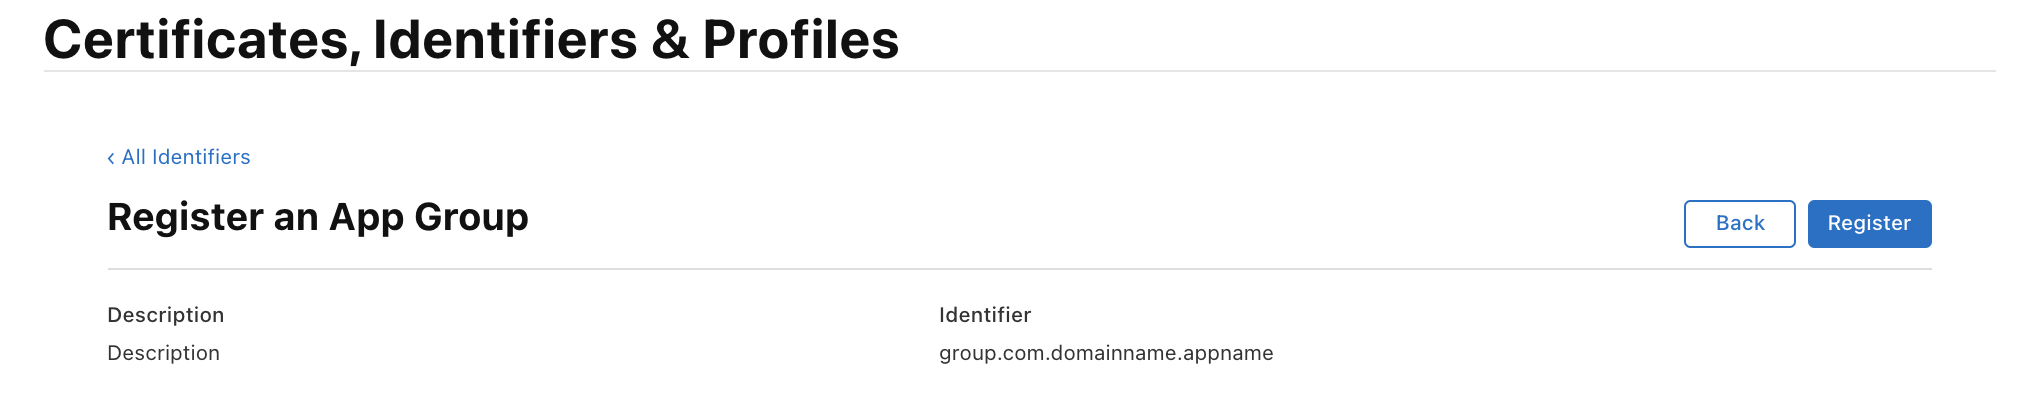
Configure App Group in Xcode
- Open your Xcode project and go to
Signing and Capabilitiesin the main app target. - Under
App Groupscapabilities select the app group that you have configured earlier.
