

7. Post-deployment configuration
Deploying the stacks gets RainMaker running. It does not get you sign-in providers or push notifications — those are settings inside the running deployment that CloudFormation cannot express, so they have to be applied afterwards.
ESP CloudHub's Post-Deployment Configuration page tells you which of those settings are still outstanding, and links you to the exact console page for each one.
Open this page only once the deployment is complete — every stack at
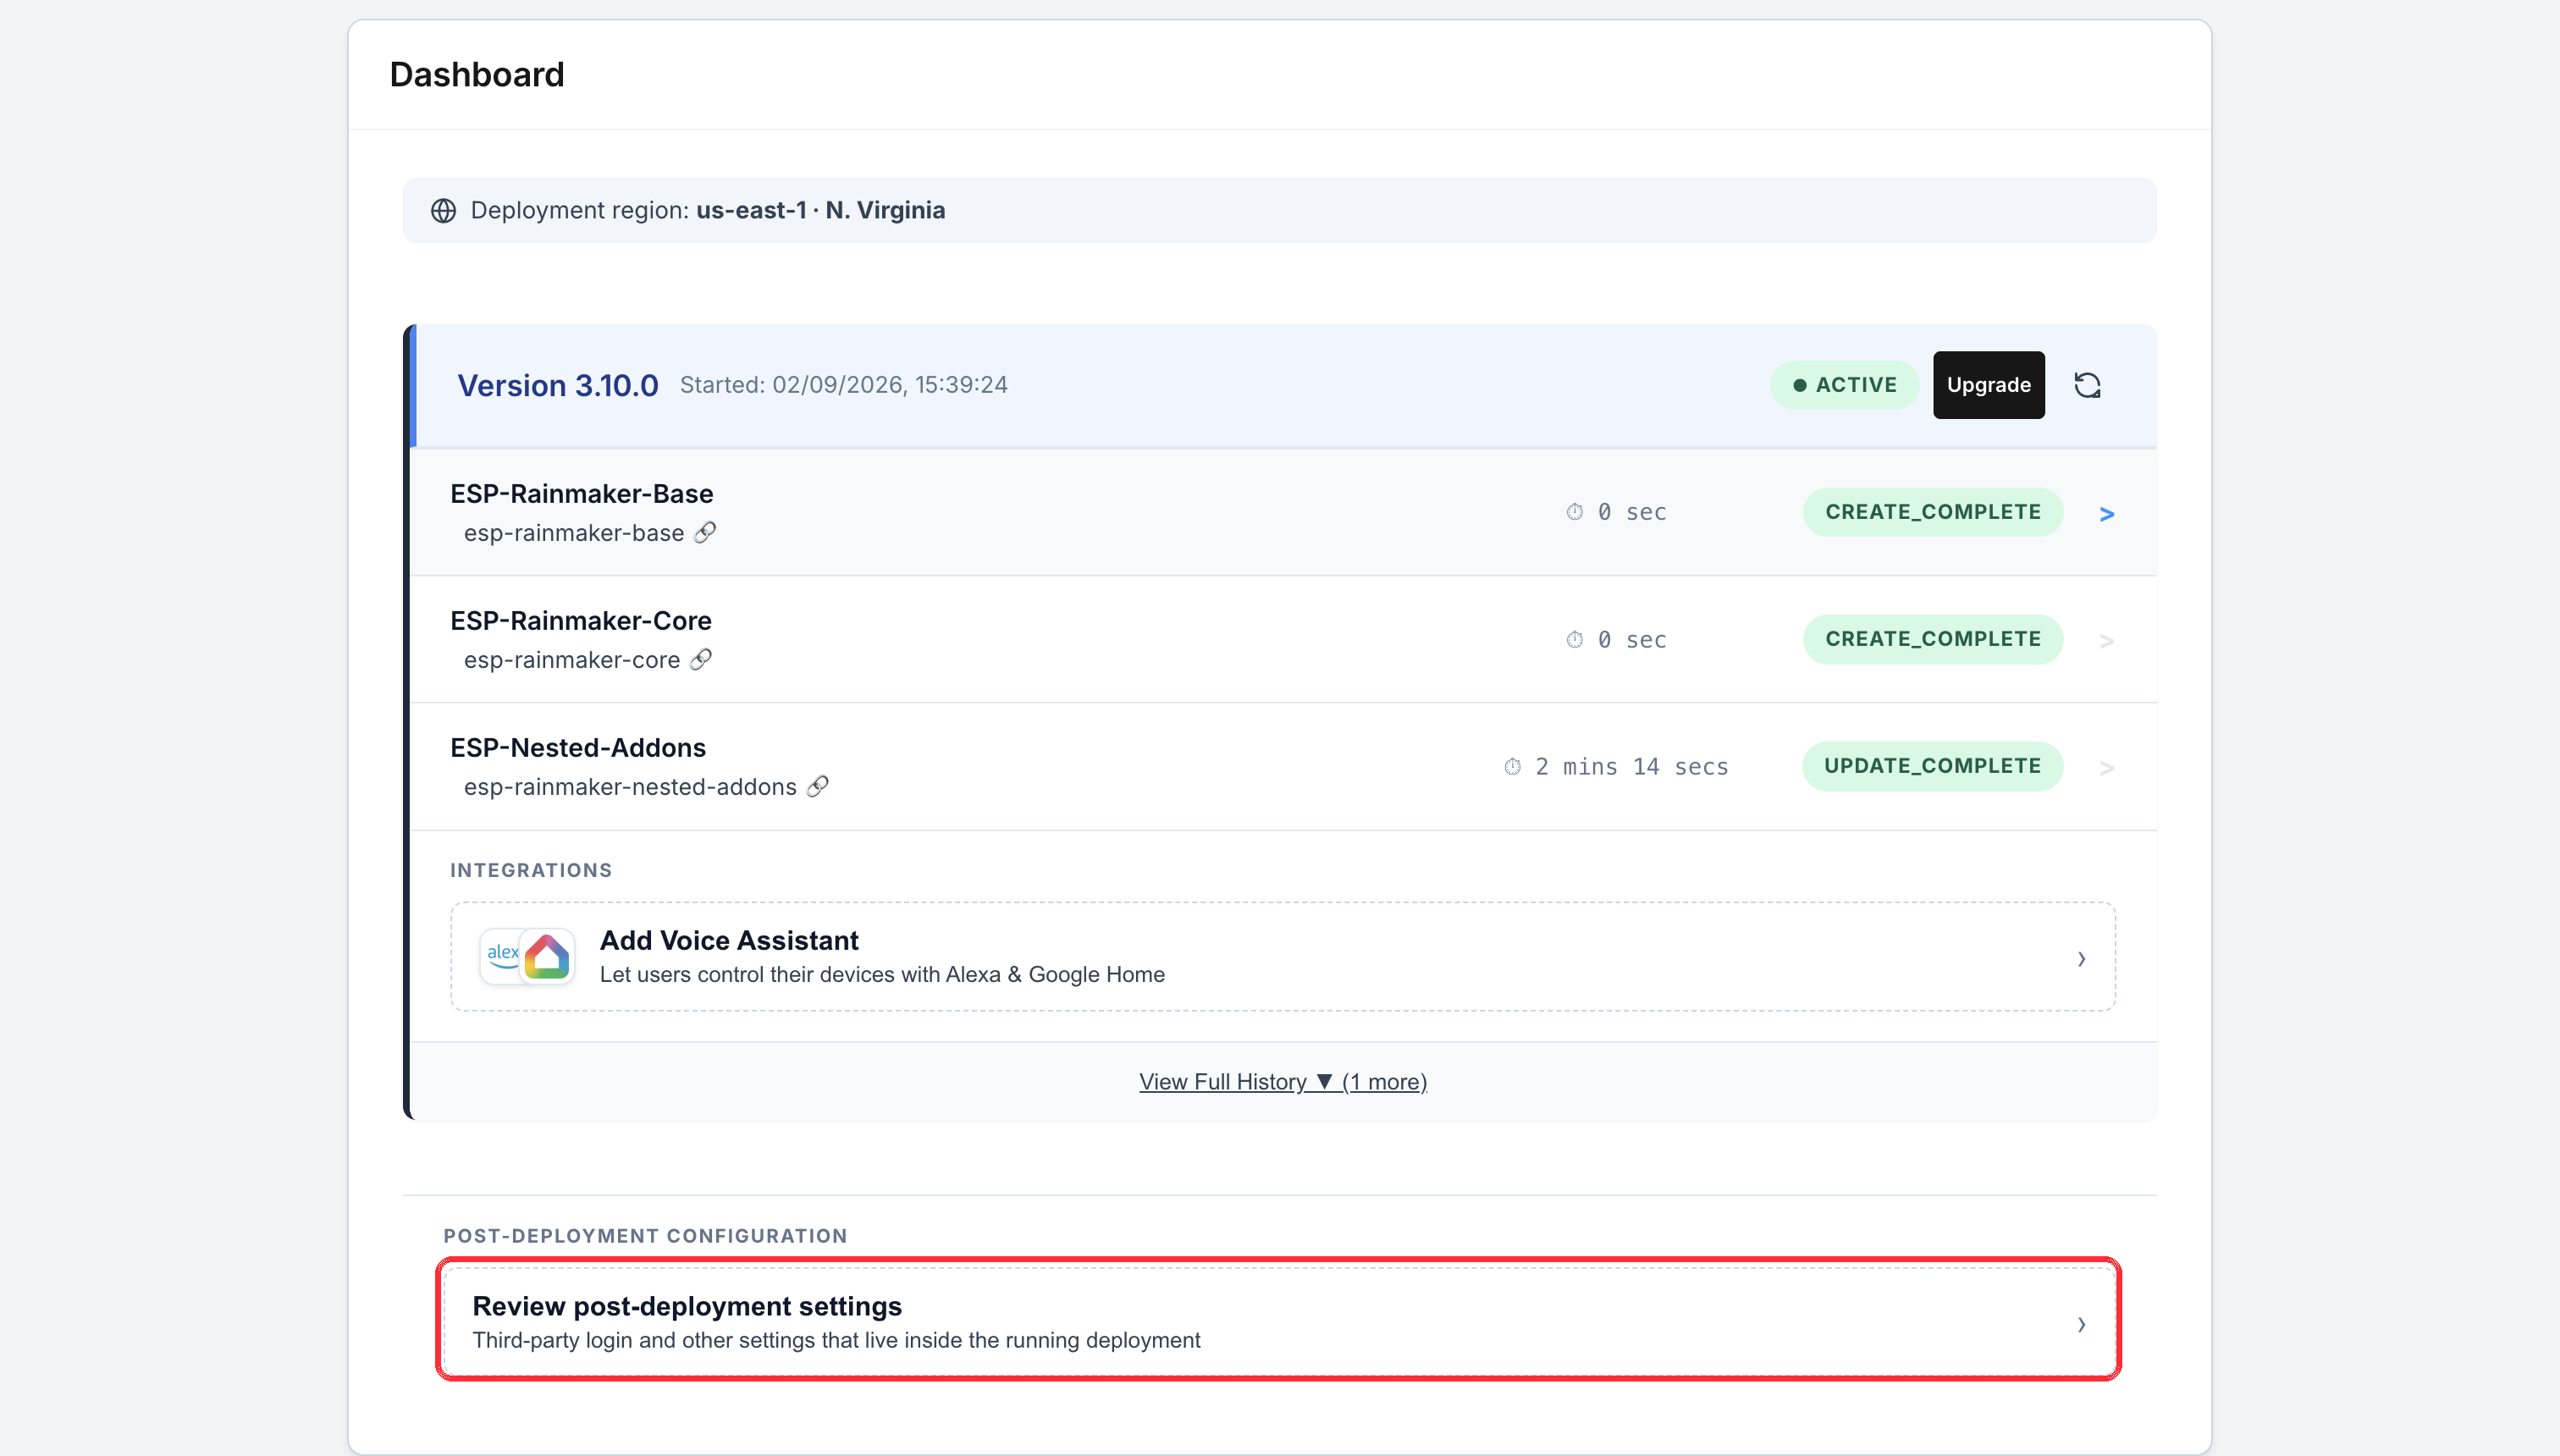
CREATE_COMPLETE and the run showing a green Active badge on the dashboard.
The page inspects the live deployment. If stacks are still being created, or the run failed part way, it cannot see what it needs and will either report nothing to do or show an error. Confirm the deployment first — see Monitor the deployment.
Before you start — check you're on the latest RainMaker dashboard
Post-deployment settings are applied in your own RainMaker dashboard, not in the ESP CloudHub. Older dashboard builds may not expose all of the settings listed here, or may put them somewhere else.
Before working through the cards below, confirm your RainMaker dashboard is on the latest version. If it isn't, upgrade the deployment first — otherwise you may go looking for a setting your build doesn't have yet.
There is a visible symptom of an older build: each card deep-links to the specific settings section it needs. Older dashboards ignore that and open the default settings page instead. Nothing breaks — you just have to find the right section yourself.
Open the page
From the tenant's dashboard on a completed deployment, open Post-Deployment Configuration.
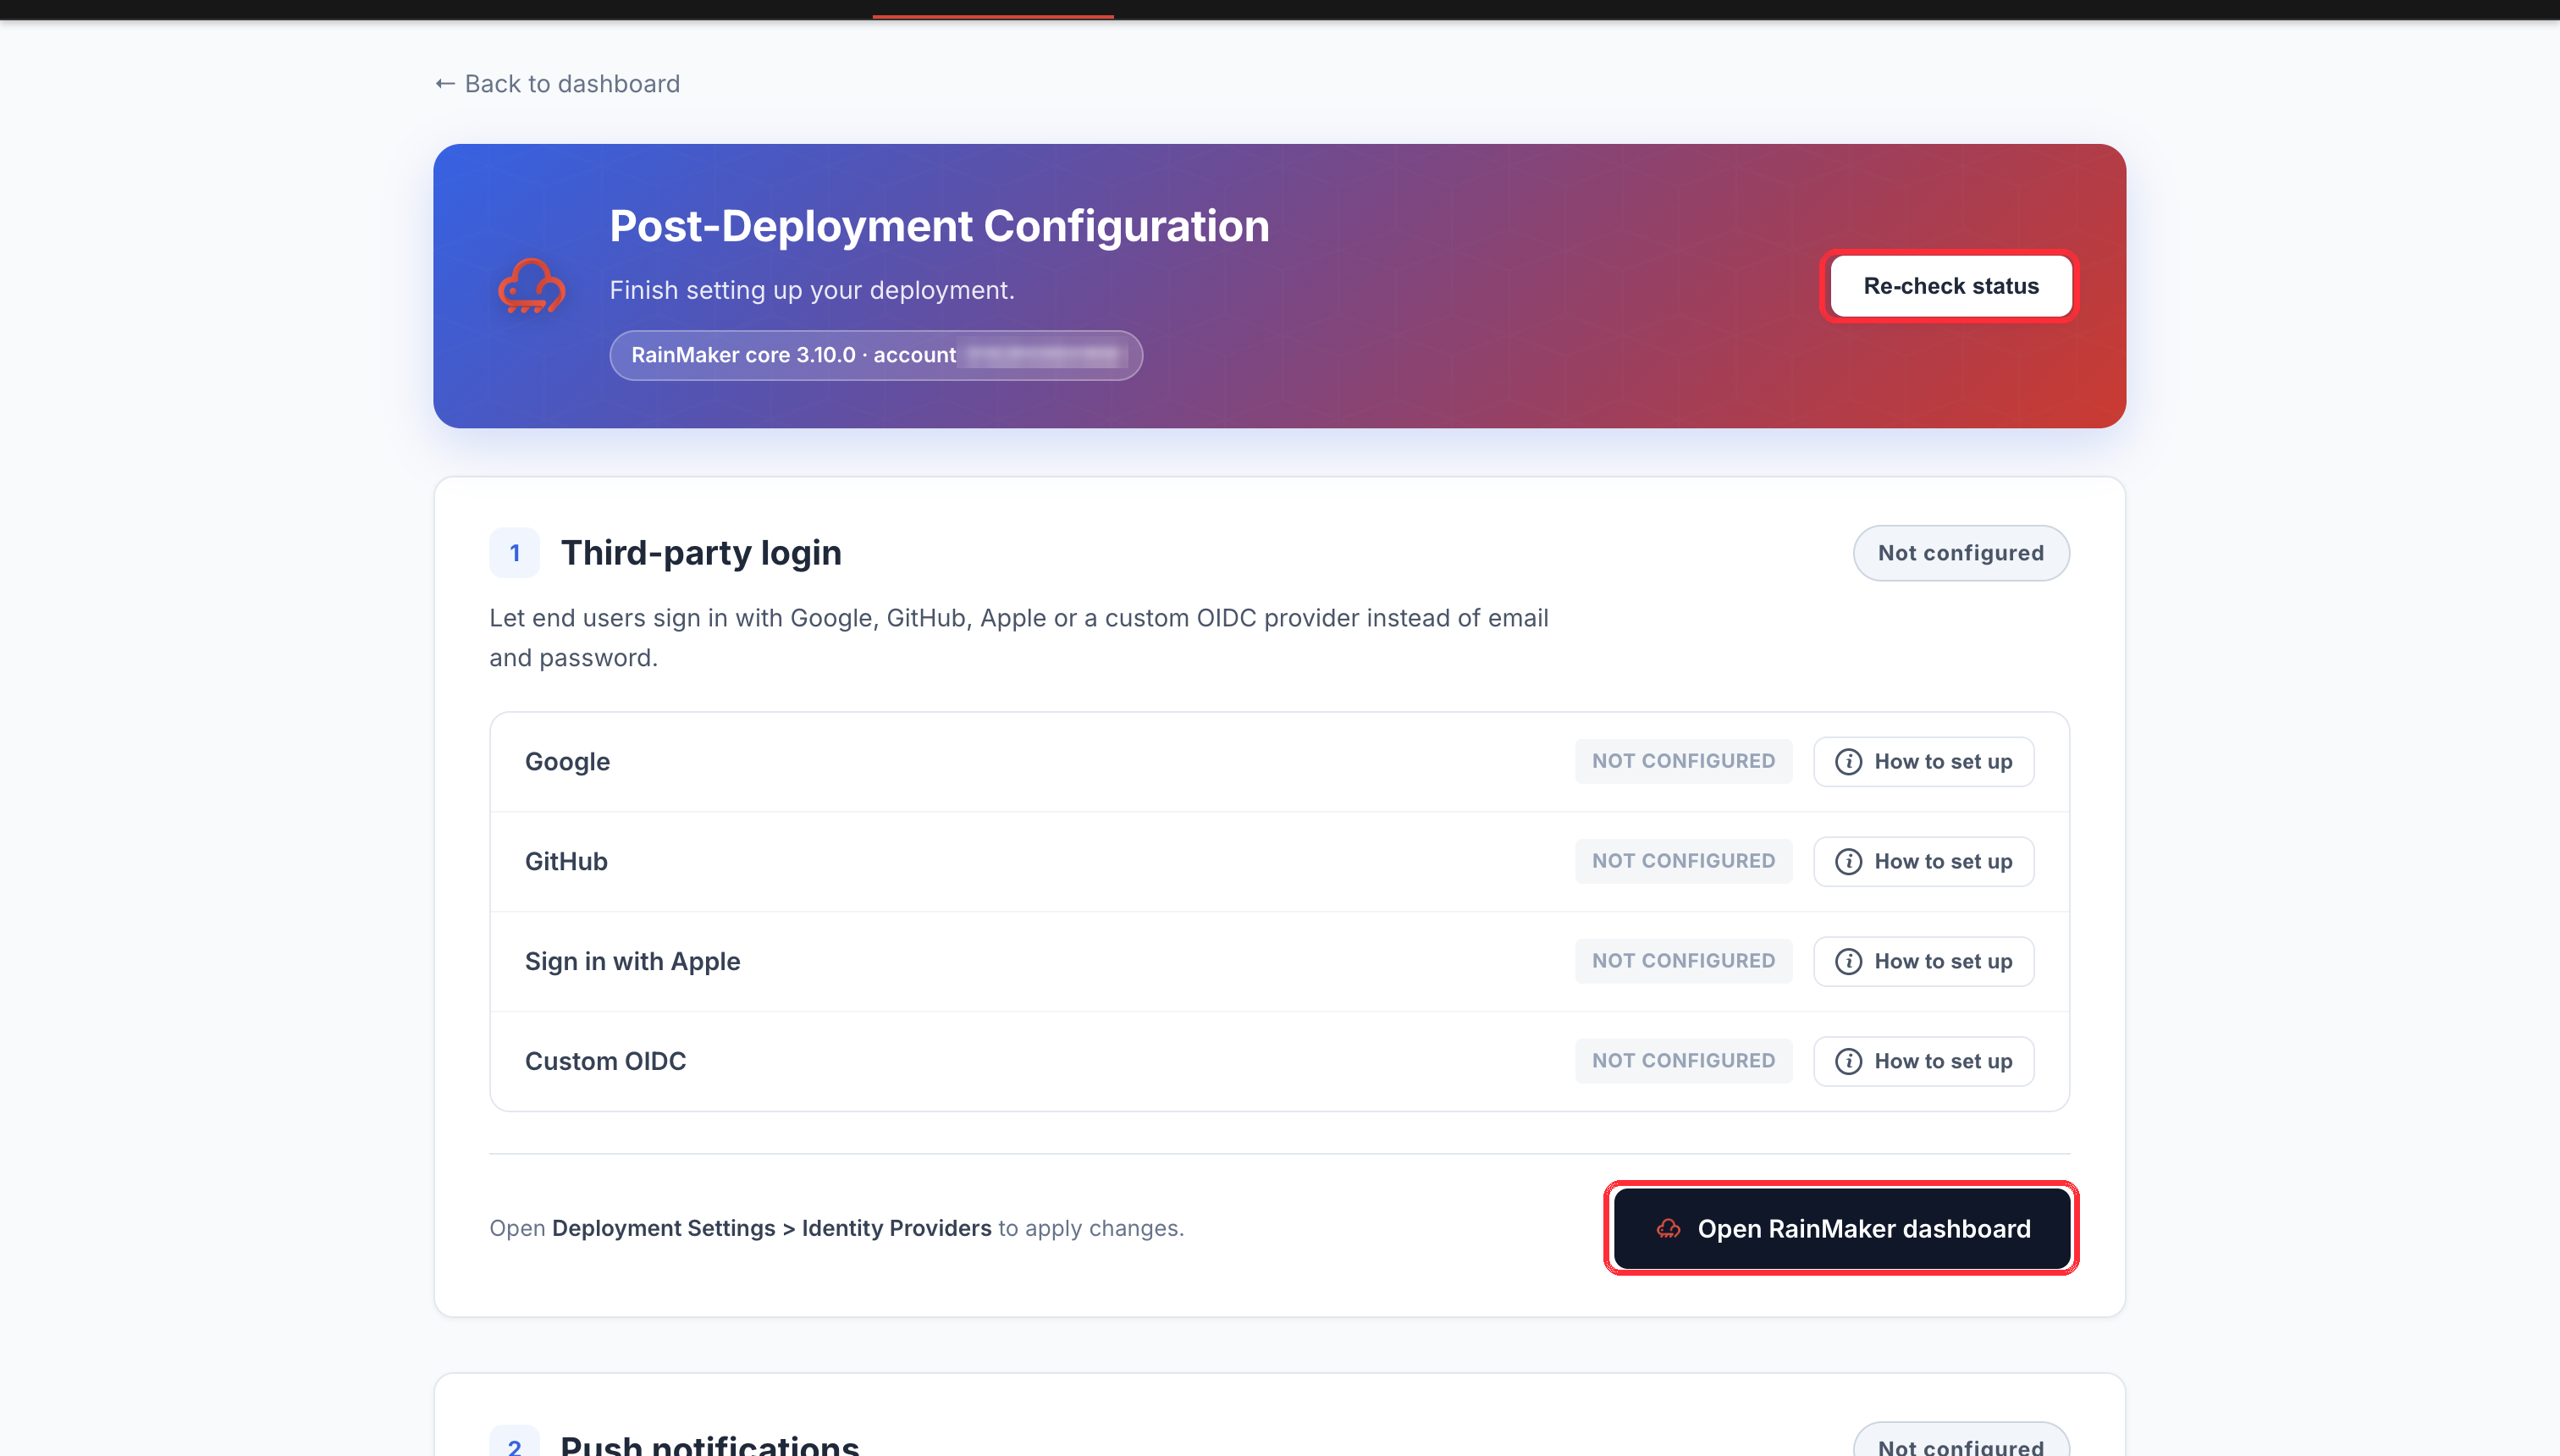
Three things to note on this page:
- The header confirms what it is looking at —
RainMaker core <version> · account <accountId>. Check the account is the one you expect before you change anything. - Re-check status, also in the header, re-reads the live deployment and refreshes every card. You will use it after each change you apply.
- Each card below is one setting, showing whether it is already configured.
If nothing applies to your deployment, the page says so and there is nothing to do.
What you may need to configure
Settings are grouped into numbered cards, each carrying its own Not configured / Configured badge. Detection is read-only and uses the AWS credentials ESP CloudHub already holds for this tenant — you never enter RainMaker credentials into ESP CloudHub.
1. Third-party login
Lets end users sign in with an external provider instead of email and password.
| Provider | Where you create the credentials |
|---|---|
| Google Cloud Console — configure the OAuth consent screen, then create an OAuth Web application client | |
| GitHub | GitHub → Settings → Developer settings → OAuth Apps |
| Sign in with Apple | Apple Developer → Identifiers → your App ID |
| Custom OIDC | Your own identity provider |
2. Push notifications
| Channel | Where you create the credentials |
|---|---|
| FCM (Android) | Firebase Console |
| APNs (iOS) | Apple Developer → Keys → APNs signing key (.p8) |
| APNs sandbox (iOS development builds) | Apple Developer, same key |
Each row shows its own status and a How to set up button. Click it for a direct link to the exact console page — not the provider's homepage — and the numbered steps to follow there, ending with the values you need to bring back.
Work through one row at a time rather than opening several consoles at once: several of these providers show or download credentials only once.
At the bottom of each card, a hint names the destination inside your dashboard — for third-party login it reads "Open Deployment Settings > Identity Providers to apply changes" — followed by the Open RainMaker dashboard button.
A card that says "the dashboard address could not be read from this deployment" means the ESP CloudHub could not resolve your dashboard URL from the deployment's stack outputs. The setting is still configured the same way — you just have to open your RainMaker dashboard yourself. See Inspect a stack to find the dashboard URL in the stack outputs.
Apple lets you download the .p8 signing key once. Store it somewhere durable when
you create it — if you lose it you have to revoke the key and issue a new one.
Apply the change, then re-check
-
Follow the card's steps in the provider console and get the credentials.
-
At the bottom of the card, click Open RainMaker dashboard. It opens in a new tab, deep-linked to the settings section for that setting.
-
Sign in as a super admin. The dashboard asks for credentials before it will let you change anything.
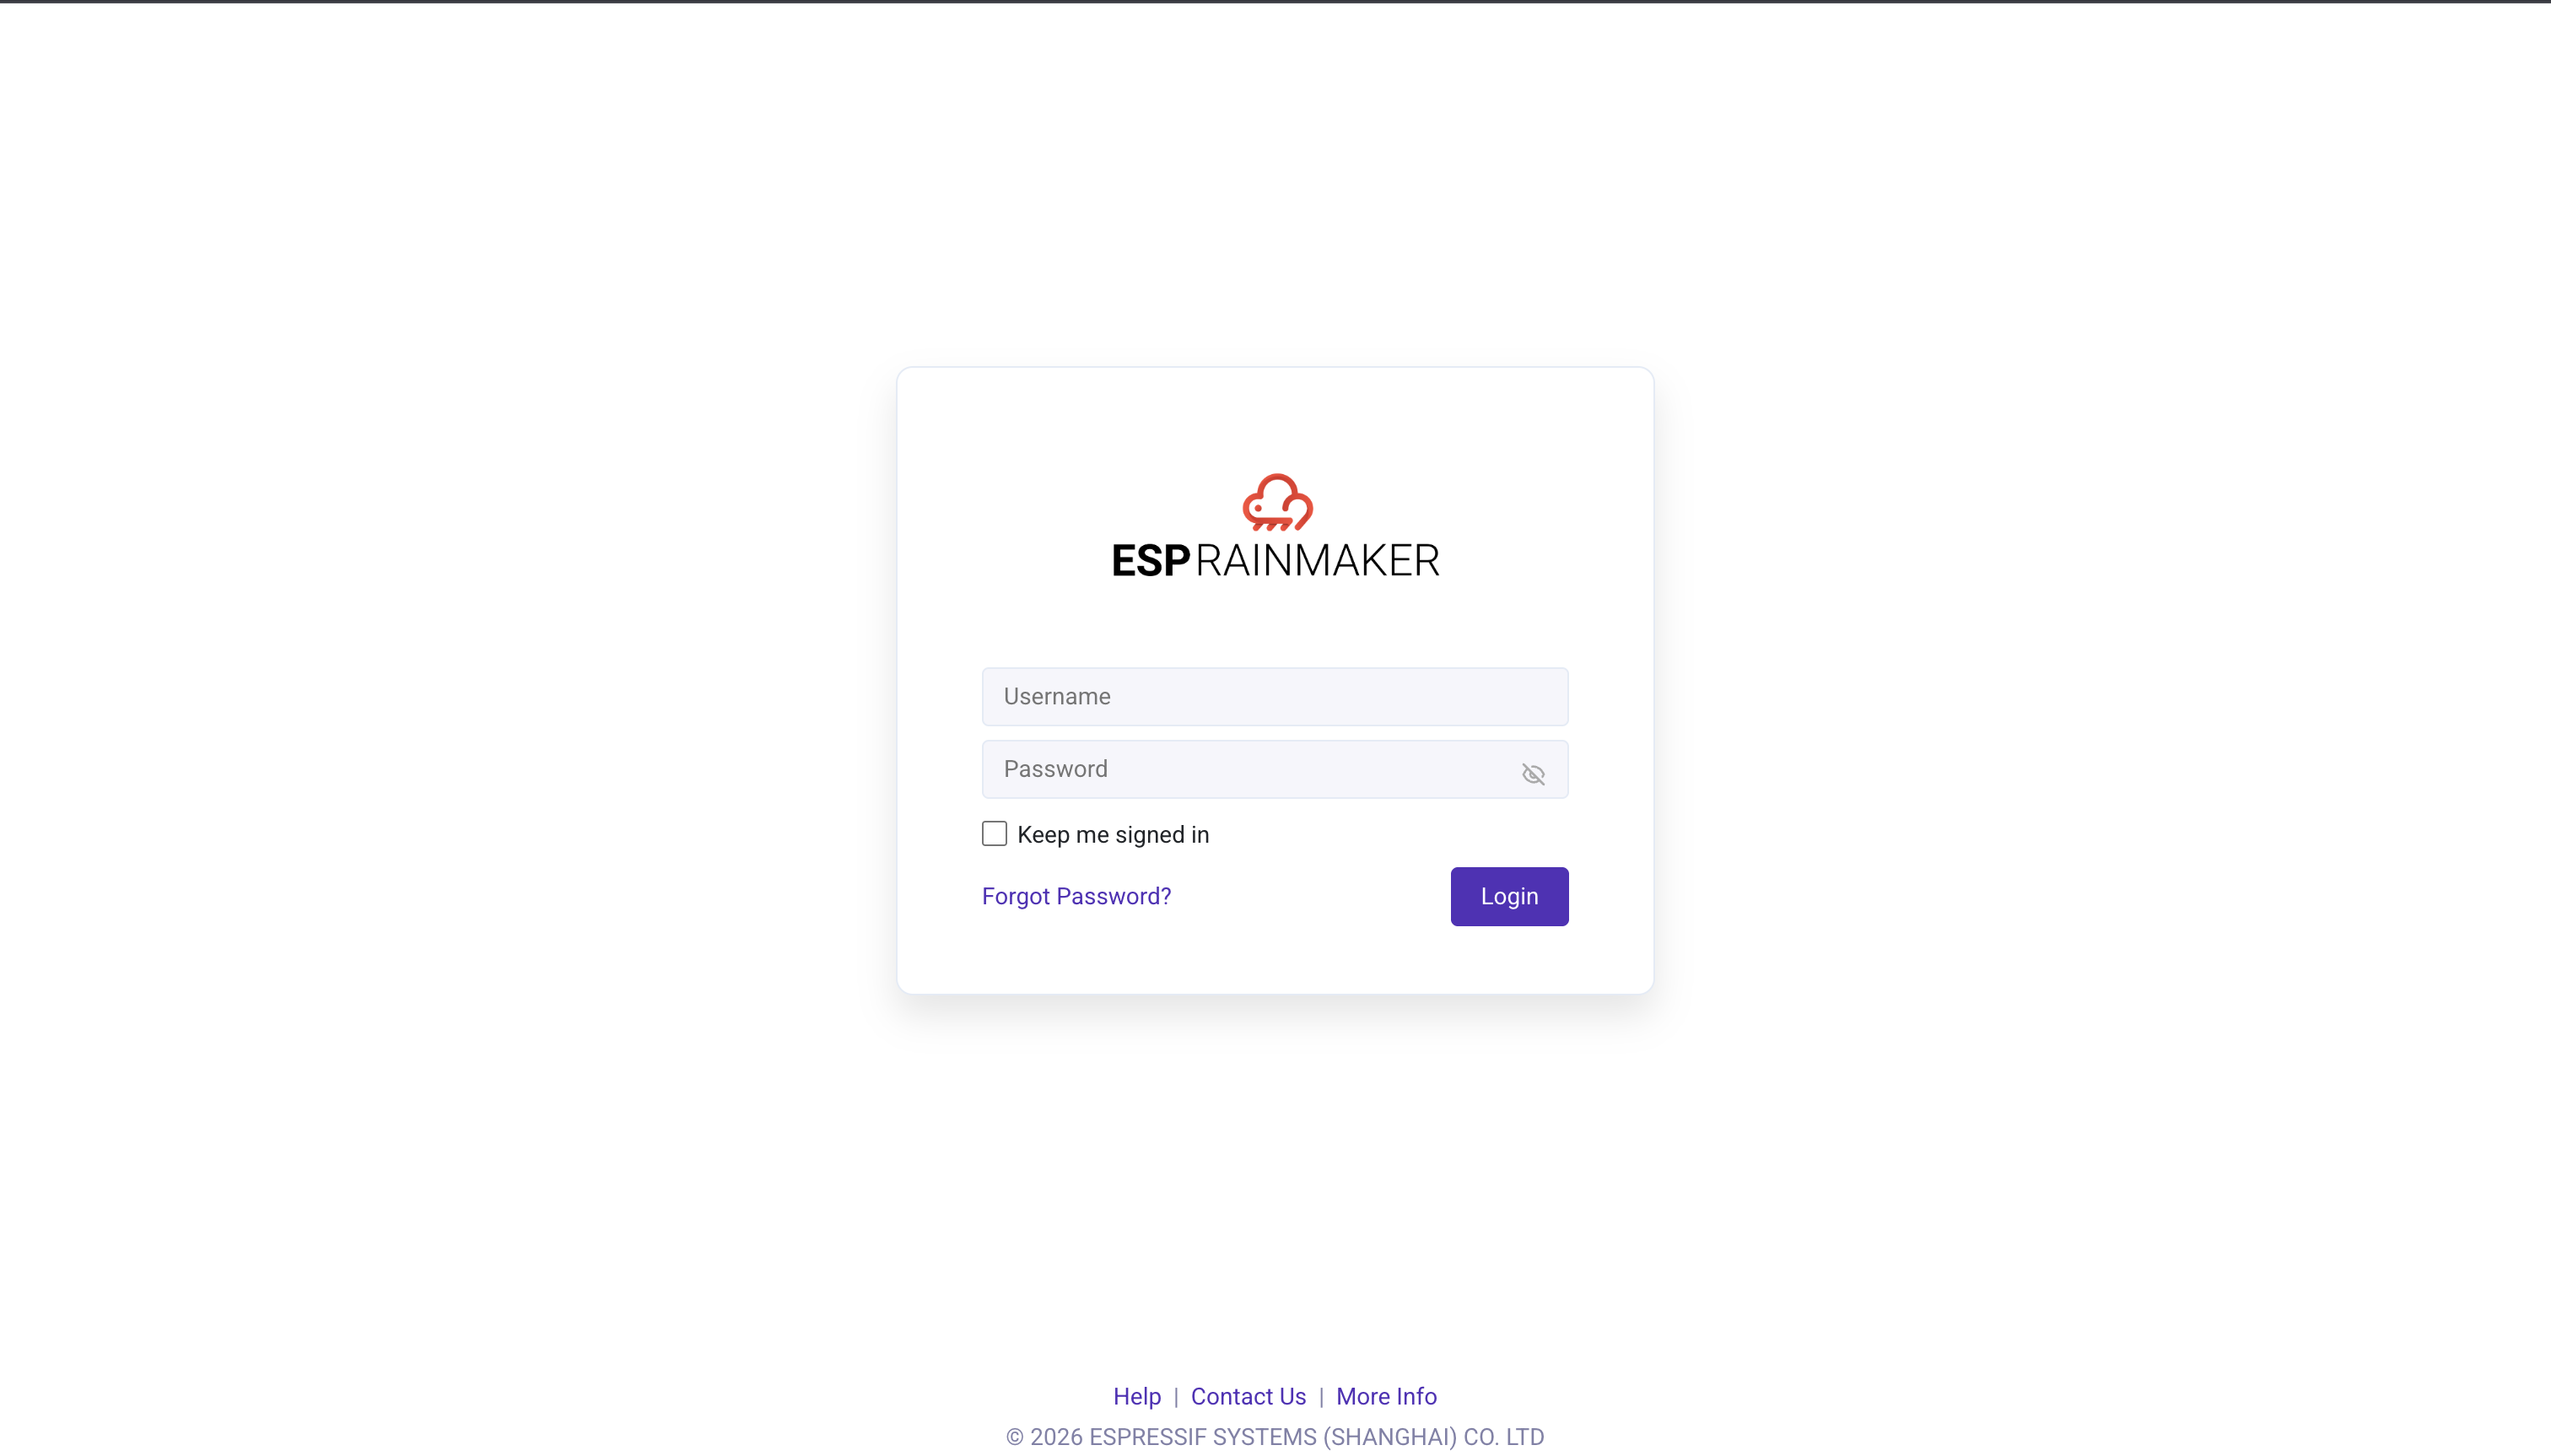
This step cannot be done from ESP CloudHub. ESP CloudHub holds AWS credentials for the tenant account, which are enough to read what is configured but not to write it — changing these settings needs a RainMaker super admin token, which only a super admin signed in to the dashboard can produce.
If you do not have super admin credentials for this deployment, get them from whoever set it up before you go any further.
-
Save the setting in the dashboard.
-
Come back to ESP CloudHub and click Re-check status in the header.
The page re-reads the deployment and updates each card. A card that still shows as unconfigured after a re-check usually means the change was saved somewhere other than the deployment this page is pointed at — confirm the account in the header matches.
If the page reports an expired session
A message of "Your session has expired" means ESP CloudHub's connection to the tenant account has lapsed — most often an AWS SSO session, which is short-lived. Re-connect the tenant, then click Try again. See Connect the tenant for the reconnect steps.
Next steps
- Want voice control? See Integrate Alexa & voice assistants.
- When a newer version ships, see Upgrade the deployment.