2. Add your AWS account
A tenant is an AWS account registered with your organization. Everything you deploy — including RainMaker — goes into a tenant account. Before you can deploy, you register the account and then connect it.
Open the Add Account dialog
From the console, go to the Accounts view. If you haven't added any accounts yet, you'll see an empty state with an Add Account button.
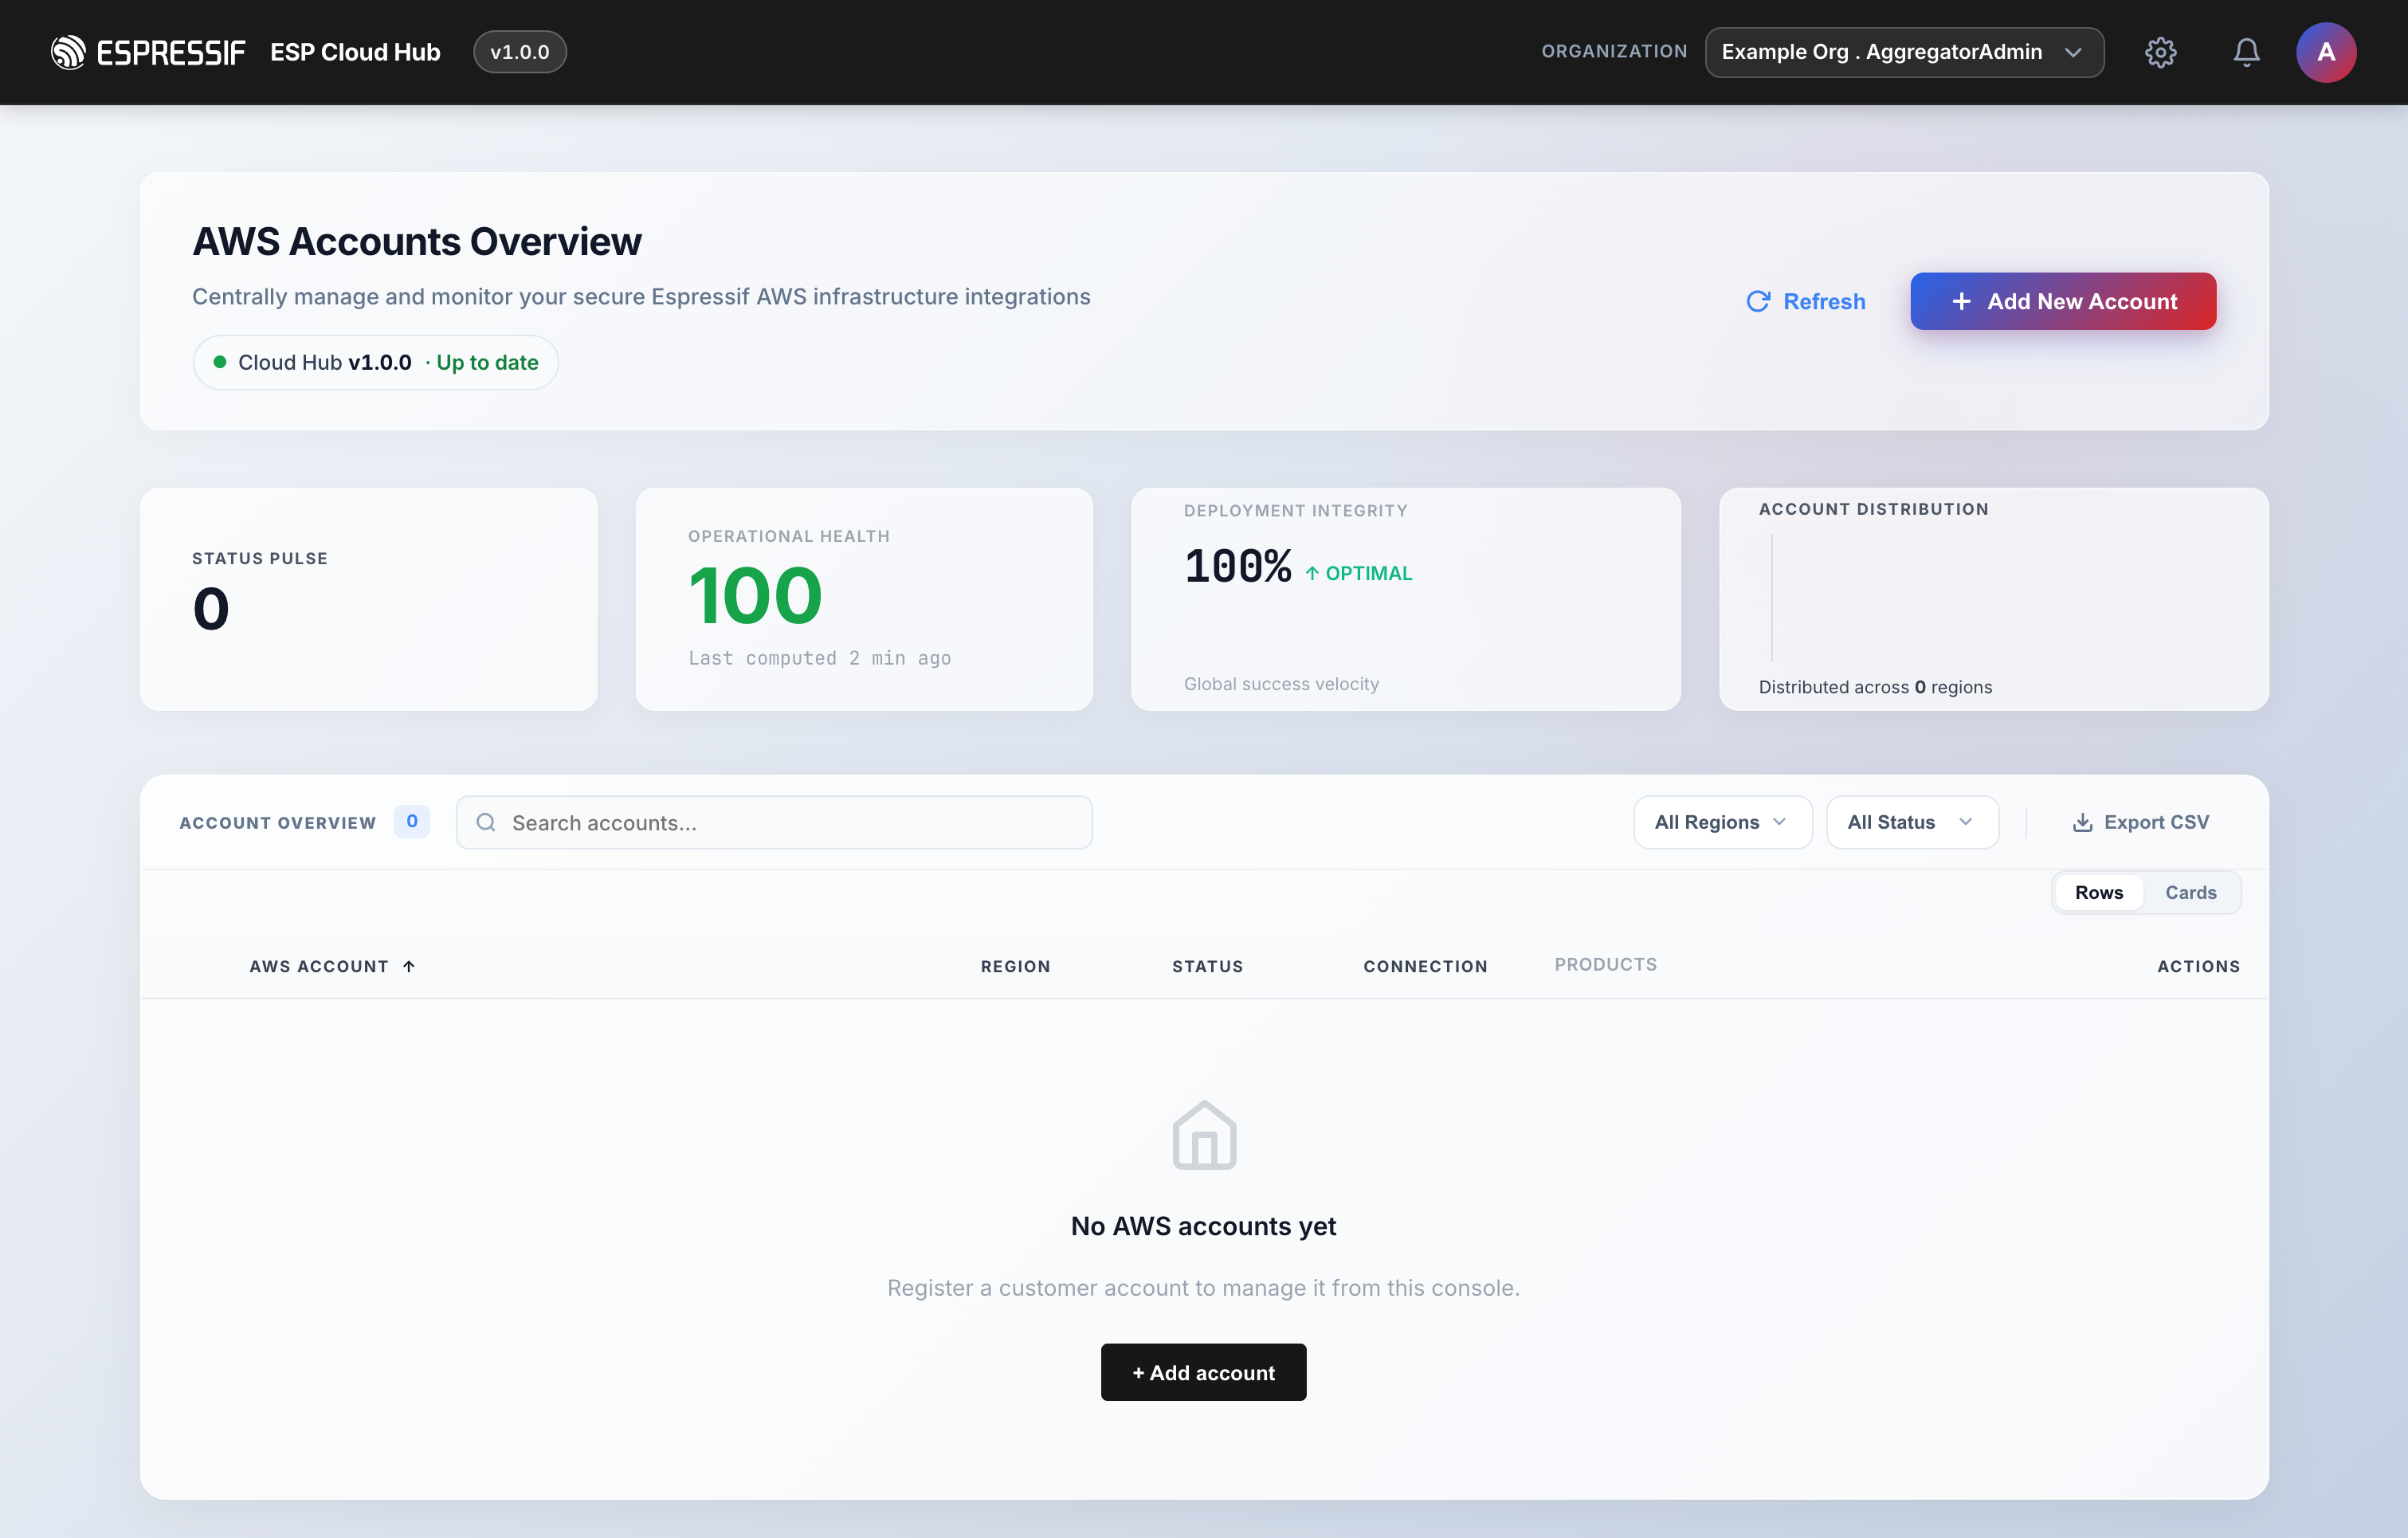
Click Add Account.
Fill in the account details
In the Add New Account dialog, provide:
| Field | What to enter |
|---|---|
| Account Name | A friendly label for the account (e.g. Example Tenant). |
| AWS Account ID | The 12-digit AWS account ID you'll deploy into. |
| Target Region | The AWS region where RainMaker will be deployed (e.g. US East (N. Virginia) — us-east-1). |
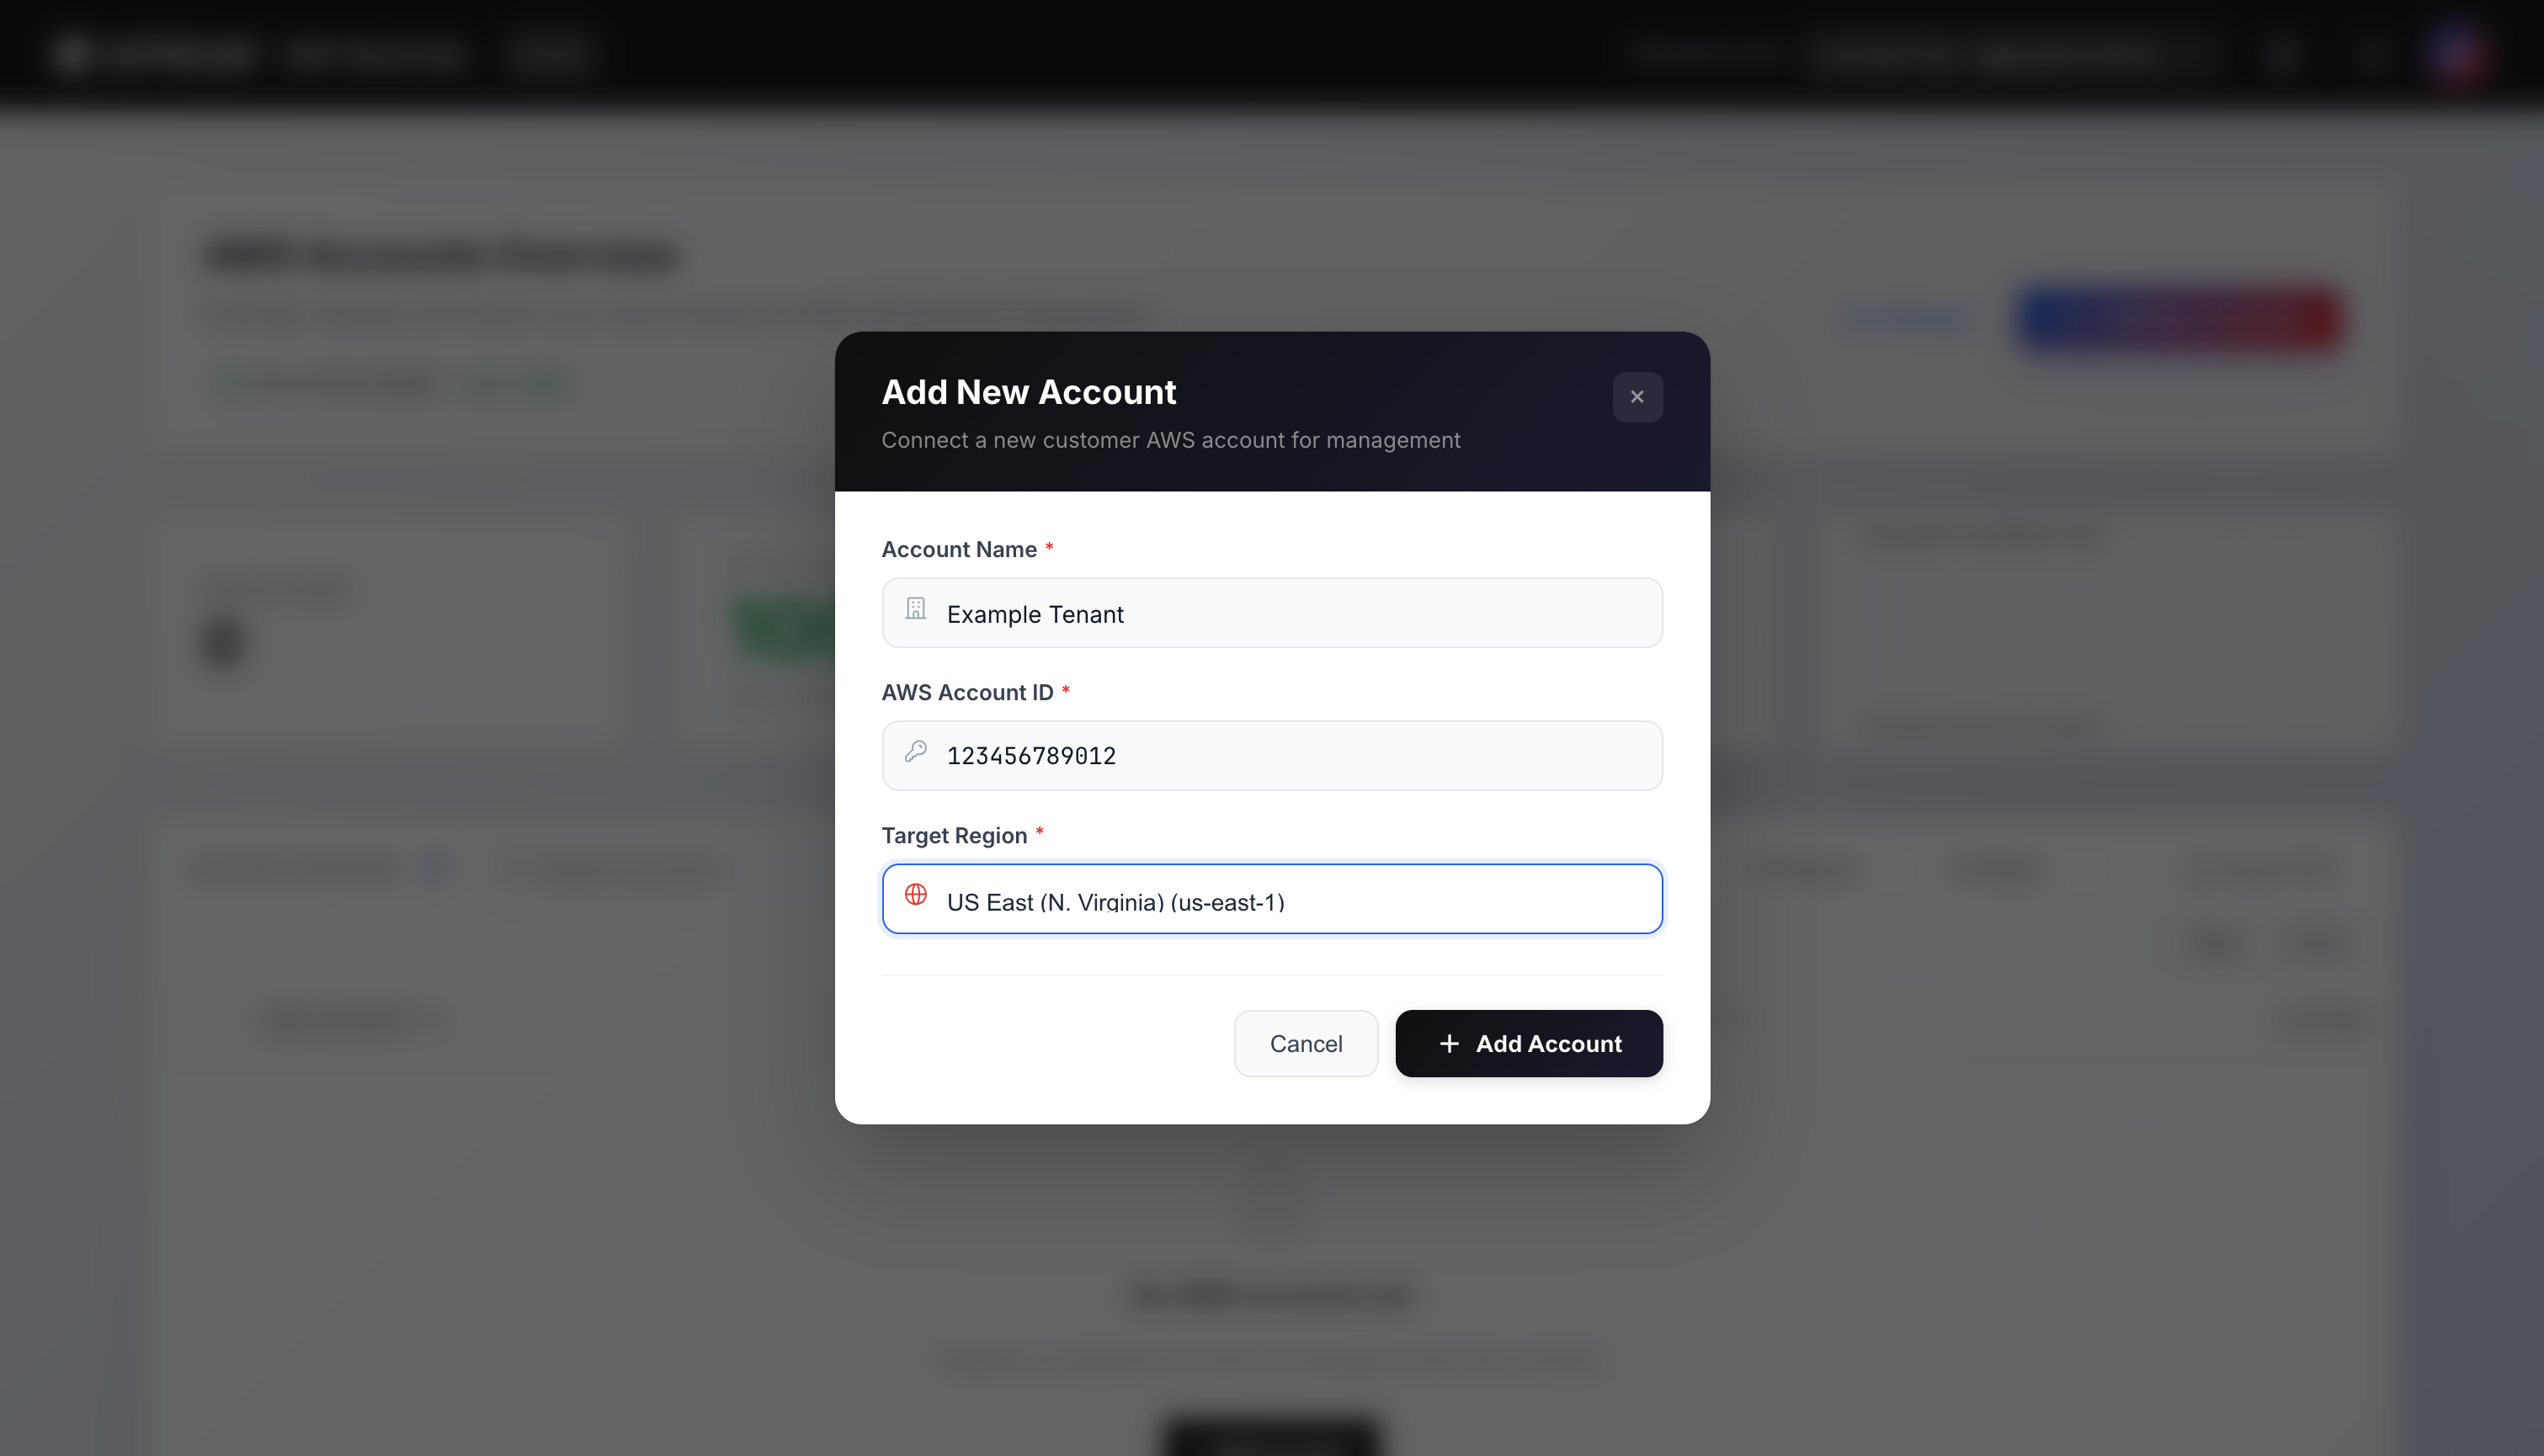
The AWS Account ID must be exactly 12 digits, and you must select a Target Region — both are validated before the account can be added.
Submit the form. The account is registered and appears in your Accounts list.
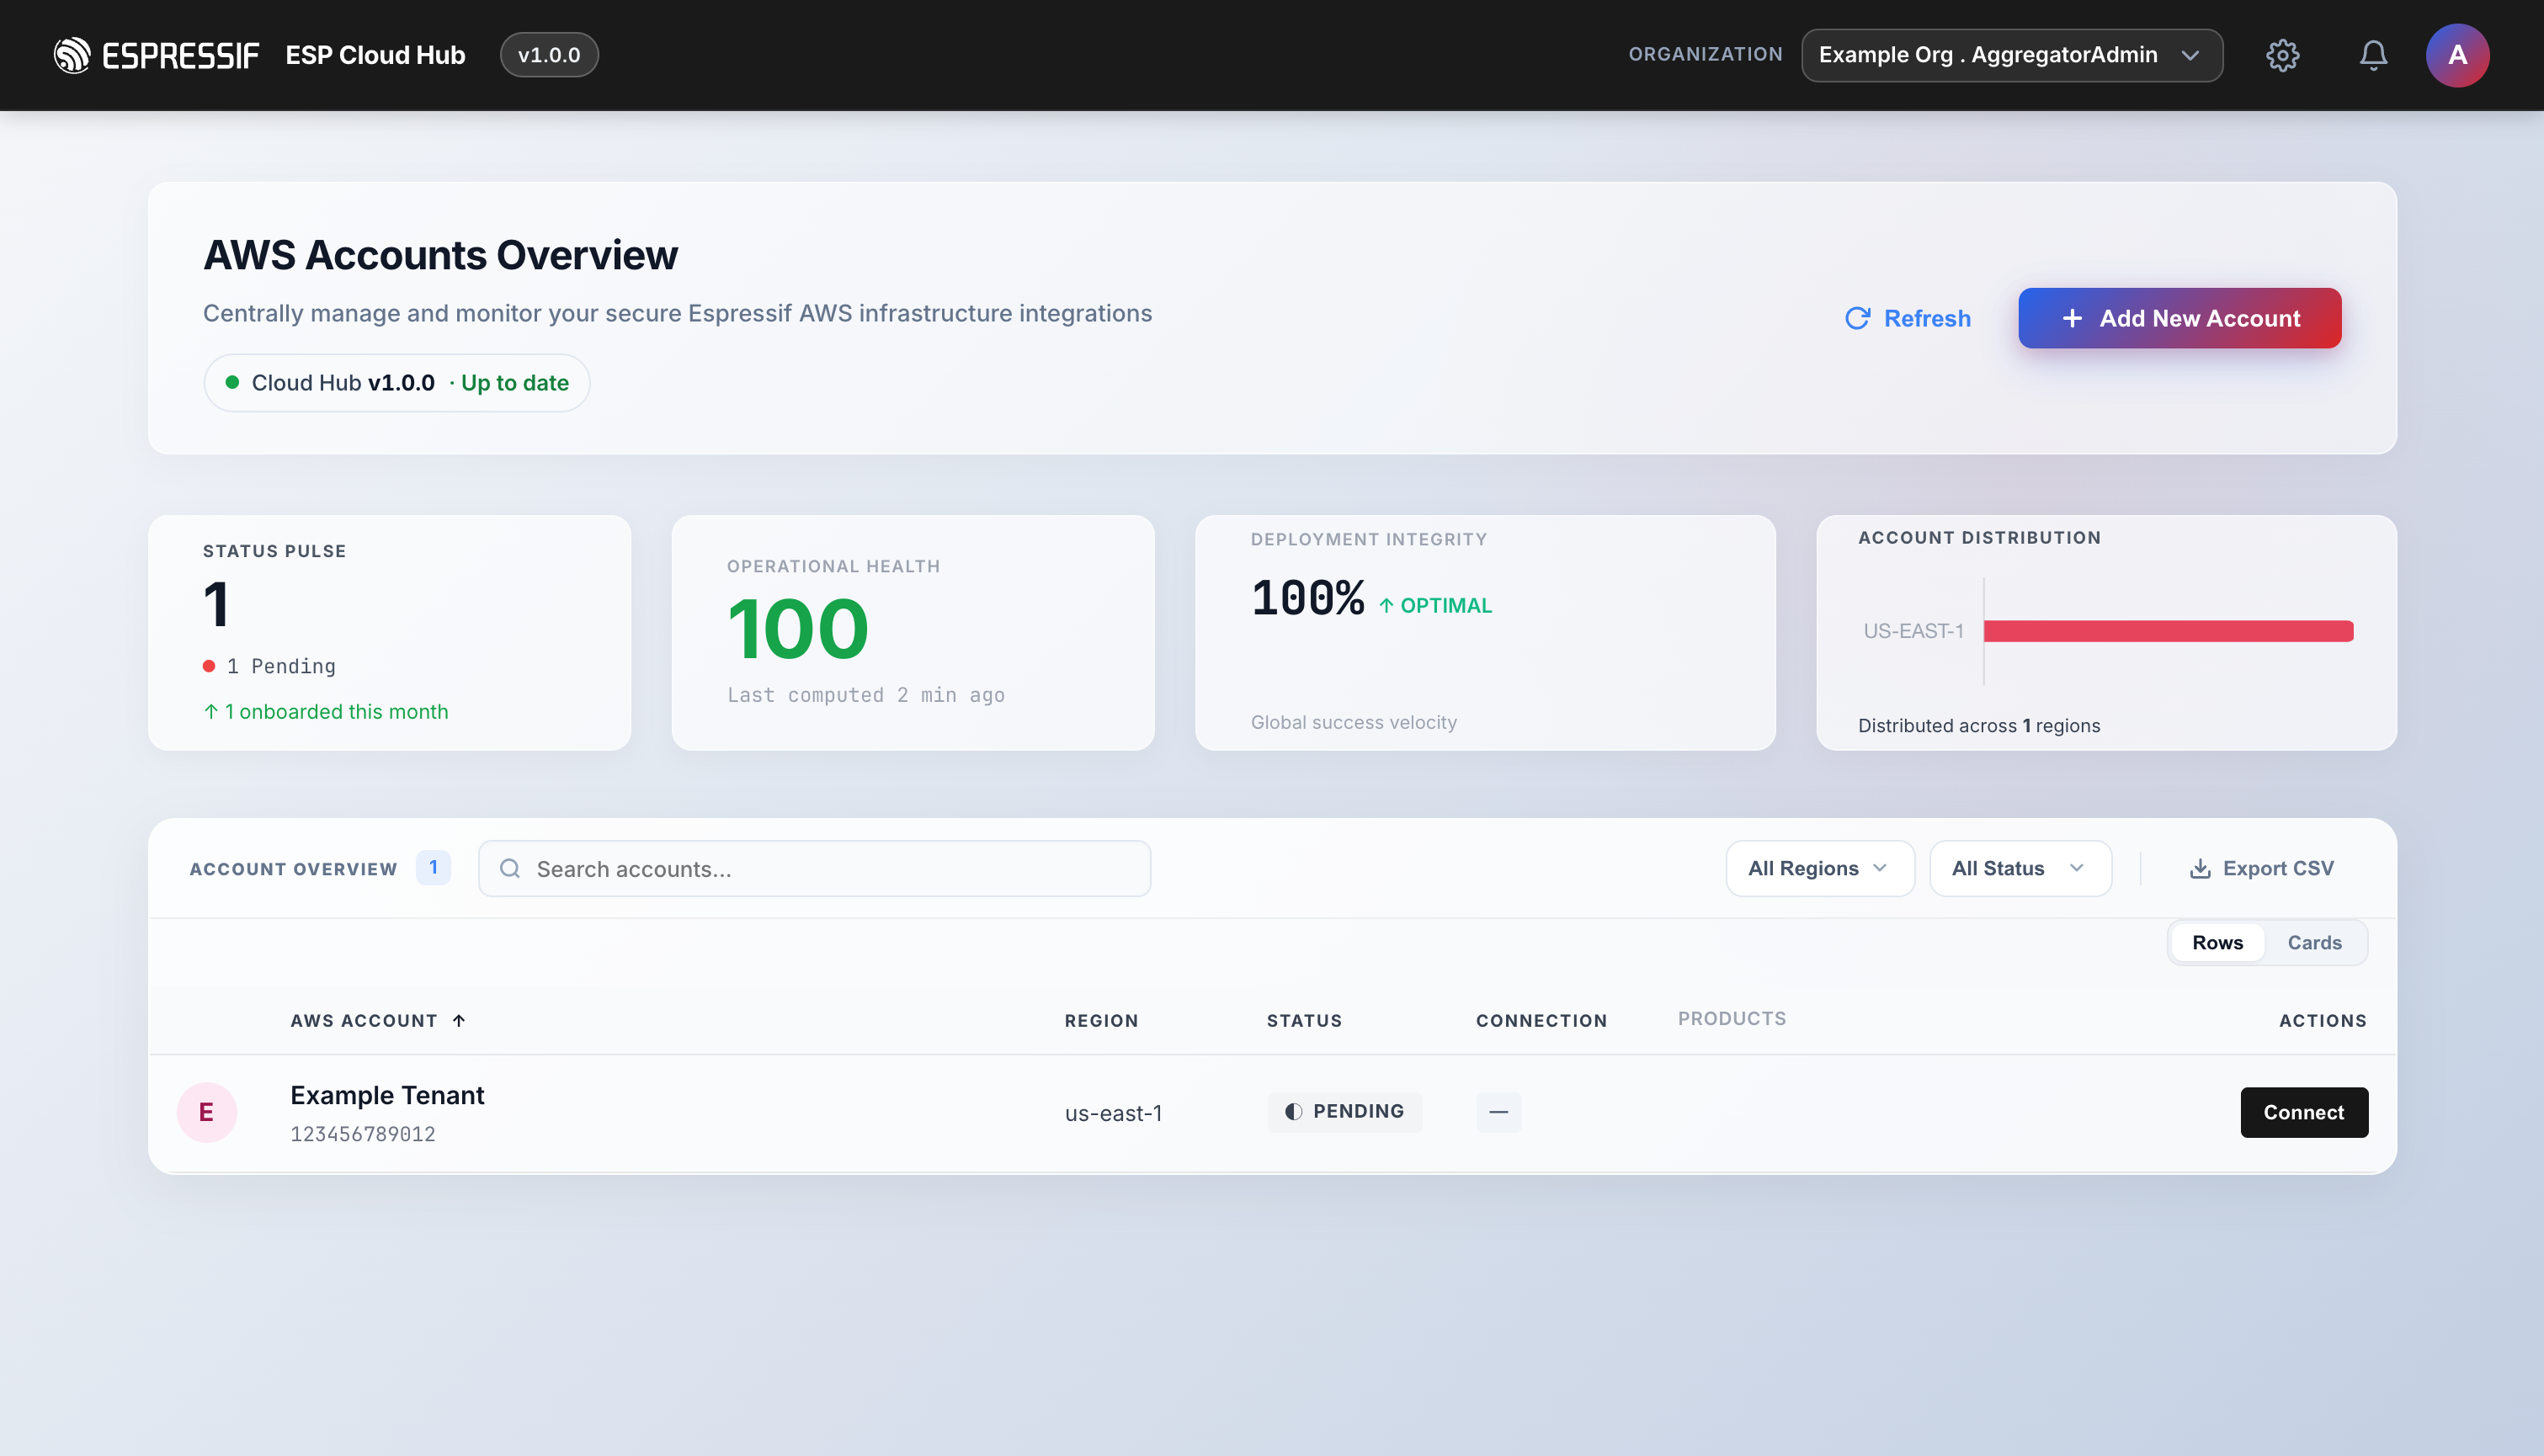
The tenant is now Pending
The new tenant shows a PENDING status — it's registered but not yet connected. Connecting is the next step; until then, ESP CloudHub cannot deploy into it.