

5. Run the deploy wizard
The wizard walks you through four steps: Version → Templates → Configure → Review. Your choices aren't saved until you submit on the Review step, so complete the wizard in one session.
Step 1 — Select a version
Pick the RainMaker version to deploy from the list.
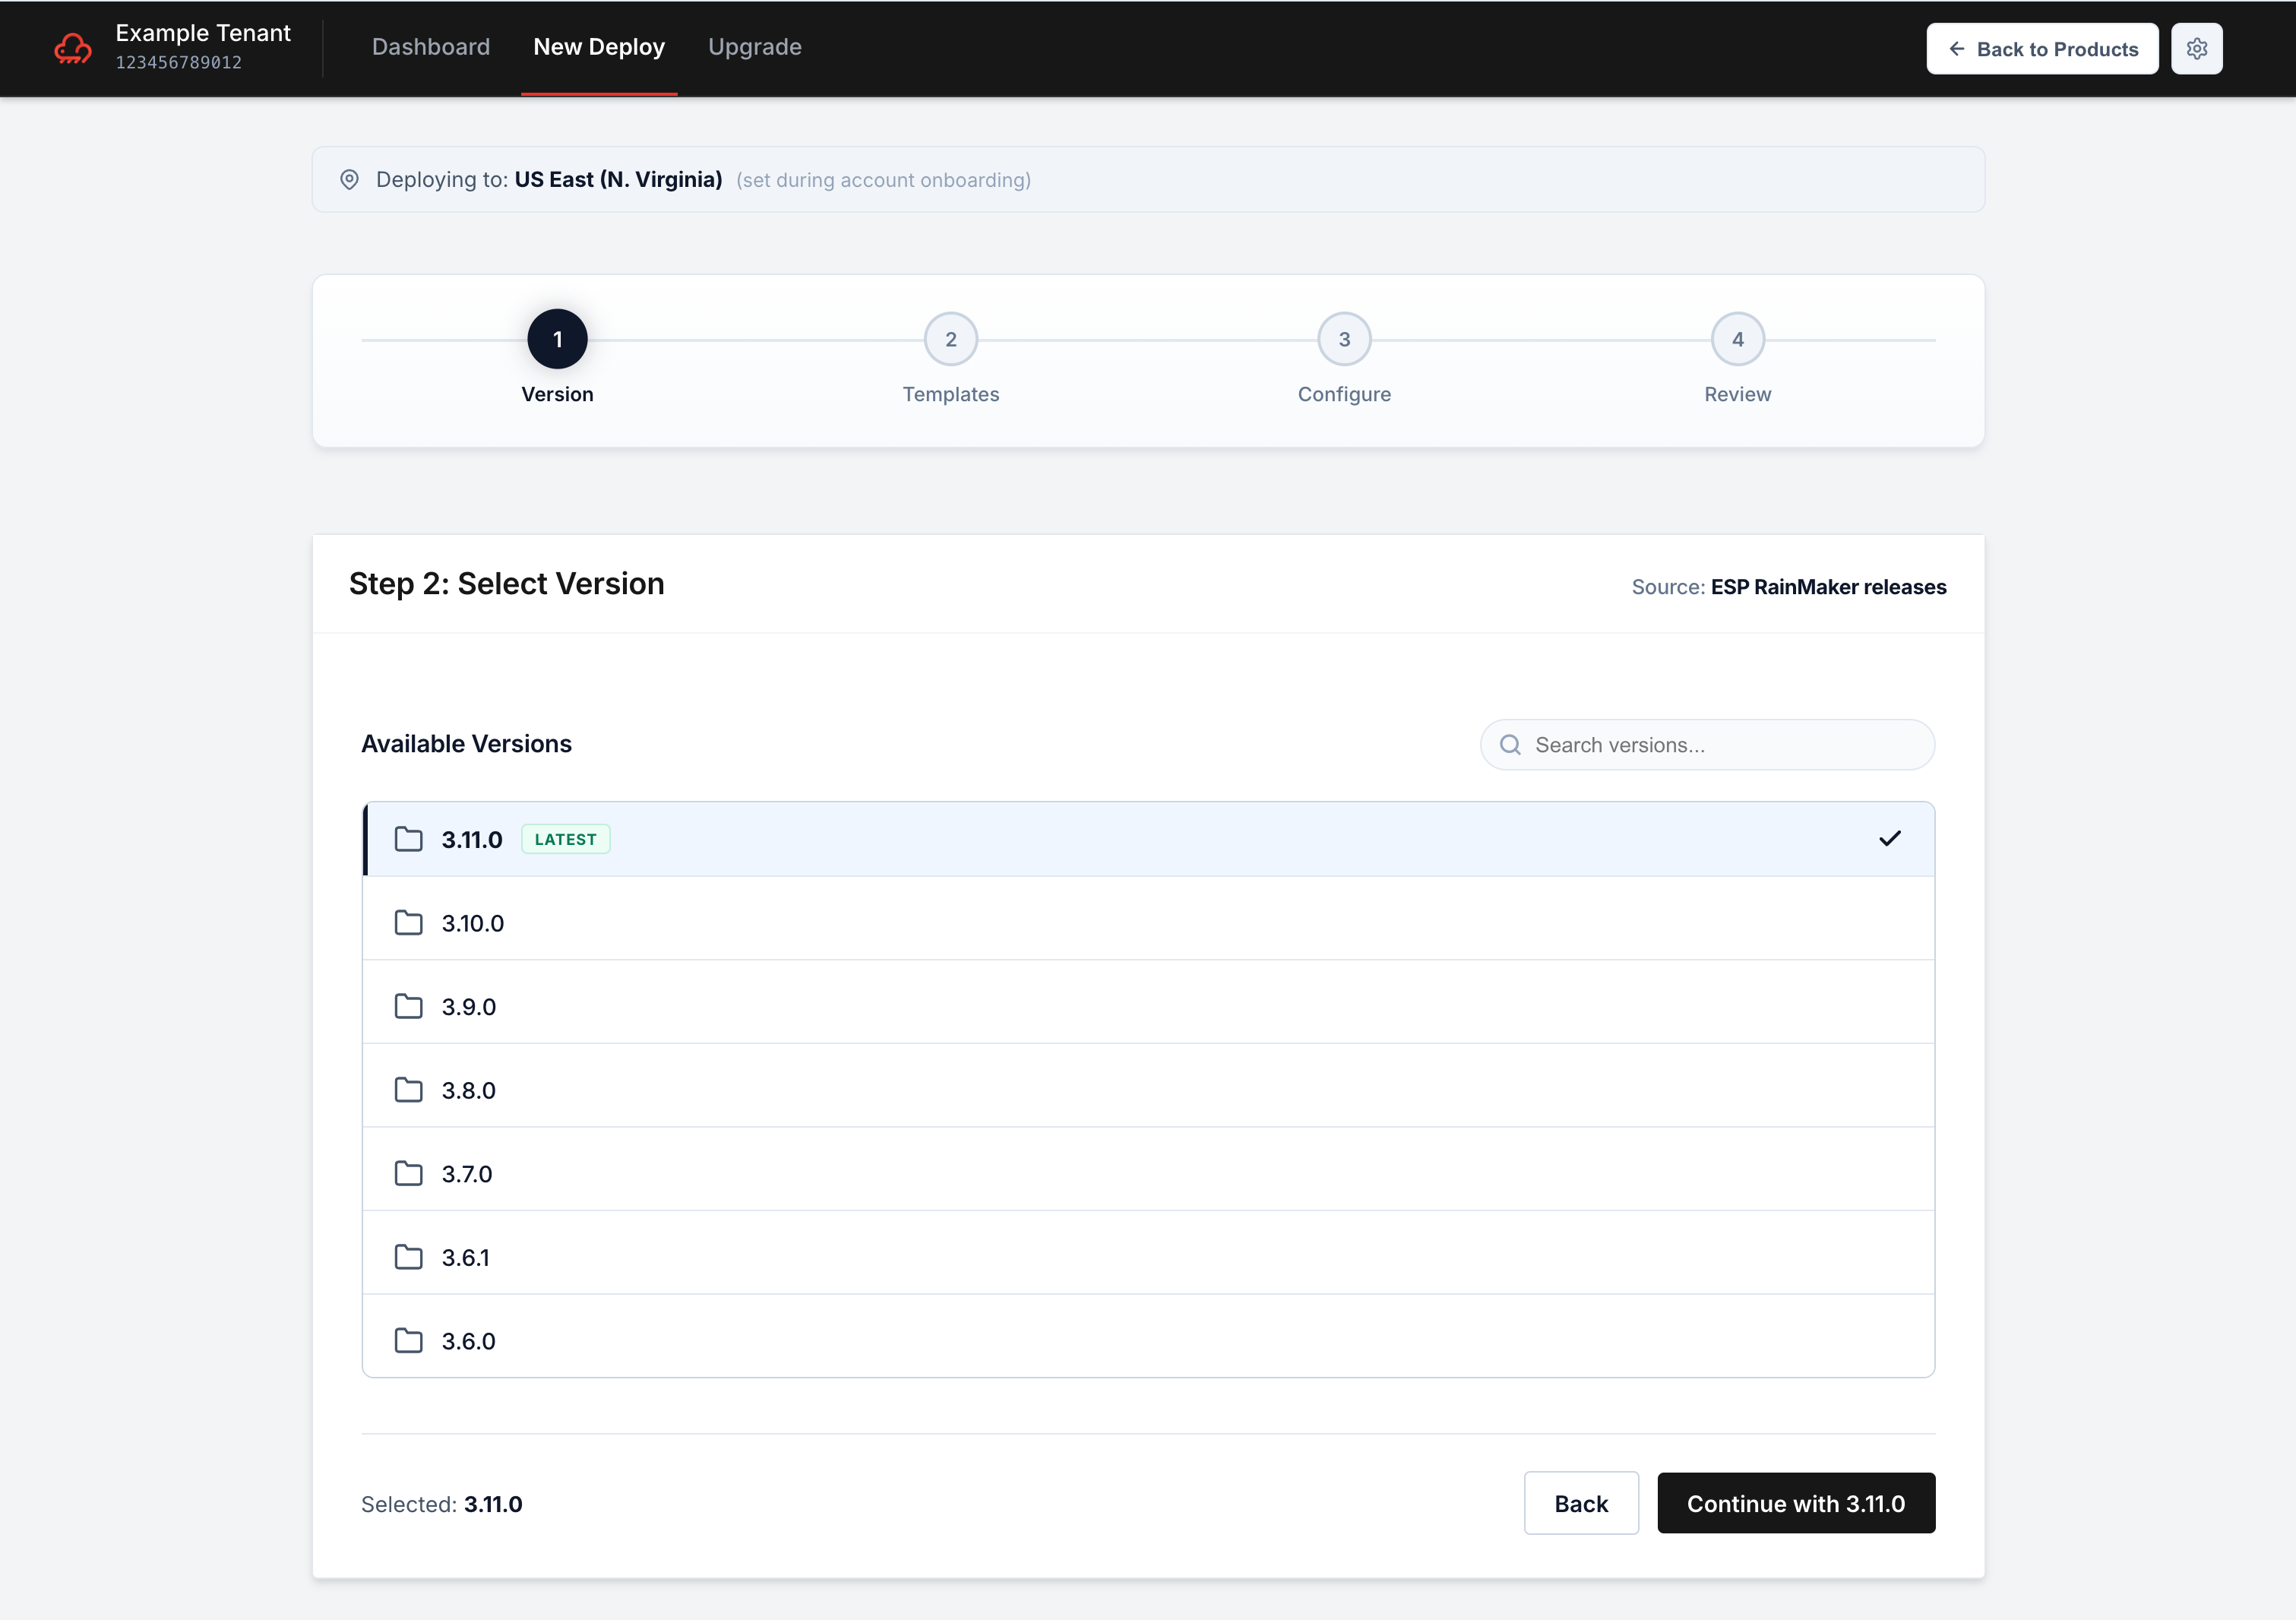
Select a version and continue.
Step 2 — Select templates (stacks)
ESP CloudHub shows the stacks available in that version. Some are pre-selected:
- 🔒 Required — always deployed; cannot be deselected.
- Pre-selected stacks can be deselected.
- Optional stacks start unselected.
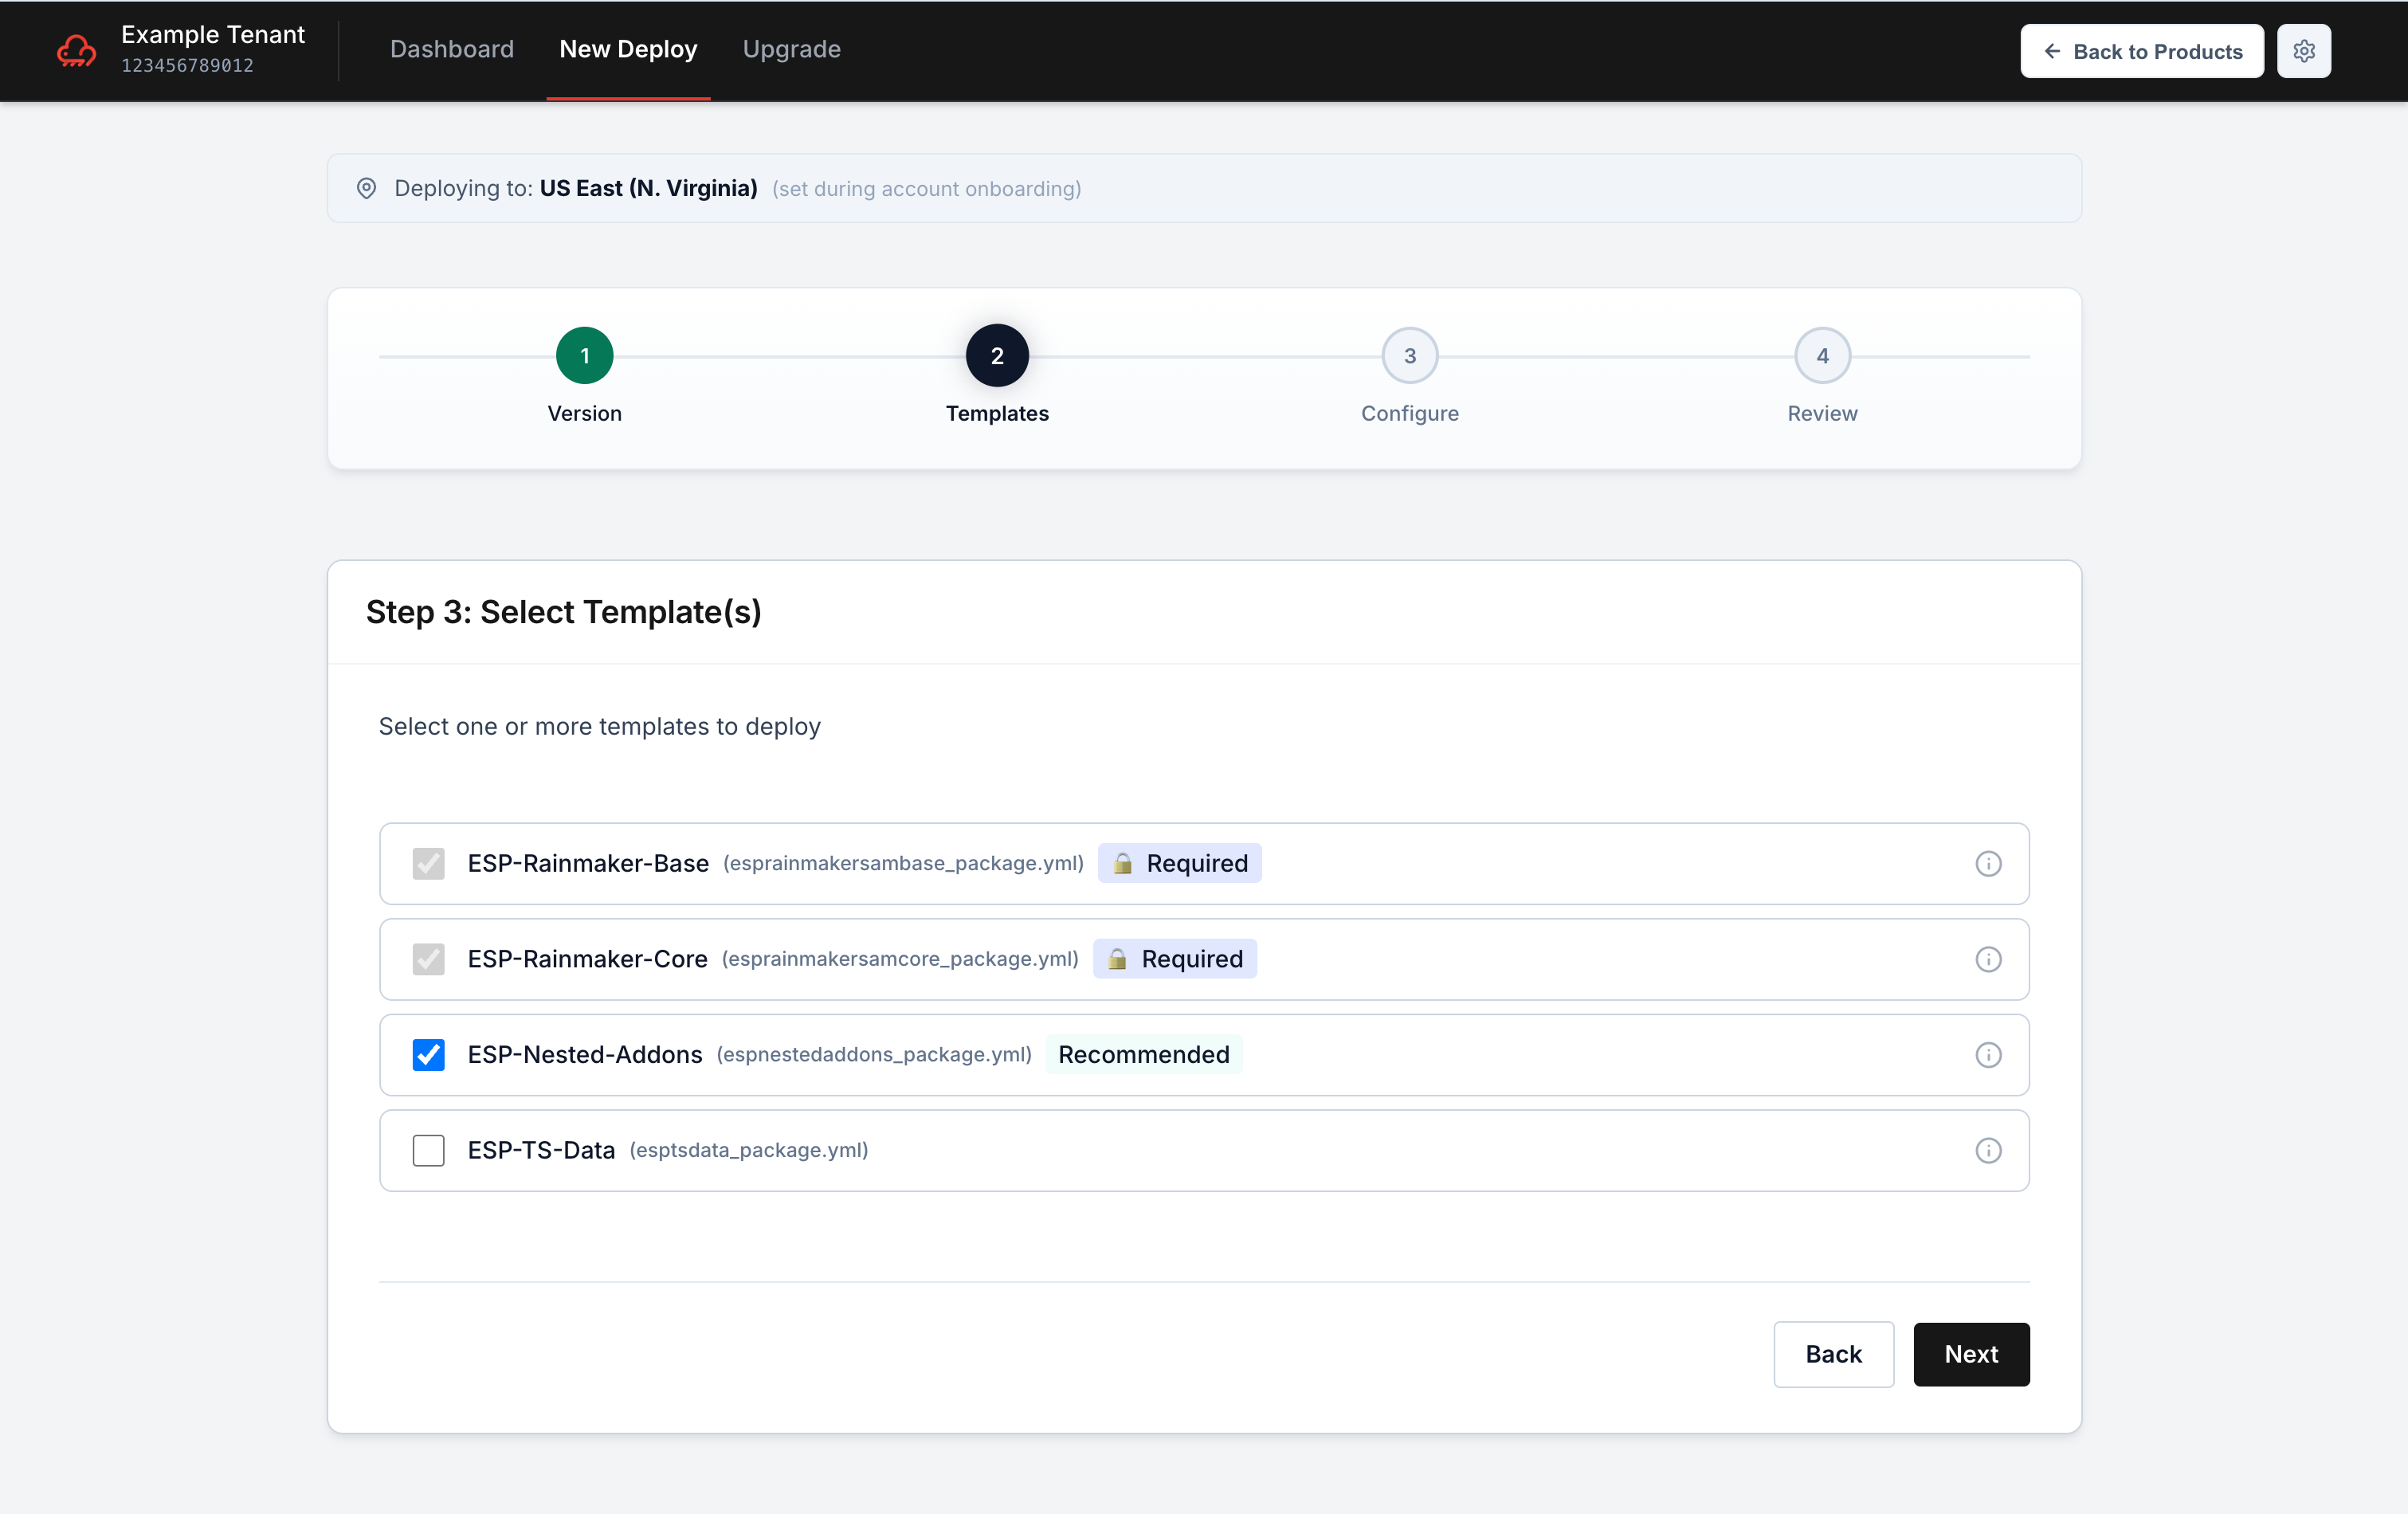
Click the ℹ️ info button next to a stack to see what it does before deciding whether to include it. Use this to understand each stack's purpose so you only deploy what you need.
Confirm your selection and continue.
Step 3 — Configure parameters
The wizard steps through each selected stack, one at a time. For every stack, fill in its CloudFormation parameters.
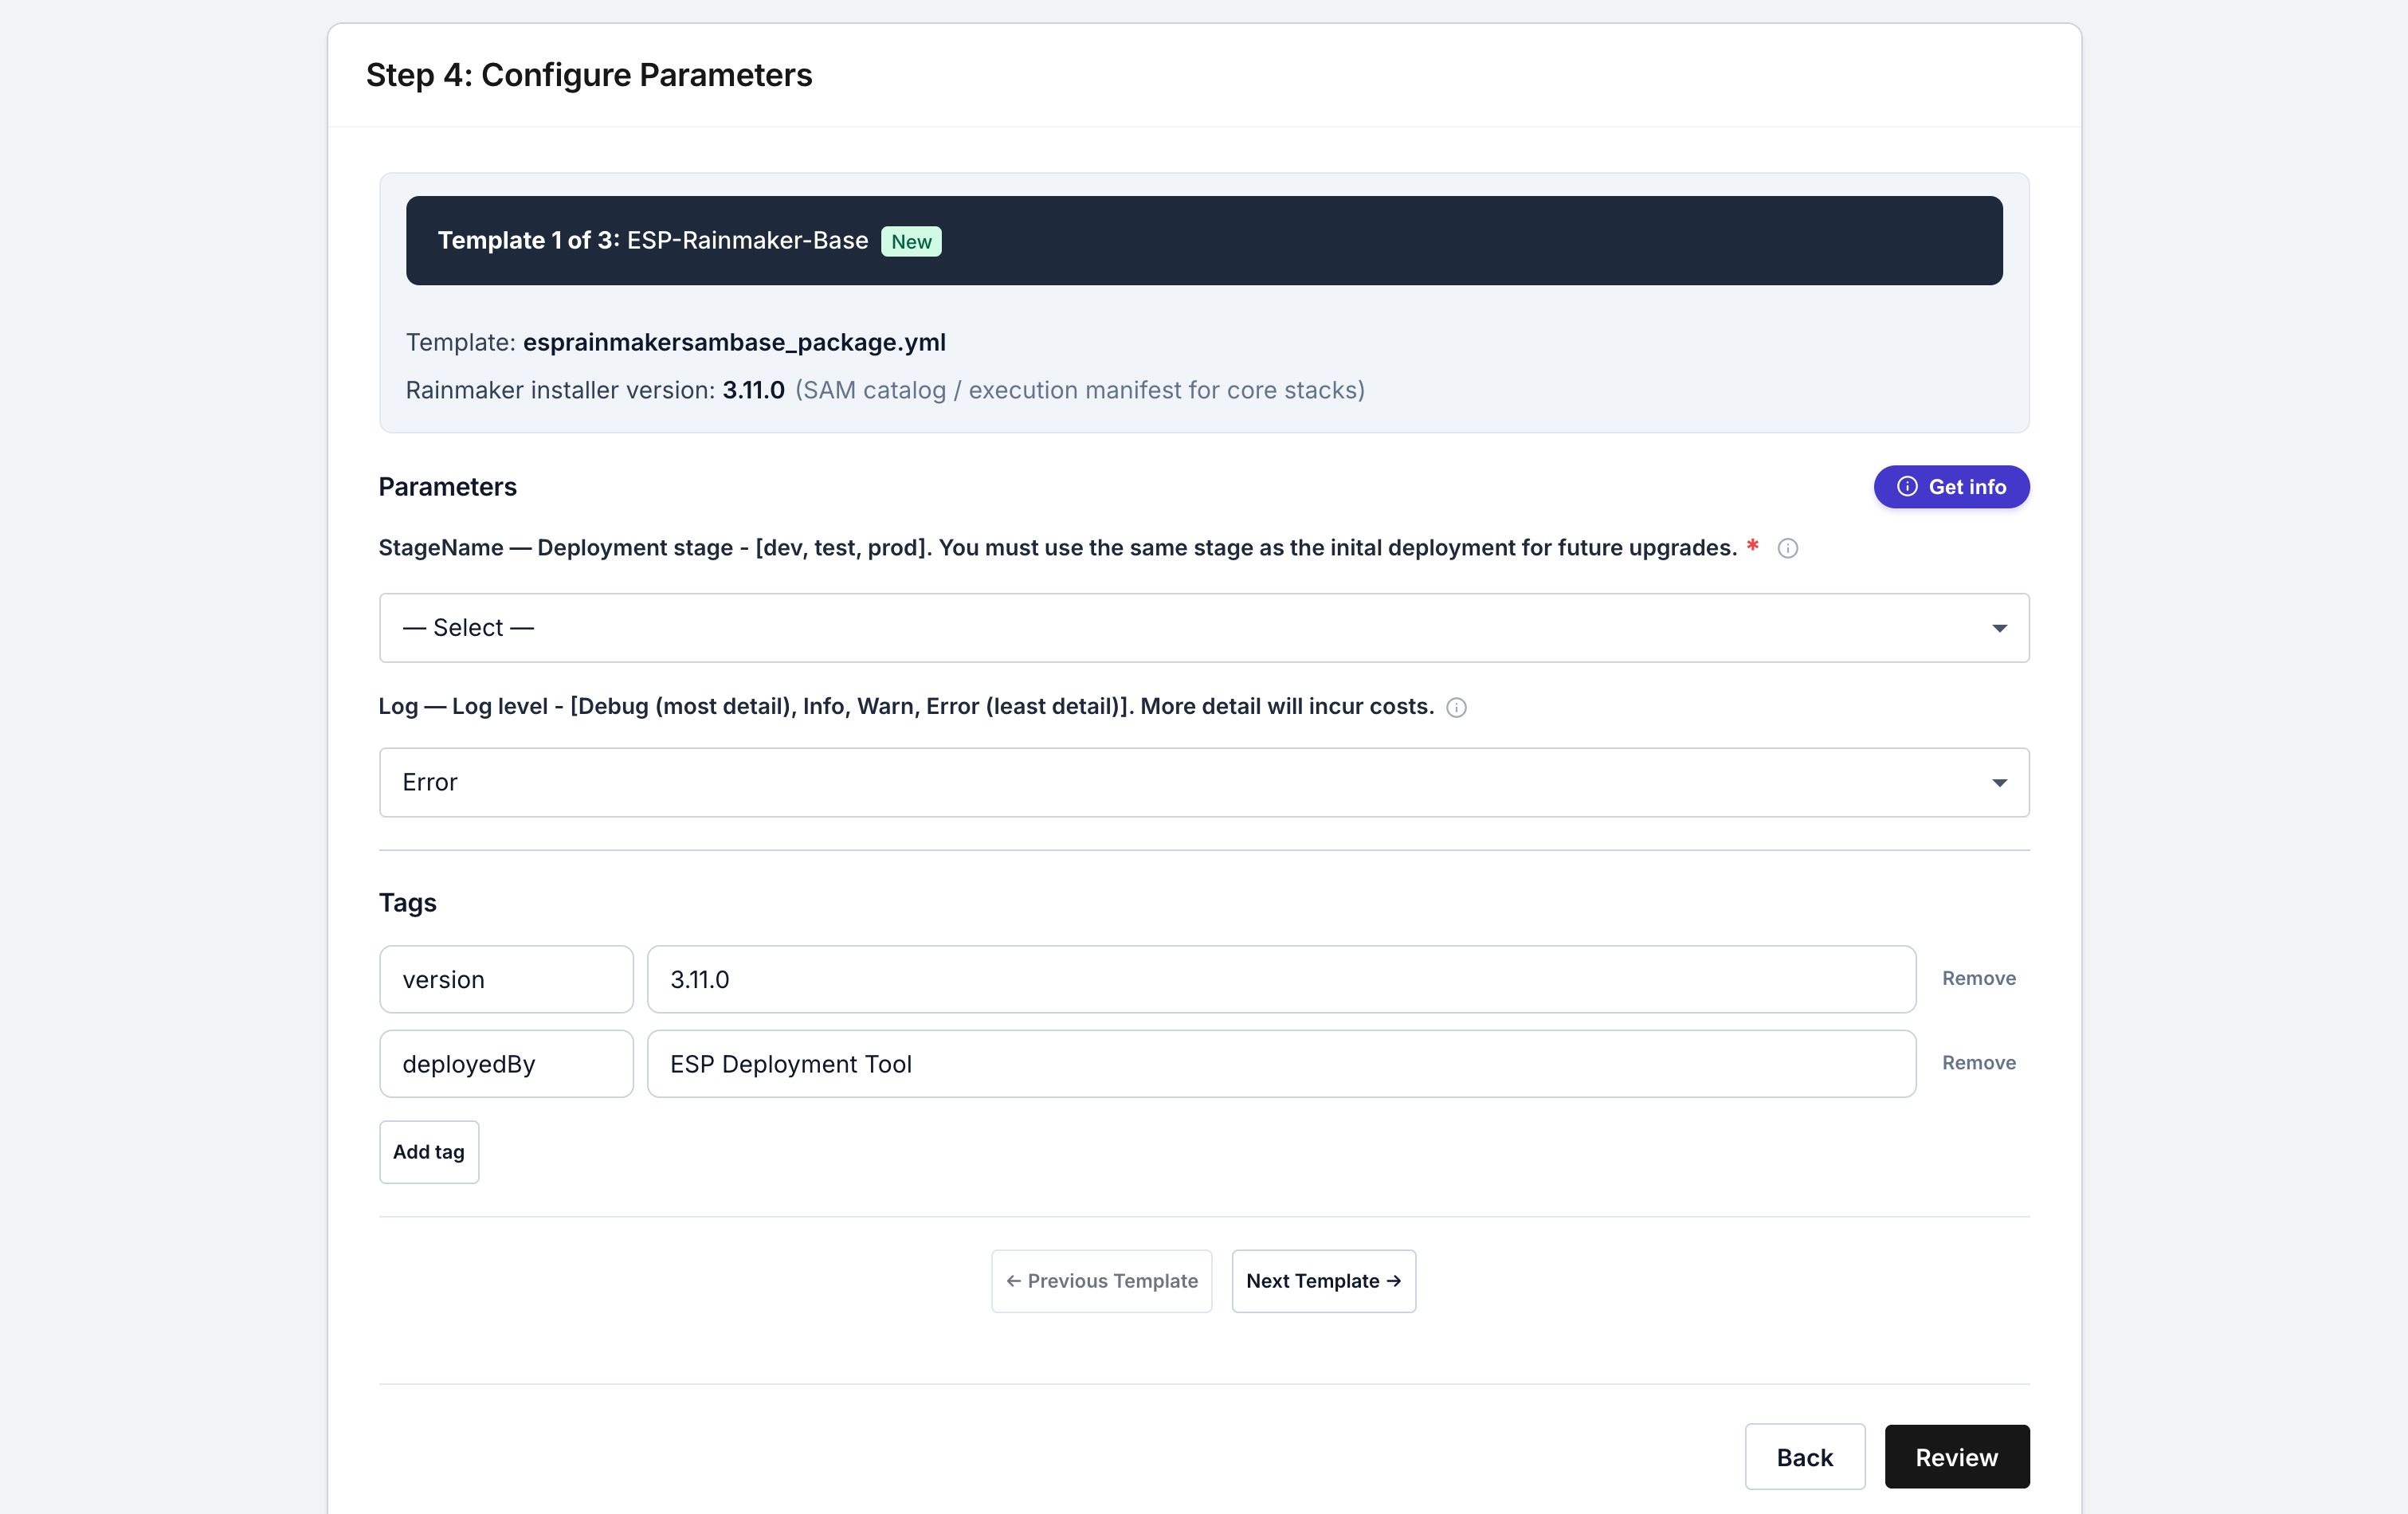
- Fill in the parameters for every stack with the values appropriate to your deployment. Required fields (those without a default) must be filled.
- Password-type parameters (NoEcho) render as password fields and must meet minimum complexity (at least 8 characters, with an uppercase letter, a lowercase letter, and a symbol). This rule is for the ESP RainMaker stack parameters you fill in here; the password you use to sign in to ESP CloudHub follows its own rule, which also requires a number.
- Parameters with a fixed set of allowed values render as dropdowns.
- Use Previous / Next Template to move between stacks — you must visit and complete every selected stack.
When you've filled in all stacks, click Next to proceed to review.
If a required parameter is missing (or you skipped a stack), the wizard shows a validation dialog listing every problem. You can't continue until all are resolved.
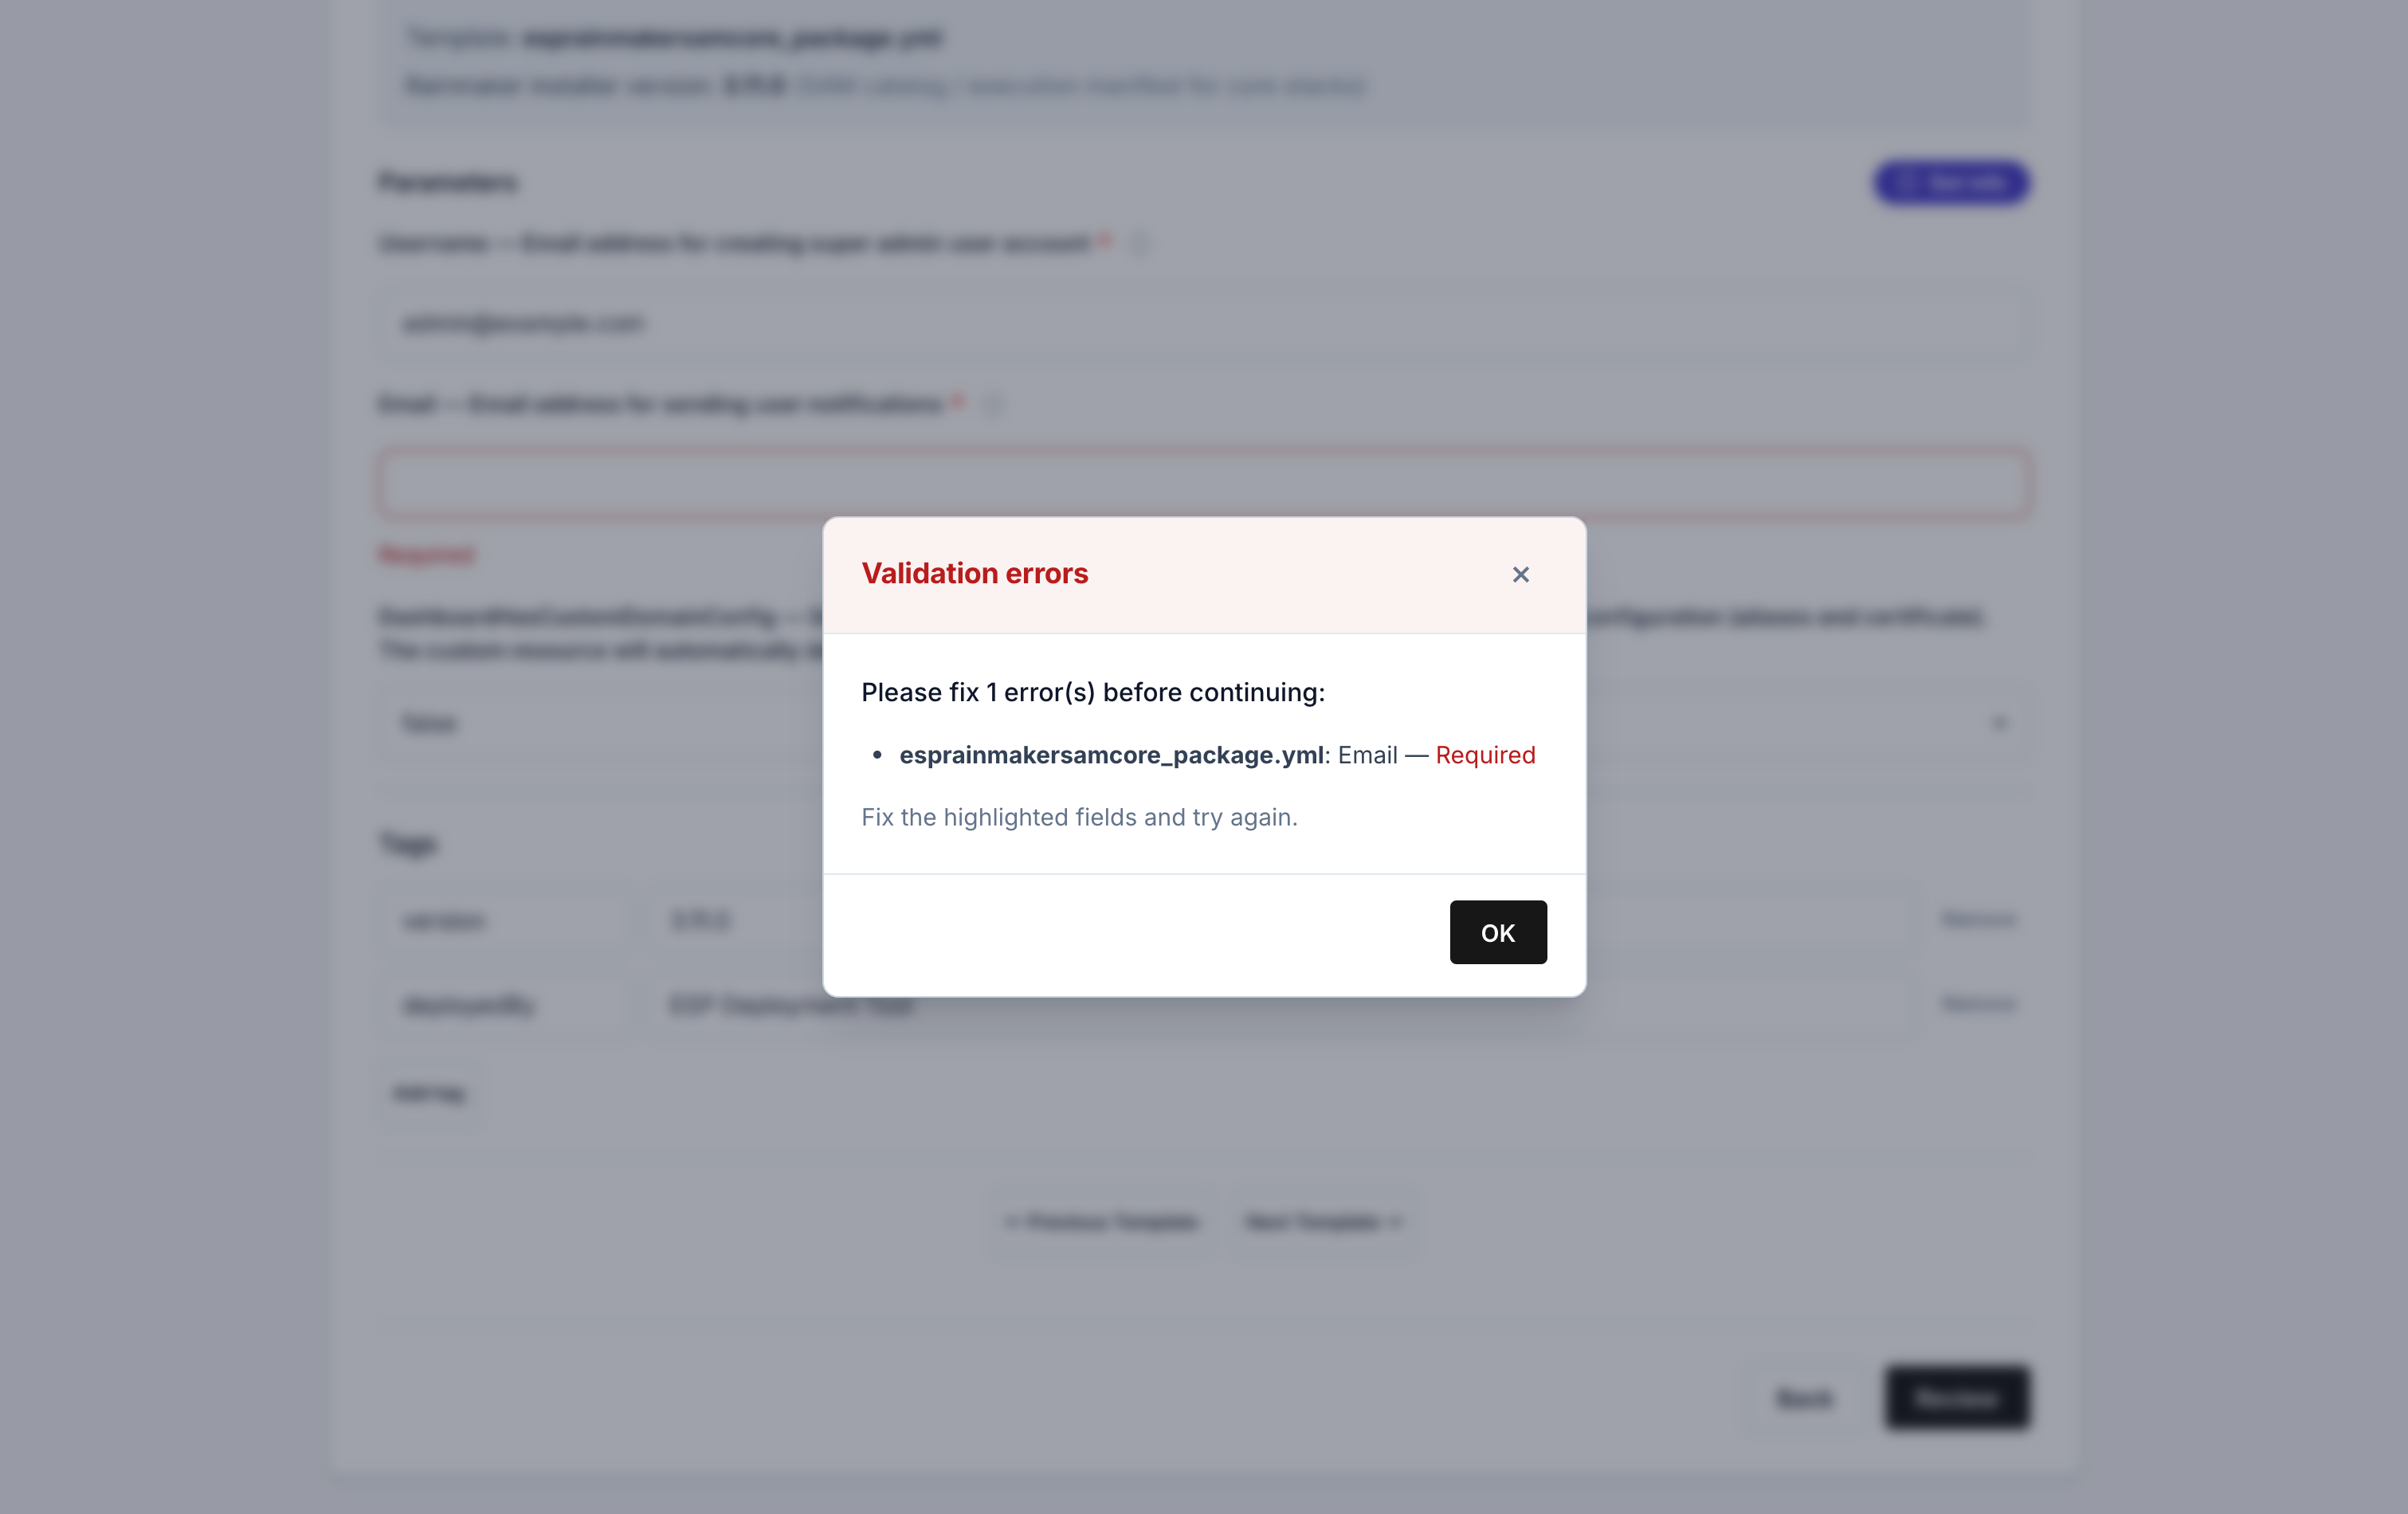
Navigate to the named stack, fill the highlighted field, and try again.
Step 4 — Review and deploy
The Review step summarizes every selected stack, the parameters you entered, and any tags.
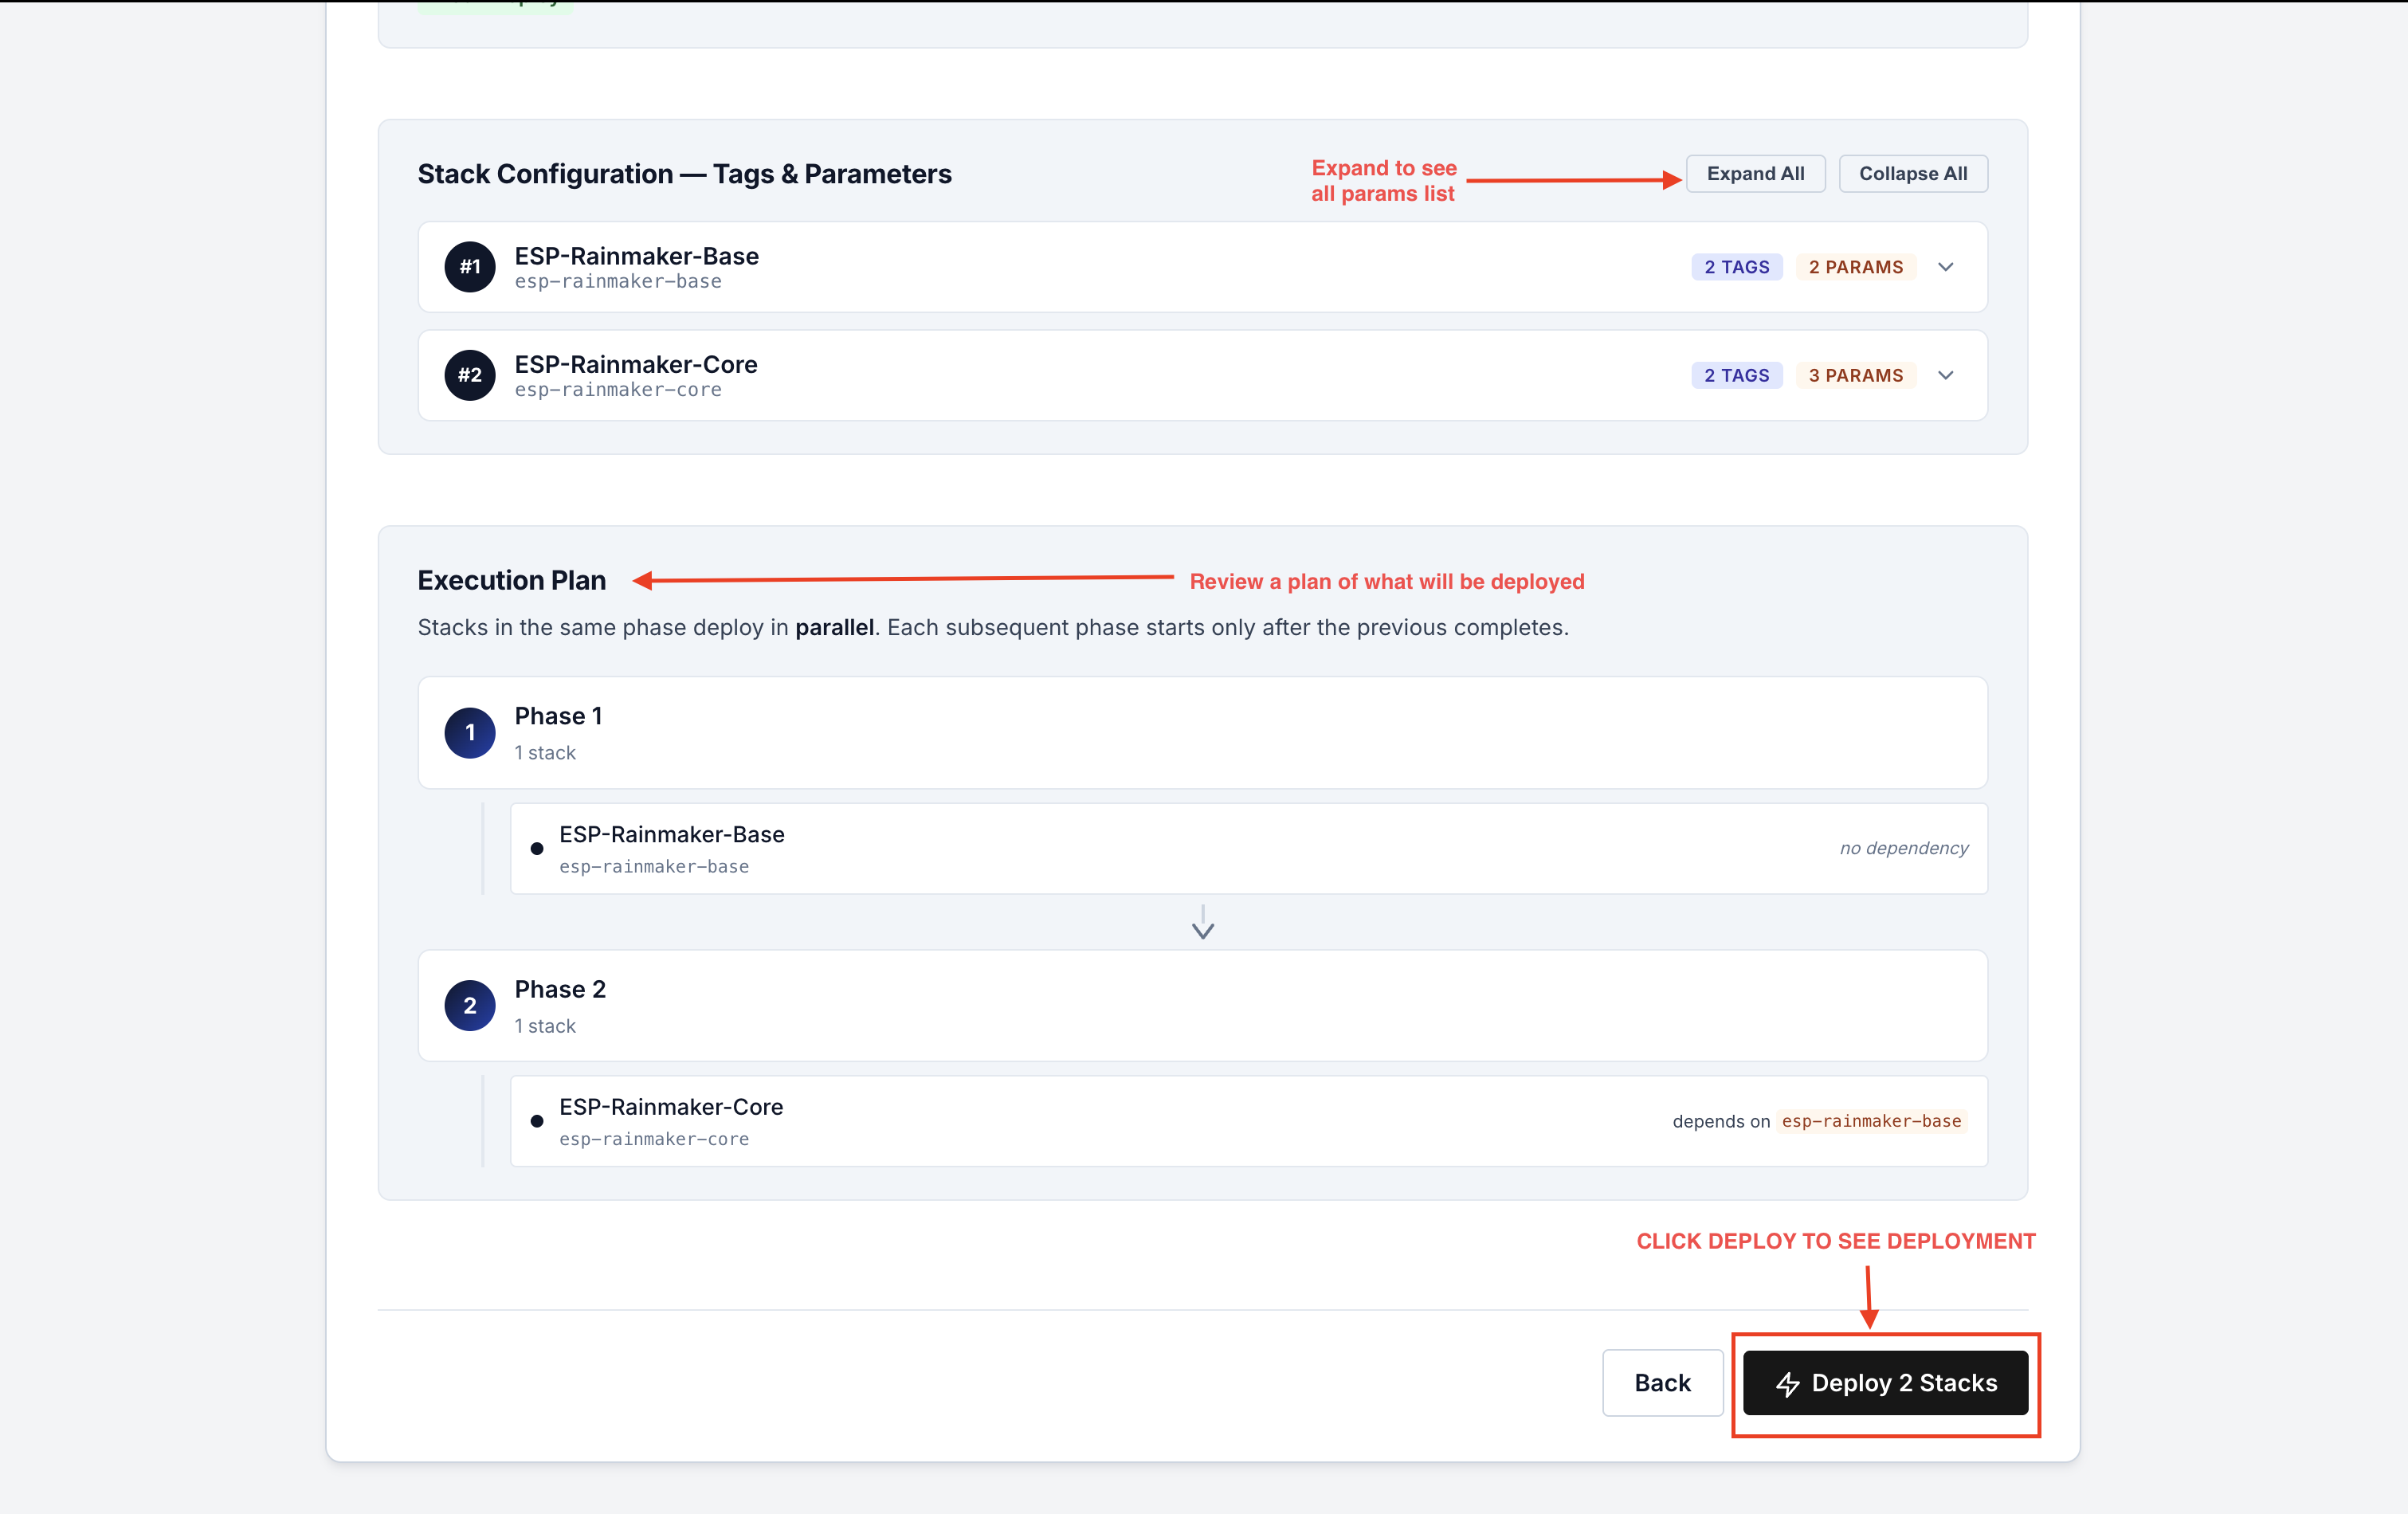
Check everything, then confirm to start the deployment.