Configuring Push Notifications
Push notifications help send notifications to users about ESP RainMaker events. It is required to set up FCM and APNS environments for Android and iOS notifications respectively.
Configure Push Notifications for Android
It's a two-step process that involves configuration in the Google Firebase service and in your Android application code.
Firebase Service Configurations
-
Configure your Android app for Push Notifications.
-
In the Firebase console, choose your project. In the left navigation pane, choose the gear icon, and then
Project settings.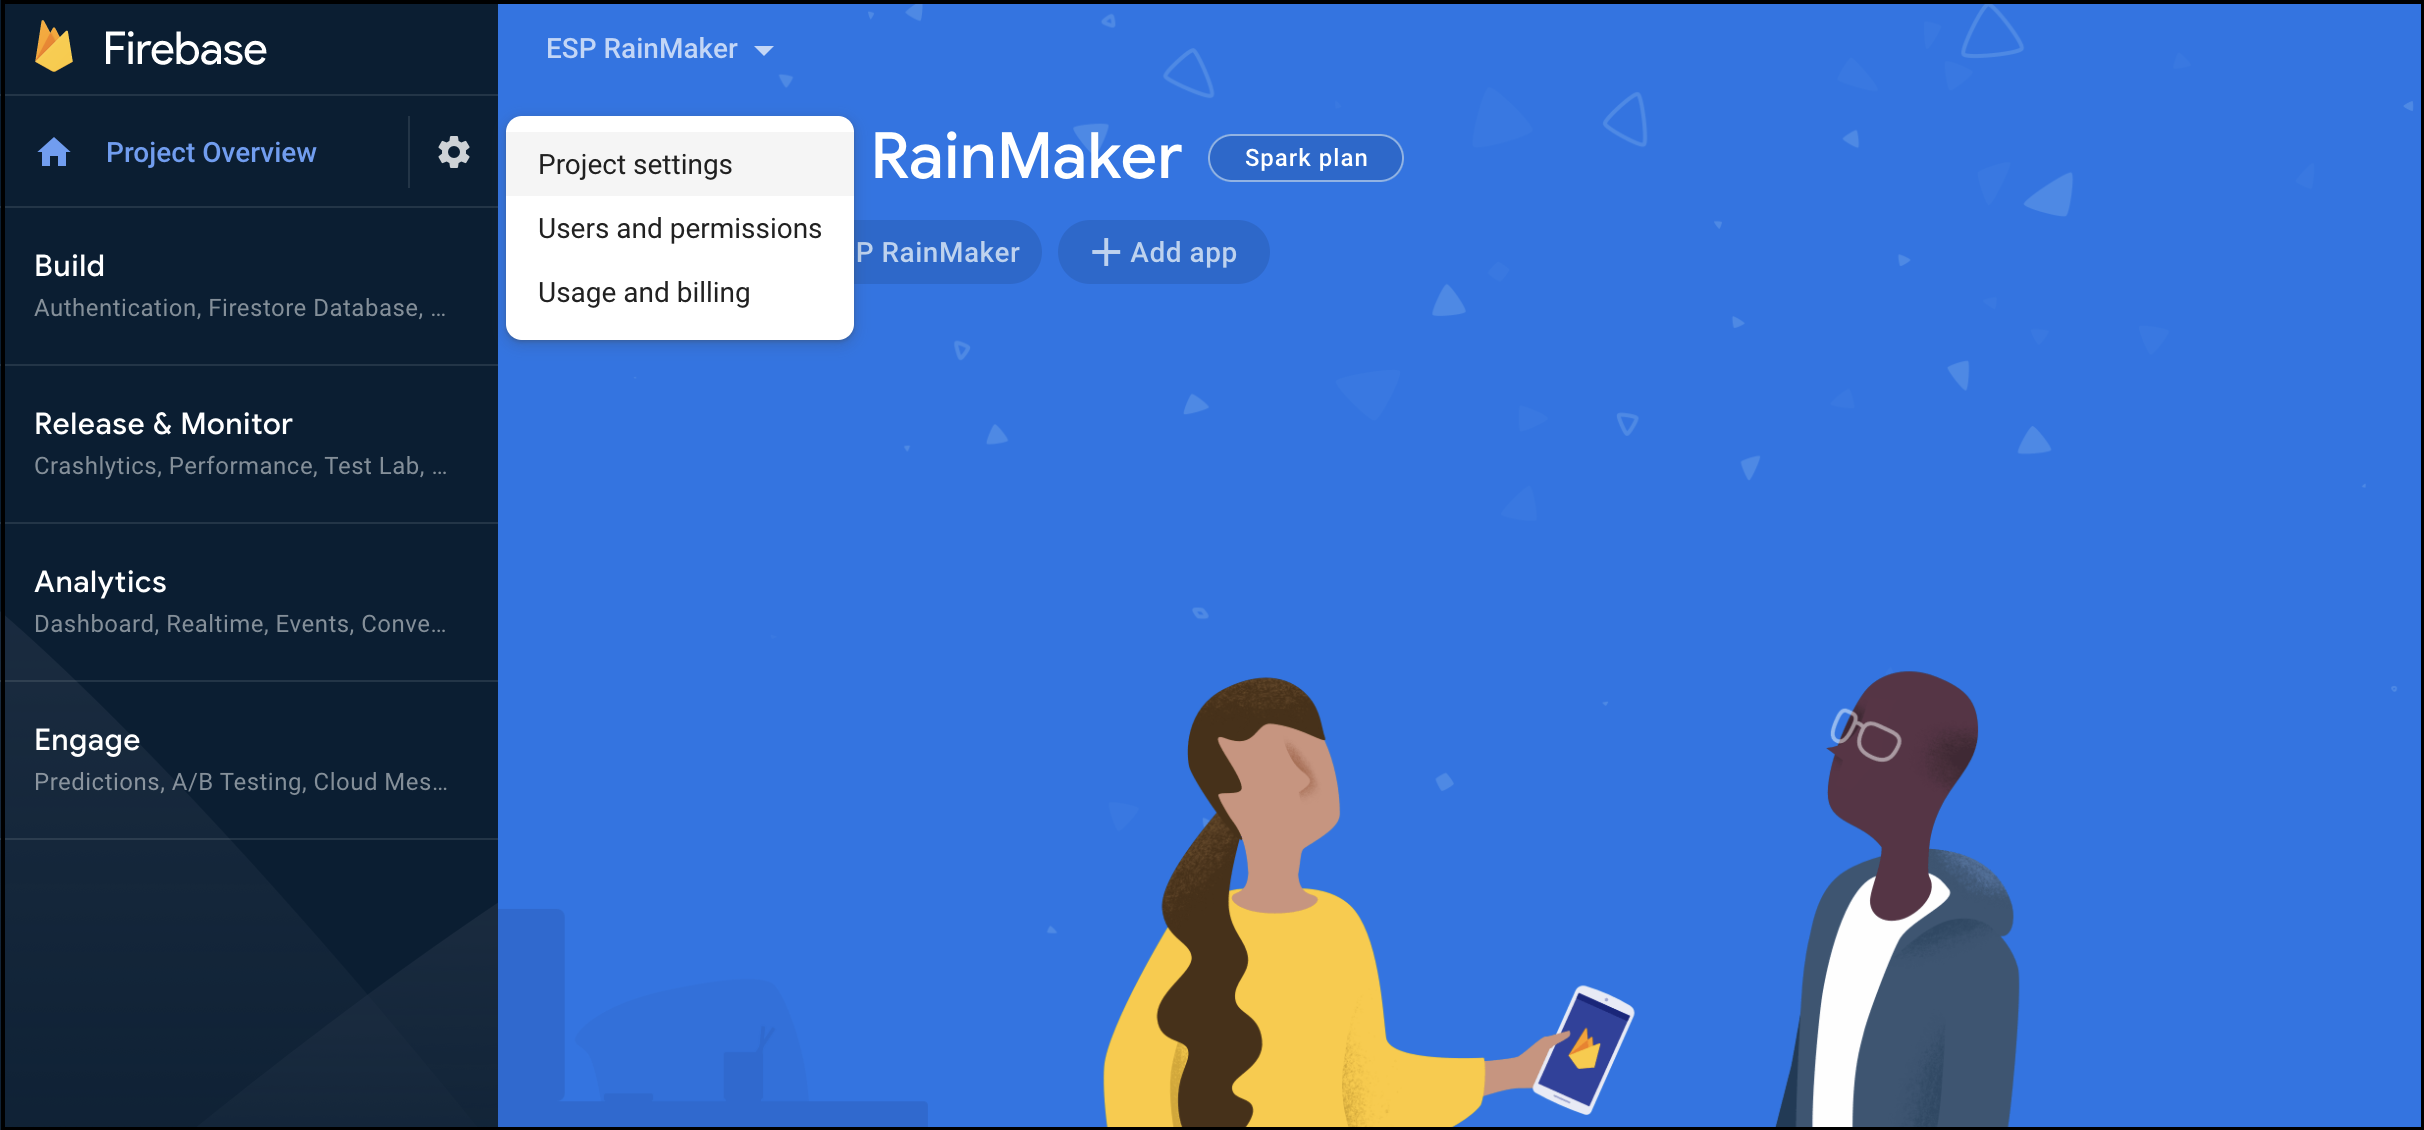
-
Choose
Service accounts. UnderFirebase Admin SDK, clickGenerate new private key.
This will download a file with all the project details including the private key.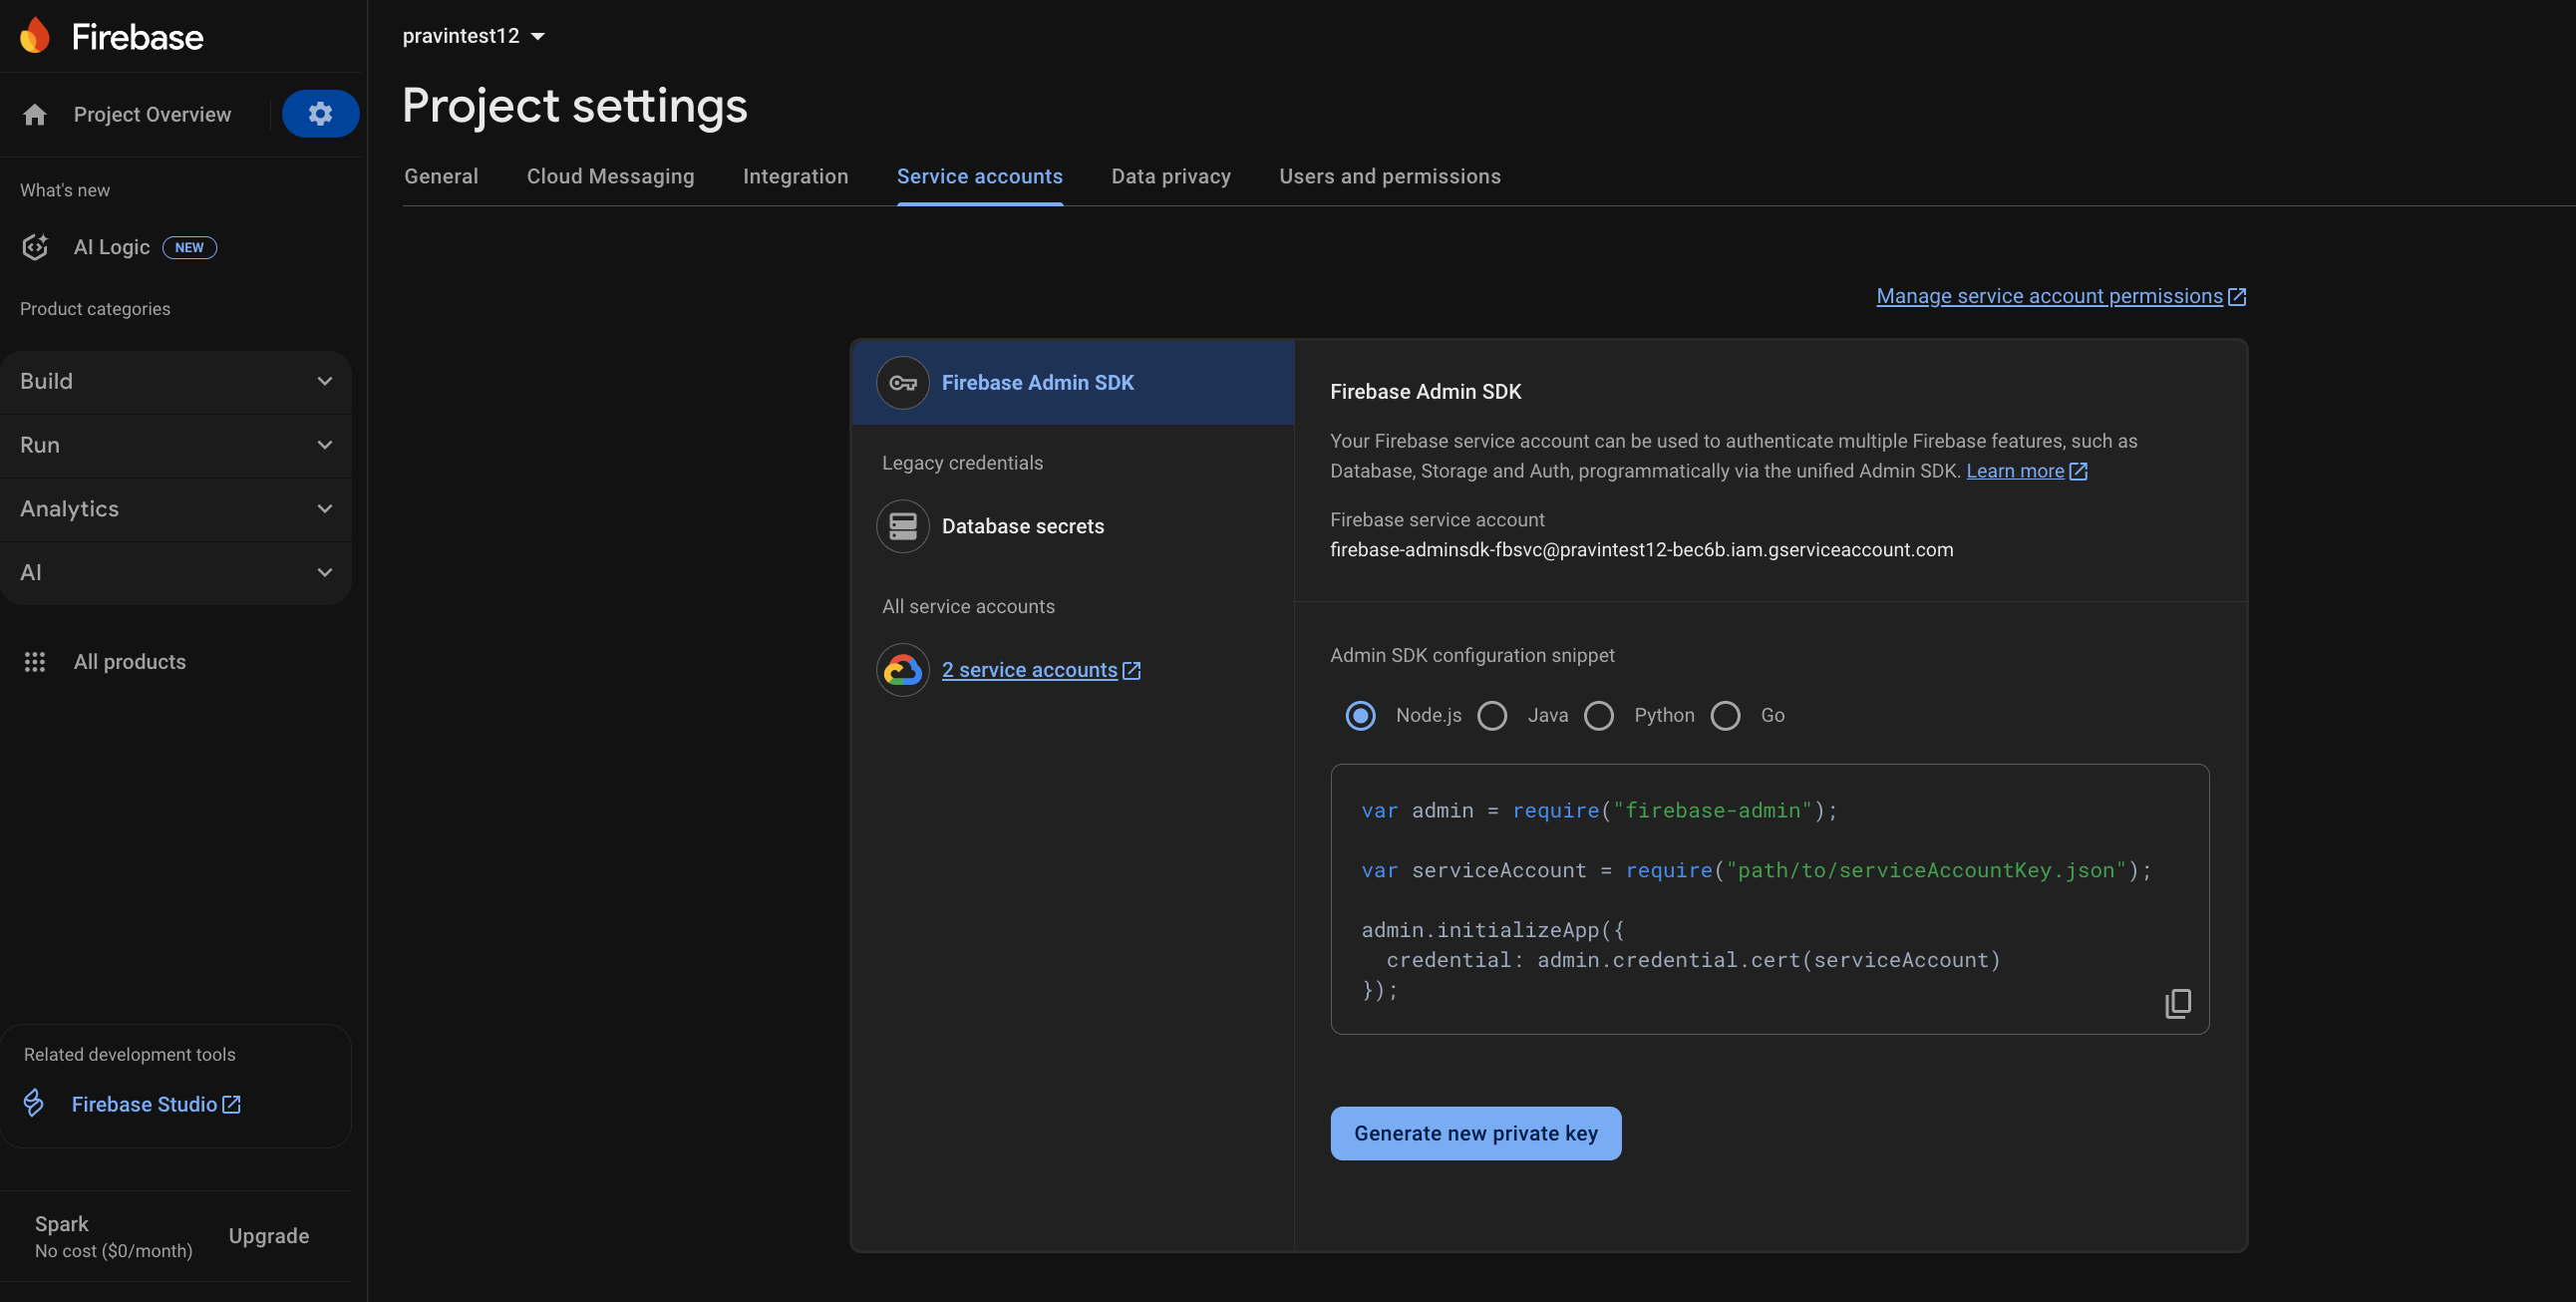
-
Log in to Rainmaker Dashboard with your admin account. Go to the
Deployment Settings>Push Notificationstab.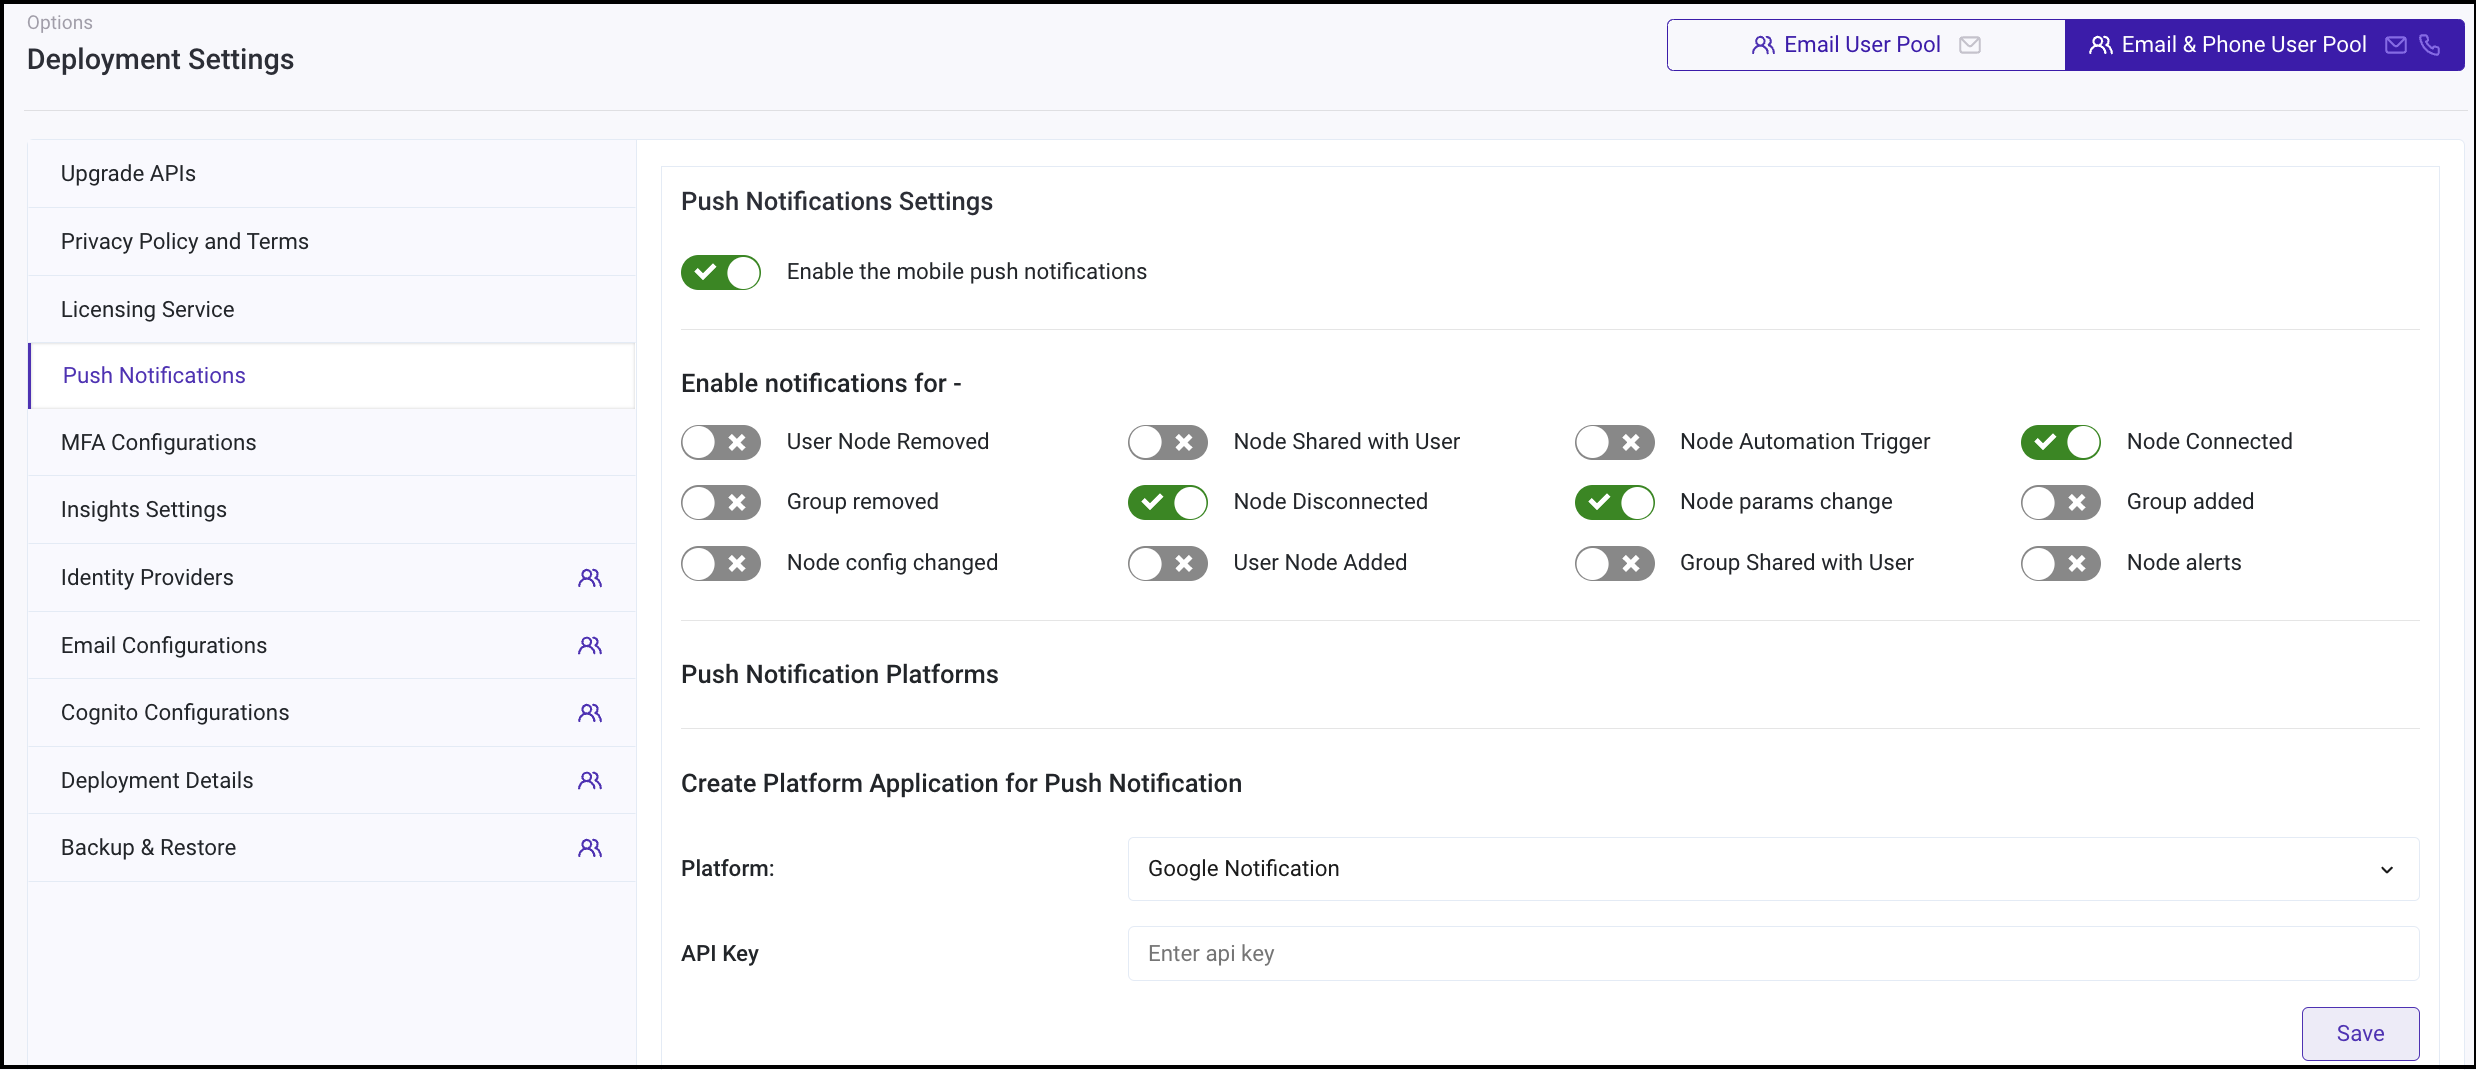
-
Create a new platform application. Choose type
Google Notification.
-
Put the contents of the
Private Keyfrom the file that you downloaded instep 3. ClickSave.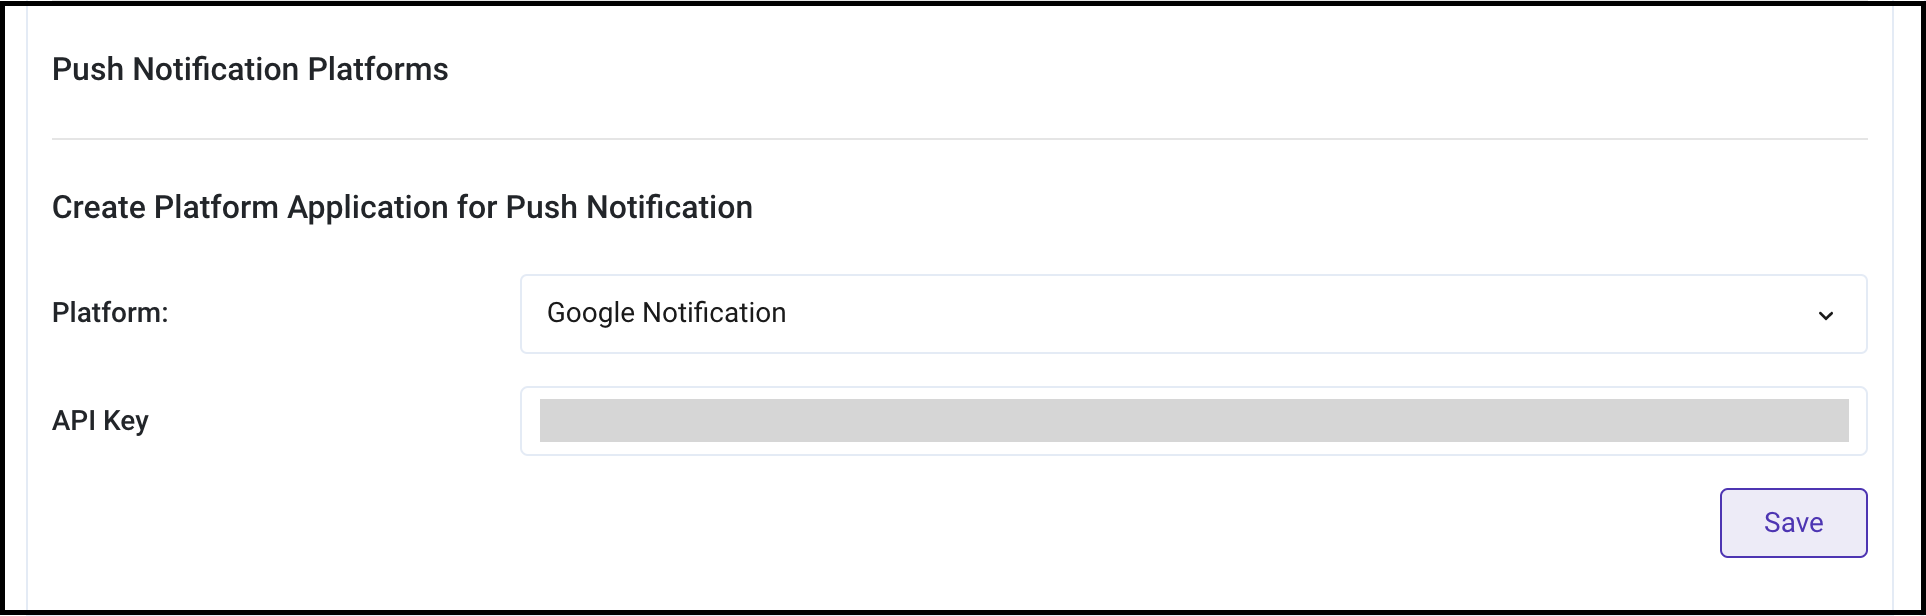
-
You can now enable Push Notifications.
Android App Code Level Configurations
-
Your android application must be registered with Firebase for push notifications to work. You can register using these steps if not done already.
-
Click
Download google-services.jsonto obtain your Firebase Android config file (google-services.json). Replace existinggoogle-services.jsonfile with your downloaded file in the app module (app-level) directory of your app.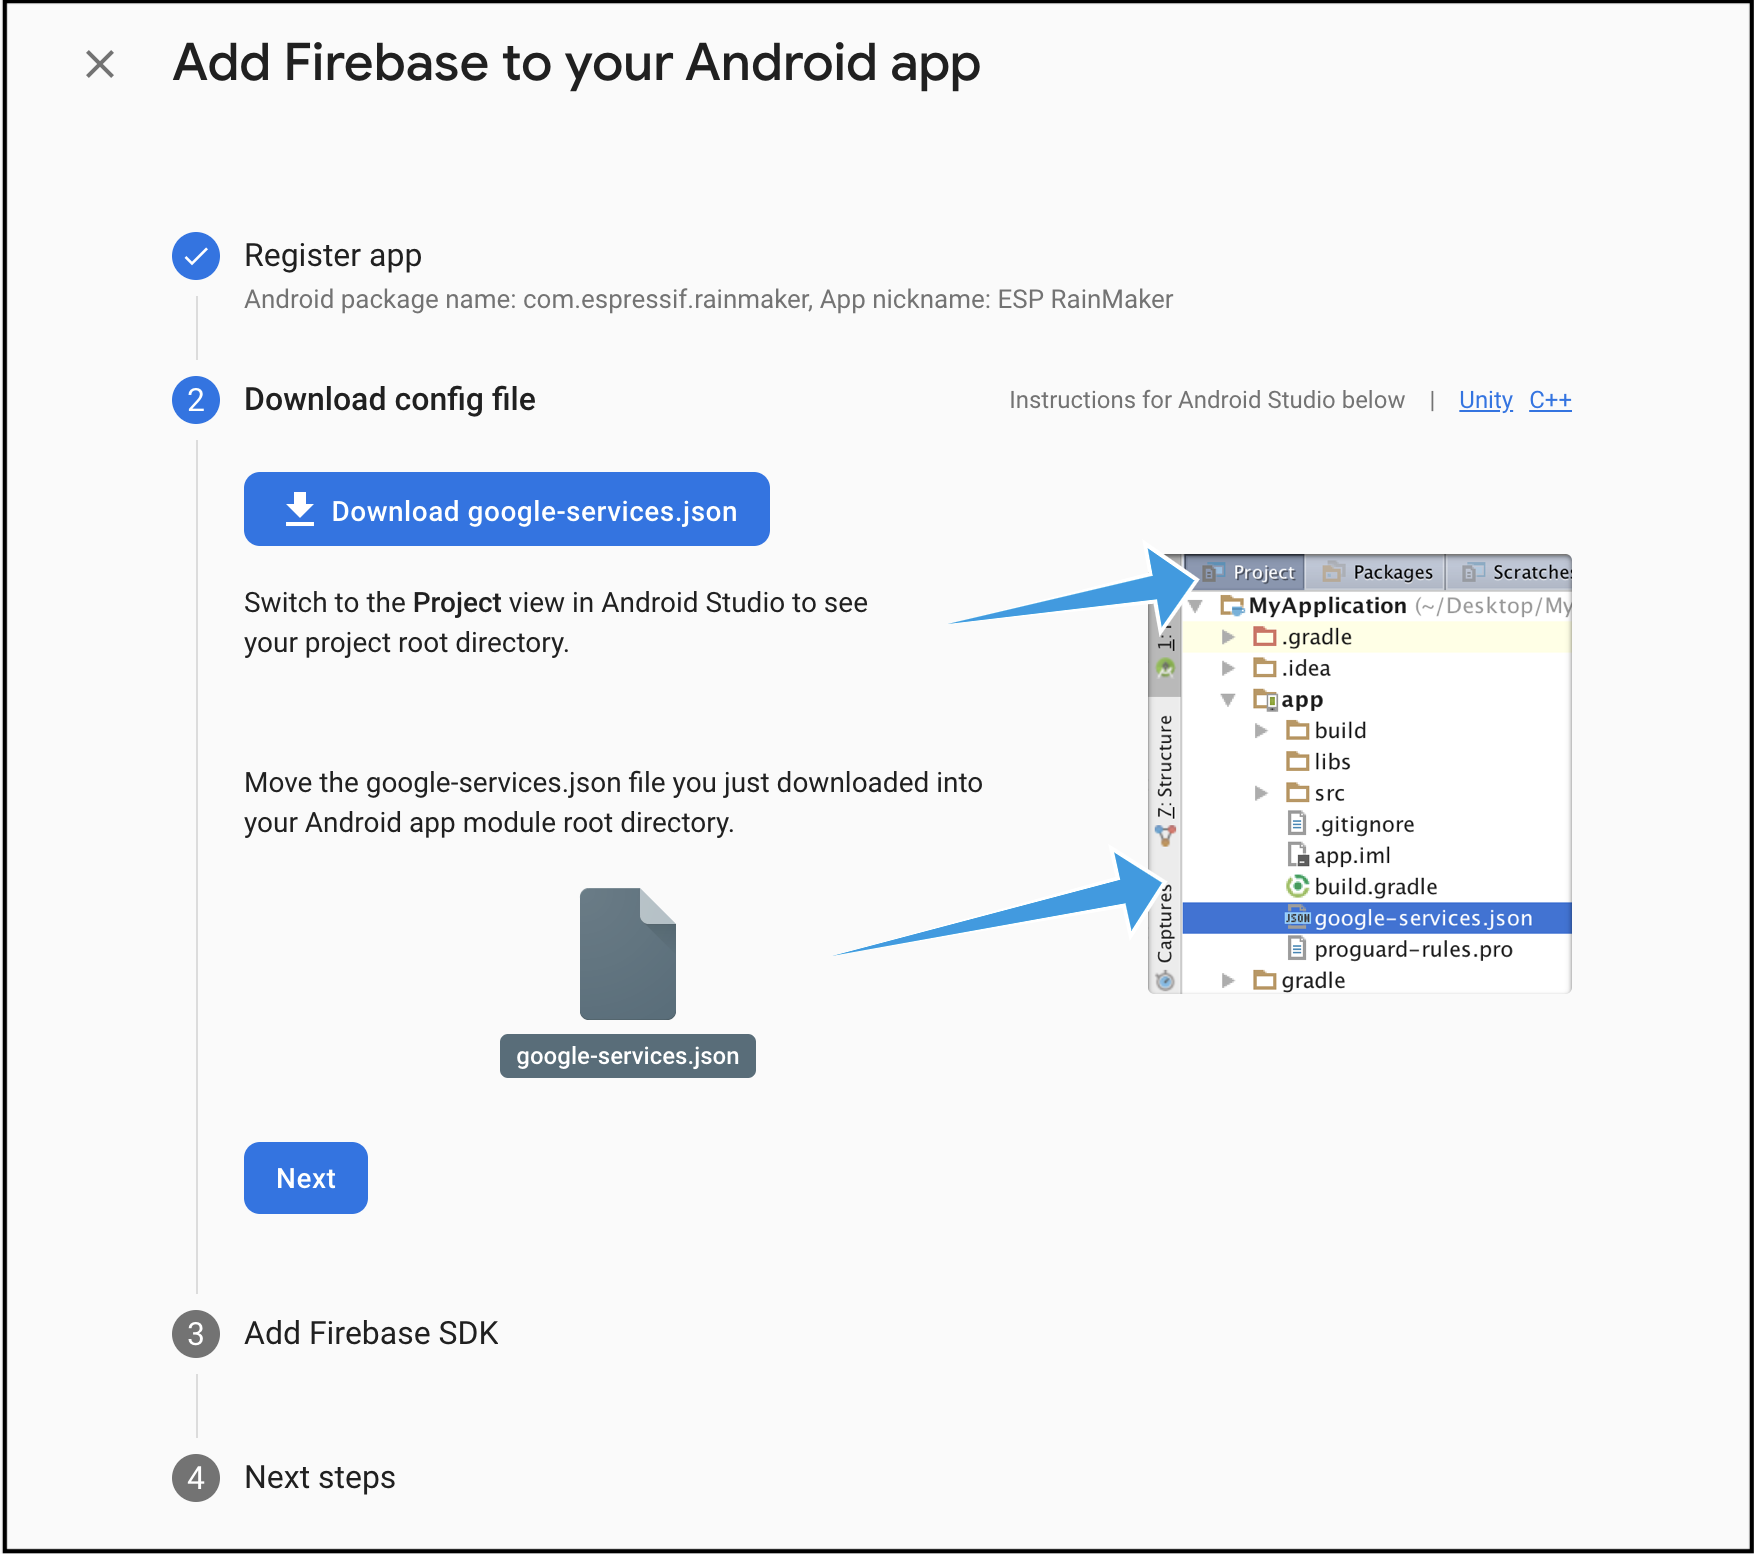
-
Keep the remaining settings as it is.
-
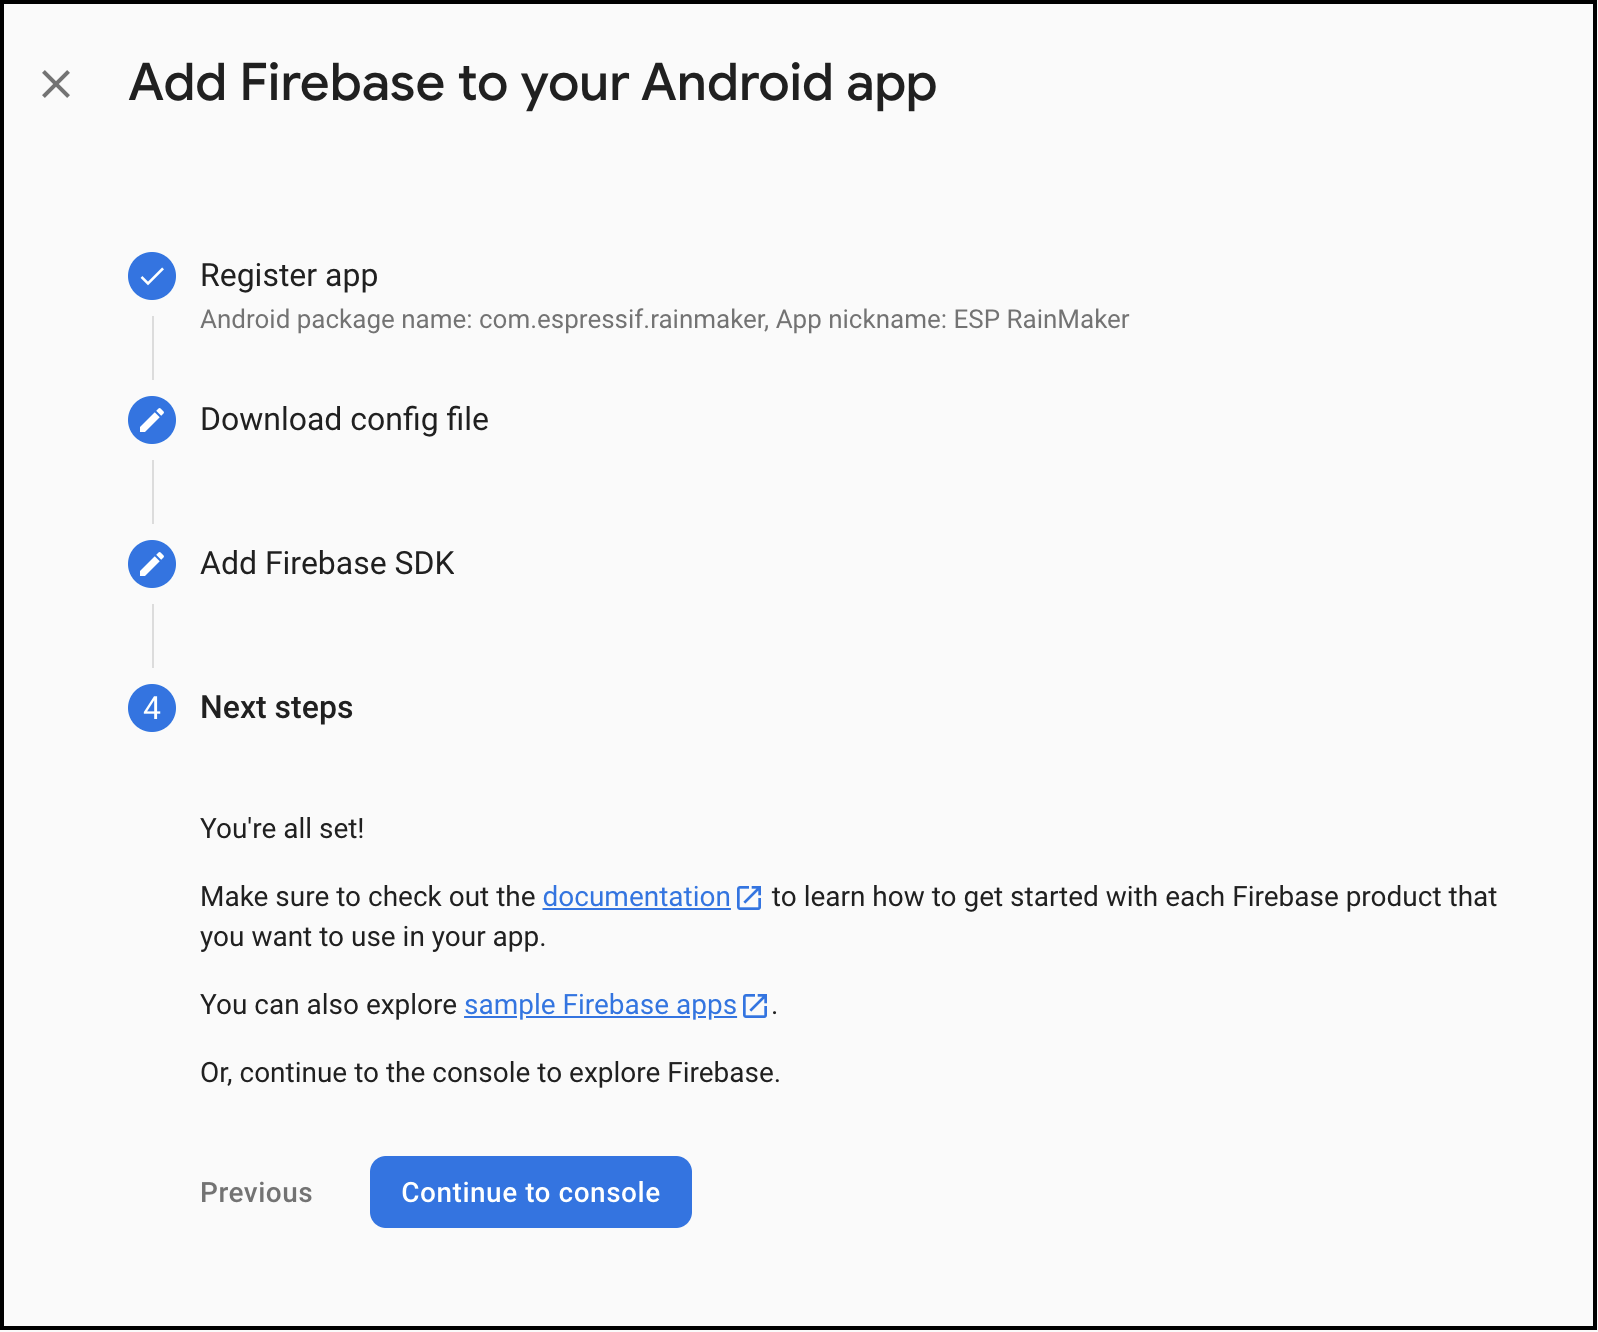
Continue with the Push Notifications Configuration.
Firebase Settings
To configure this further, you must log in with your Google account on the Firebase console.
Create a Firebase Project
-
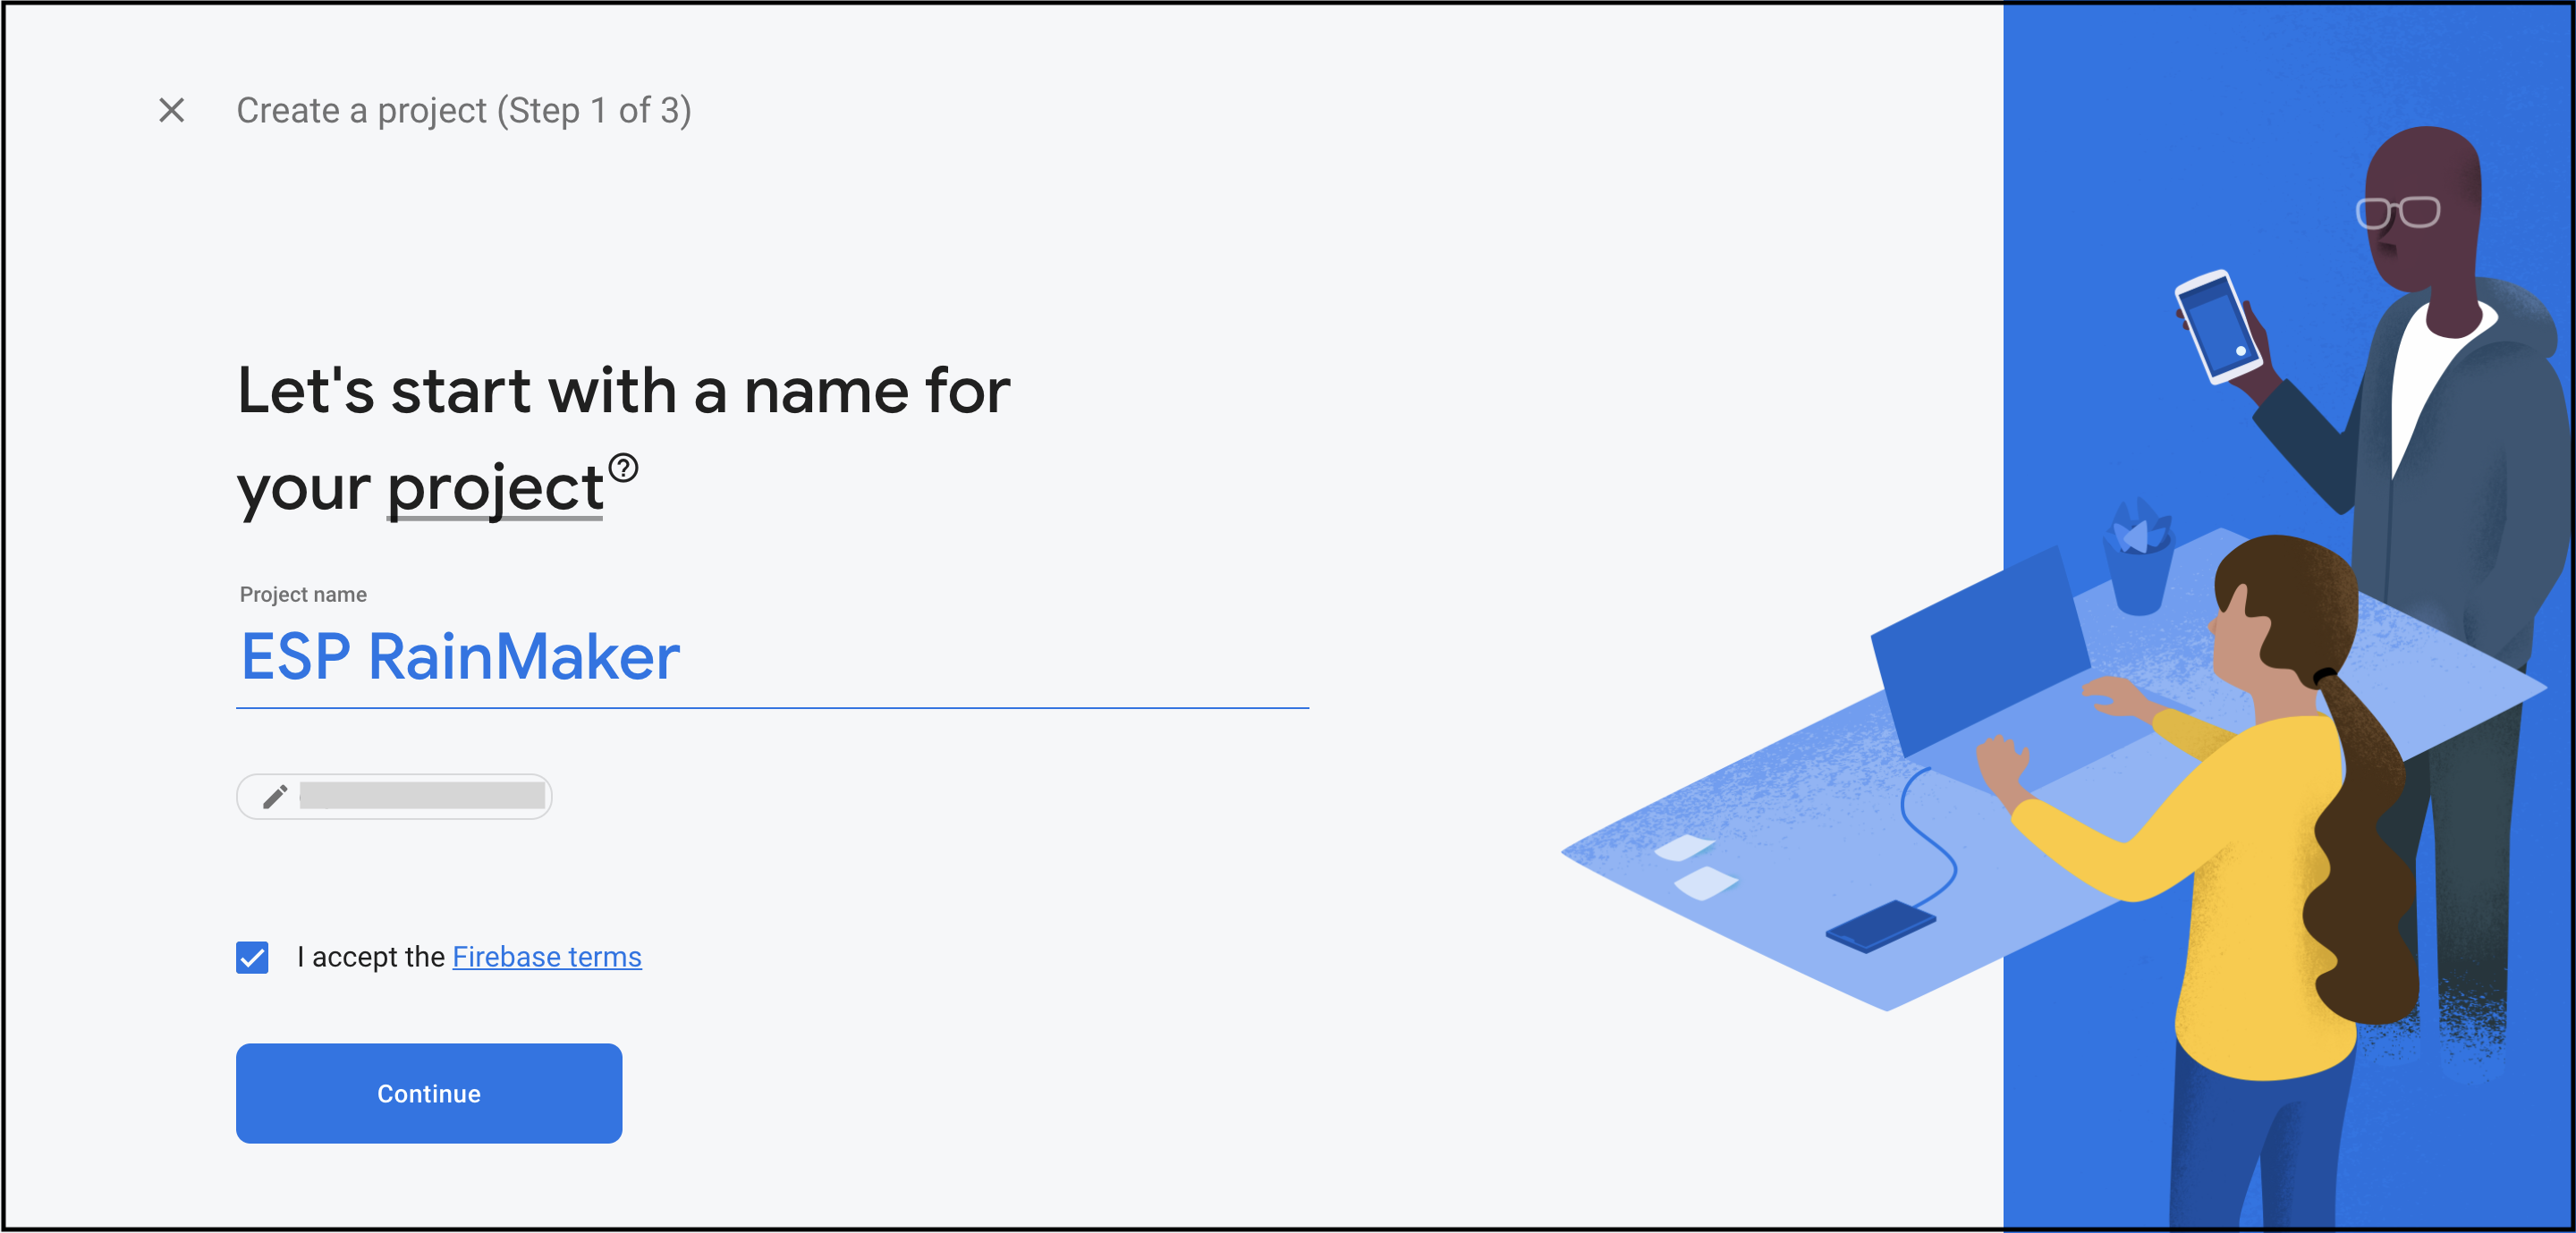
In the Firebase console, click
Create a project, then select or enter aProject name.
 note
noteIf you have an existing Google Cloud project, you can select the project from the dropdown menu to add Firebase resources to that project.
-
(Optional) If you are creating a new project, you can edit the
Project ID. To use a specific identifier, you must edit your project ID during this setup step. Firebase automatically assigns a unique ID to your Firebase project.noteAfter Firebase provisions resources for your Firebase project, you cannot change your project ID.
-
Click
Continue.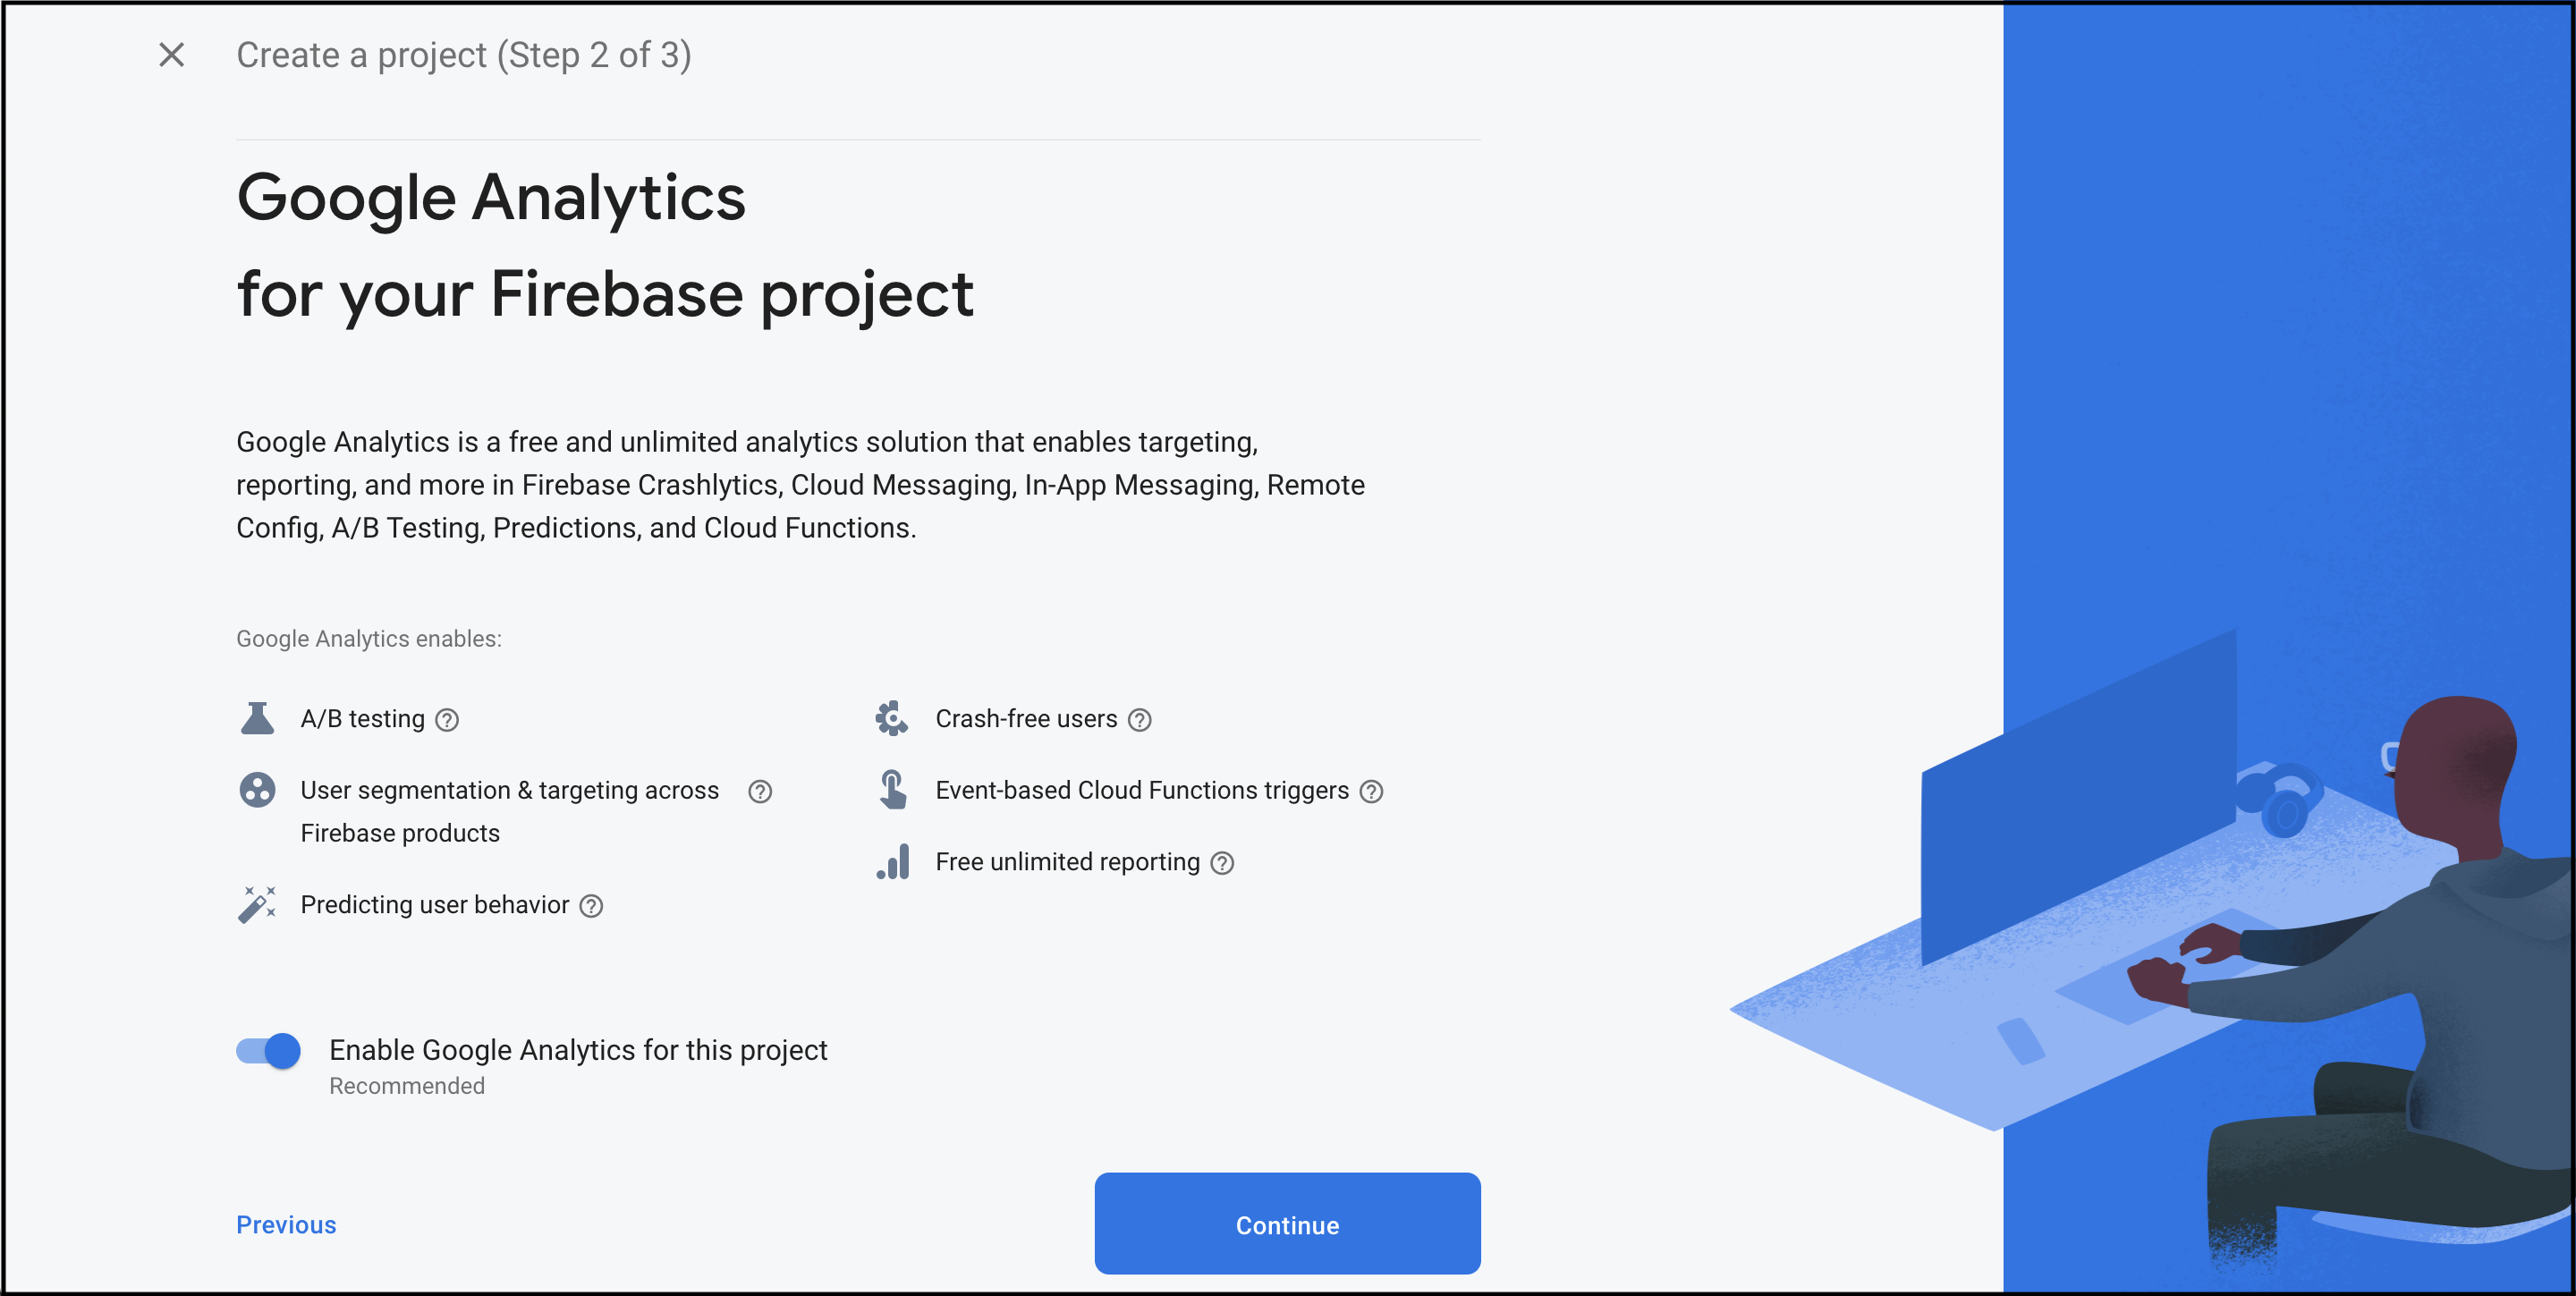
-
Click
Create project(orAdd Firebaseif you're using an existing Google Cloud project).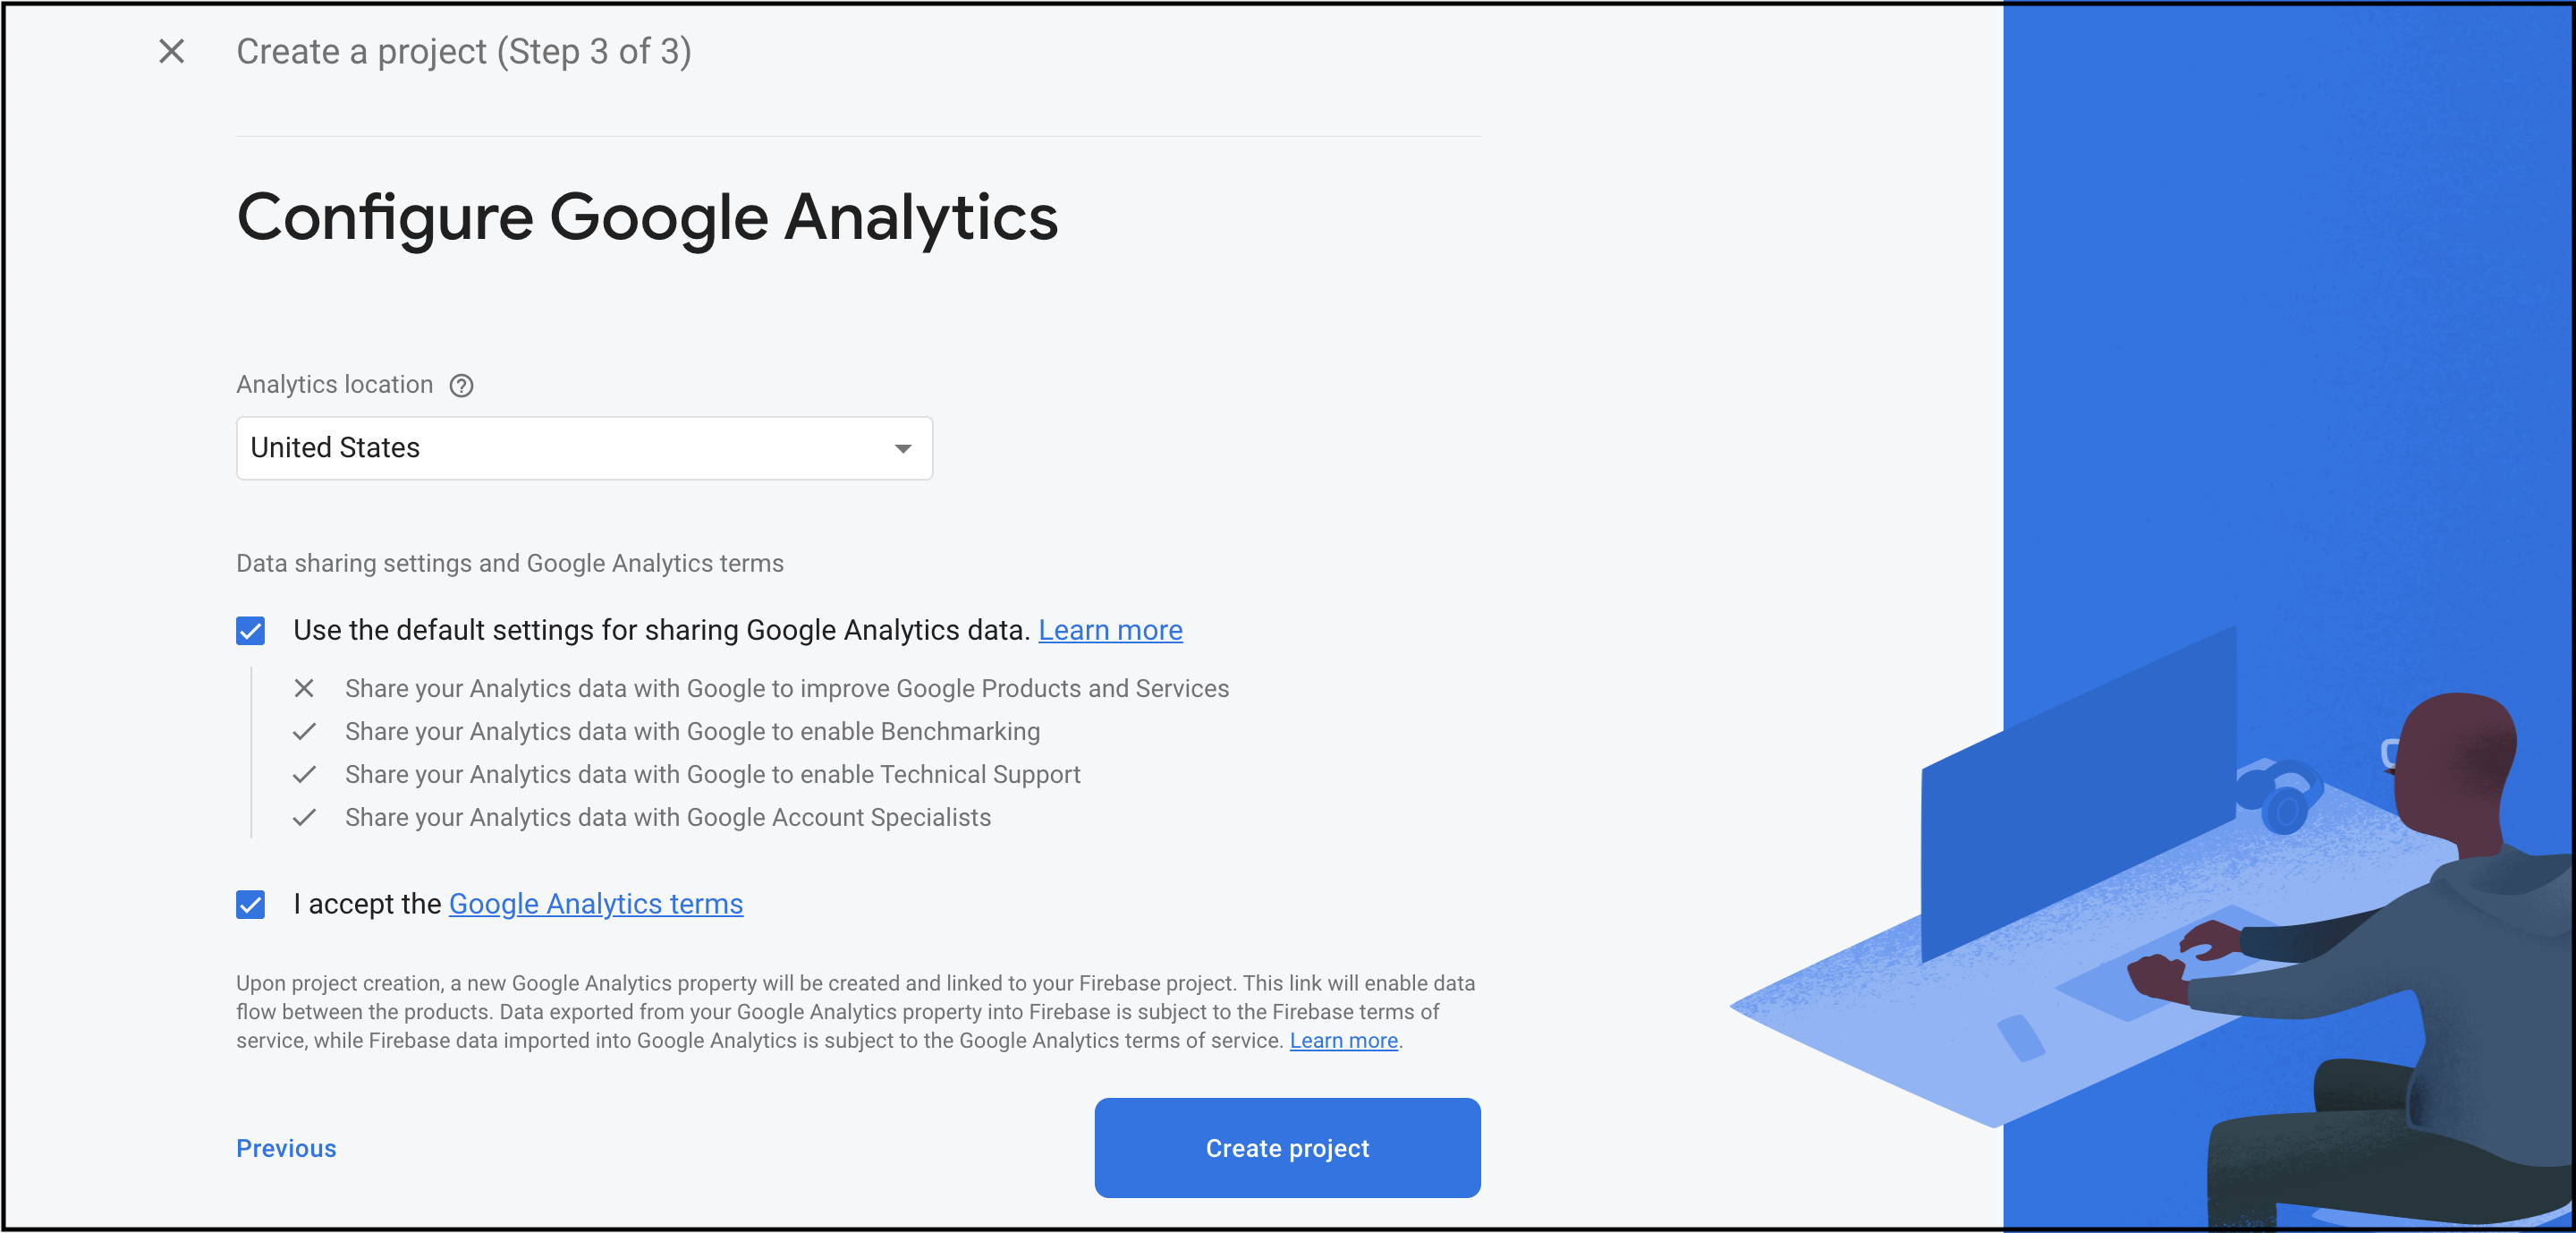 note
noteFor more information, see Create a Firebase project on the Firebase website.
Register Your App with Firebase
To use Firebase in your Android app, you need to register your app with your Firebase project. Registering your app is often called "adding" your app to your project.
Visit Understand Firebase Projects to learn more about best practices and considerations for adding apps to a Firebase project, including how to handle multiple build variants.
-
Go to the Firebase console.
-
In the center of the
Project Overviewpage, click the Android icon (plat_android) orAdd an app to get startedto launch the setup workflow.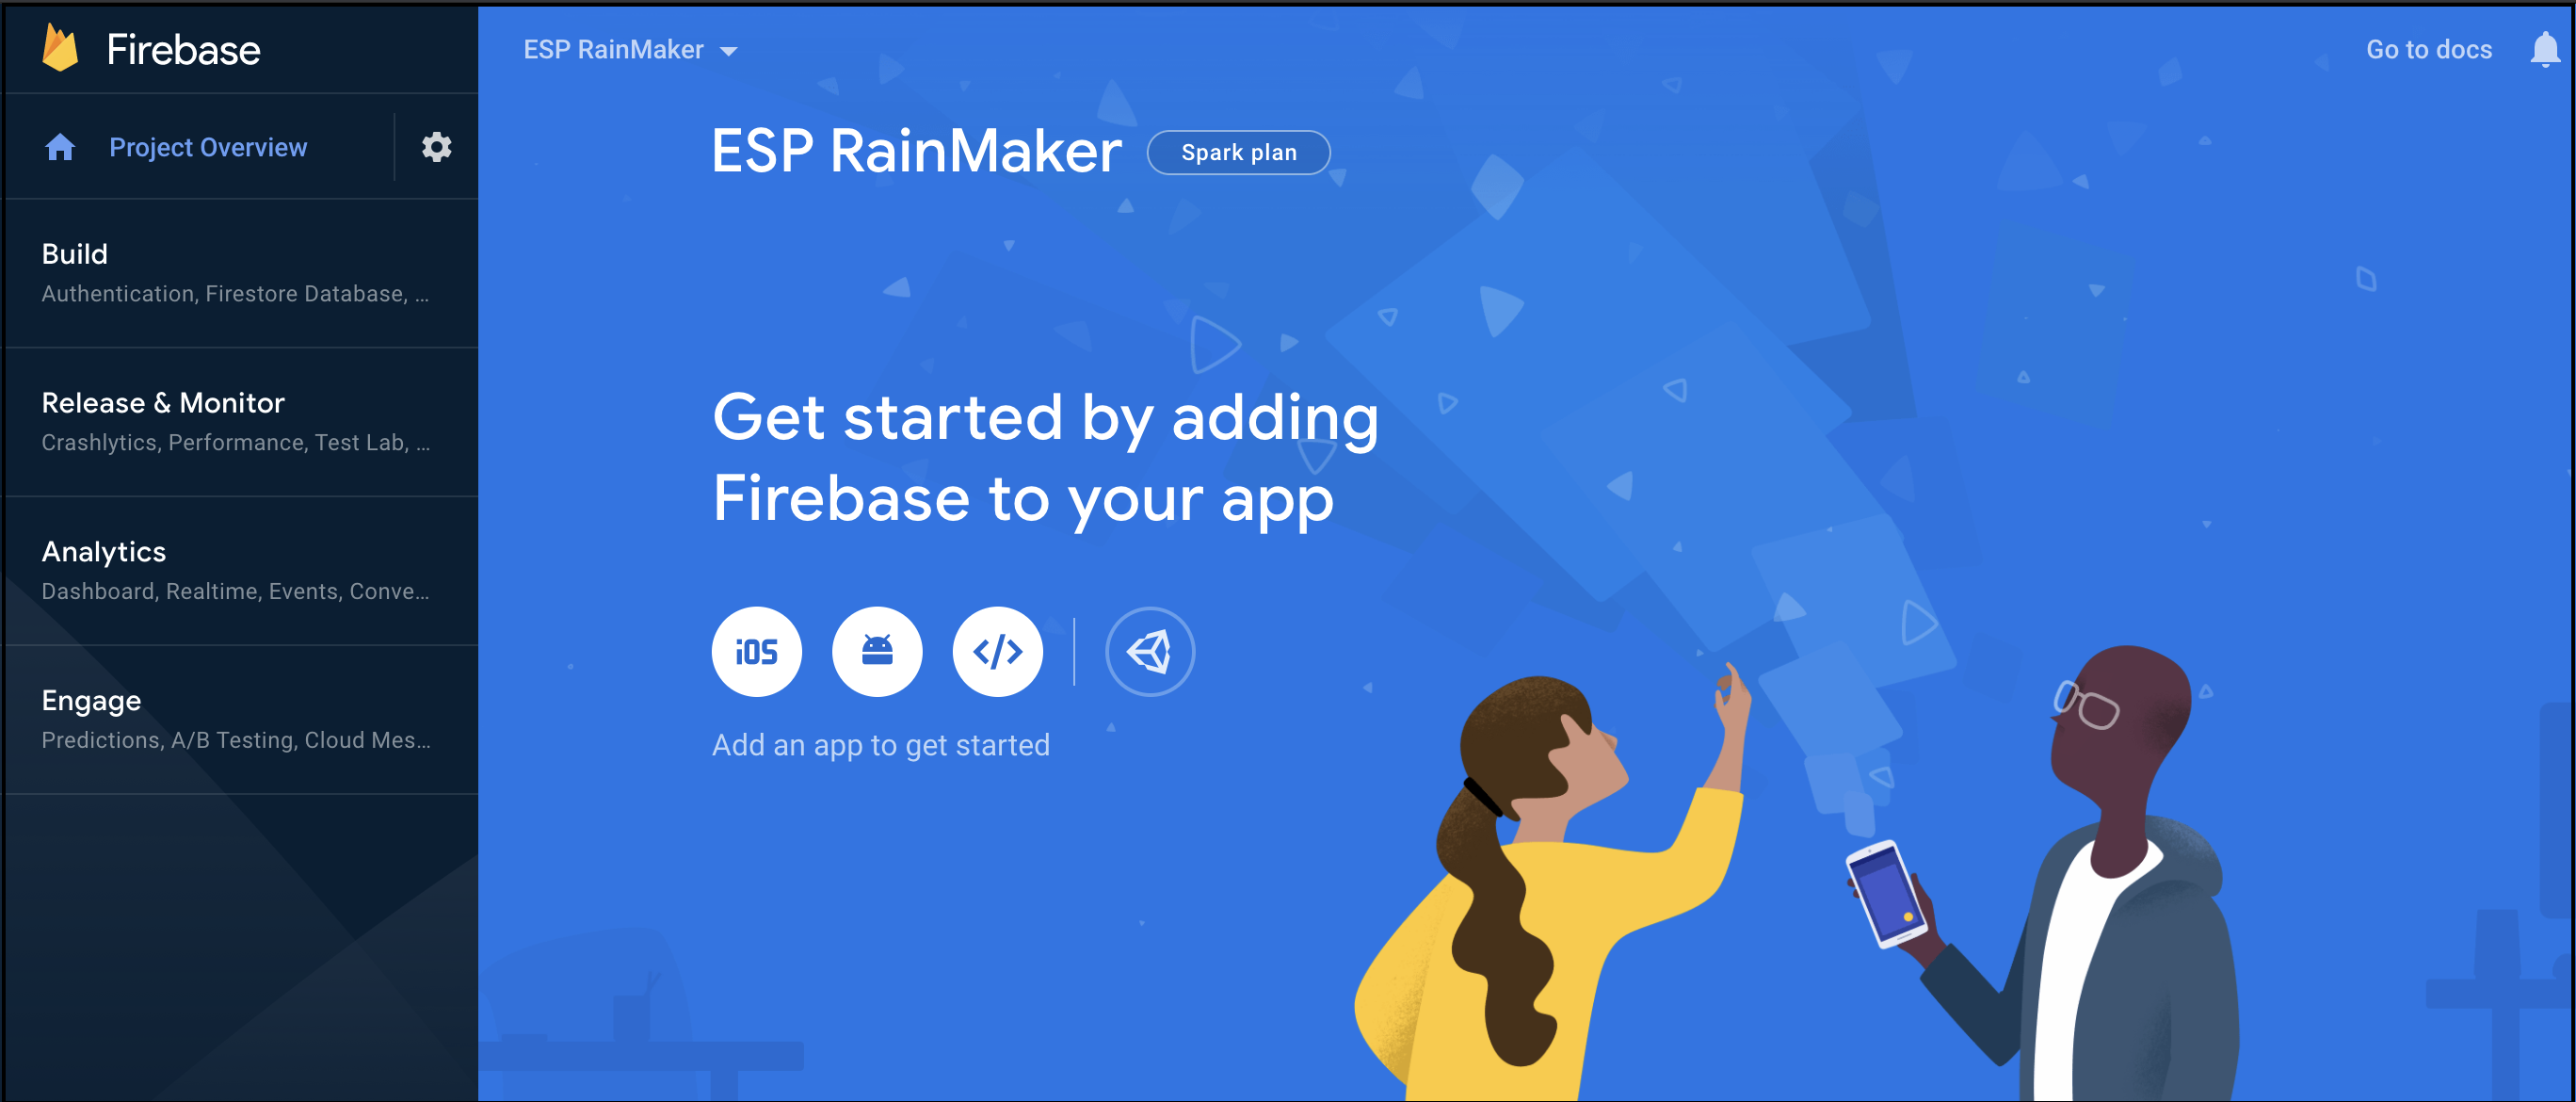
-
Enter your app's package name (application id) in the
Android package namefield. ClickRegister app.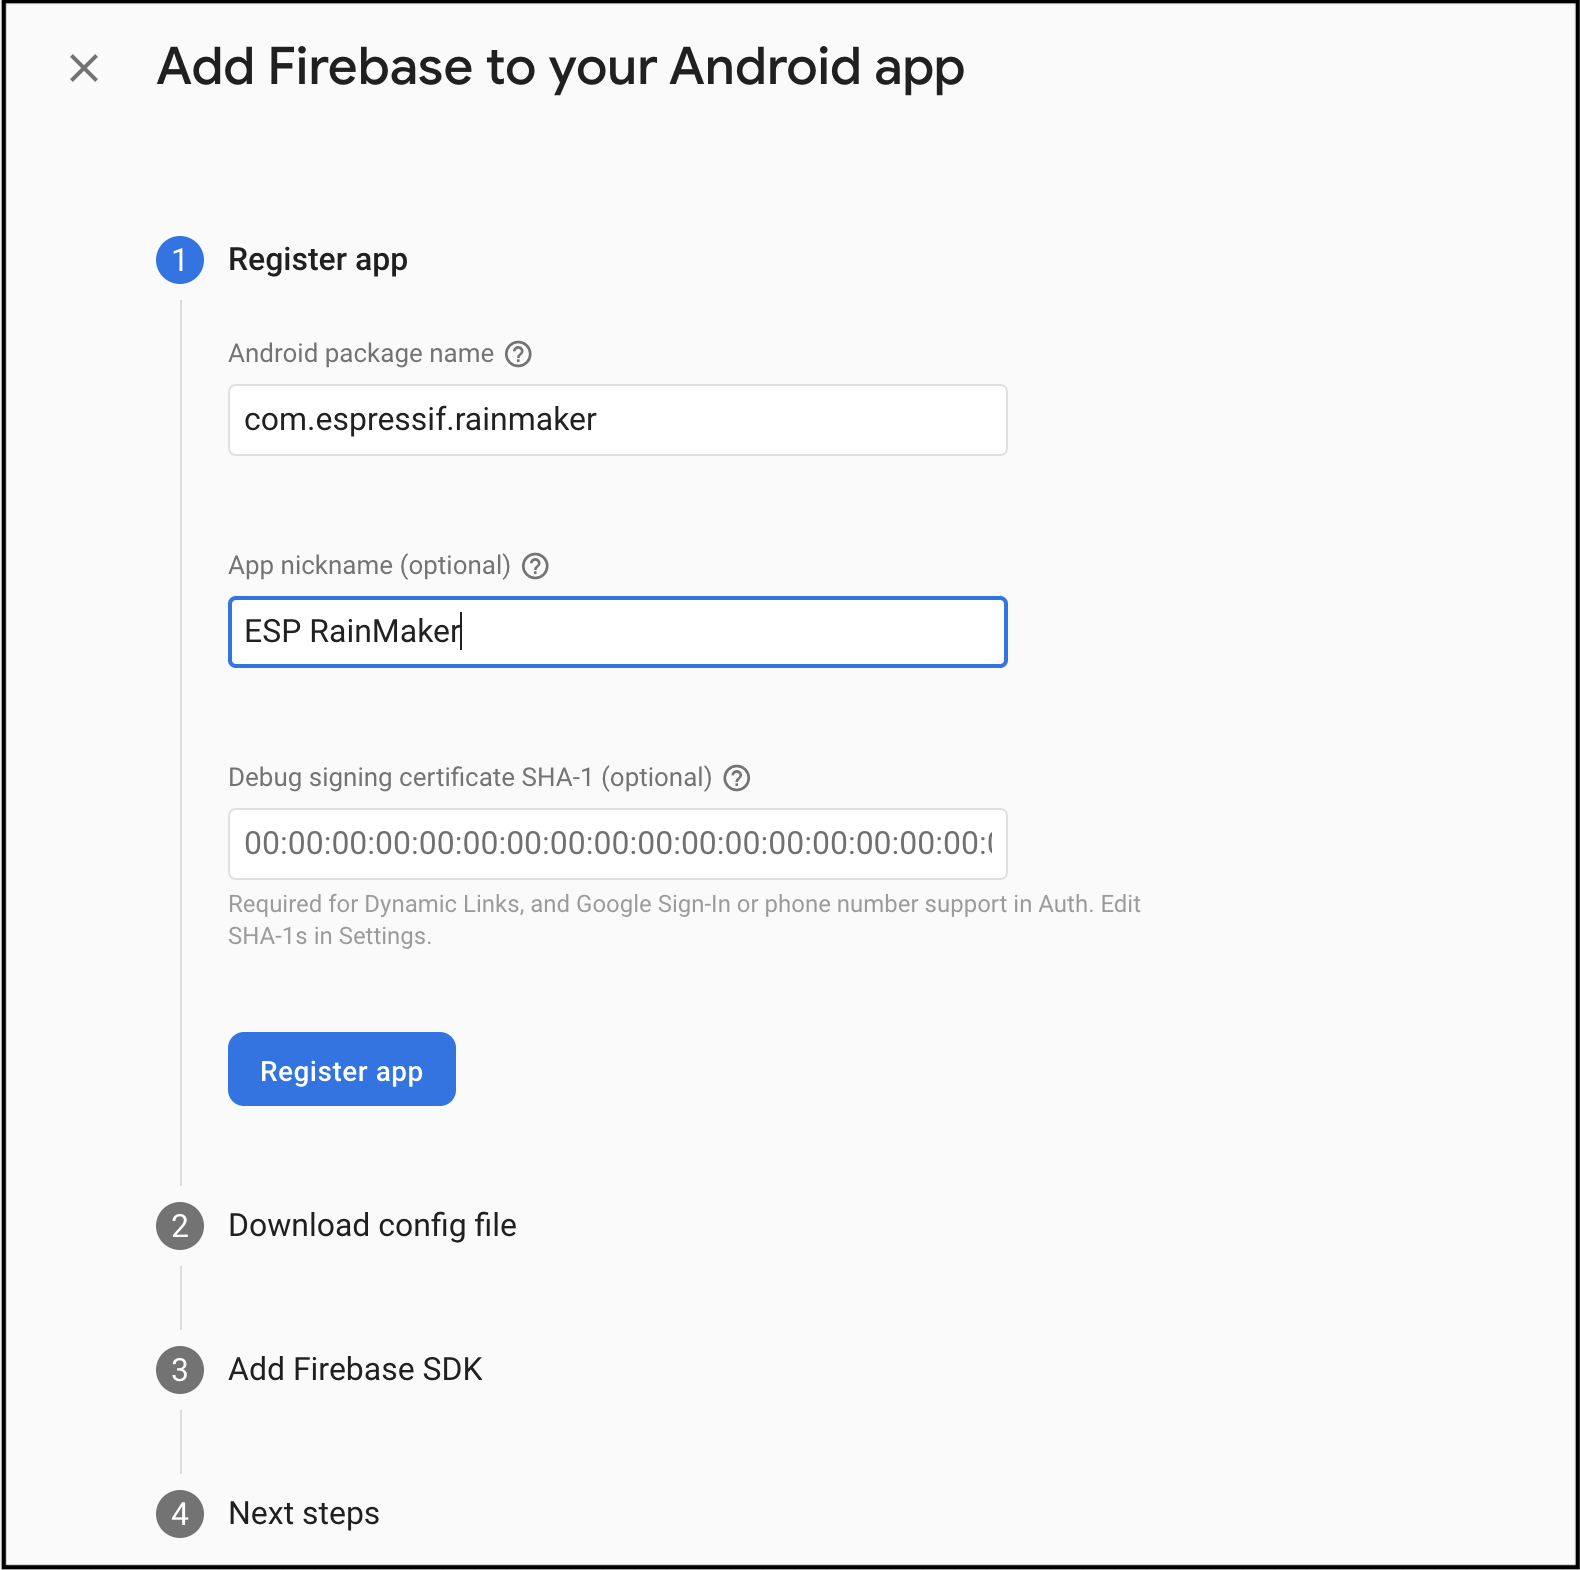 note
noteMake sure to enter the package name that your app is using. The package name value is case-sensitive, and cannot be changed for this Firebase Android app after registering with your Firebase project.
noteFor more information, see Register your app with Firebase on the Firebase website.
Configure Push Notifications for iOS
It's a two-step process that involves configuration in the Apple Developer Console and also in your iOS application code.
Apple Developer Console Push Notifications Settings
-
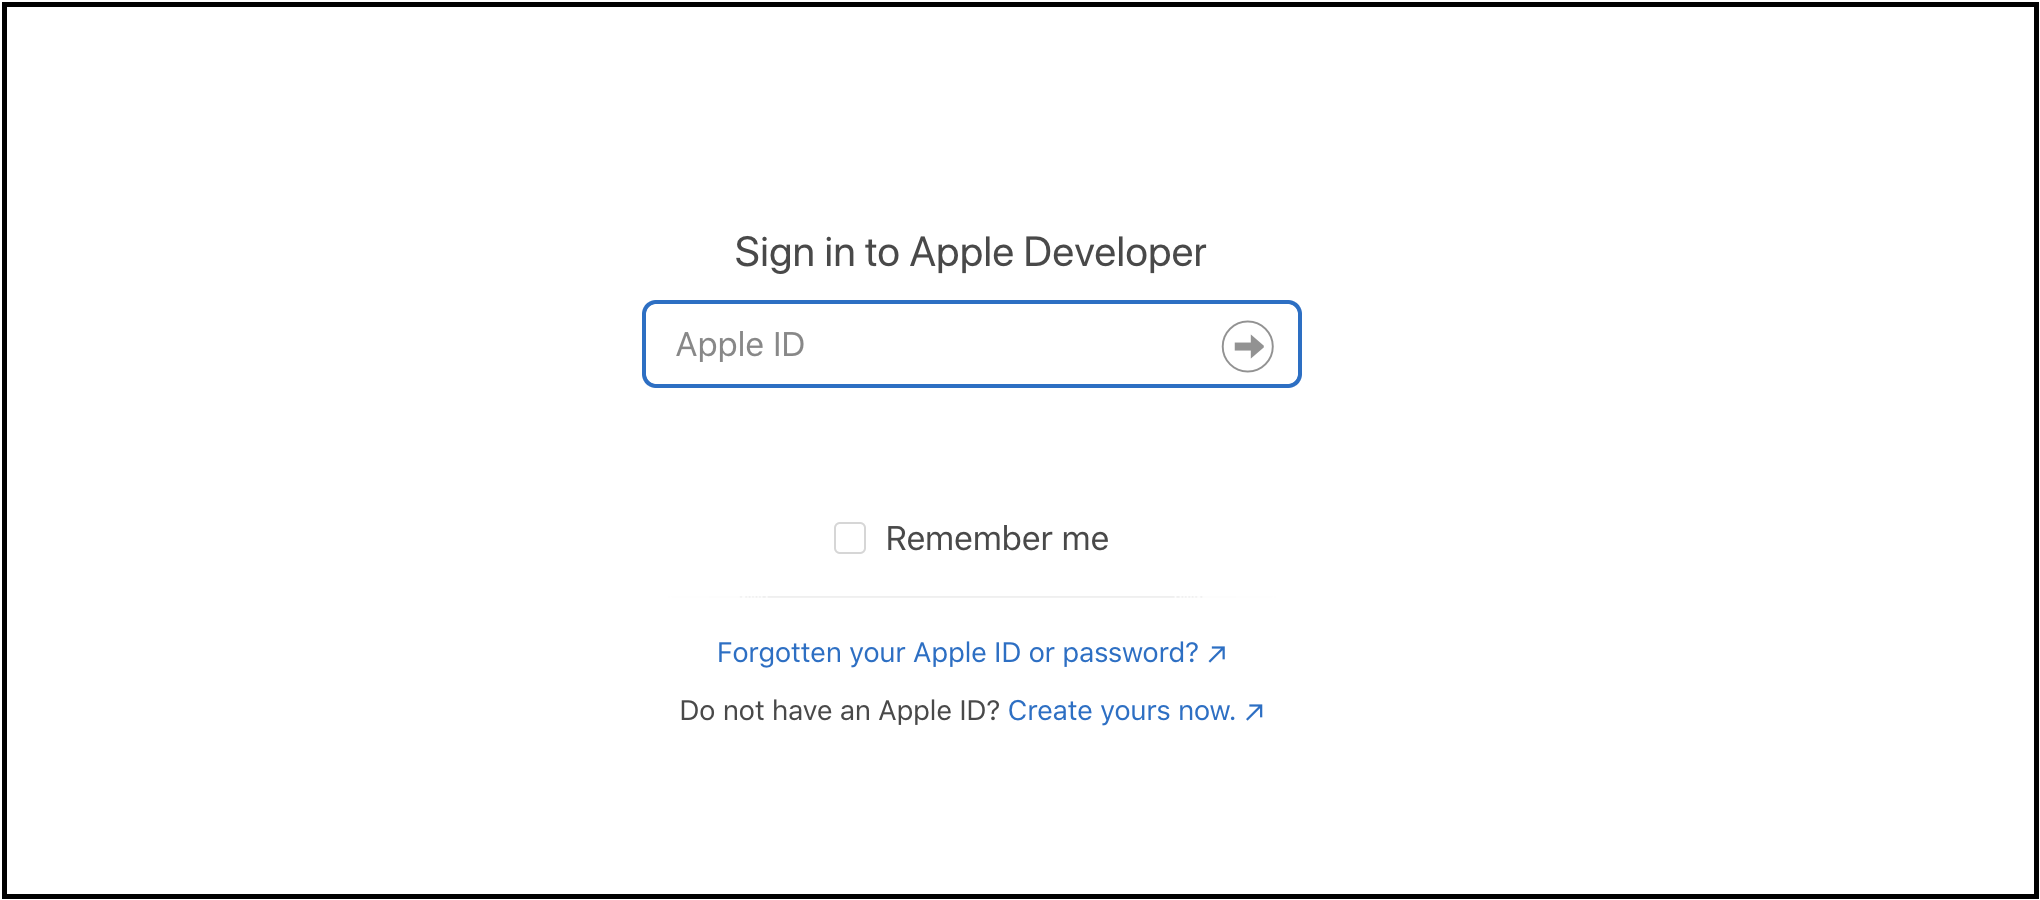
Log in to your Apple Developer account.
-
App ID is required for push notifications to work. Create an App ID from Apple Developer console, if not created already.
-
Then go to the
Certificatestab. Click+.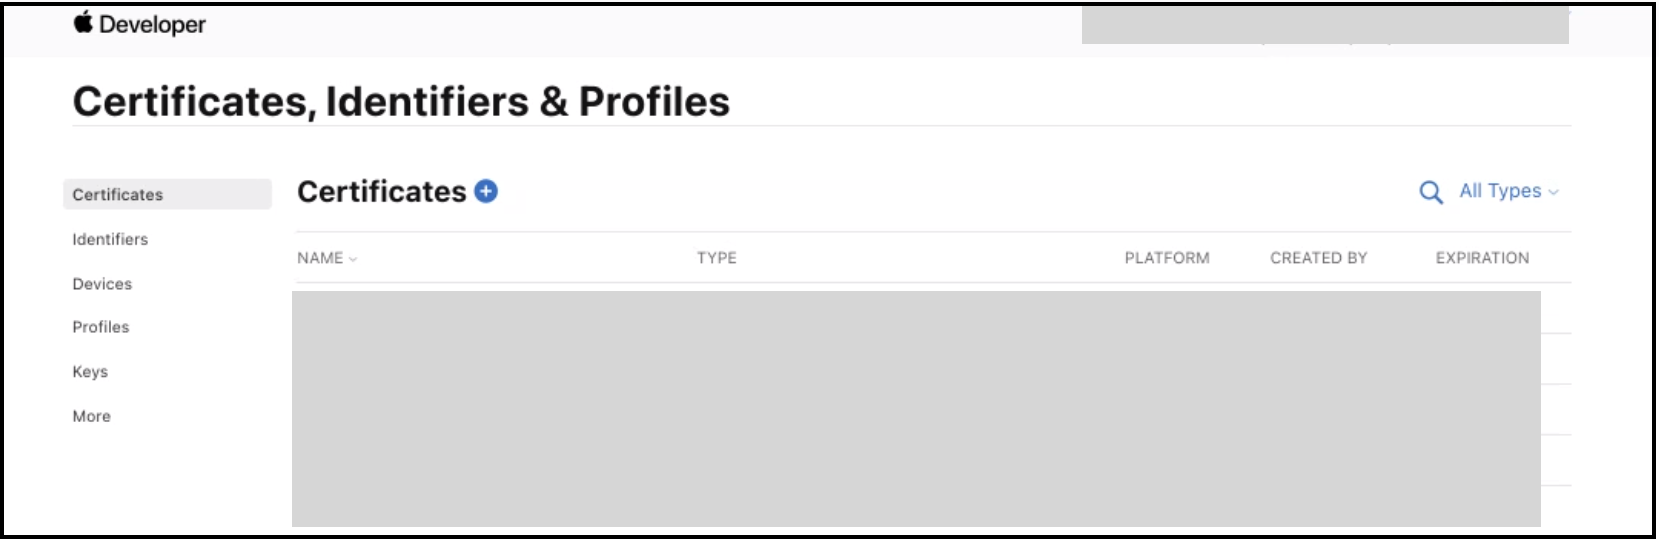
-
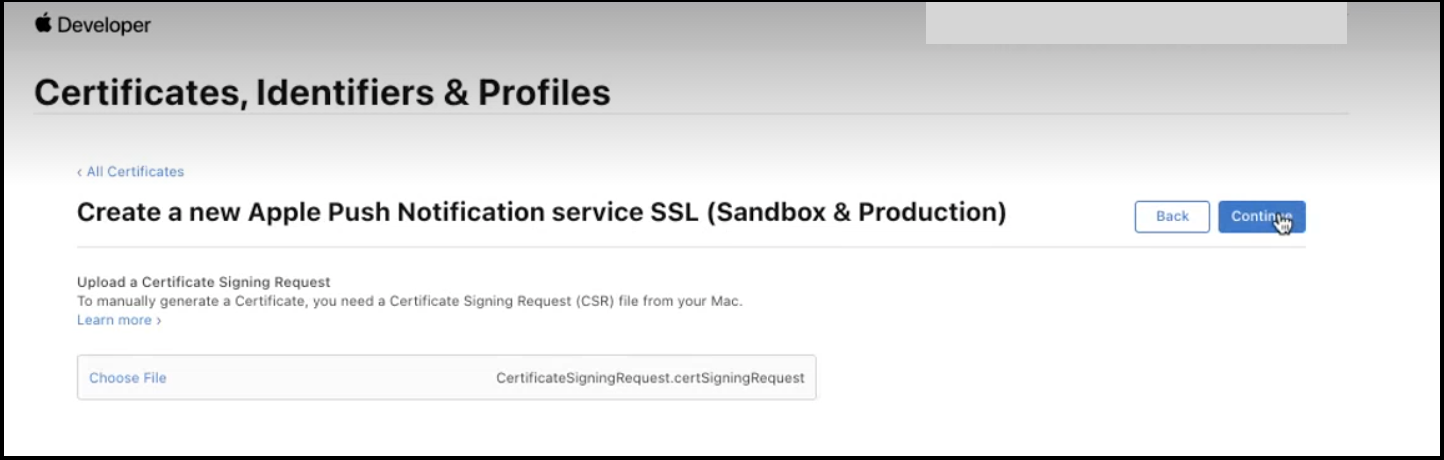
Create a new certificate for Service –
Apple Push Notification service SSL (Sandbox & Production). ClickContinue.
-
Select the App Id of your app. Click
Continue.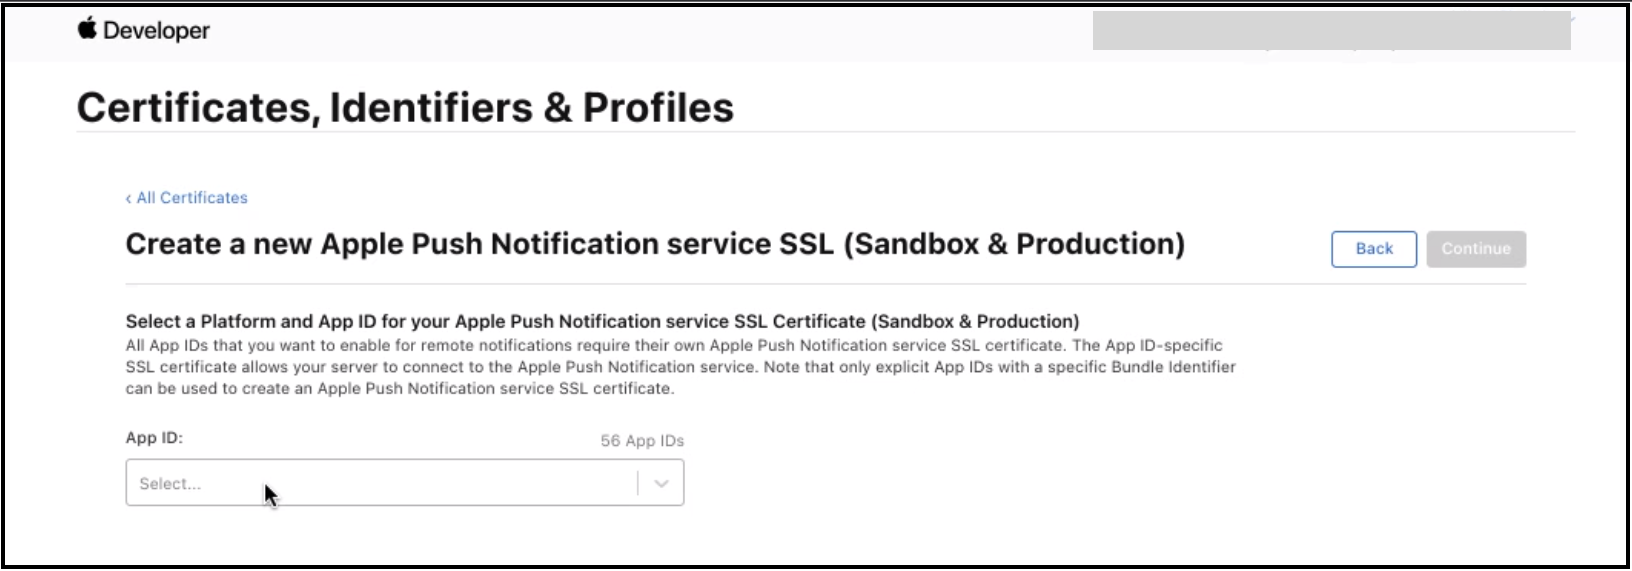
-
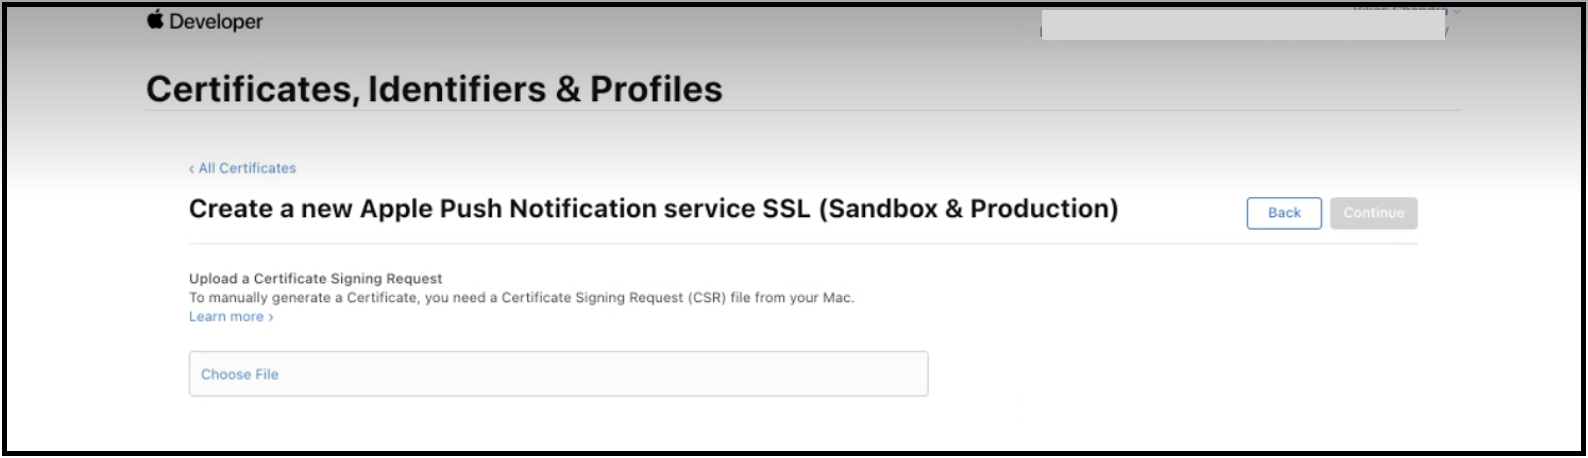
Now you will have to create Certificate Signing Request (CSR).
-
Open the
Keychain Accessutility. Then go to theCertificate Assistant>Request a Certificate From a Certificate Authority.
-
In the
Certificate Assistantdialog, enter an email address in theUser Email Addressfield. Leave theCA Email Addressfield empty. ChooseSaved to disk, and clickContinueto save the certificate.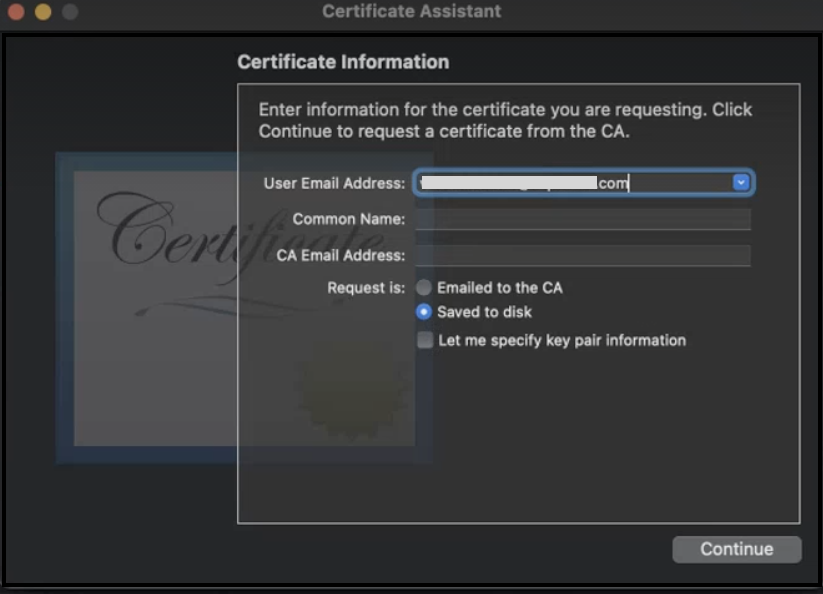
-
Upload a Certificate Signing Request (CSR).
-
The certificate is created. Download and view it using
Keychain Access.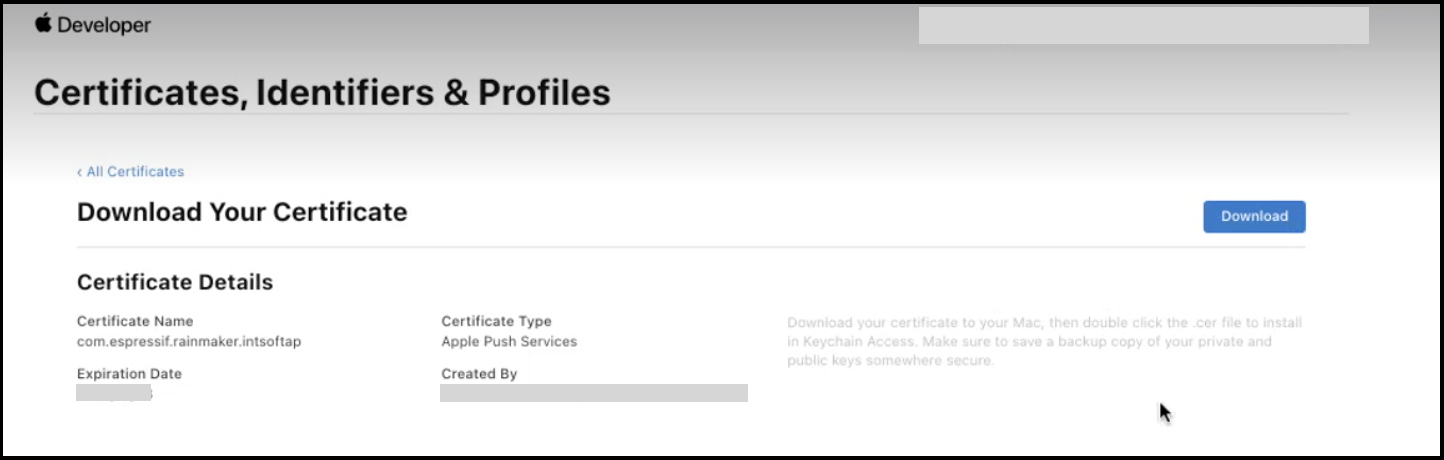
-
Export your certificate from
Keychain Accessinp12format.
Do not provide any password to protect the exported certificate.

-
You would require SSL Certificate and Private Key for enabling push notifications.
To extract the SSL Certificate you can use the command:
openssl pkcs12 -in yourP12Certificate.p12 -clcerts -nokeys
To extract the Private Key you can use the command:
openssl pkcs12 -in yourP12Certificate.p12 -nocerts -nodes
-
Log in to Rainmaker Dashboard with your admin account. Go to
Deployment Settings>Push Notifications. -
Create a new platform application. Choose type
Apple Notification(APNS). -
Paste the SSL Certificate and Private Key that you extracted in step 12. Click
Save. note
noteThe same certificate can be used for both sandbox and production environment. Sandbox environment is used to test notifications and debugging. While, APNS is used for distribution. You may repeat steps 13 and 14. Select type
Apple Sandbox(APNS_SANDBOX) to set push notifications for sandbox environment. -
You can now enable Push notifications.
Enable Push Notifications in ESP RainMaker Dashboard
-
Log in to Rainmaker Dashboard with your admin account. Go to
Deployment Settings>Push Notifications. -
Enable push notifications using the toggle. You may also customize the events for which you wish to enable push notifications.
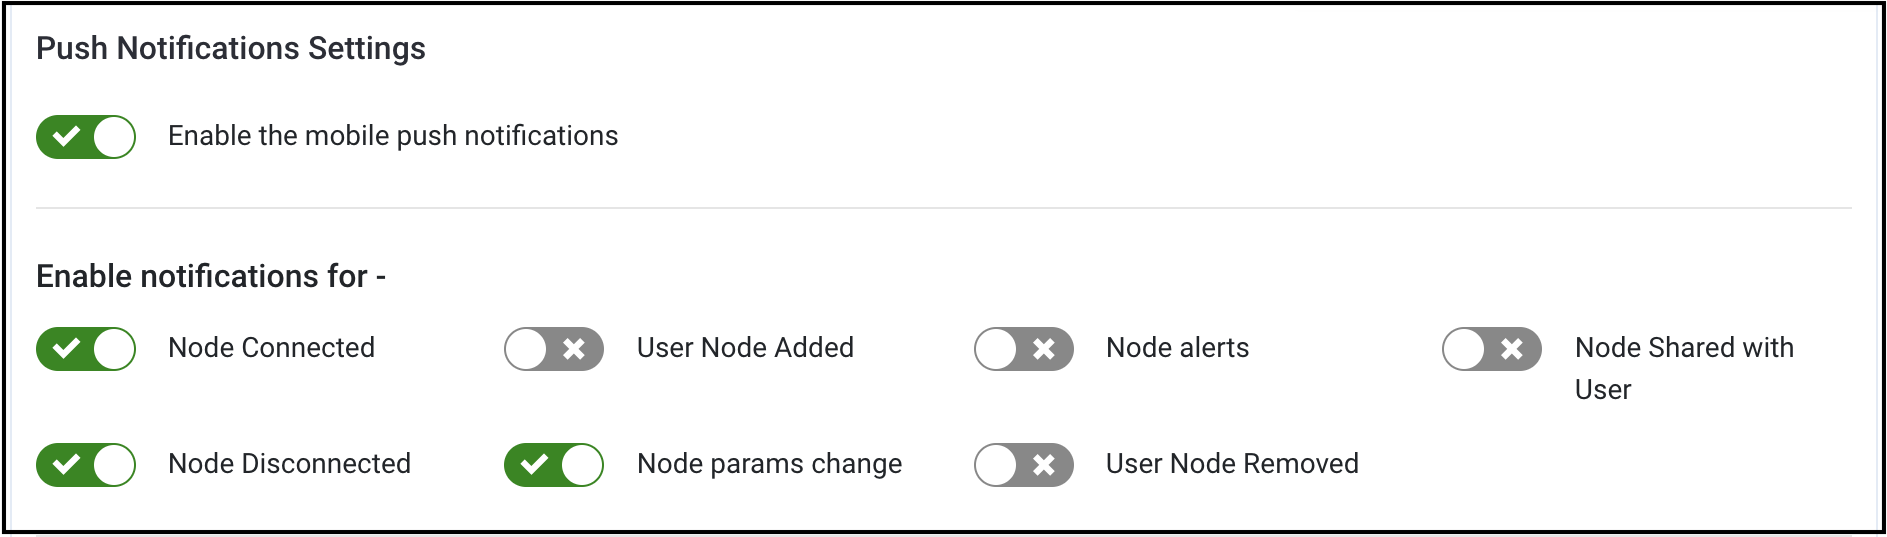 note
noteYou can disable push notifications using the same toggle.
iOS App Code Level Push Notification Settings
Push notifications are enabled by default in the project. The getNotificationPlatform() method in ios/Notification/ESPNotificationModule.swift should return a platform identifier string based on the build configuration:
- Production builds: Return
APNS. - Development/Sandbox builds: Return
APNS_SANDBOX.
This platform identifier is used by the backend to identify the notification platform type. The method should check the build configuration (DEBUG vs RELEASE) and return the appropriate value:
@objc(getNotificationPlatform:reject:)
func getNotificationPlatform(resolve: @escaping RCTPromiseResolveBlock, reject: @escaping RCTPromiseRejectBlock) {
    // Development/Sandbox build - return APNS_SANDBOX
    resolve("APNS_SANDBOX")
    // Production build - return APNS
    resolve("APNS")
}