Deployment Related References
Changing the Region from AWS Console
When you log in to the AWS Console, a default region appears in the upper-right corner, as shown below.
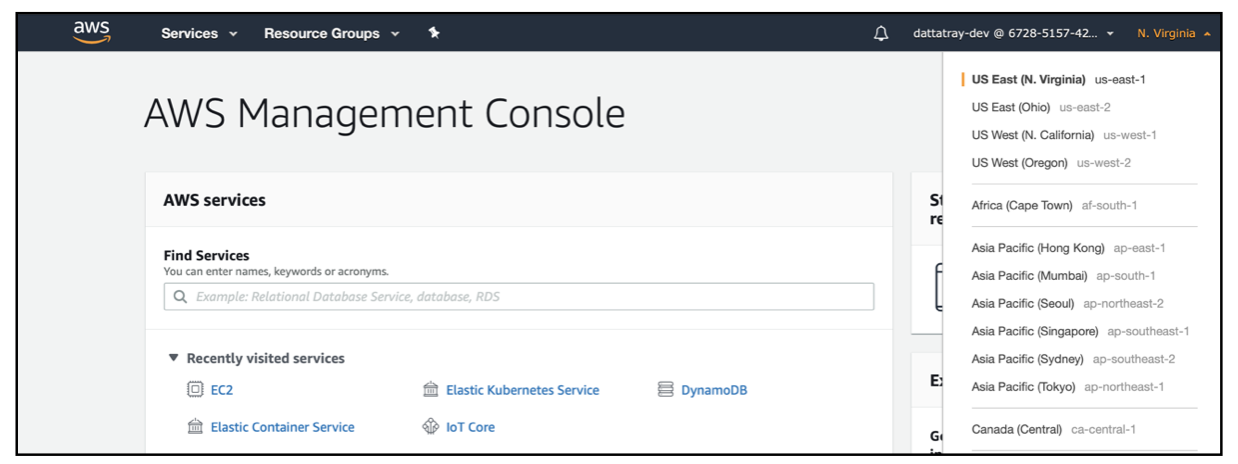
In the above screenshot, the AWS account is in the "us-east-1 (N. Virginia)" region.
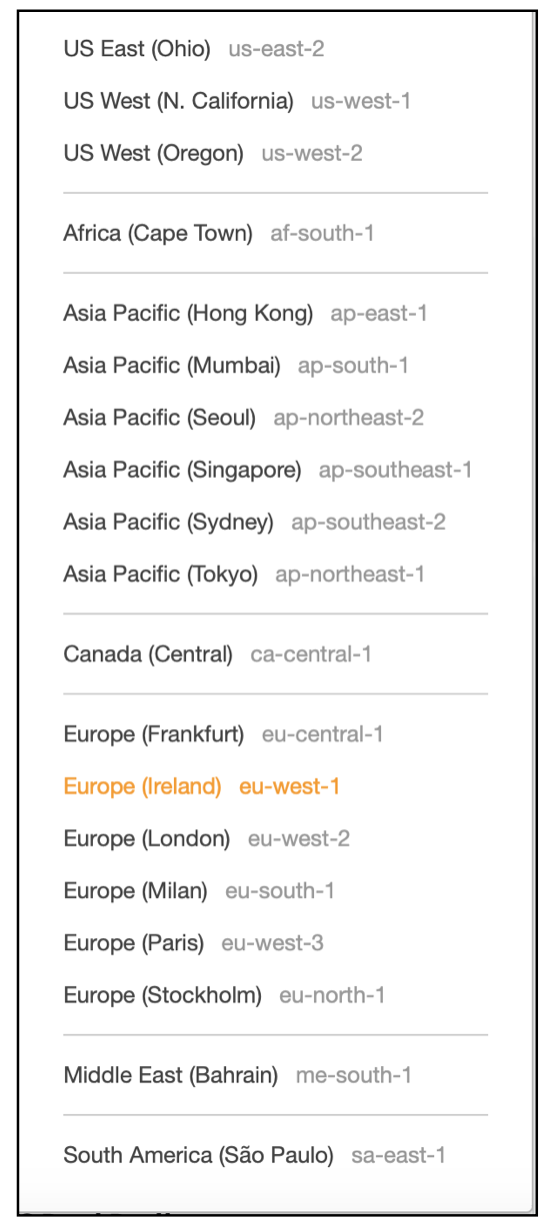
Sometimes, you may need to change it—for example, to get the ARNs for the Lambda functions. To change the region, click the region (e.g., "US East (N. Virginia) us-east-1") in the upper-right corner. A drop-down will appear, as shown in the screenshot below. Here, you can click the region link to select the desired region. In the screenshot below, the user has selected the region "eu-west-1".
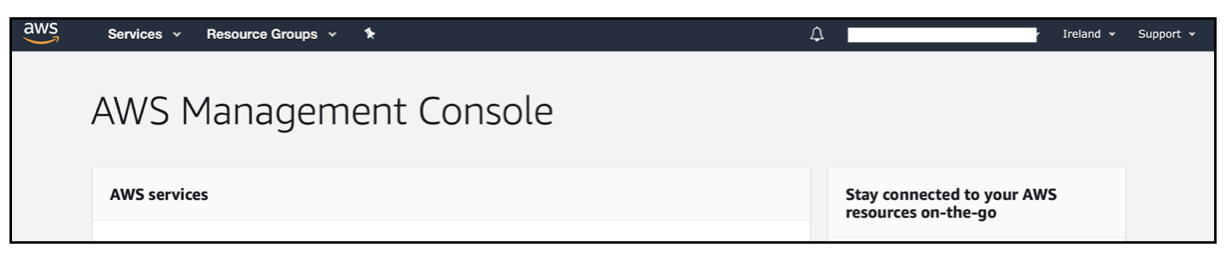
After you click the appropriate region link (in this case, "eu-west-1/Ireland"), your region will change in the AWS console, as shown below.
Cleaning up the Cognito Custom Domain
If you have configured the Cognito custom domain required for third-party logins like Google and Apple sign-in, follow the steps below to remove it.
-
Go to Cognito Service (
AWS>Services>Cognito) and clickManage User Pools.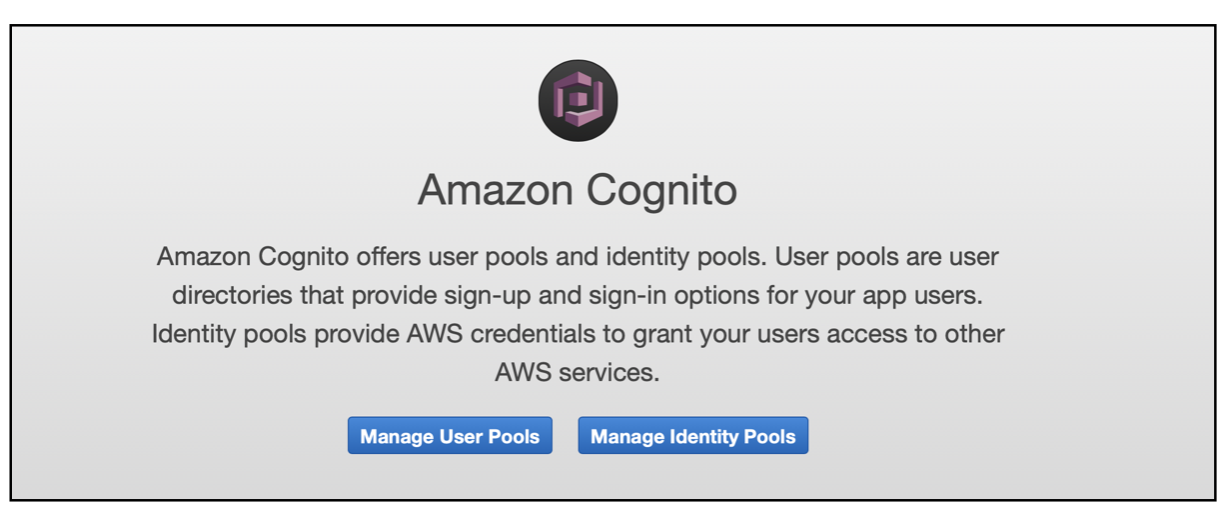
-
Search for the Cognito user pool "rainmaker-user-email-mobile-pool".

-
Click the link
Domain namefrom the menu on the left and select your domain. -
Click the
Delete Domainbutton.
Raising a Support Ticket
-
Go to Cognito Service (
AWS>Services>Support).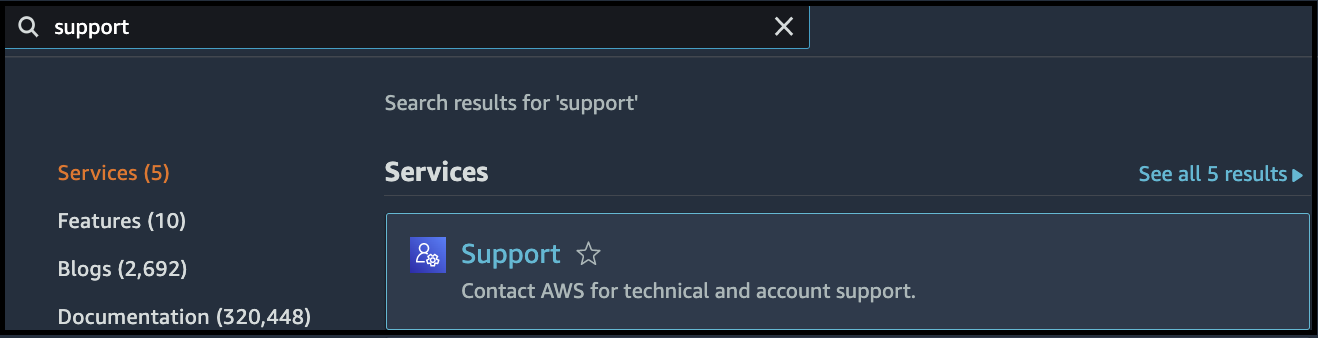
-
Click
Create Case.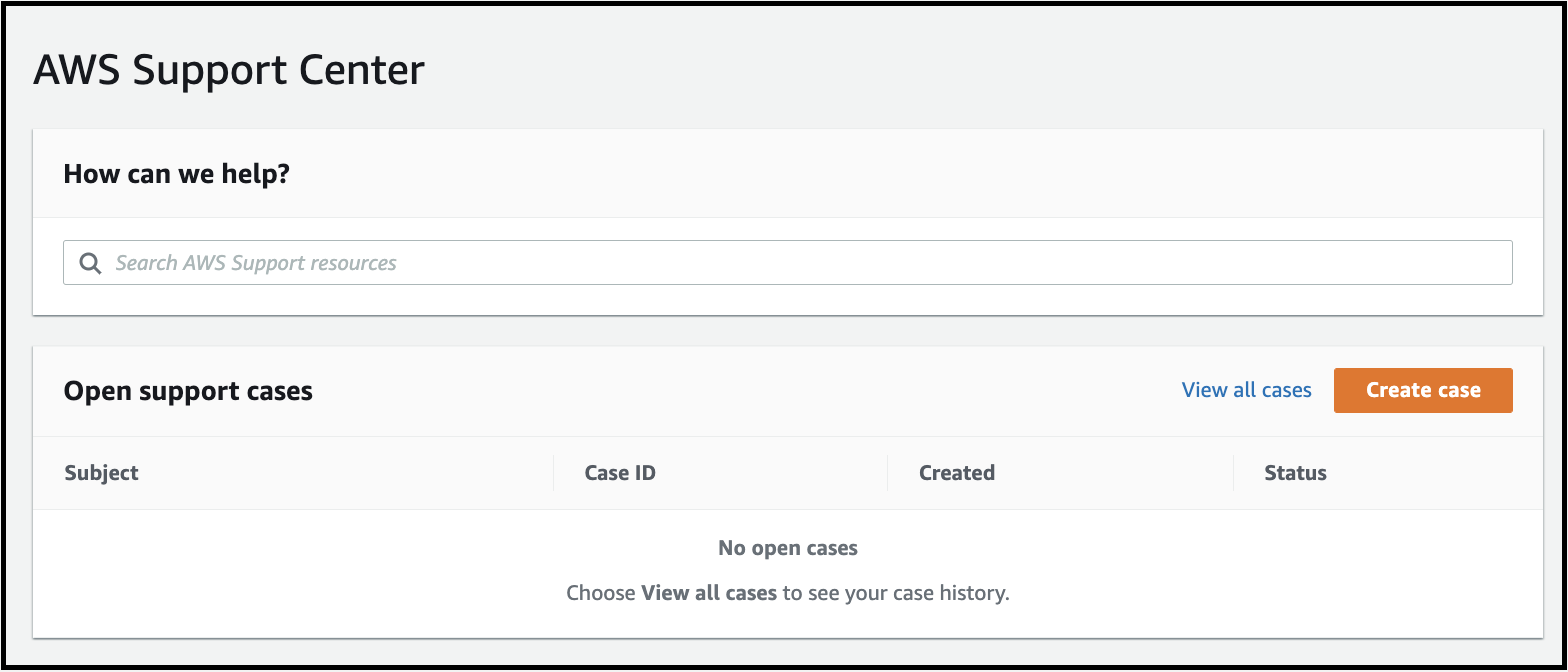
-
Go to the
Technical Supporttab.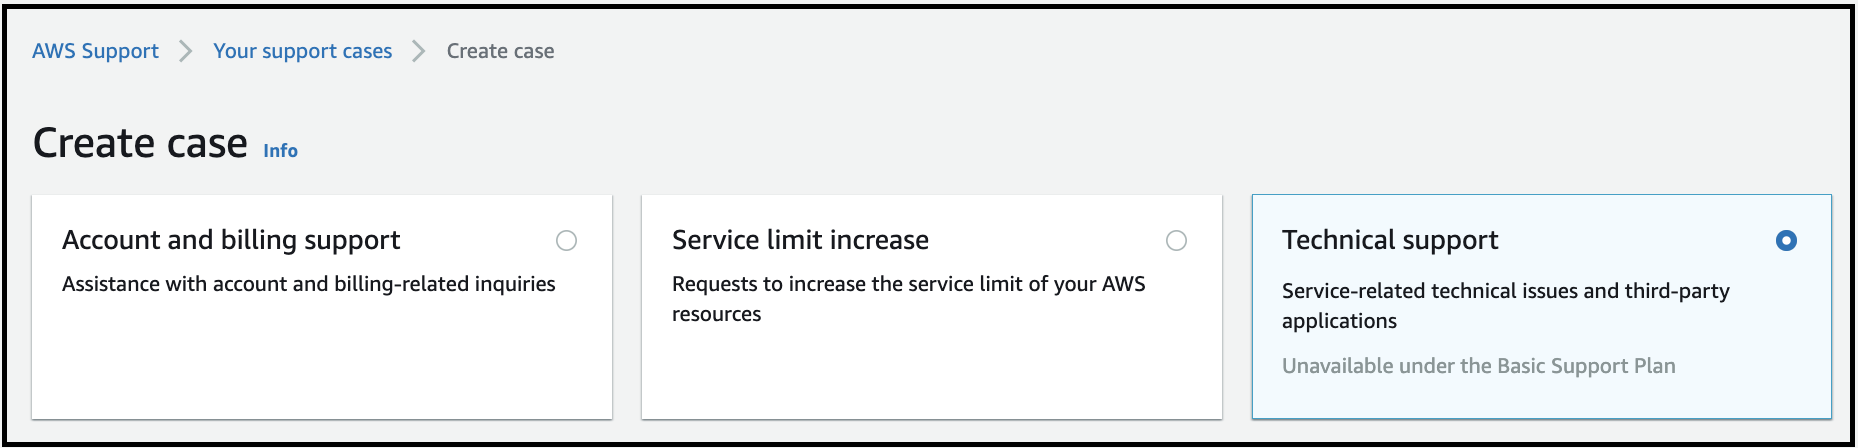
-
Describe your case and submit it.
For more details, visit AWS Support Case Management.
Steps to Create an App Client
-
Go to AWS Cognito in your desired AWS account.

-
Select the user pool of choice or create one.
-
Go to the
App Integrationtab.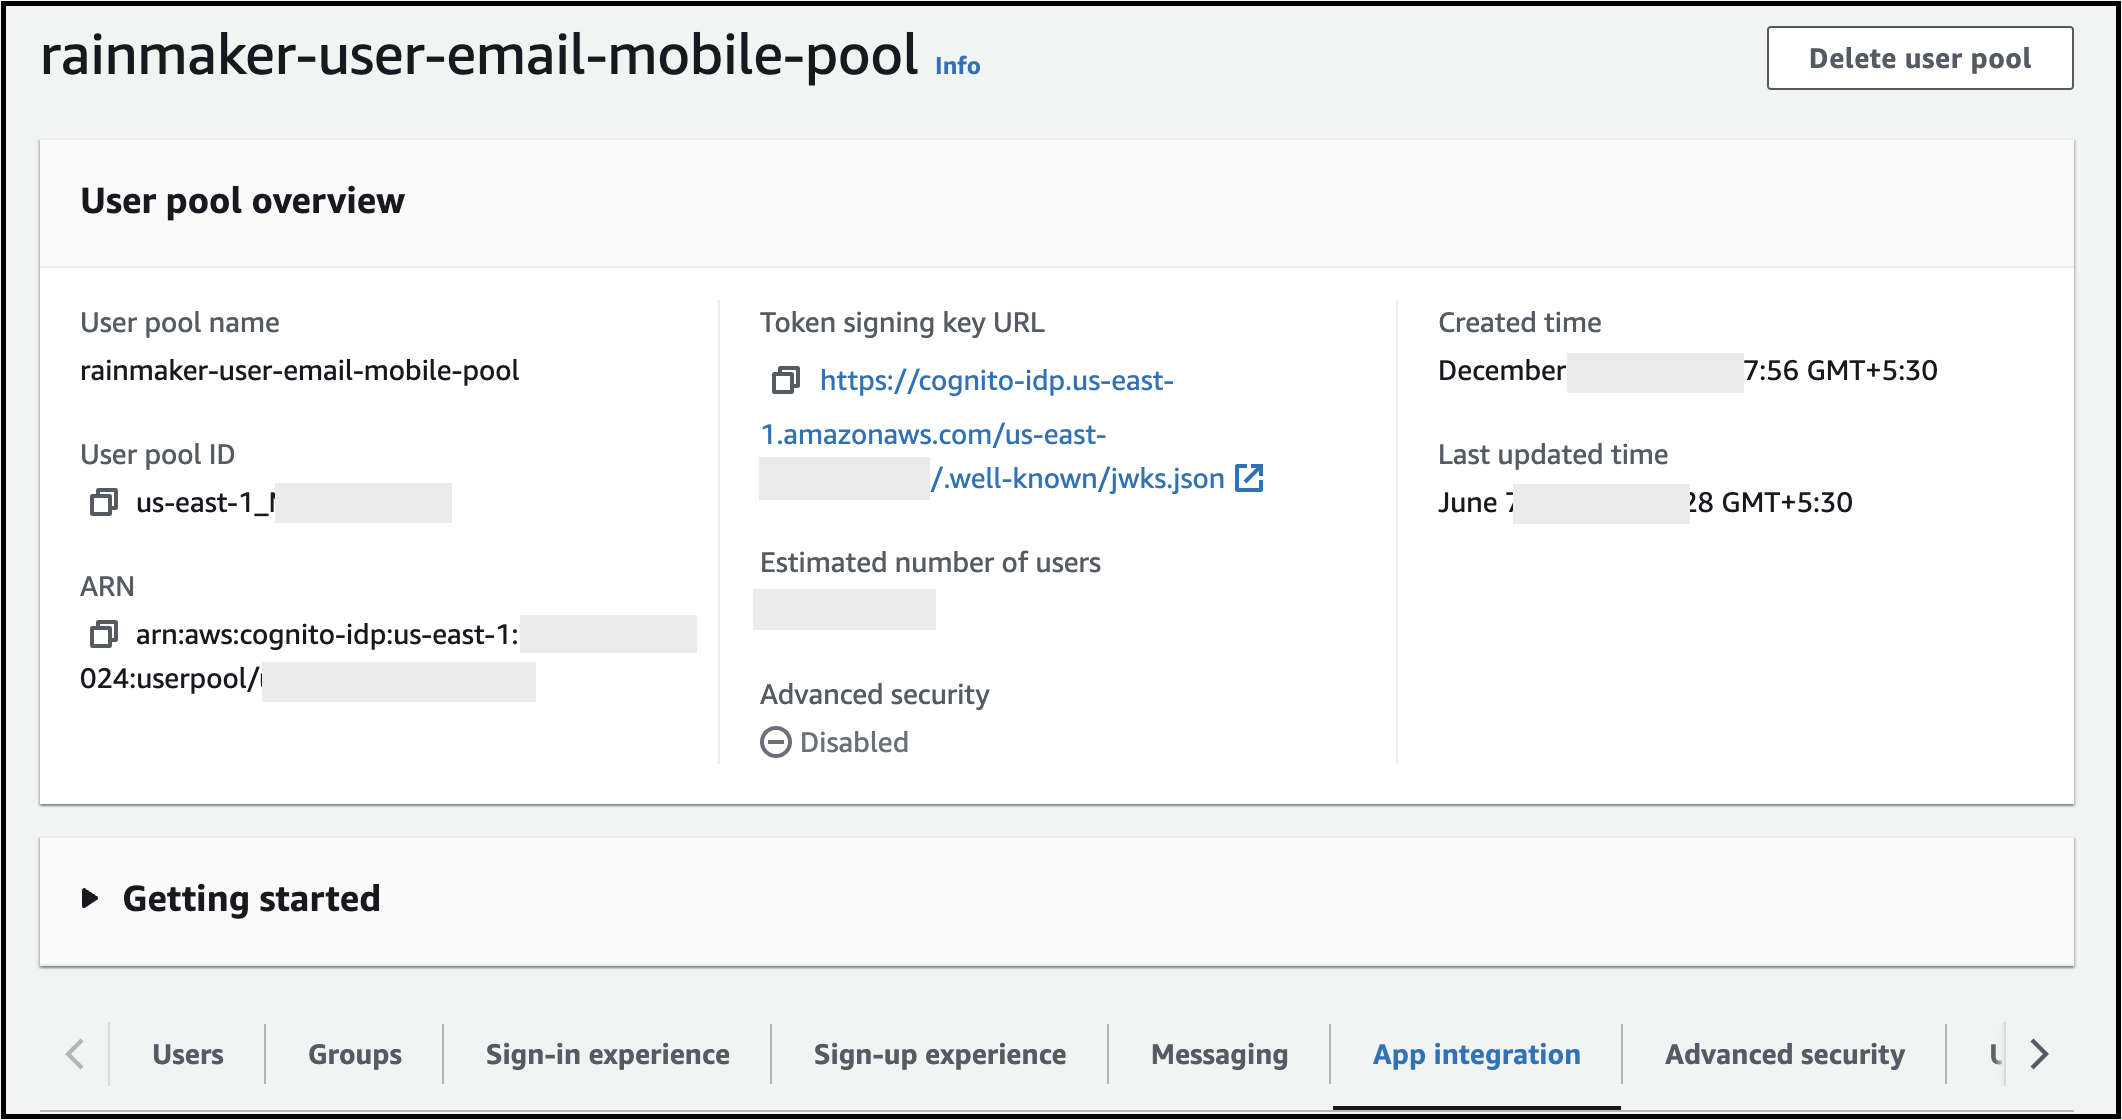
-
Scroll down and create an app client.

-
Create a confidential client and name it "rainmaker-oauth-client".
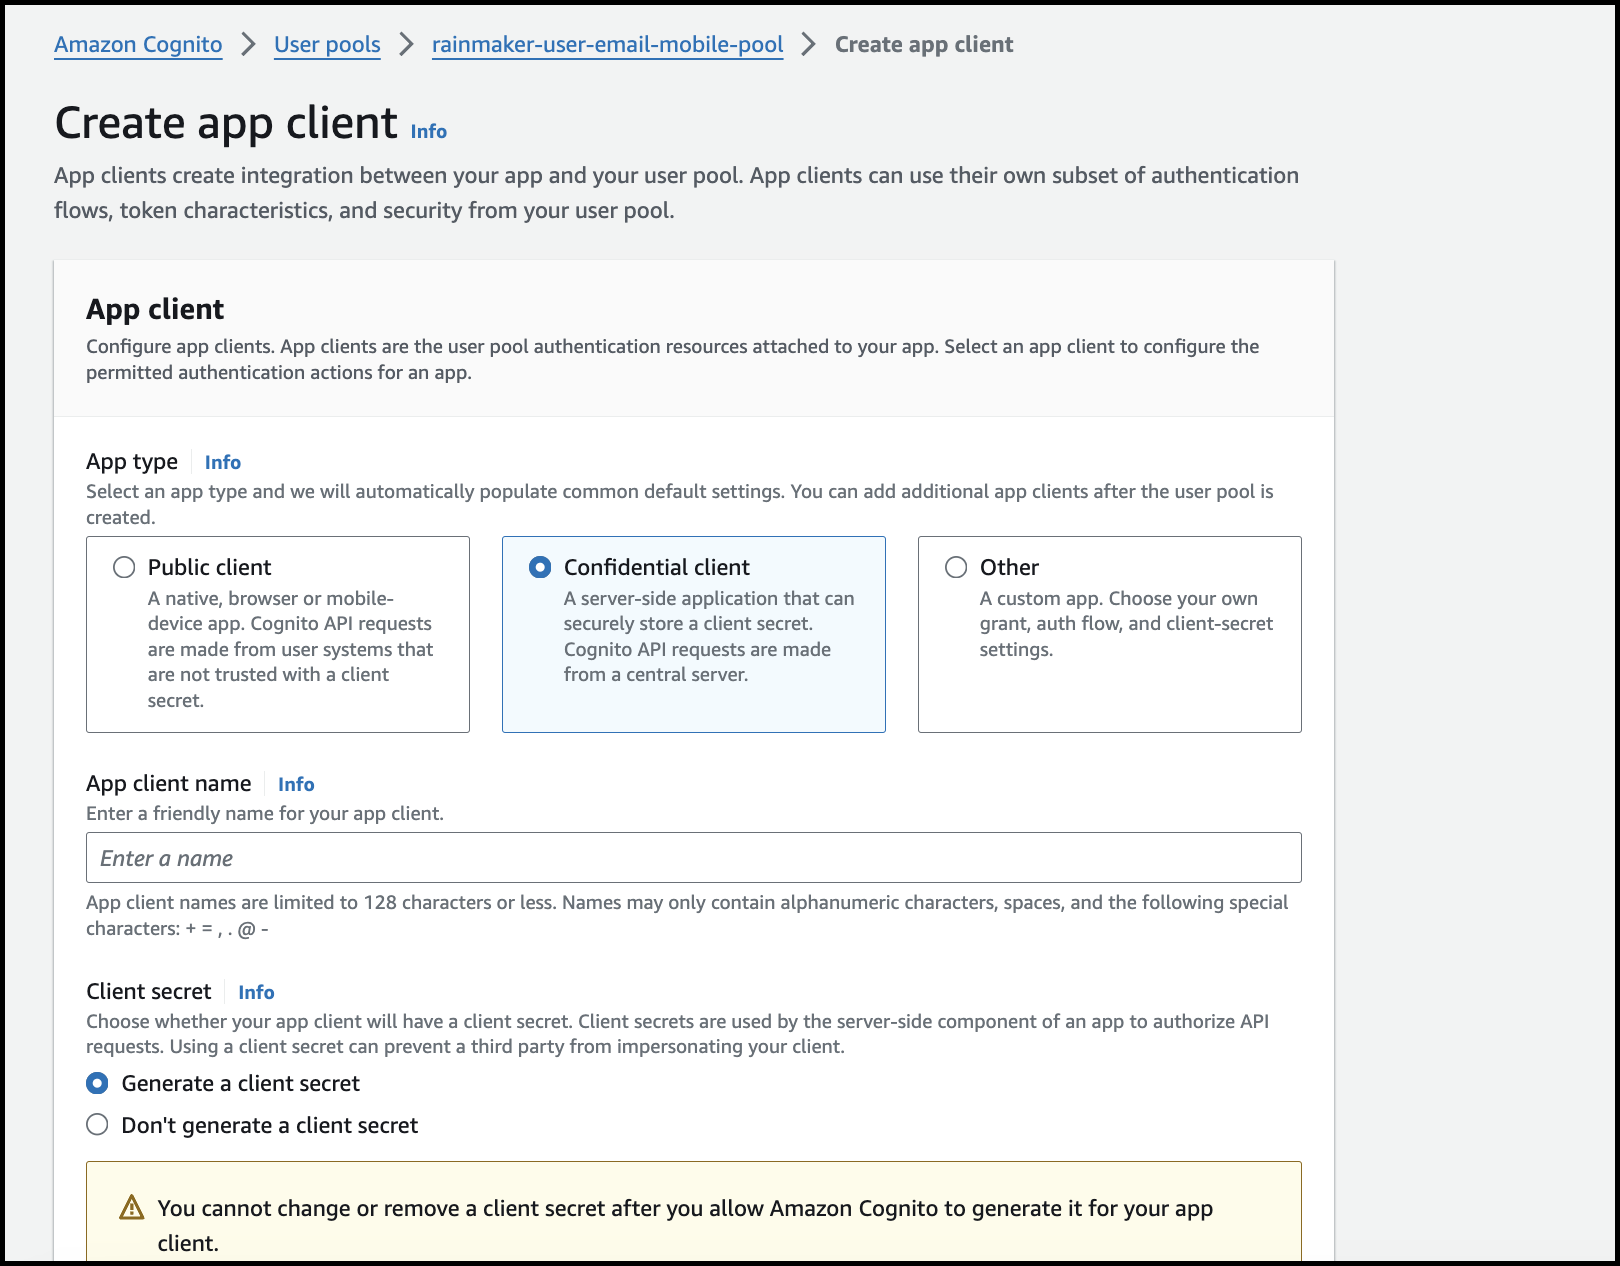
-
Keep everything as default.
In some AWS accounts, the setup part is available after creating the client first.
-
Set the Callback or Redirect URL:
{HTTP Base URL}/{Stage}/cognitocallbackWhere:
- HTTP Base URL: This is present in the deployment details email sent to the Superadmin for the OAuth-only deployment. If you miss the email, you can also call the Deployment Details API using the OAuth-only deployment's credentials.
- Stage: The stage entered while deploying the Backend of the OAuth-only deployment.
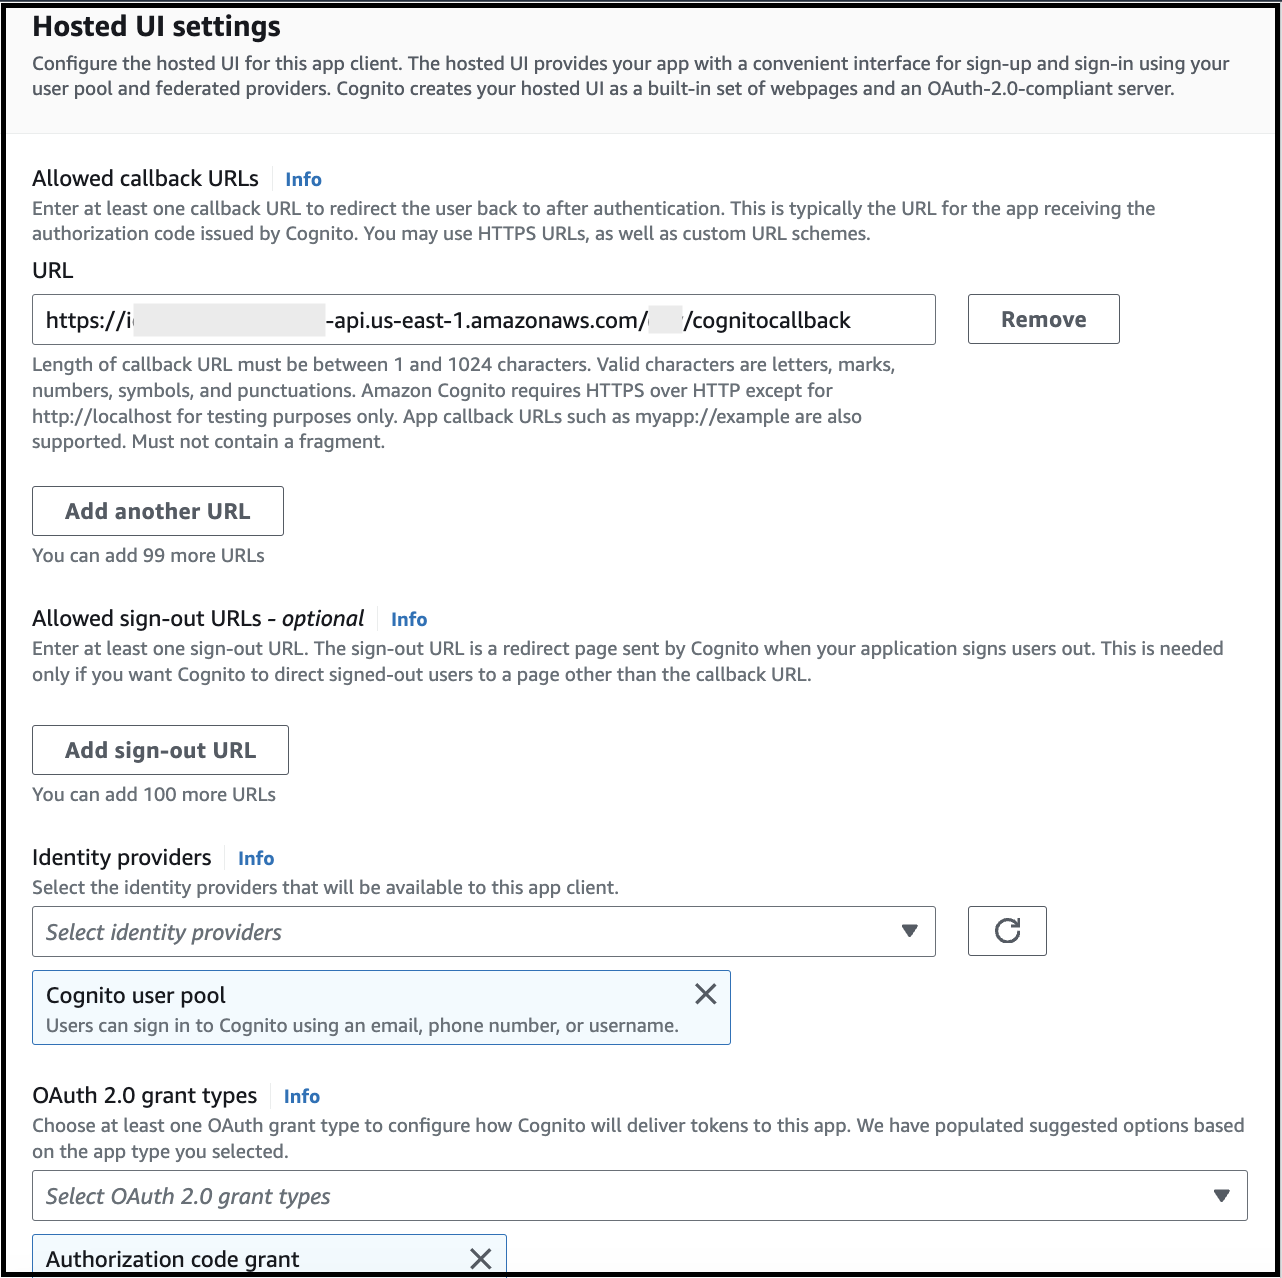
-
Ensure
Identity providerscontainCognito user pool. -
Ensure
Authorization code grantis selected for grant types. -
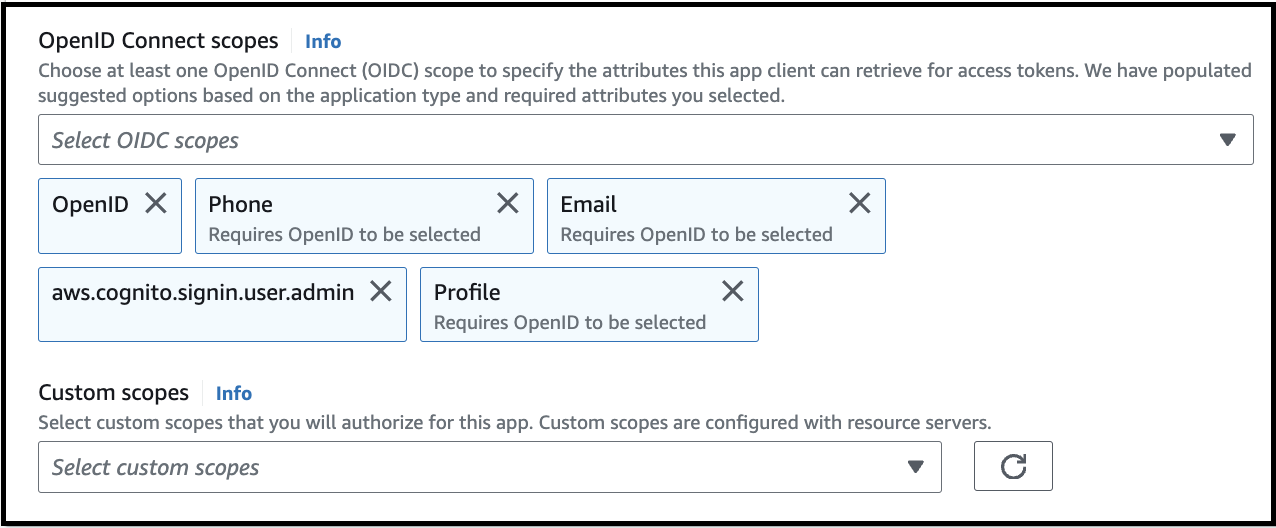
Ensure these five scopes are selected.
-
Select all attributes.
-
Click
Create App Client. -
Done.
-
For steps to create domain, please refer to Configure Cognito Domain.