3rd-party Logins
This document provides step-by-step instructions for enabling Google and Apple sign-in for ESP RainMaker users.
It covers setting up OAuth credentials in the Google API Console and Apple Developer Console, configuring authentication settings in AWS Cognito, and integrating these identity providers with the ESP RainMaker Dashboard.
Additionally, it includes steps to verify successful integration using Cognito’s Hosted UI and details on enabling Apple’s private email relay for enhanced privacy.
For detailed steps, refer to Sign in with Google, Sign in with Apple or Sign in with Wechat.
Please select the relevant tab below to make the link above clickable.
- Global Region
- China Region
Sign in with Google (Optional)
End users can log in to RainMaker mobile apps with their Google accounts.
This section describes the steps required to configure the Google sign-in for end users.
Prerequisites
- A Google developer account is created. (Reference: https://console.developers.google.com/)
- ESP-RainMaker-Core is deployed.
- A custom domain is created. (Reference: Configure Customer Domain)
Steps to Configure Google App Client
Configurations in Google Developer Account
-
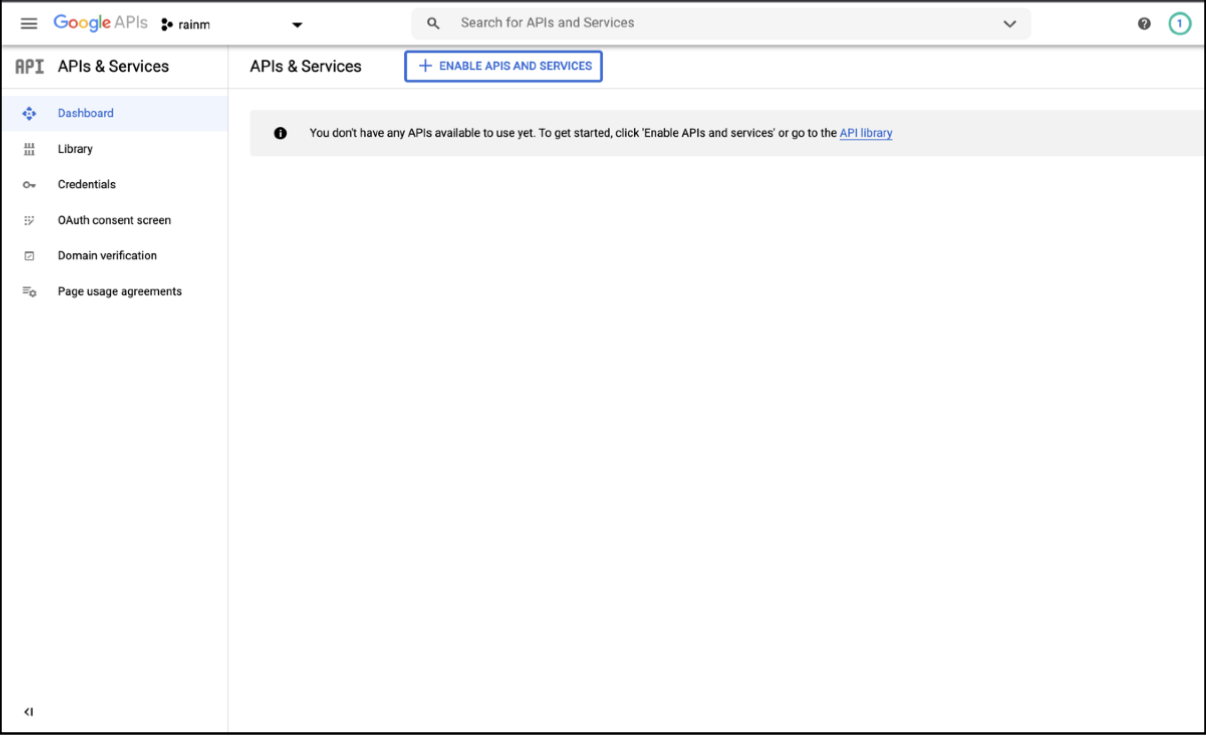
Sign in to the Google API Console with your Google developer account credentials using the URL
https://console.developers.google.com/. -
When you login to the Google Developer console, below screen is displayed.
-
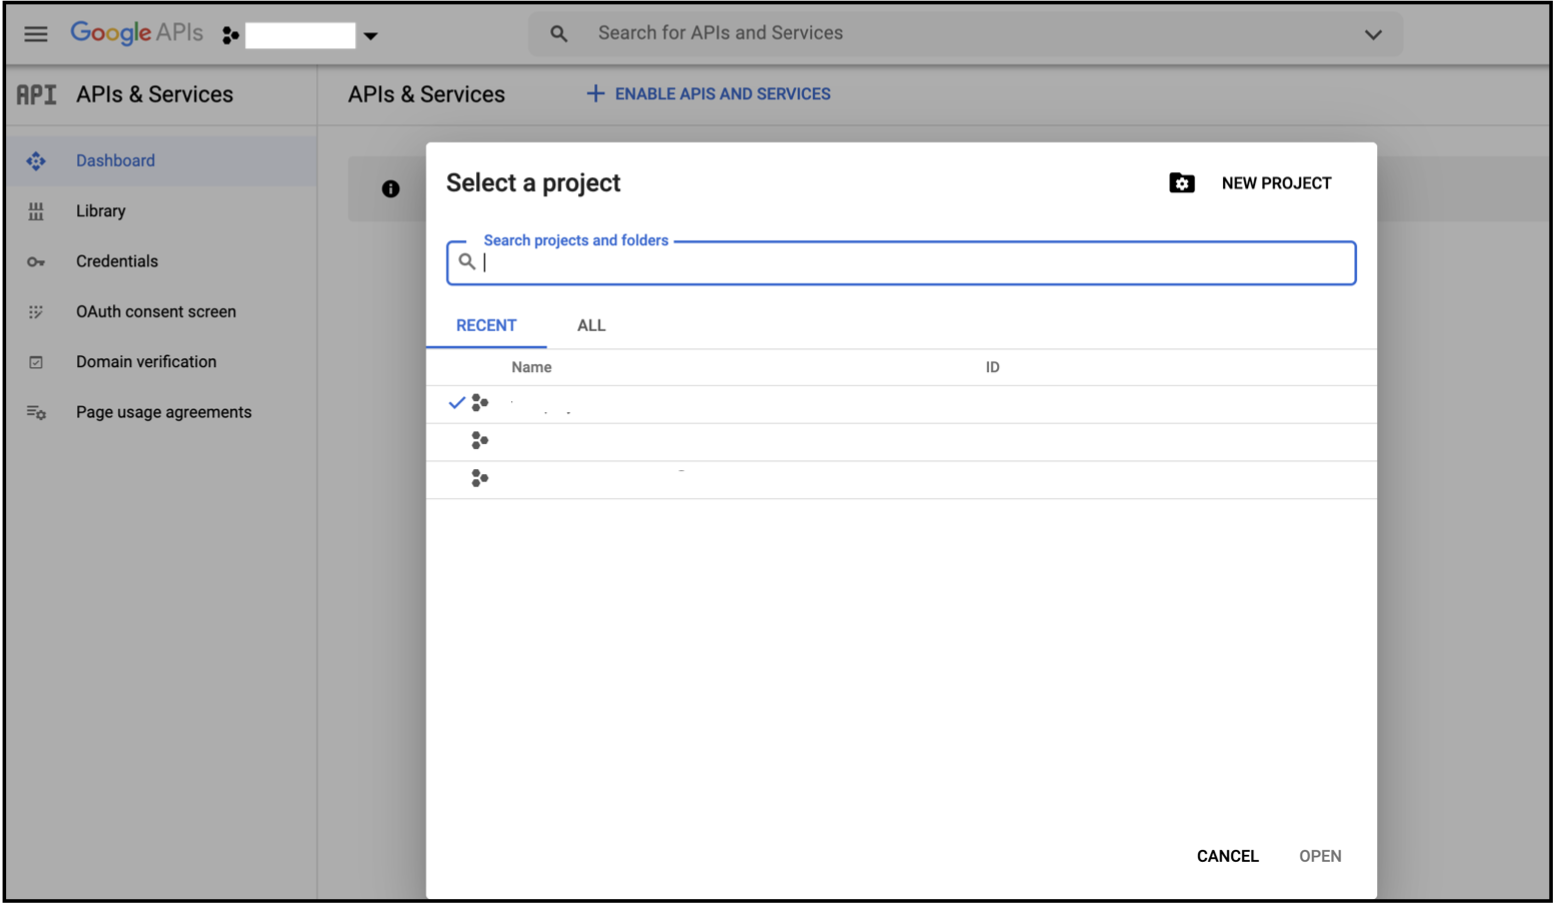
To create a Google API Console project, Click ▼ found at top left title bar next to the list of projects, as shown below.
-
Click
NEW PROJECTat the top right corner.
- Enter a
Project nameand clickCREATE.
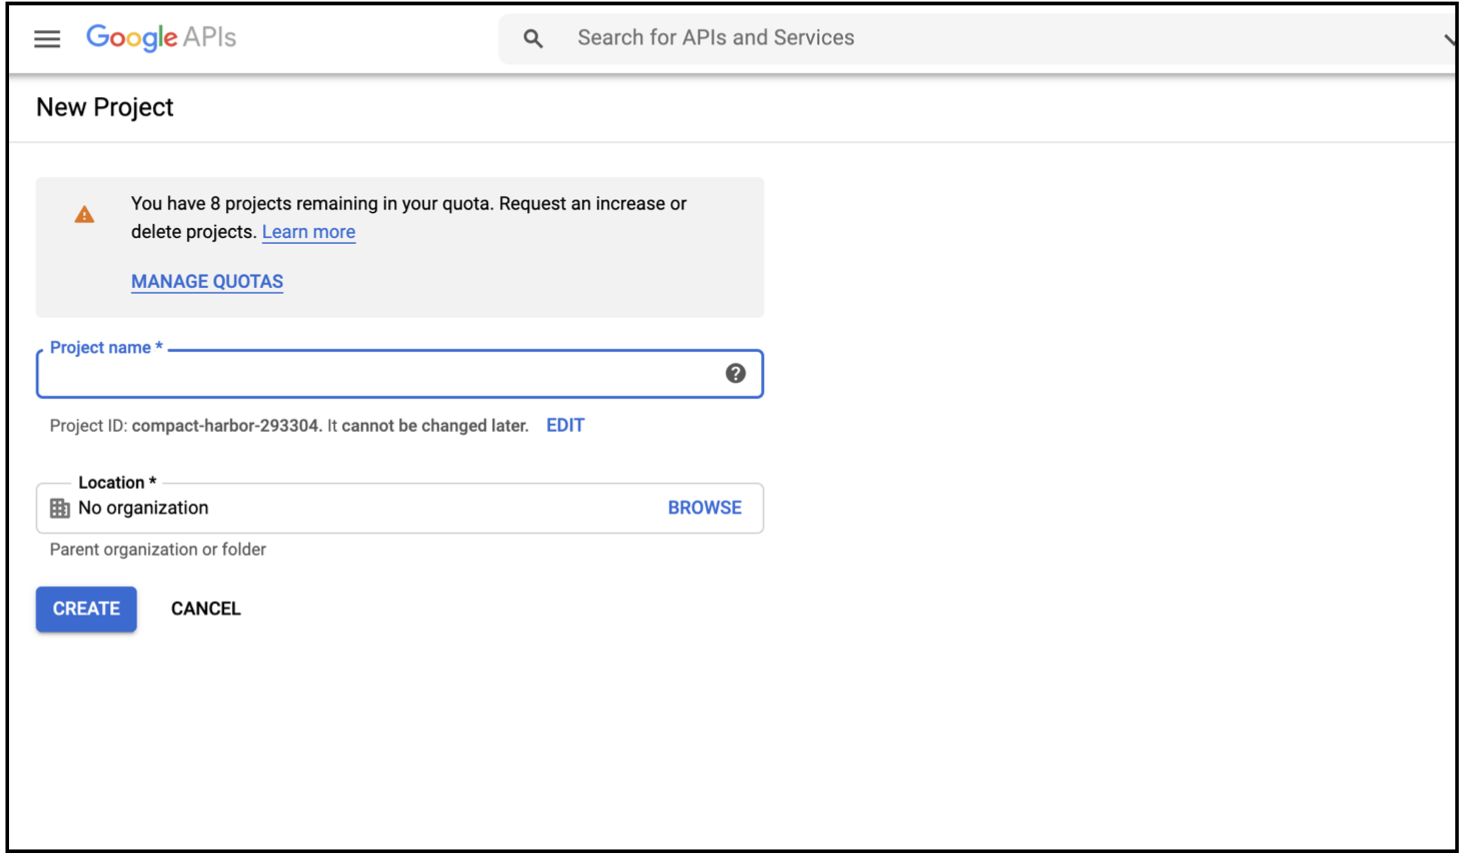
After the project is created, you will need to configure the OAuth consent screen. The steps for configuring OAuth consent are provided below.
Note: You are required to configure the newly created project. If you have multiple projects in your Google developer account, select the newly created project, from the list of projects by clicking ▼ found at top left title bar.
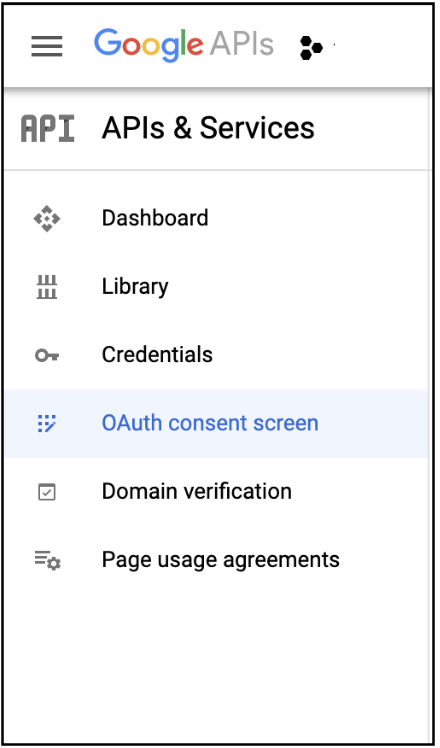
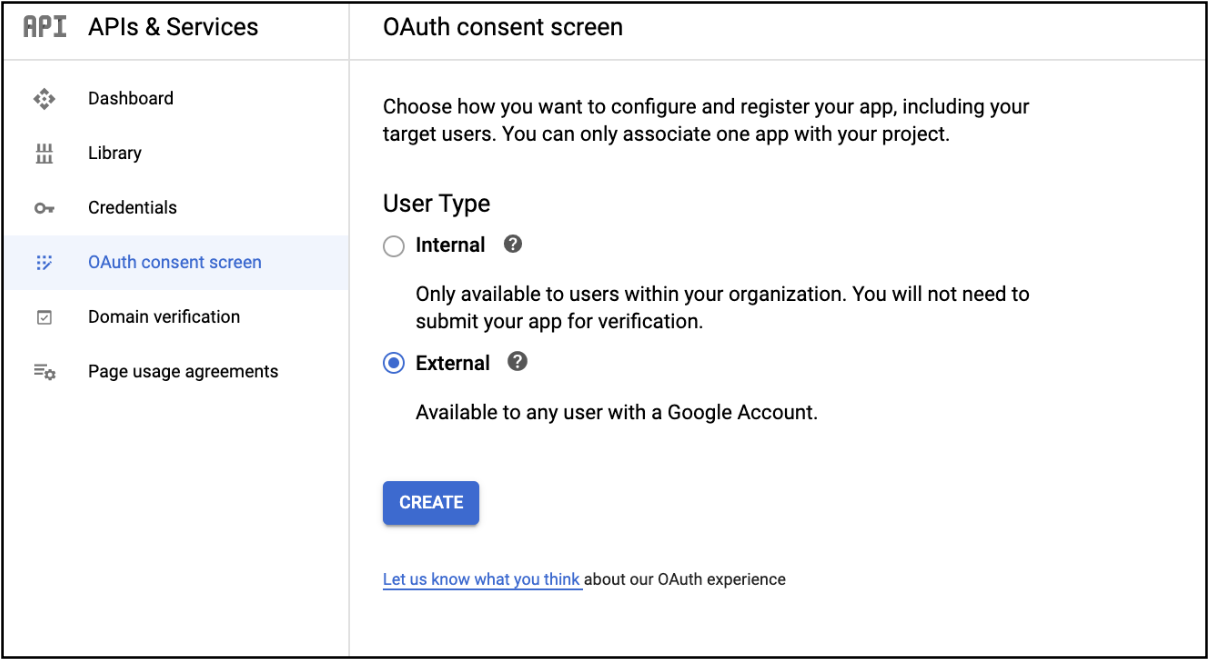
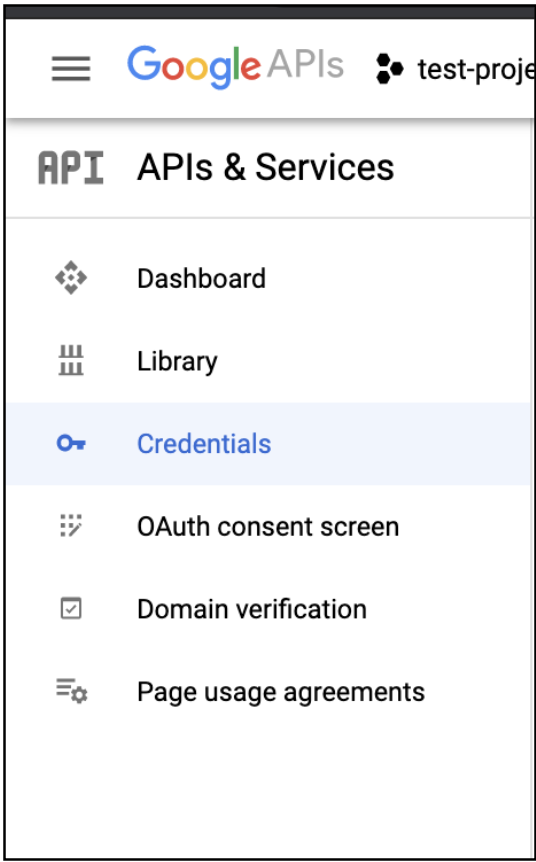
- In the Google API Console, in the left navigation pane, click
OAuth consent screen.
- Select
User TypeasExternaland clickCREATE.
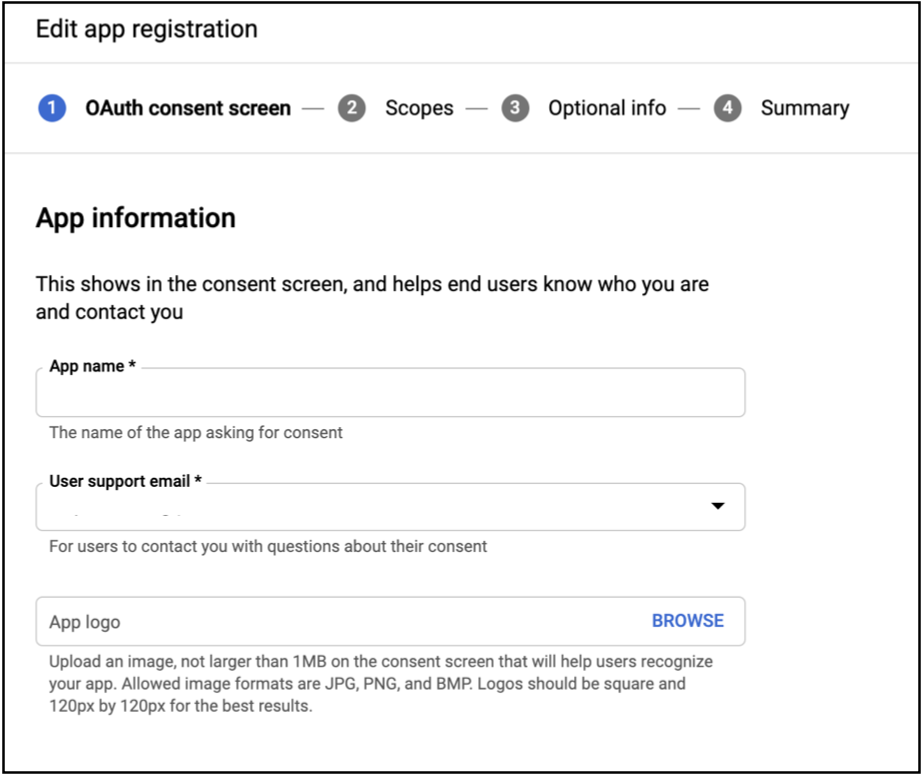
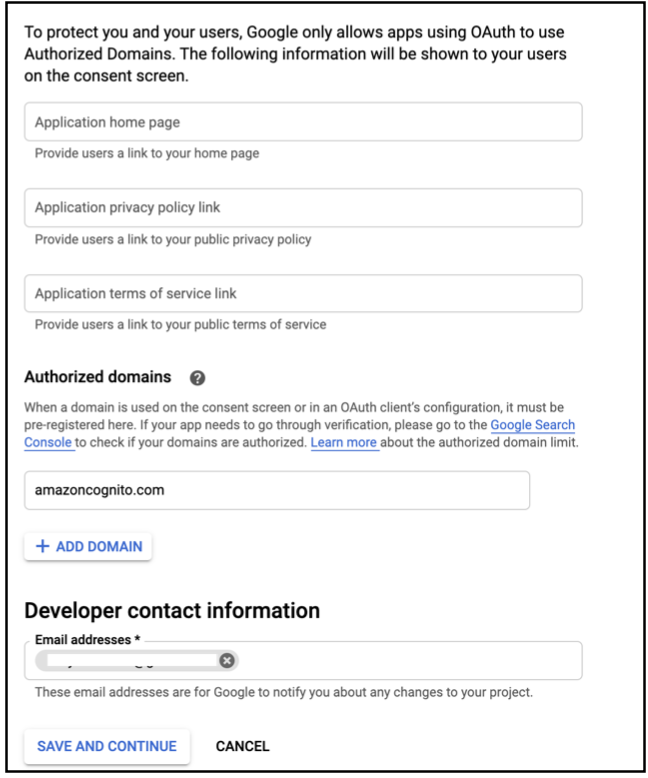
- Enter
App nameandUser support email, underApp information. You may enterApplication Home Page,Application Privacy Link,Application Terms of Service Link, but these are optional.
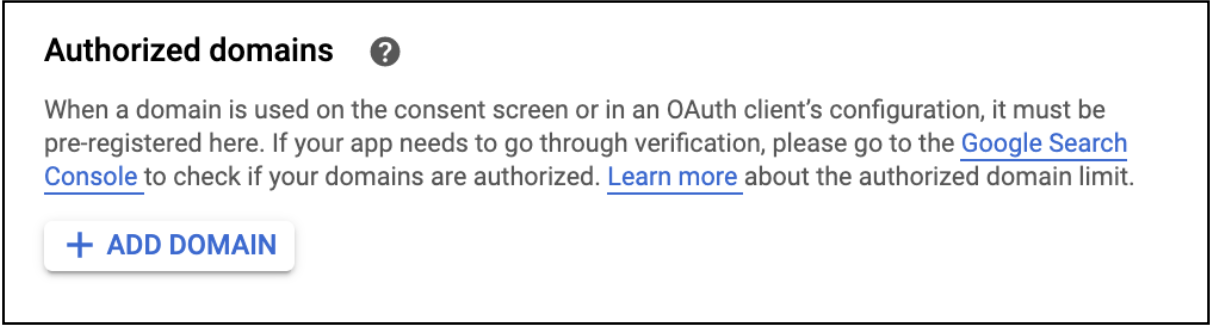
- Under
Authorized domains, clickADD DOMAIN.
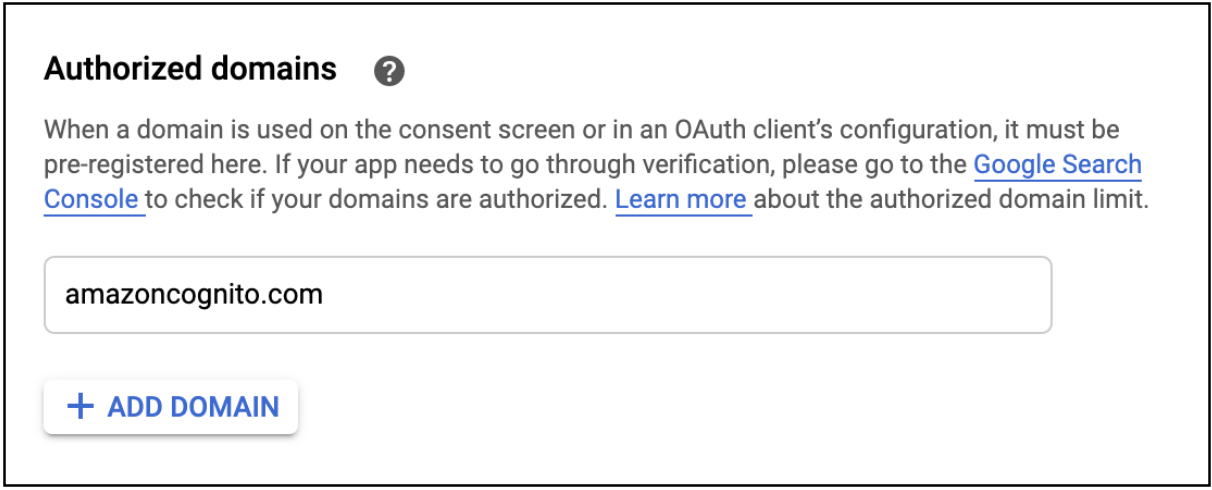
- Enter amazoncognito.com for the domain name as shown below.
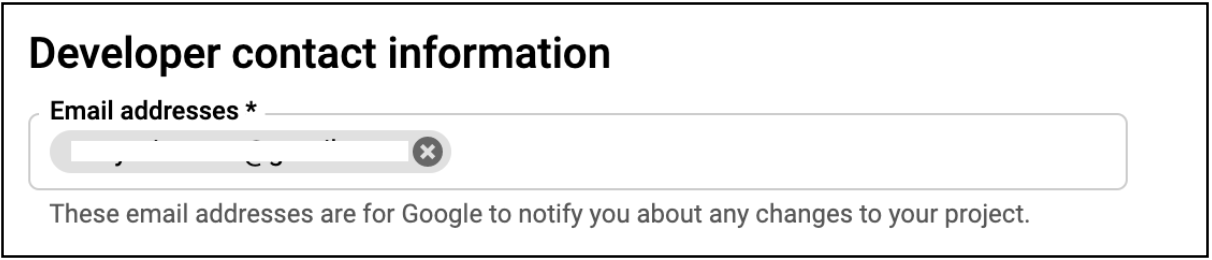
- Under
Developer contact information, enter a valid email address for the developer contact information.
- Click
SAVE AND CONTINUE.
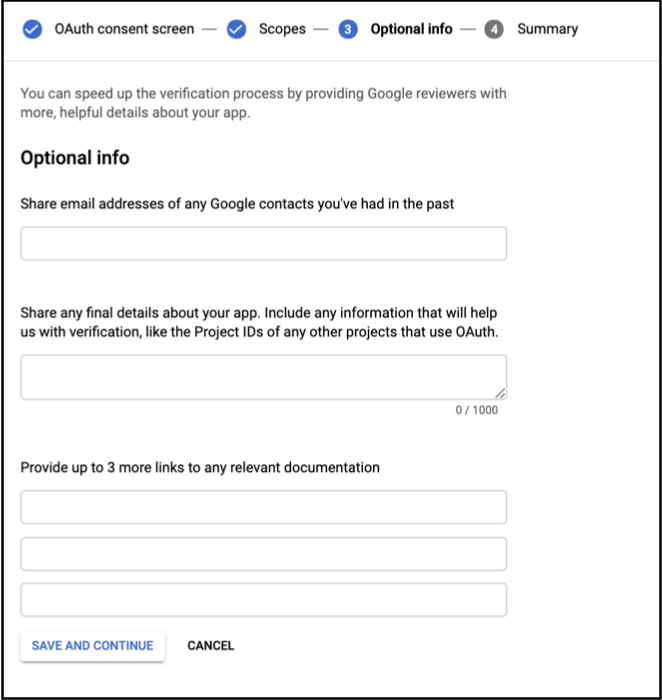
- Next, click
SAVE AND CONTINUE.
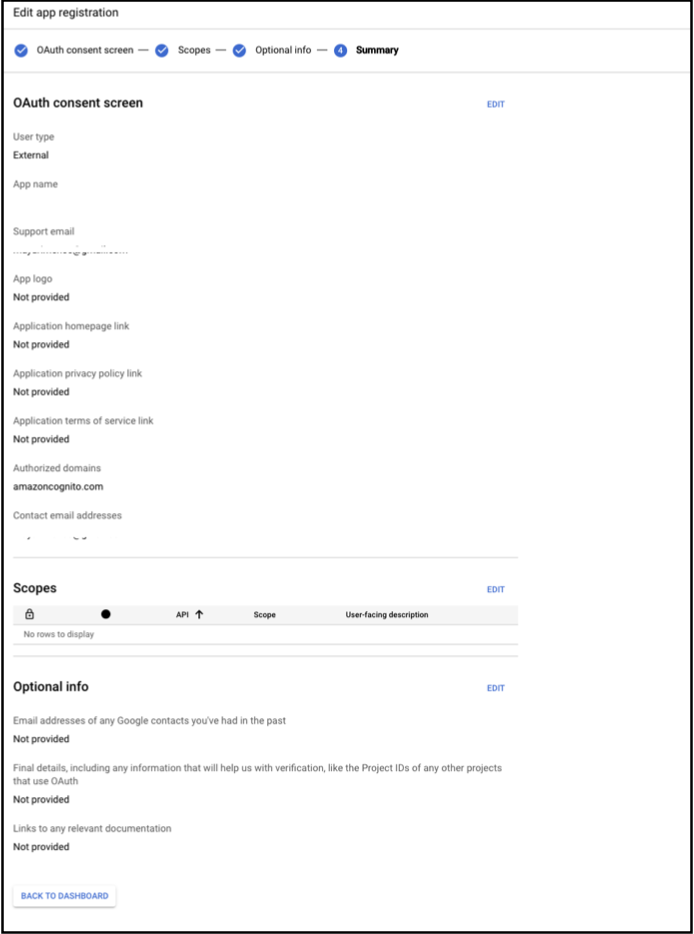
- Review the changes and click
BACK TO DASHBOARD.
- Next step is to get OAuth 2.0 client credentials. In the Google API Console, in the left navigation pane, click
Credentials.
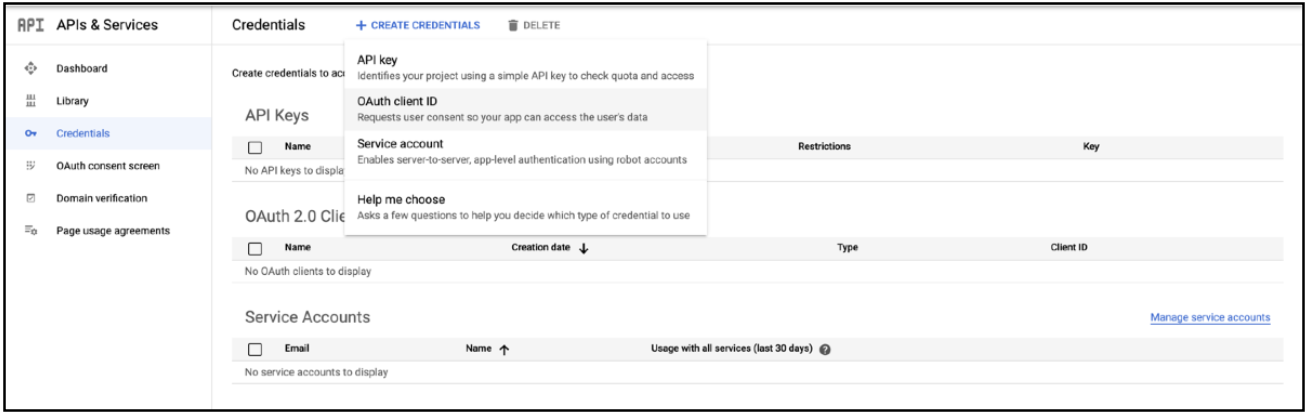
- Click
+ CREATE CREDENTIALSand selectOAuth client IDas the option.
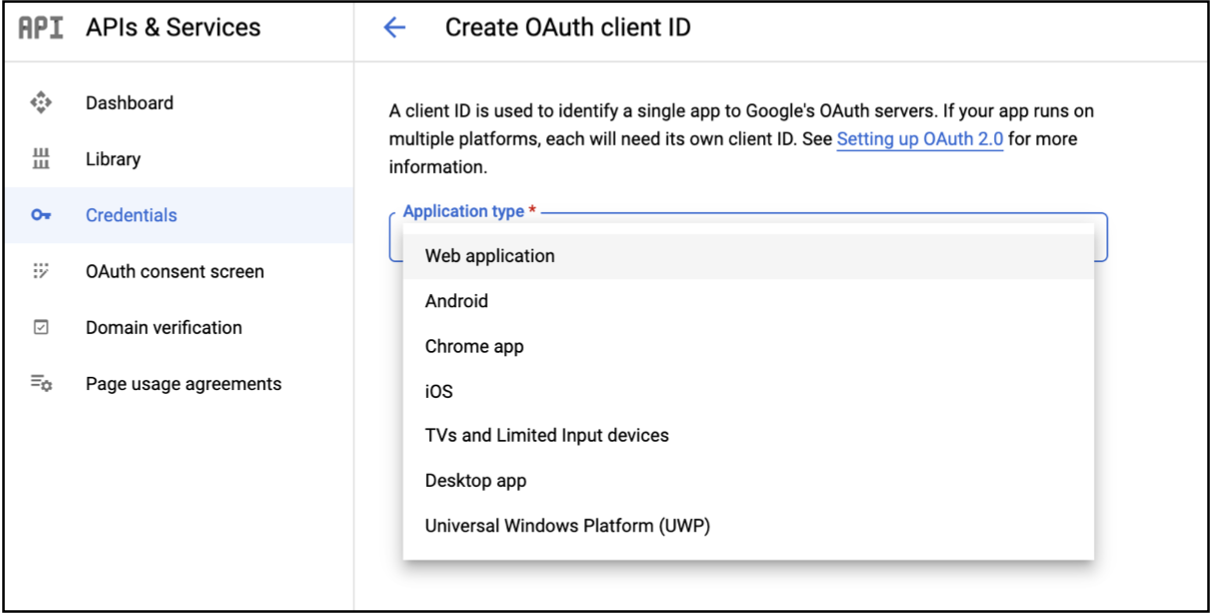
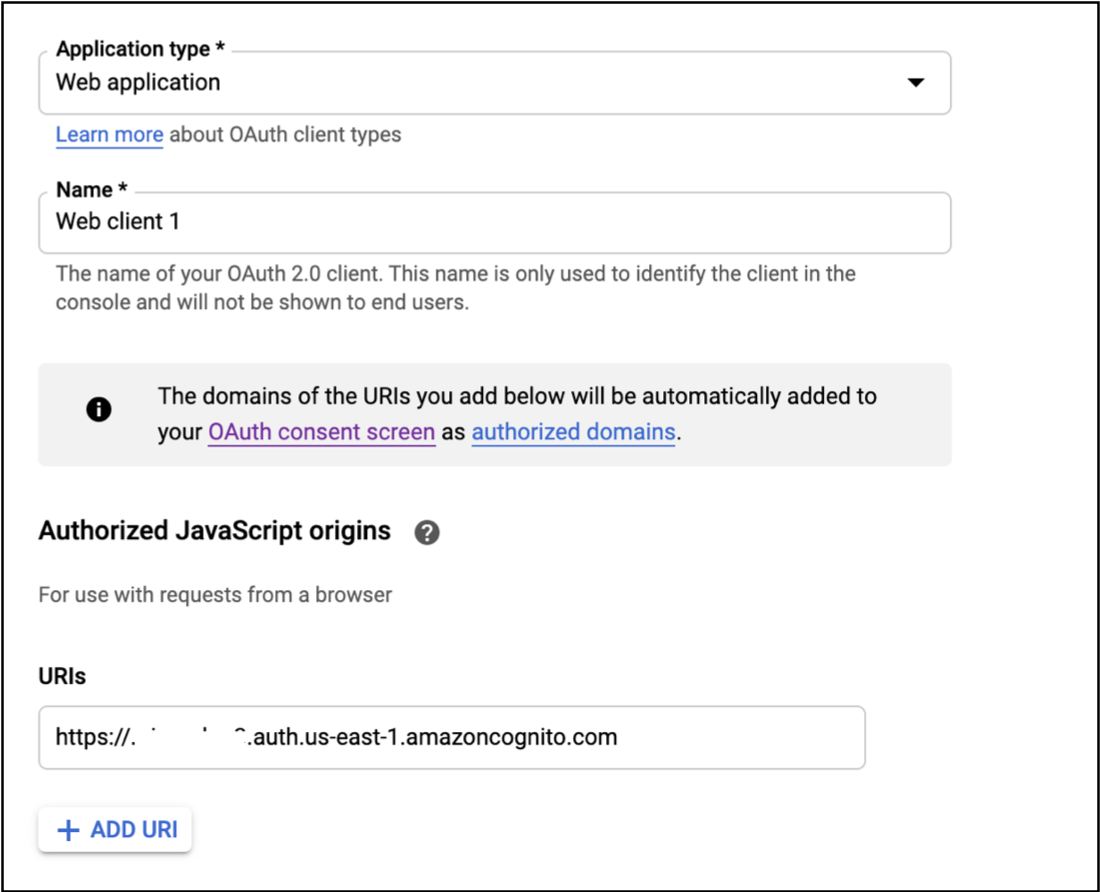
- Choose
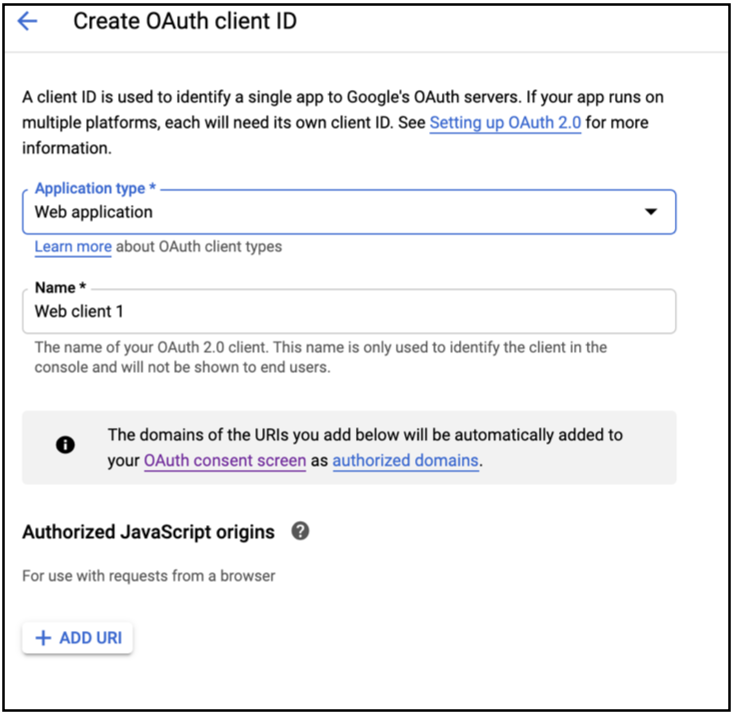
Application typeasWeb Application.
- Enter a
Namefor your OAuth client. - For
Authorized JavaScript origins, clickADD URI.
Standard RainMaker
- Enter your Amazon Cognito domain
https://<your-company-domain>.auth.<aws-region>.amazoncognito.comas shown below.
This is taken from Configure Cognito Domain.
OAuth-only RainMaker
- Enter your HTTP Base URL (without stage)
- Example:
https://<API gateway Id>.execute-api.<AWS-Region>.amazonaws.com
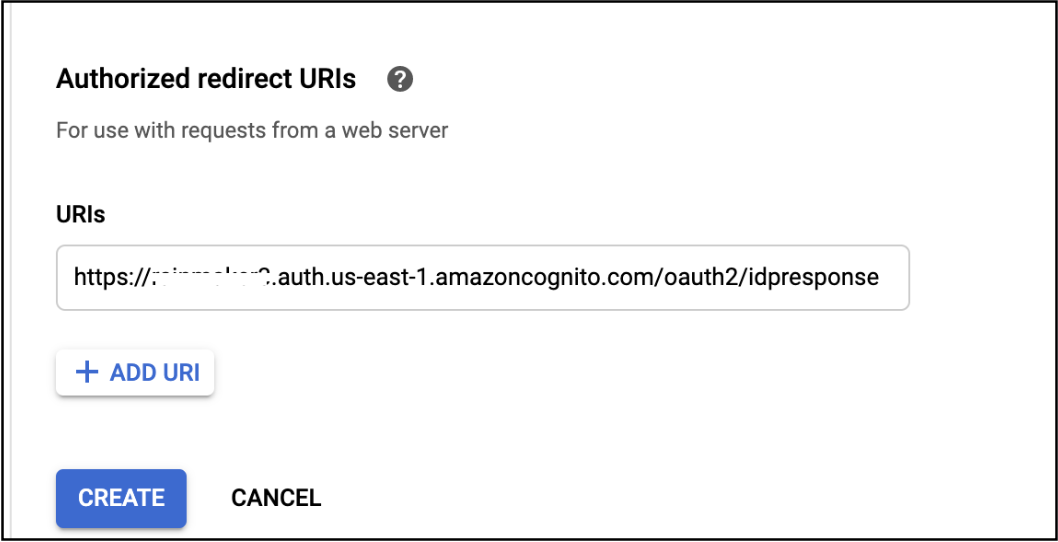
- For
Authorized redirect URIs, clickAdd URI.

Standard RainMaker
- Enter your Amazon Cognito domain
https://<your-company-domain>.auth.<aws-region>.amazoncognito.com/oauth2/idpresponseas shown below.
This is taken from Configure Cognito Domain.
Remember to add /oauth2/idpresponse behind your custom Cognito domain.
OAuth-only RainMaker
- Get your HTTP API Endpoint
- Redirect URI:
{HTTP API Endpoint}/cognitocallback
:::
-
Click
CREATEbutton. -
In the OAuth client dialog, find the client ID and client secret, and then note them for later use.
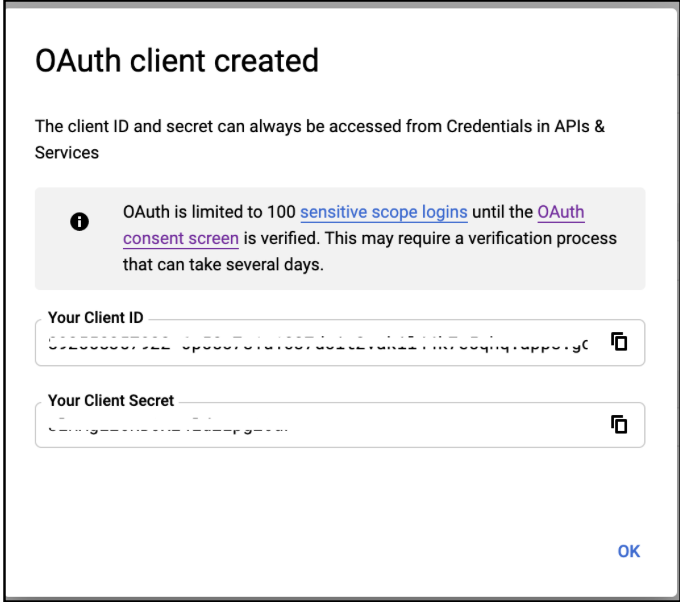
Google web app client is configured successfully!
Configure Google as Identity Provider via the RainMaker Dashboard
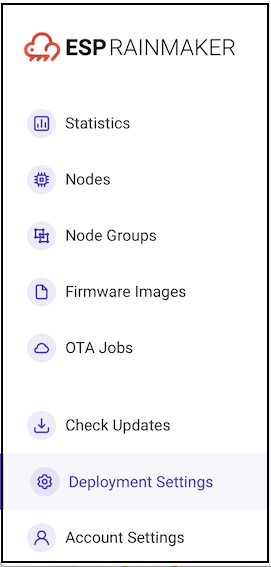
- Log in to RainMaker Dashboard with your admin account. Go to
Deployment Settings.
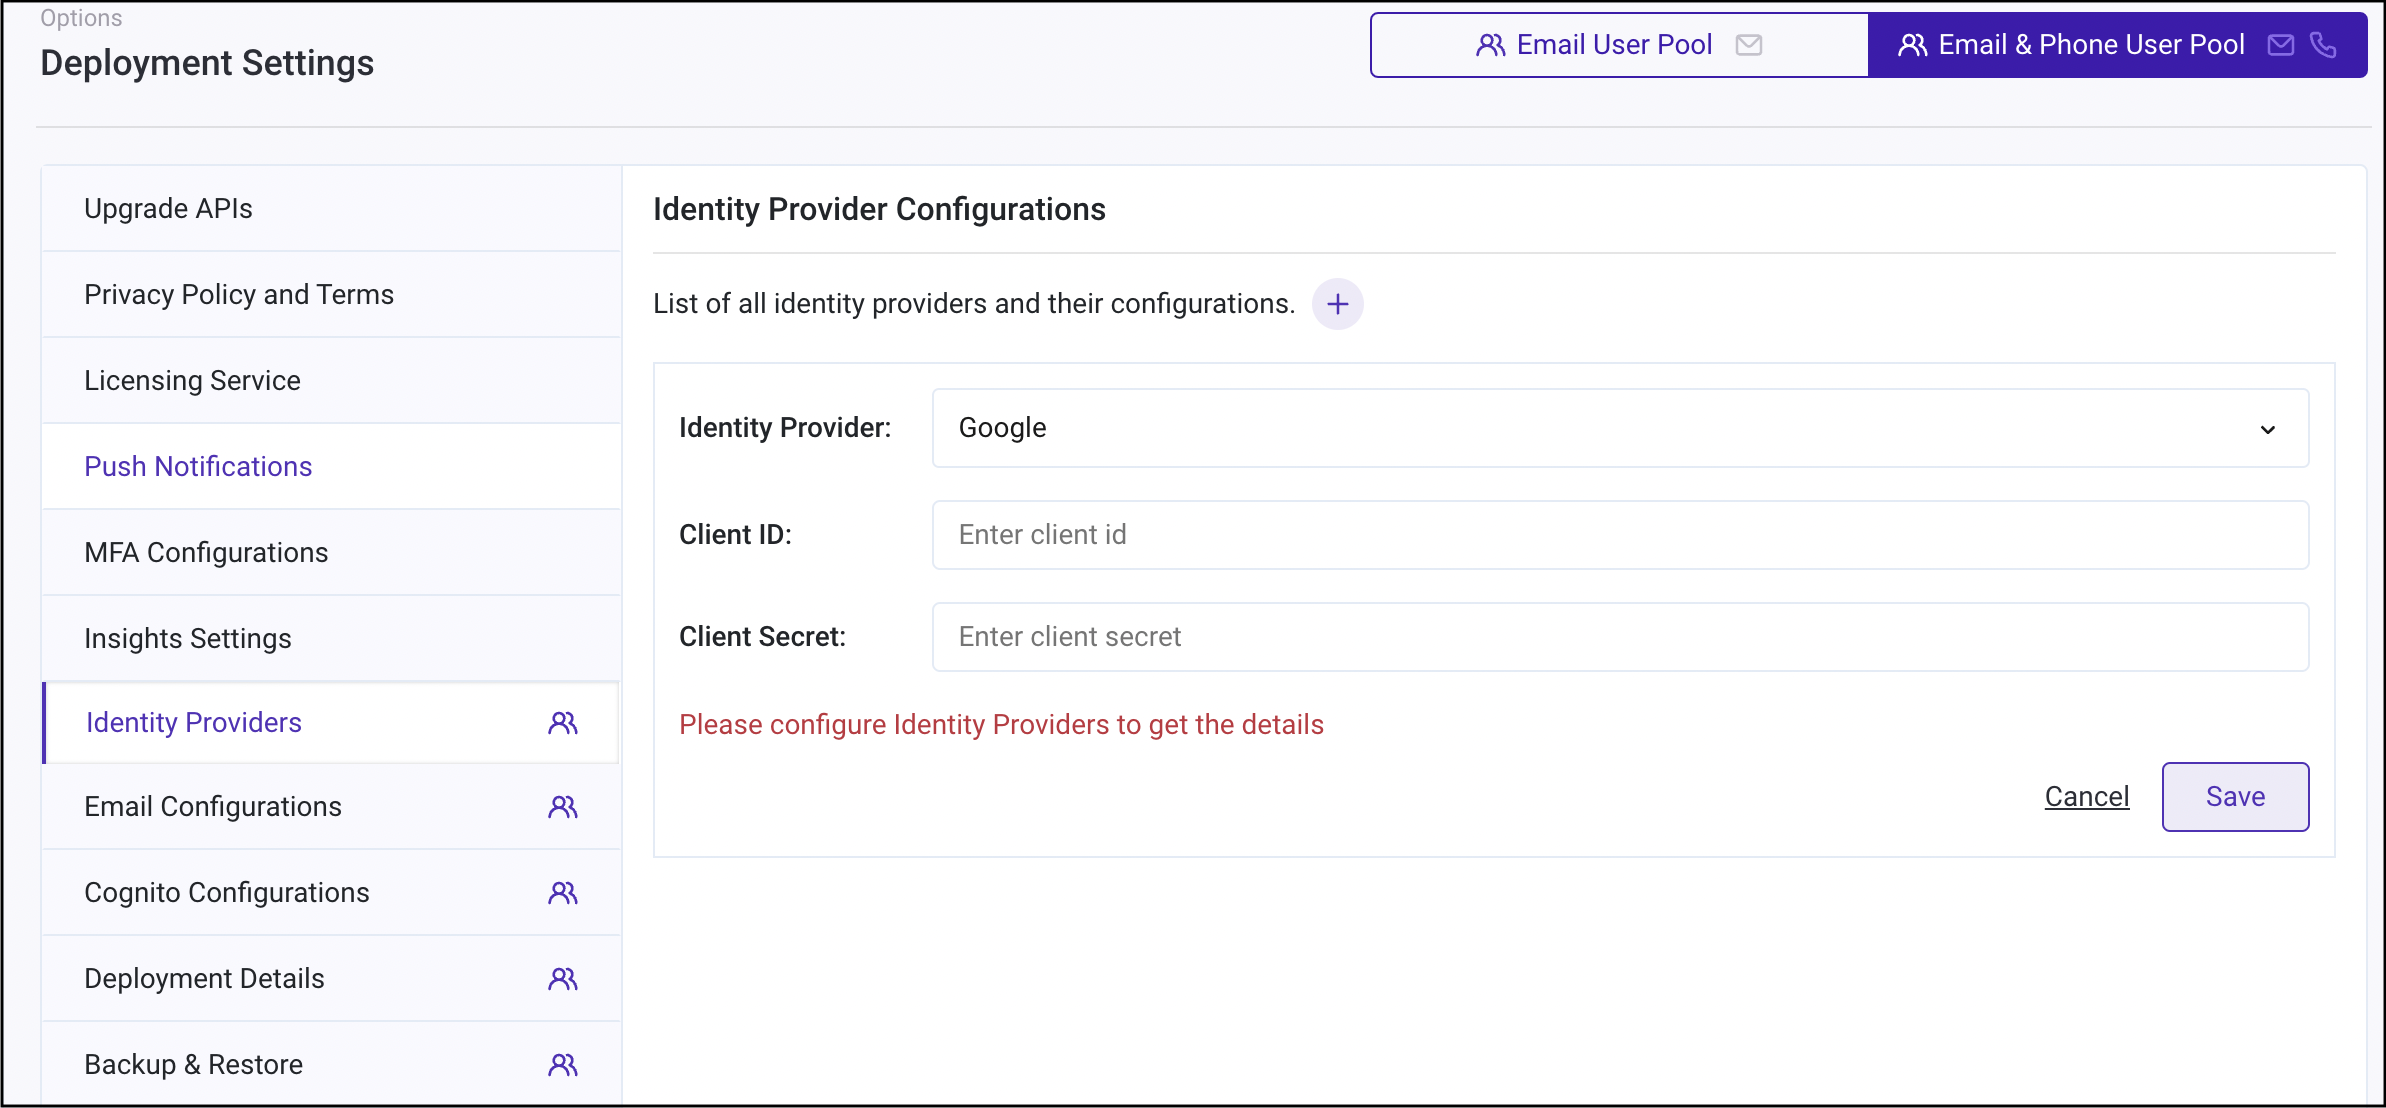
- Go to the
Identity Providerstab.
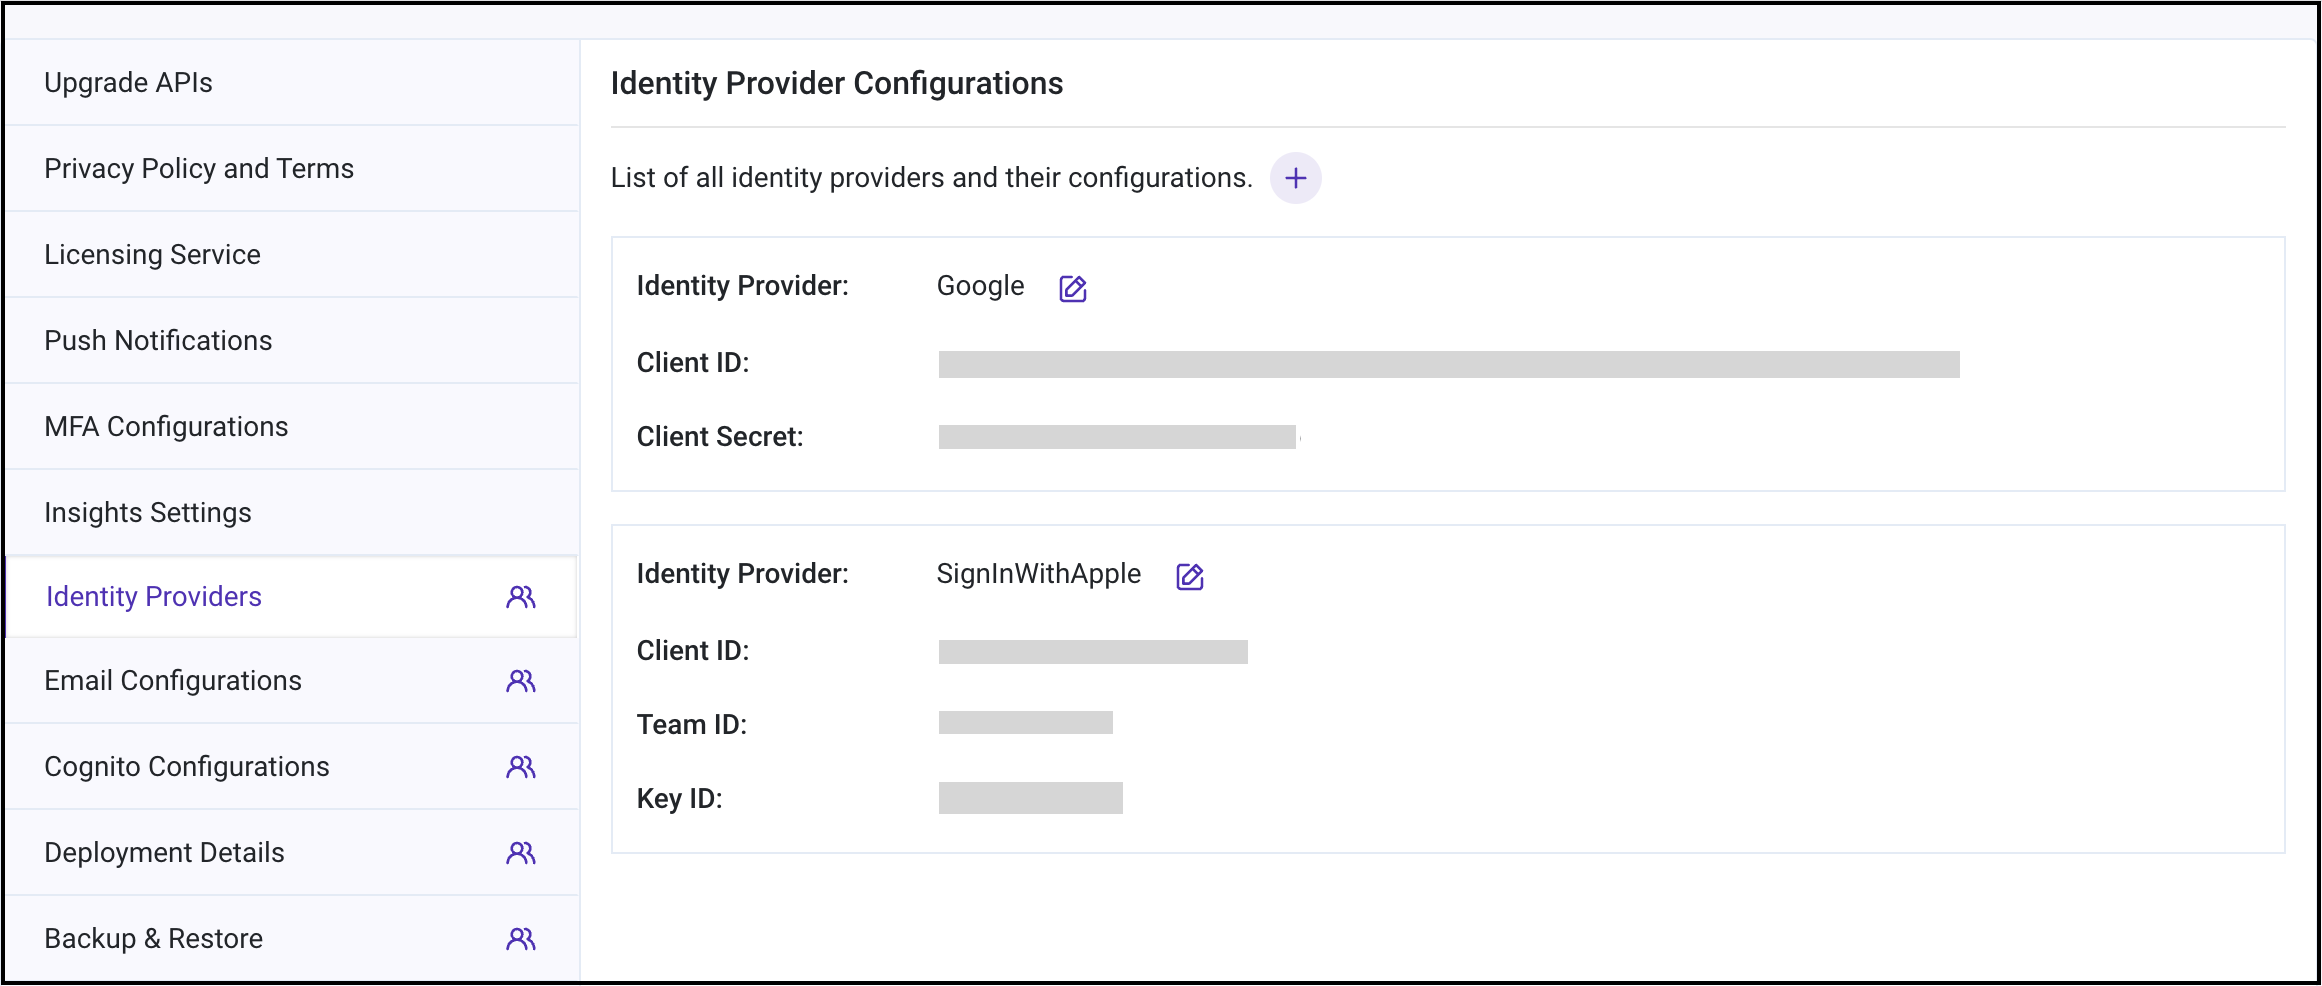
-
Click
+icon to add Identity providers configuration. -
Choose
GooglefromIdentity Providerdropdown. -
Add
Client IDandClient Secretnoted in the previous step.
Enable Google as an Identity Provider
This feature is not relevant for OAuth-only RainMaker.
- Log in to RainMaker Dashboard with your admin account. Go to
Deployment Settings.
- Go to the
Identity Configurationstab.
- Enable the
googleidentity provider for clients as per your requirements. This will enable users to sign in using Google to the respective clients.
Configuring callback URL (Redirect URIs)
Callback URL indicates where the user is to be redirected after a successful sign-in using third party authenticating services. After the user successfully signs-up using one of these third party authenticating services, the user will be redirected to one of these URLs.
If users are to be redirected to your phone app, you should form the callback URL for your app. To form the callback URLs (redirect URIs) for phone apps, please check below sections:
Configure the callback URLs in RainMaker dashboard with steps given here: Configure Cognito Callback URL.
Verifying Sign-in With Google
This feature is not supported for OAuth-only RainMaker yet.
This section describes the steps to verify if the Sign-in with Google is configured correctly.
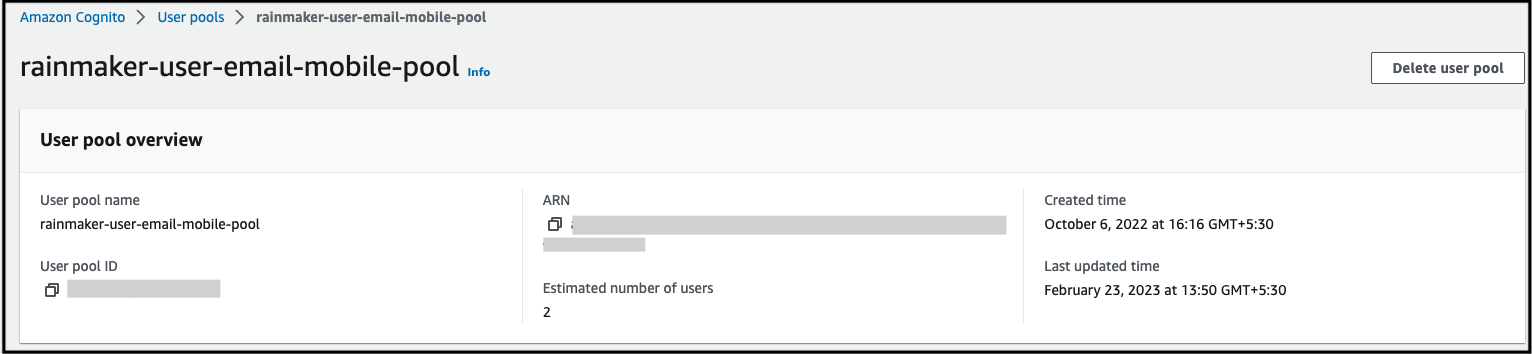
- Log in to AWS Console, go to
Amazon Cognito>User pools, and get the list of all user pools.
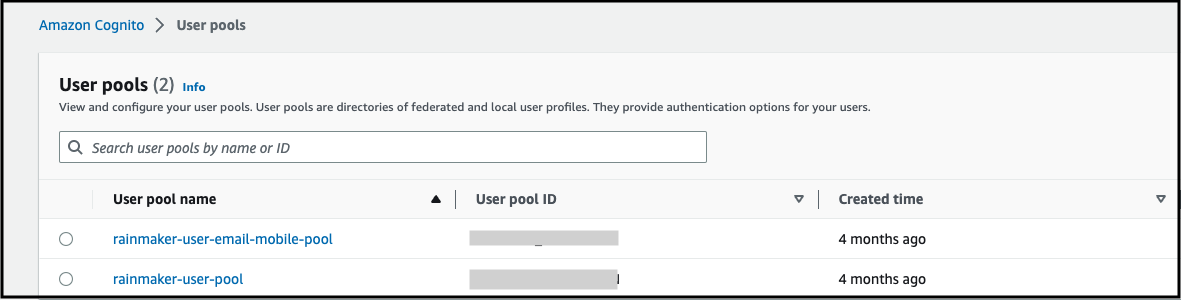
- Click
rainmaker-user-email-mobile-pool.
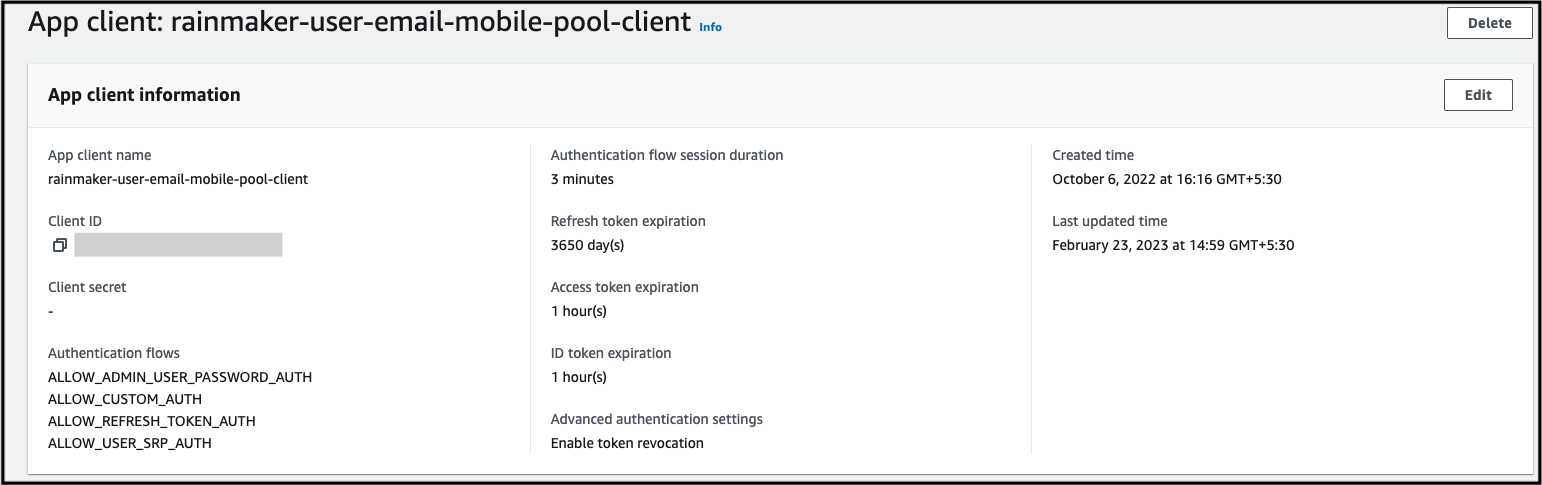
- Go to
App integration>App Client Lists.

- Click
rainmaker-user-email-mobile-pool-client, here you will get the App client information.
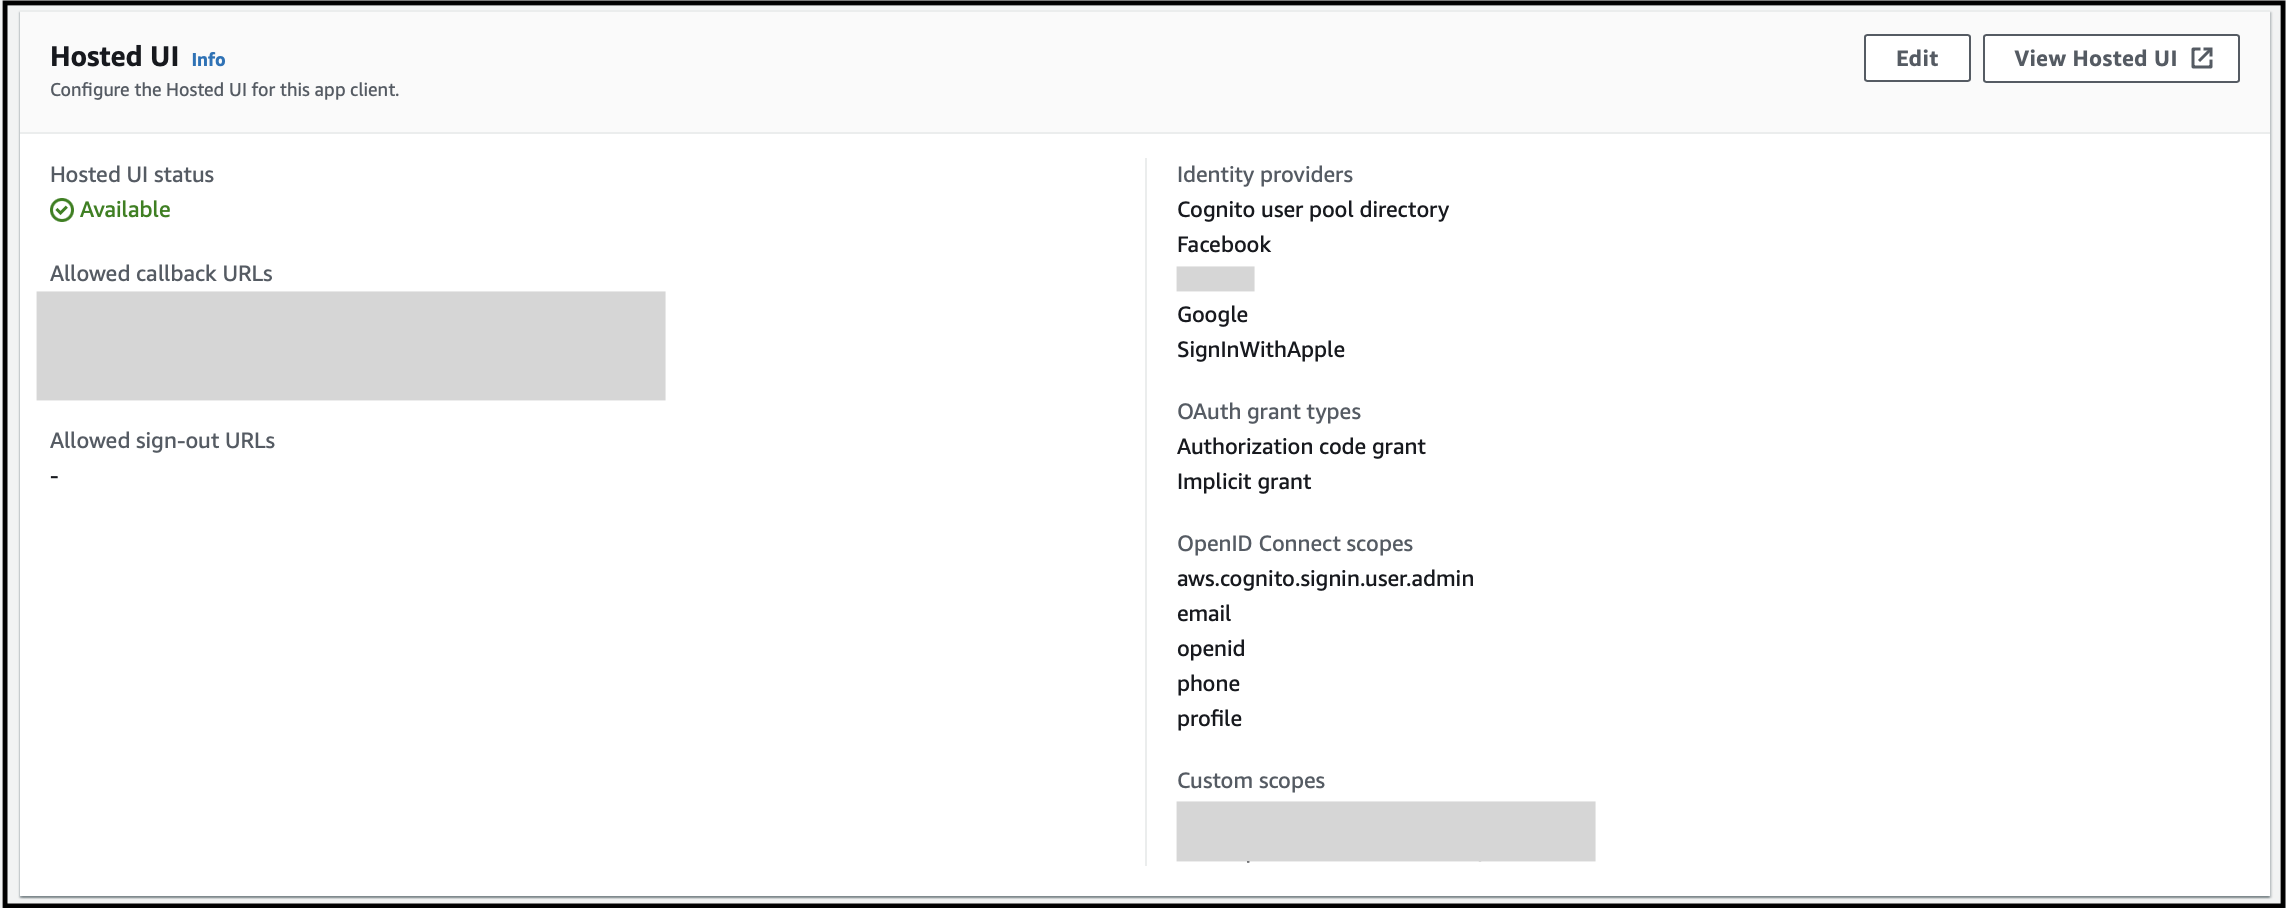
- Scroll down and click
View Hosted UI.
- In the launched hosted UI, you will be shown multiple options as shown below:
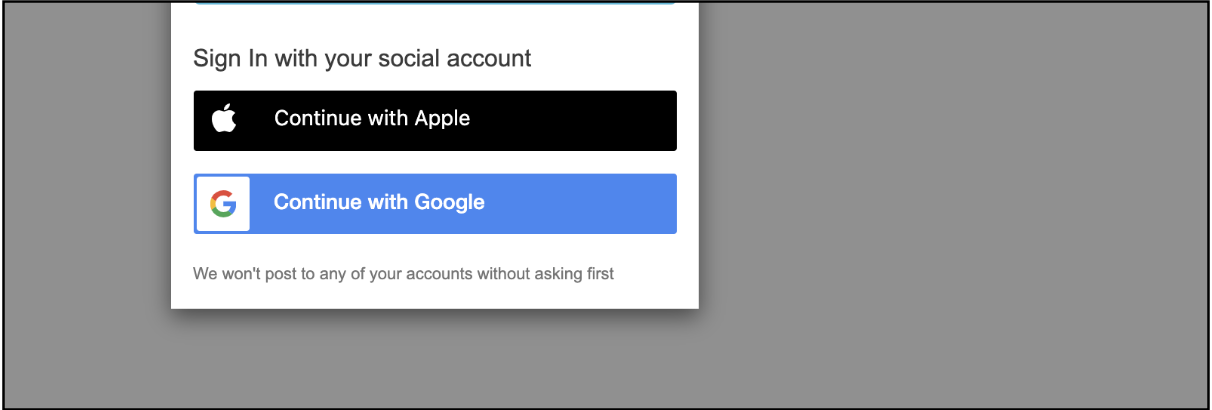
- Click
Continue with Google.
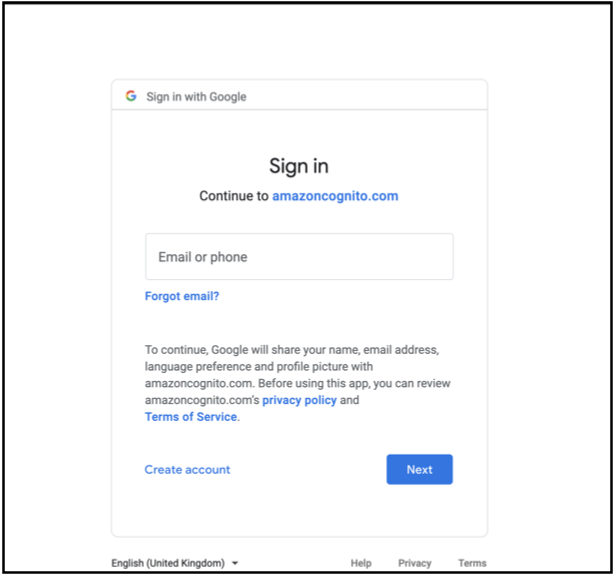
- Enter Your email address and the password.
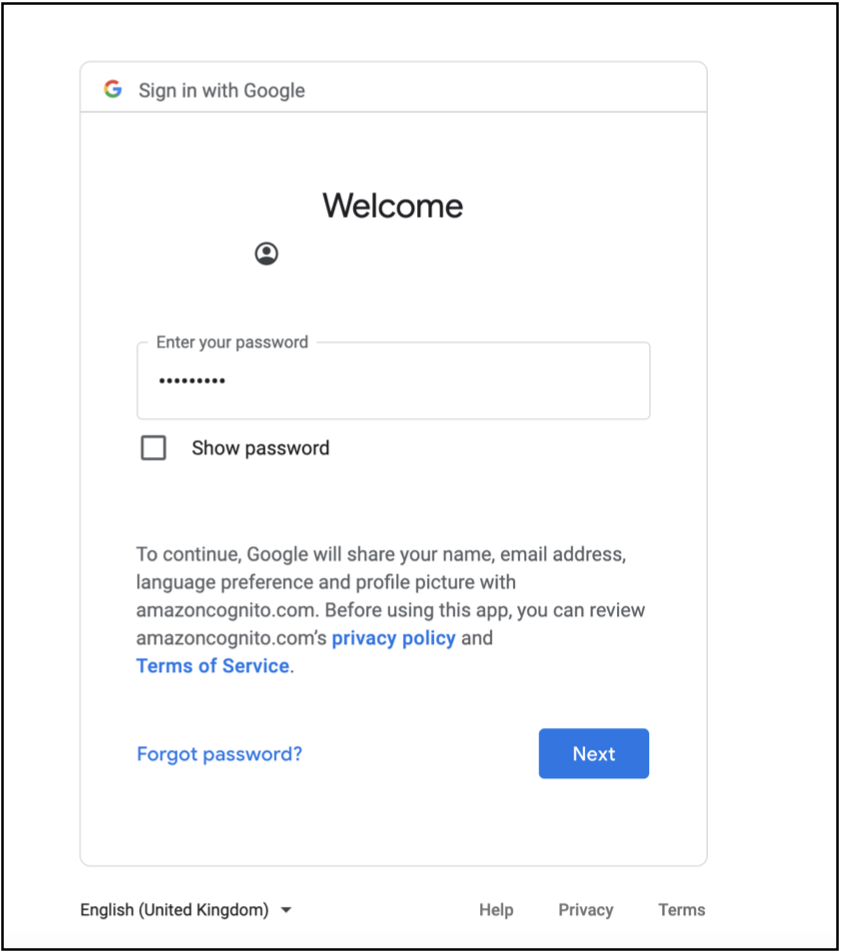
- After you click the
Nextbutton, you will be redirected to the callback URL configured in the Cognito App client settings and you will see an authorization code in the browser URL.
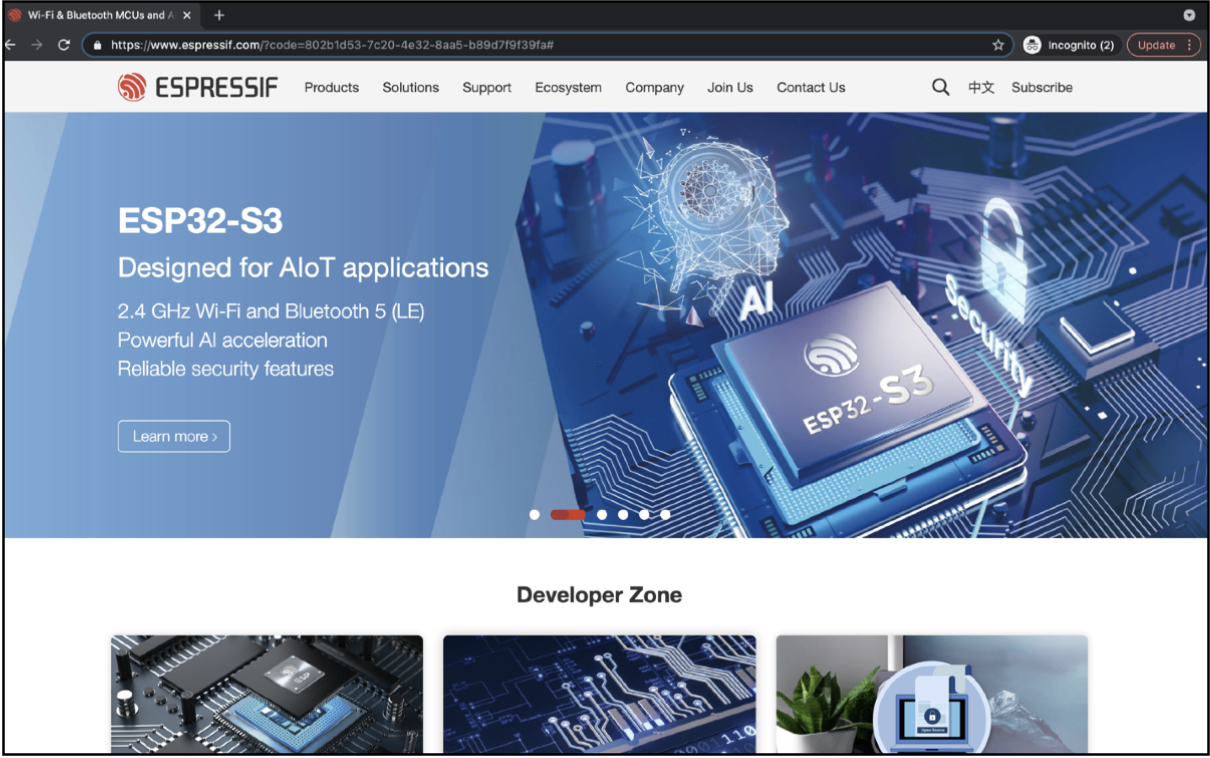
Note: In this example, we have configured Espressif’s home page, so the redirection happened to this page.
Sign in with Apple (Optional)
The end users can log in to RainMaker mobile apps with their Apple accounts.
This section describes the steps required to configure the Apple sign-in for the end users.
Prerequisites
- Apple developer account is already created, and developer program enrollment is completed. (Reference: https://developer.apple.com/programs/enroll/)
- ESP-RainMaker-Core is deployed.
- Custom domain is created. (Reference: Configuring custom domain)
Steps to Configure Apple Sign In
Configurations in Apple Developer Account
-
Create an App ID from Apple Developer console, if not created already.
-
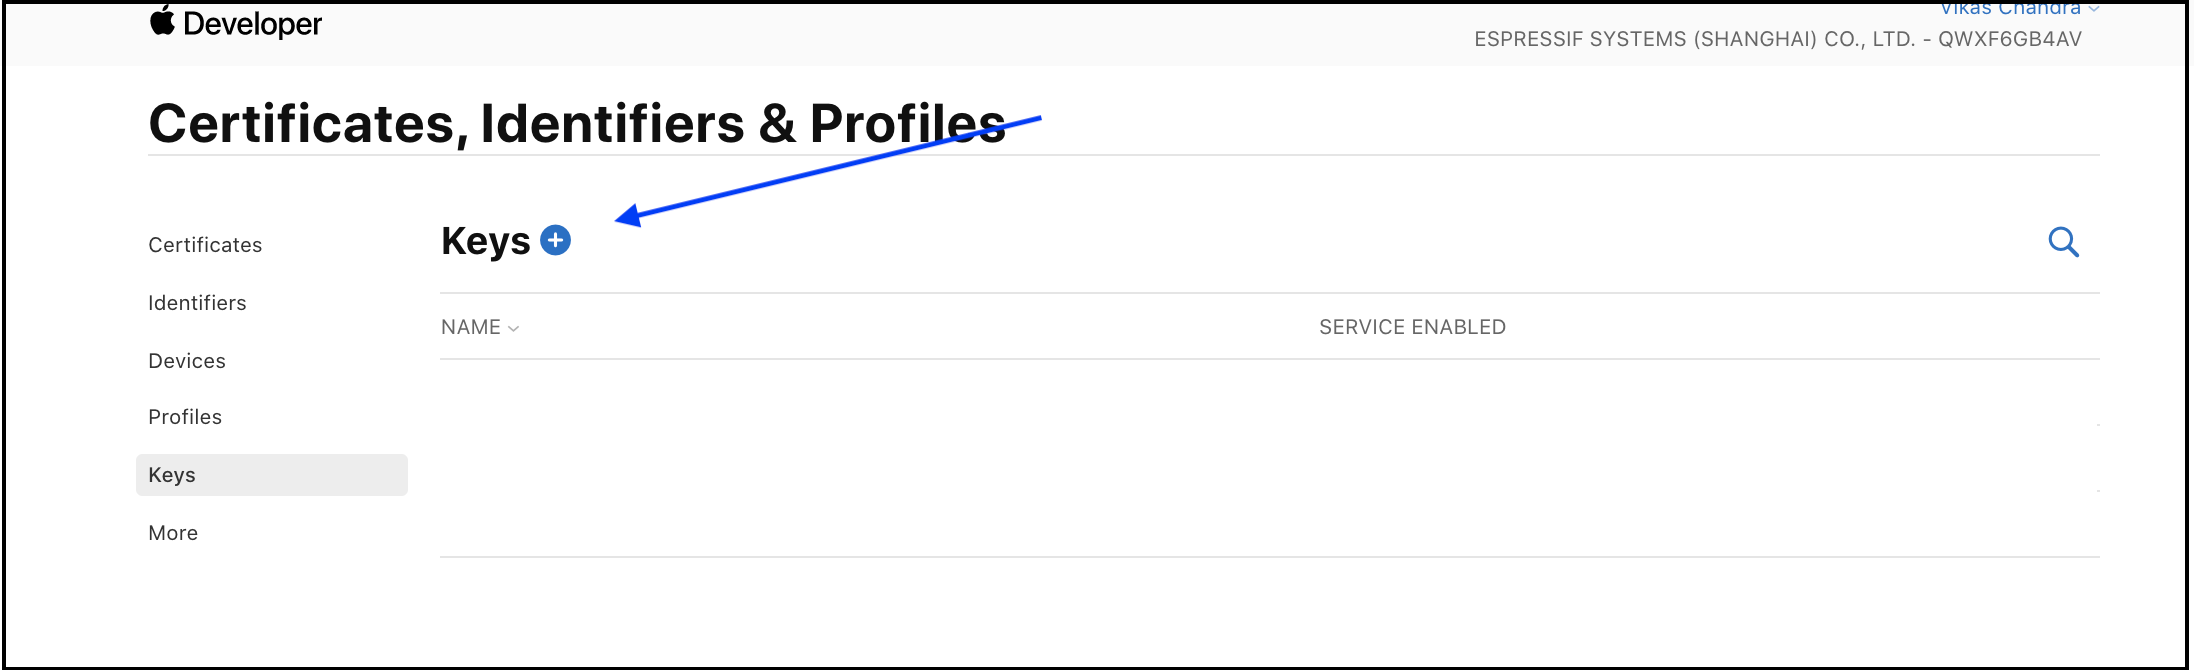
Click
Keysin the left section. -
Click the
+button to add a new key.
- Provide a
Key Nameand selectSign in with Apple.

-
Click
Configureon the right ofSign in with Apple. -
Select your
Primary App ID. Primary App ID should be of format "<teamId>.<bundleId>". Team ID and Bundle ID were noted down in step 1.
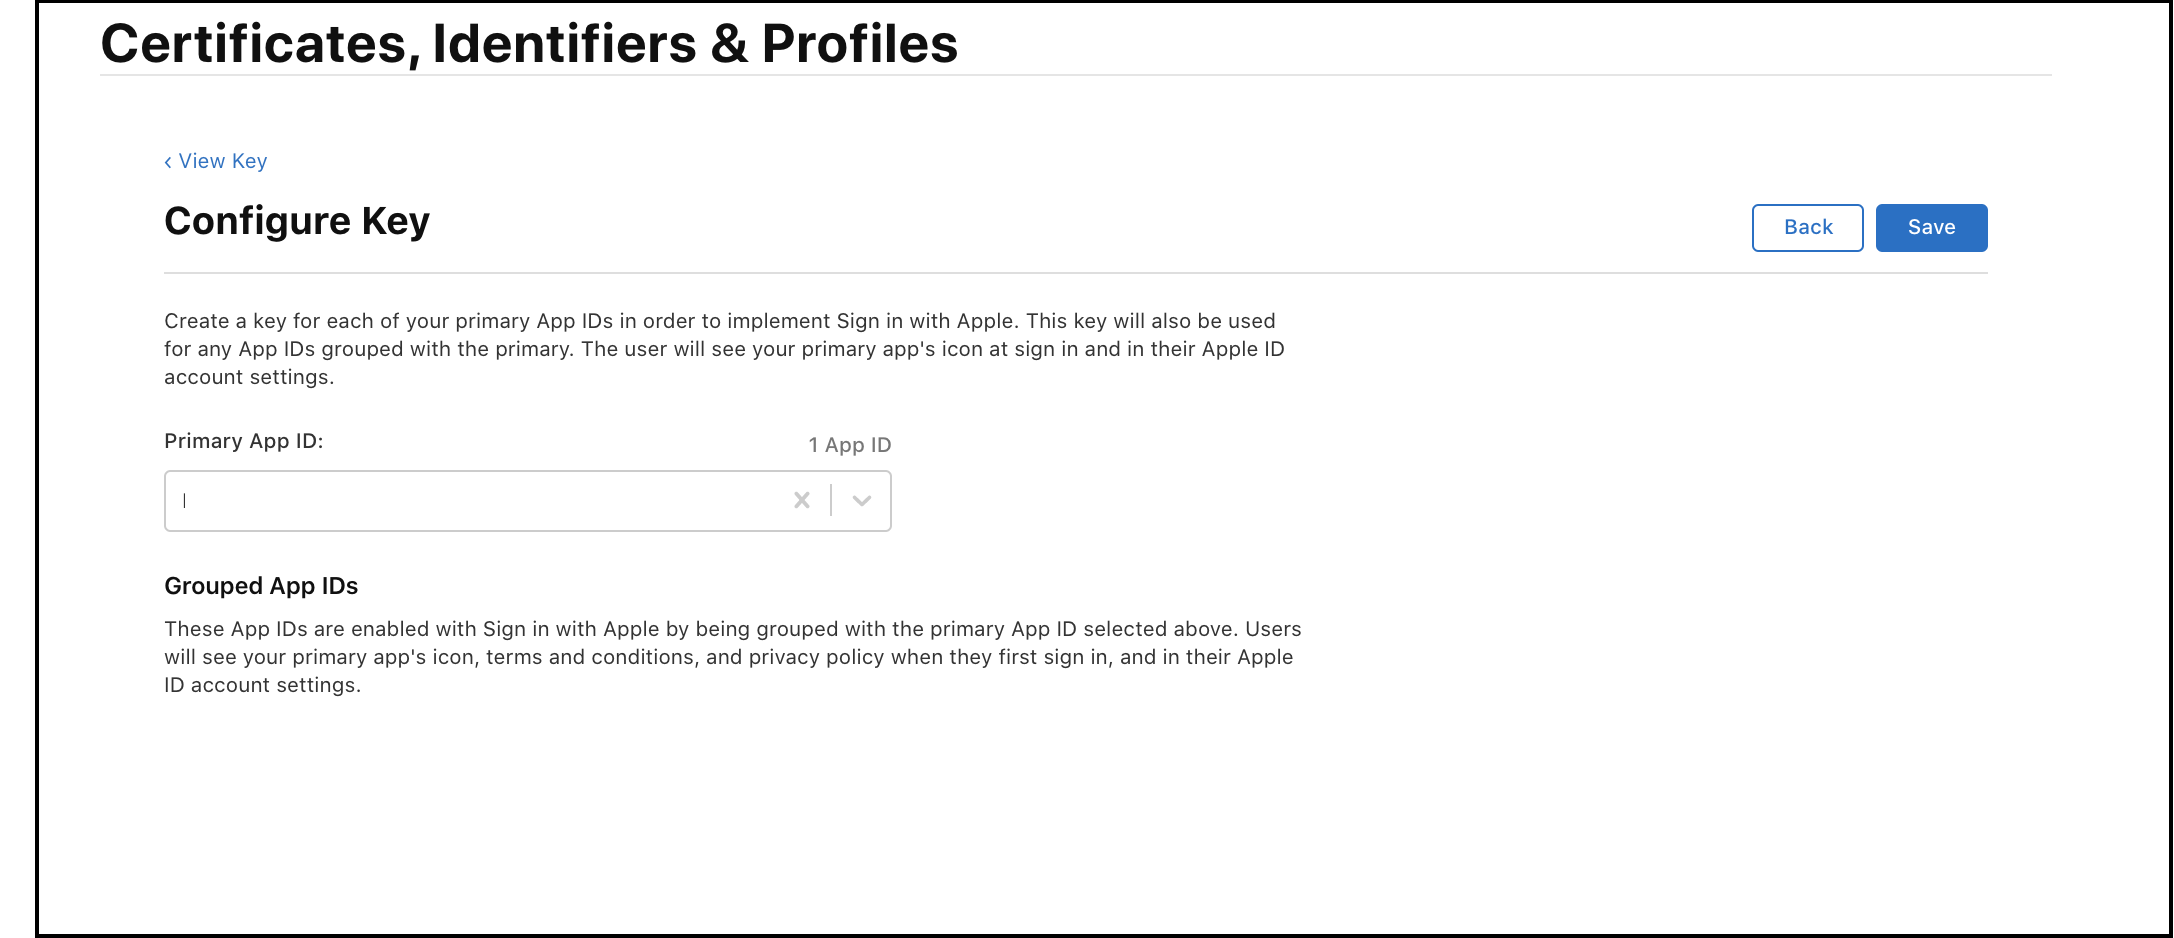
-
Click
Saveto save the configurations. -
On
Register a New Keypage, clickContinue. -
Review the configuration. Click
Registerto create a new key. -
Take note of Key ID and download the key file. This will be required while configuring Apple as identity provider via RainMaker dashboard.
-
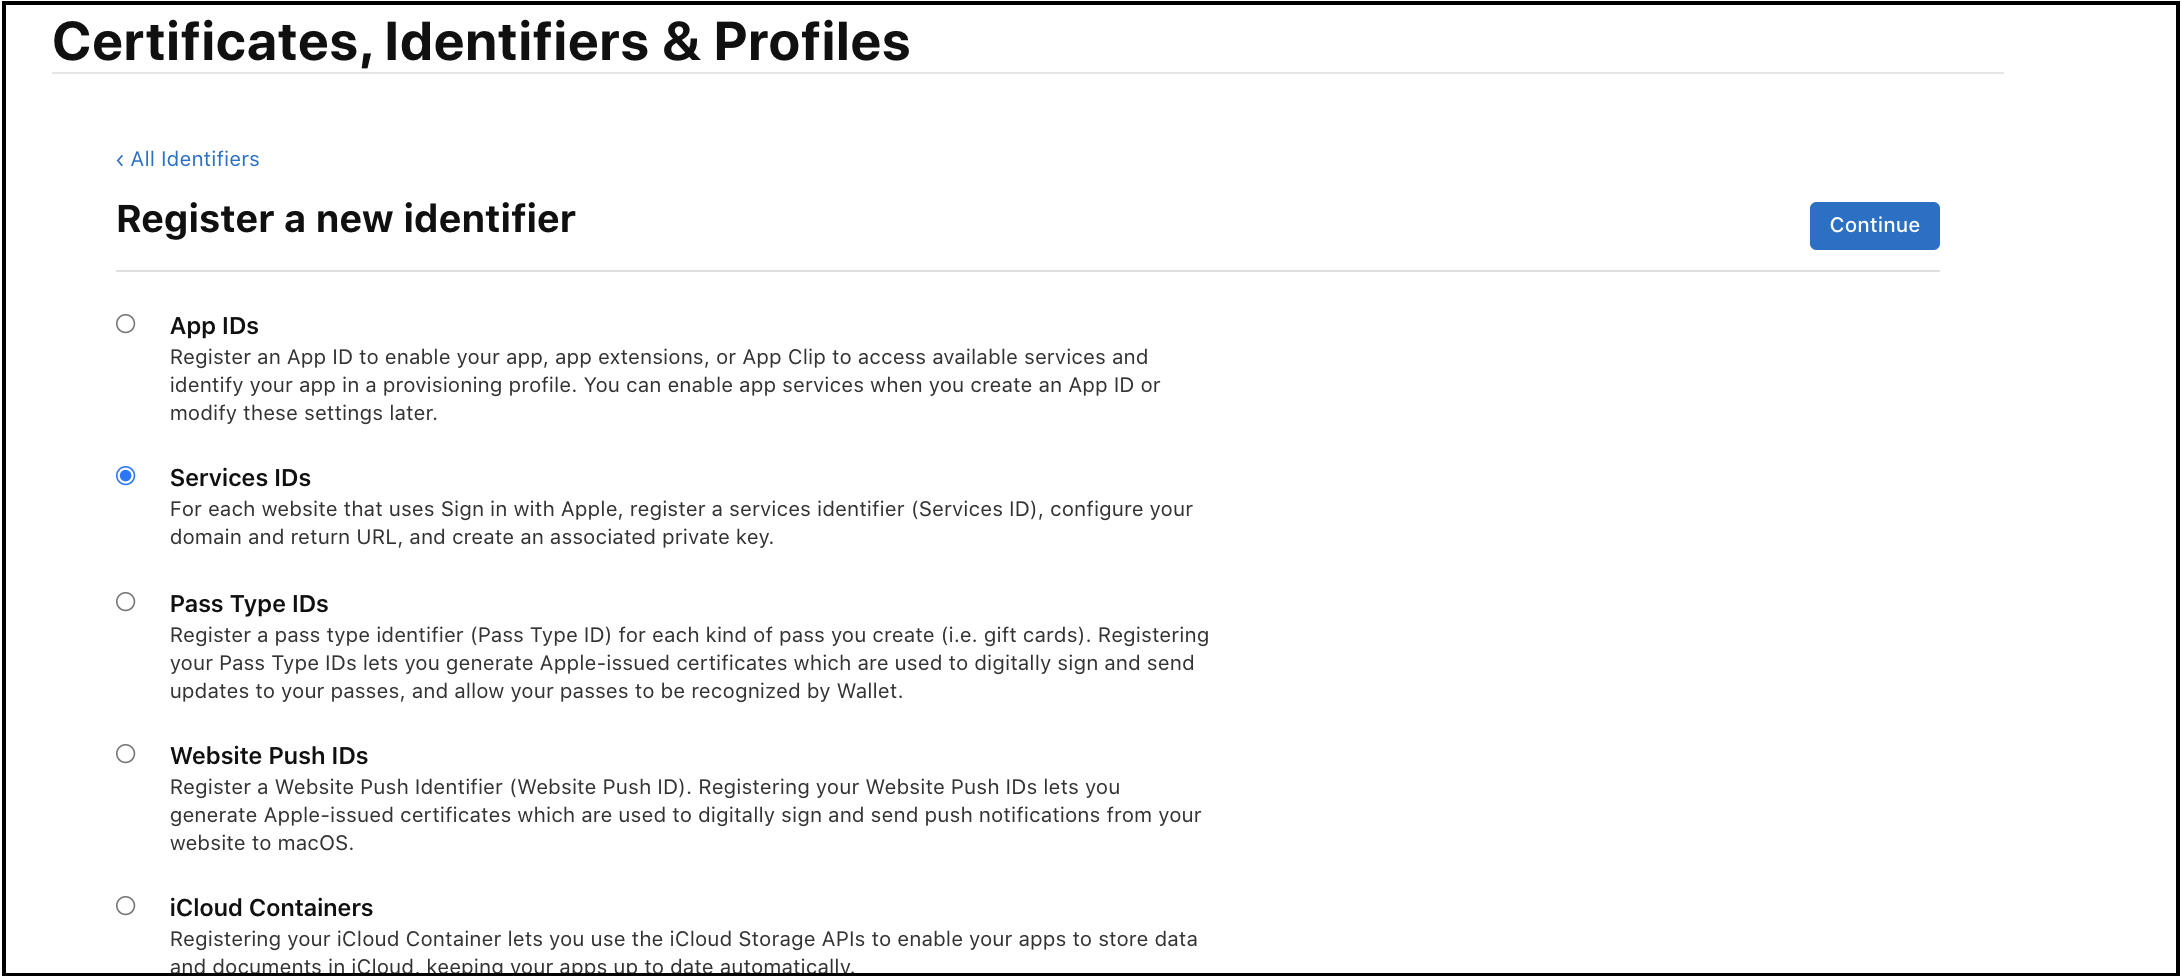
Click
Identifiers, then click+button.

- Select
Service IDsfrom the list, thenContinue.
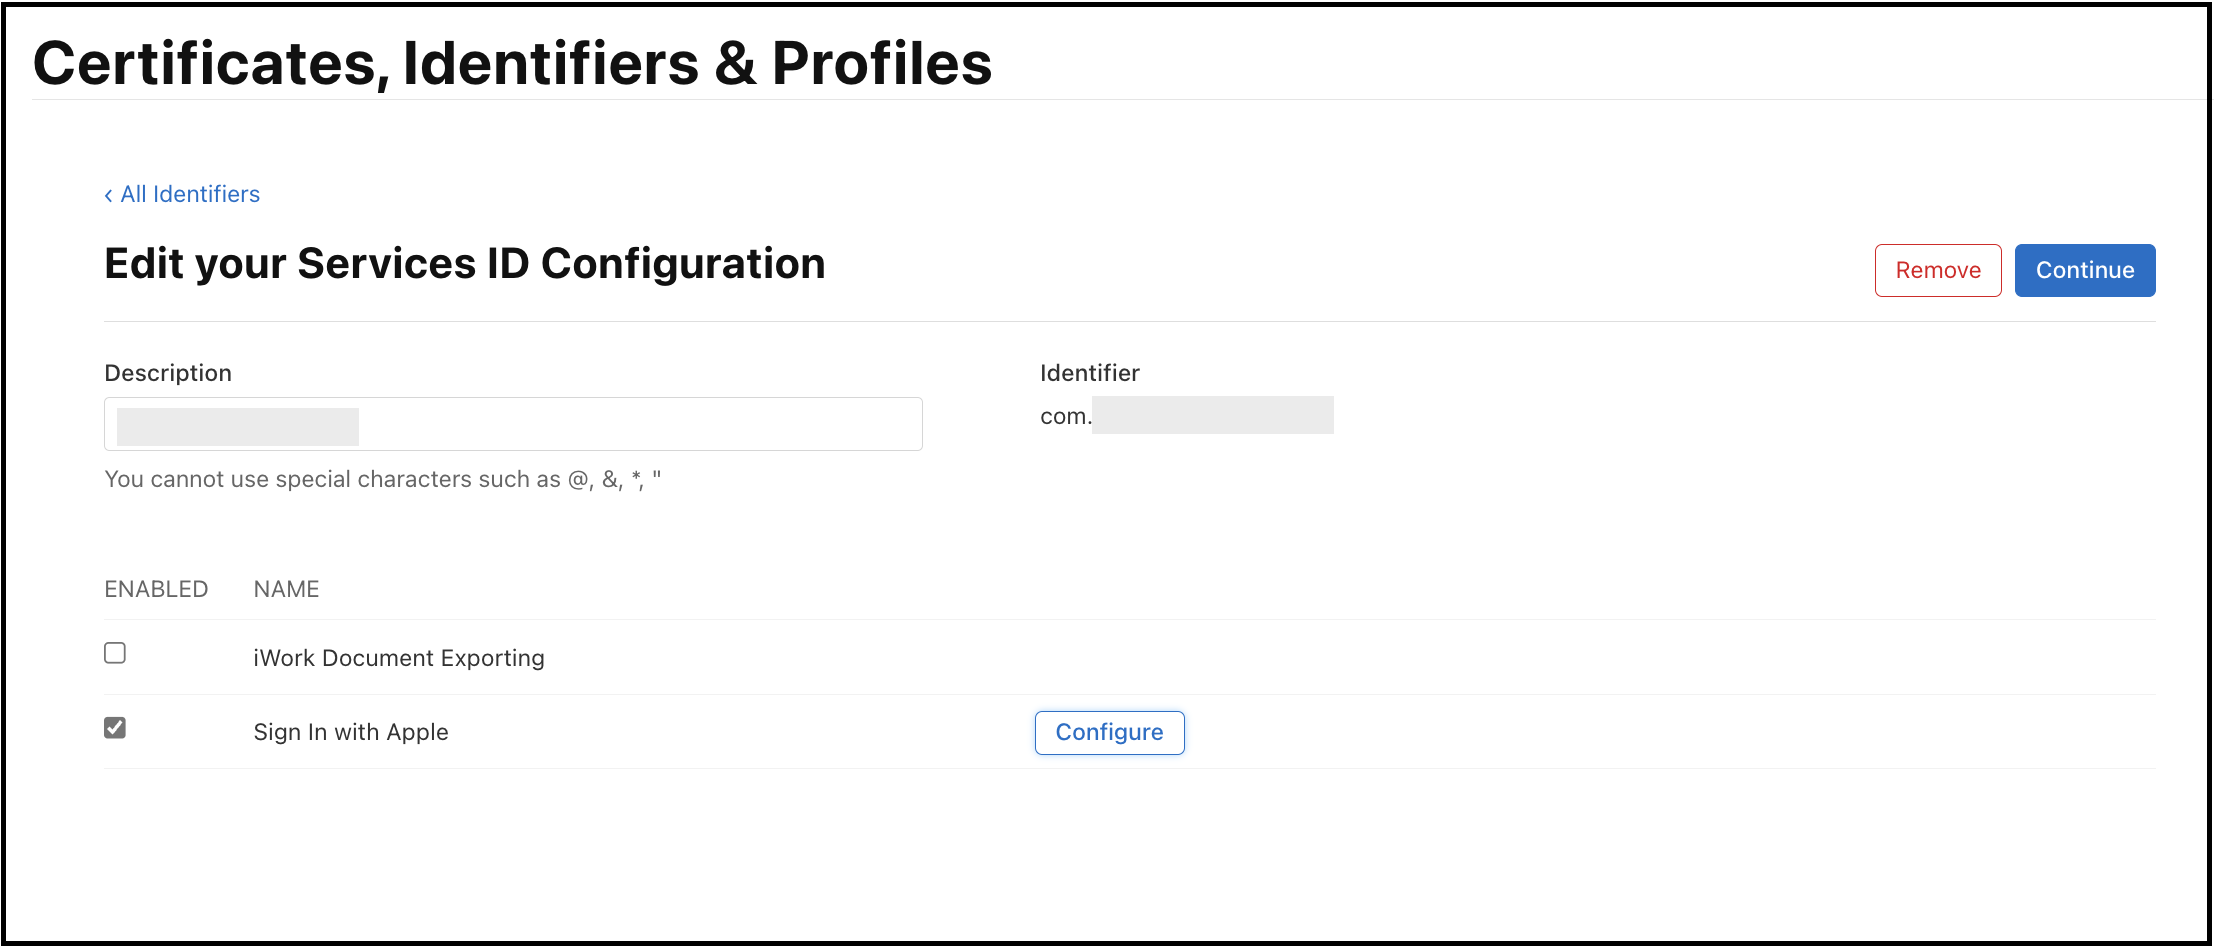
-
On the
Register a Services IDpage, select theSign in with Applecheckbox to enable the service, and then selectConfigure. -
Provide an
IdentifierandDescriptionfor your service.
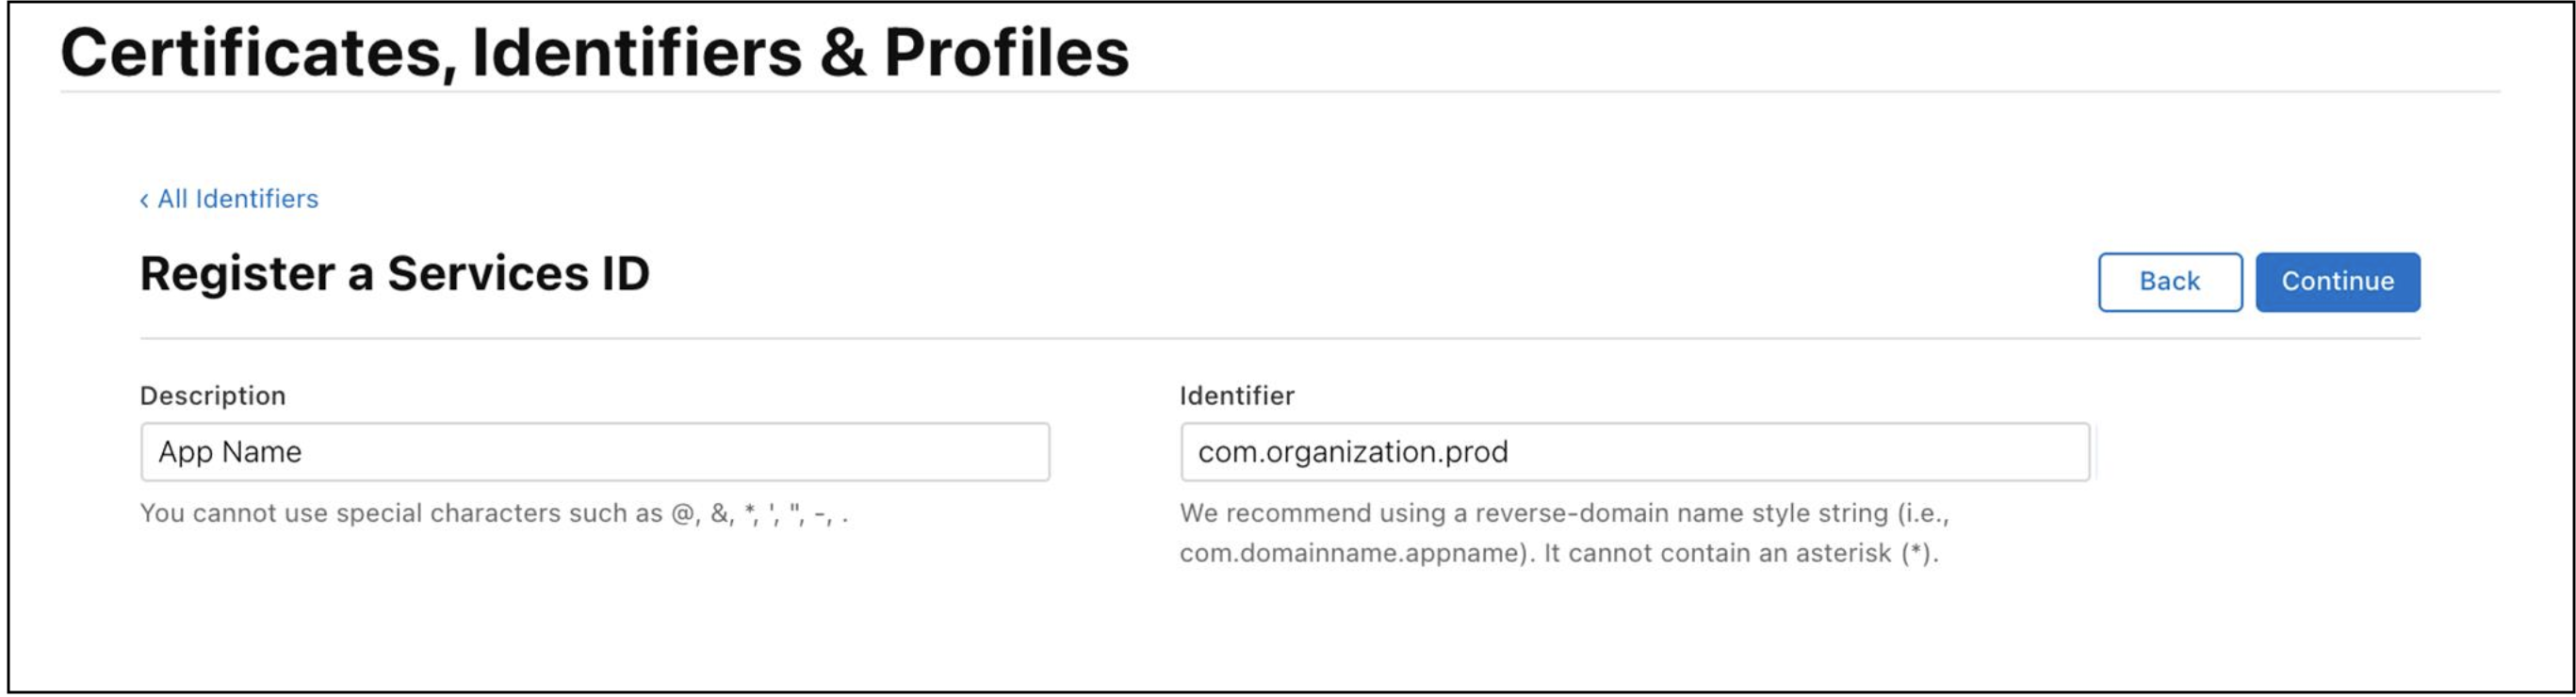
-
Take a note of identifier (Services ID). Services ID will be required while configuring Apple as Identity Provider via RainMaker Dashboard.
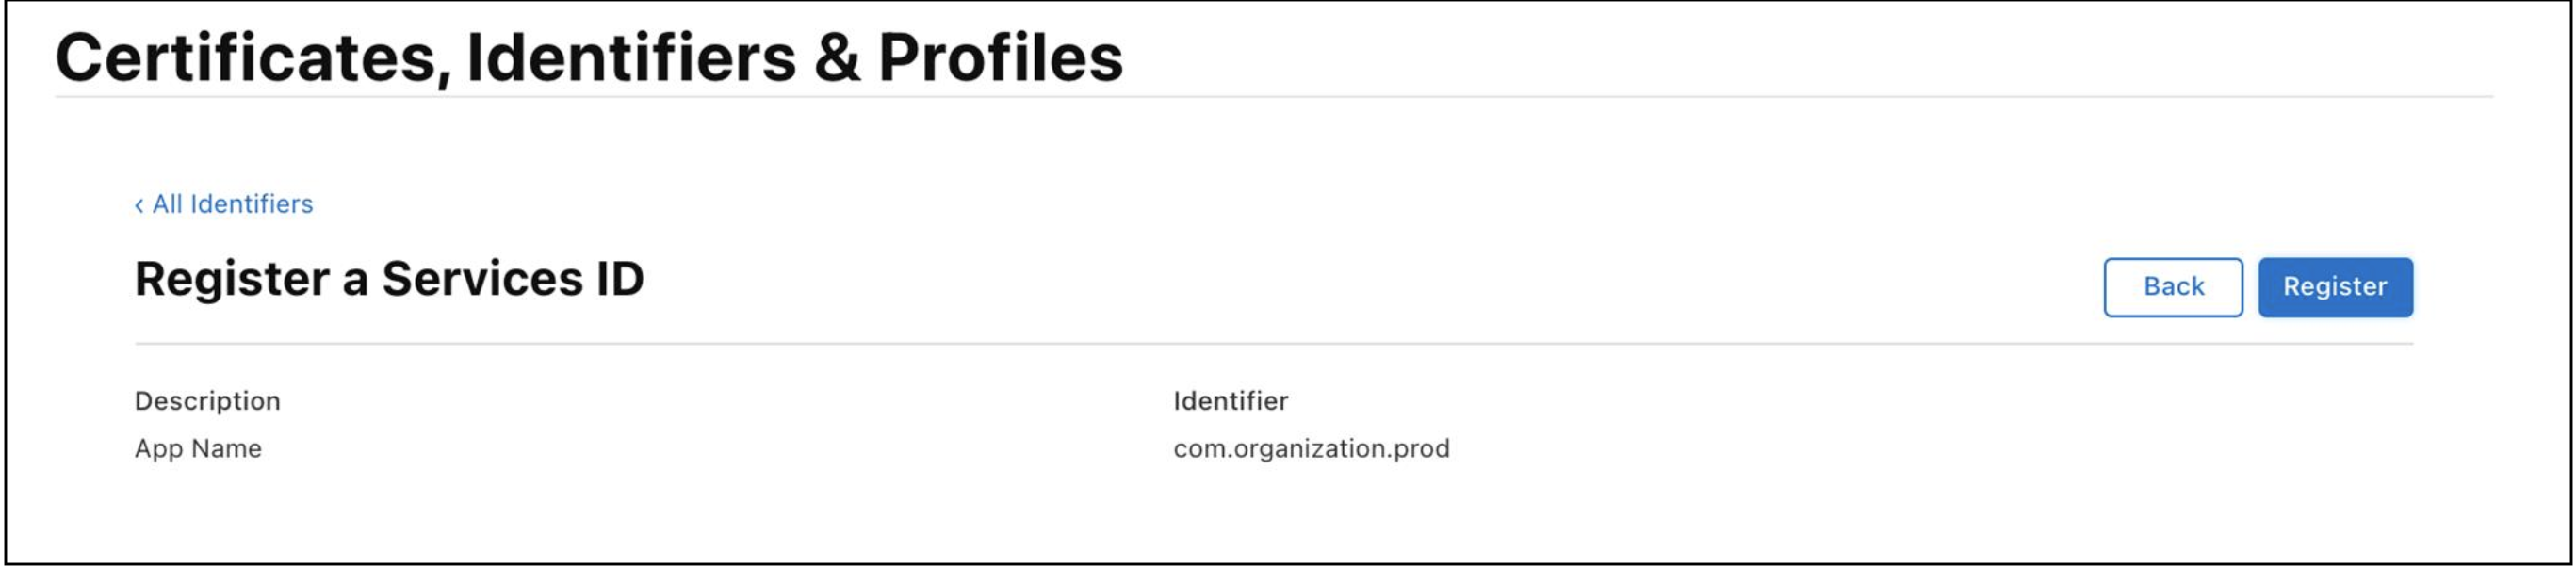
-
Click
Registerto register Services ID.
-
After registration, go back to
Identifiers. Click the service ID that you have registered in the step above. -
Enable
Sign In With Appleand click theConfigurebutton
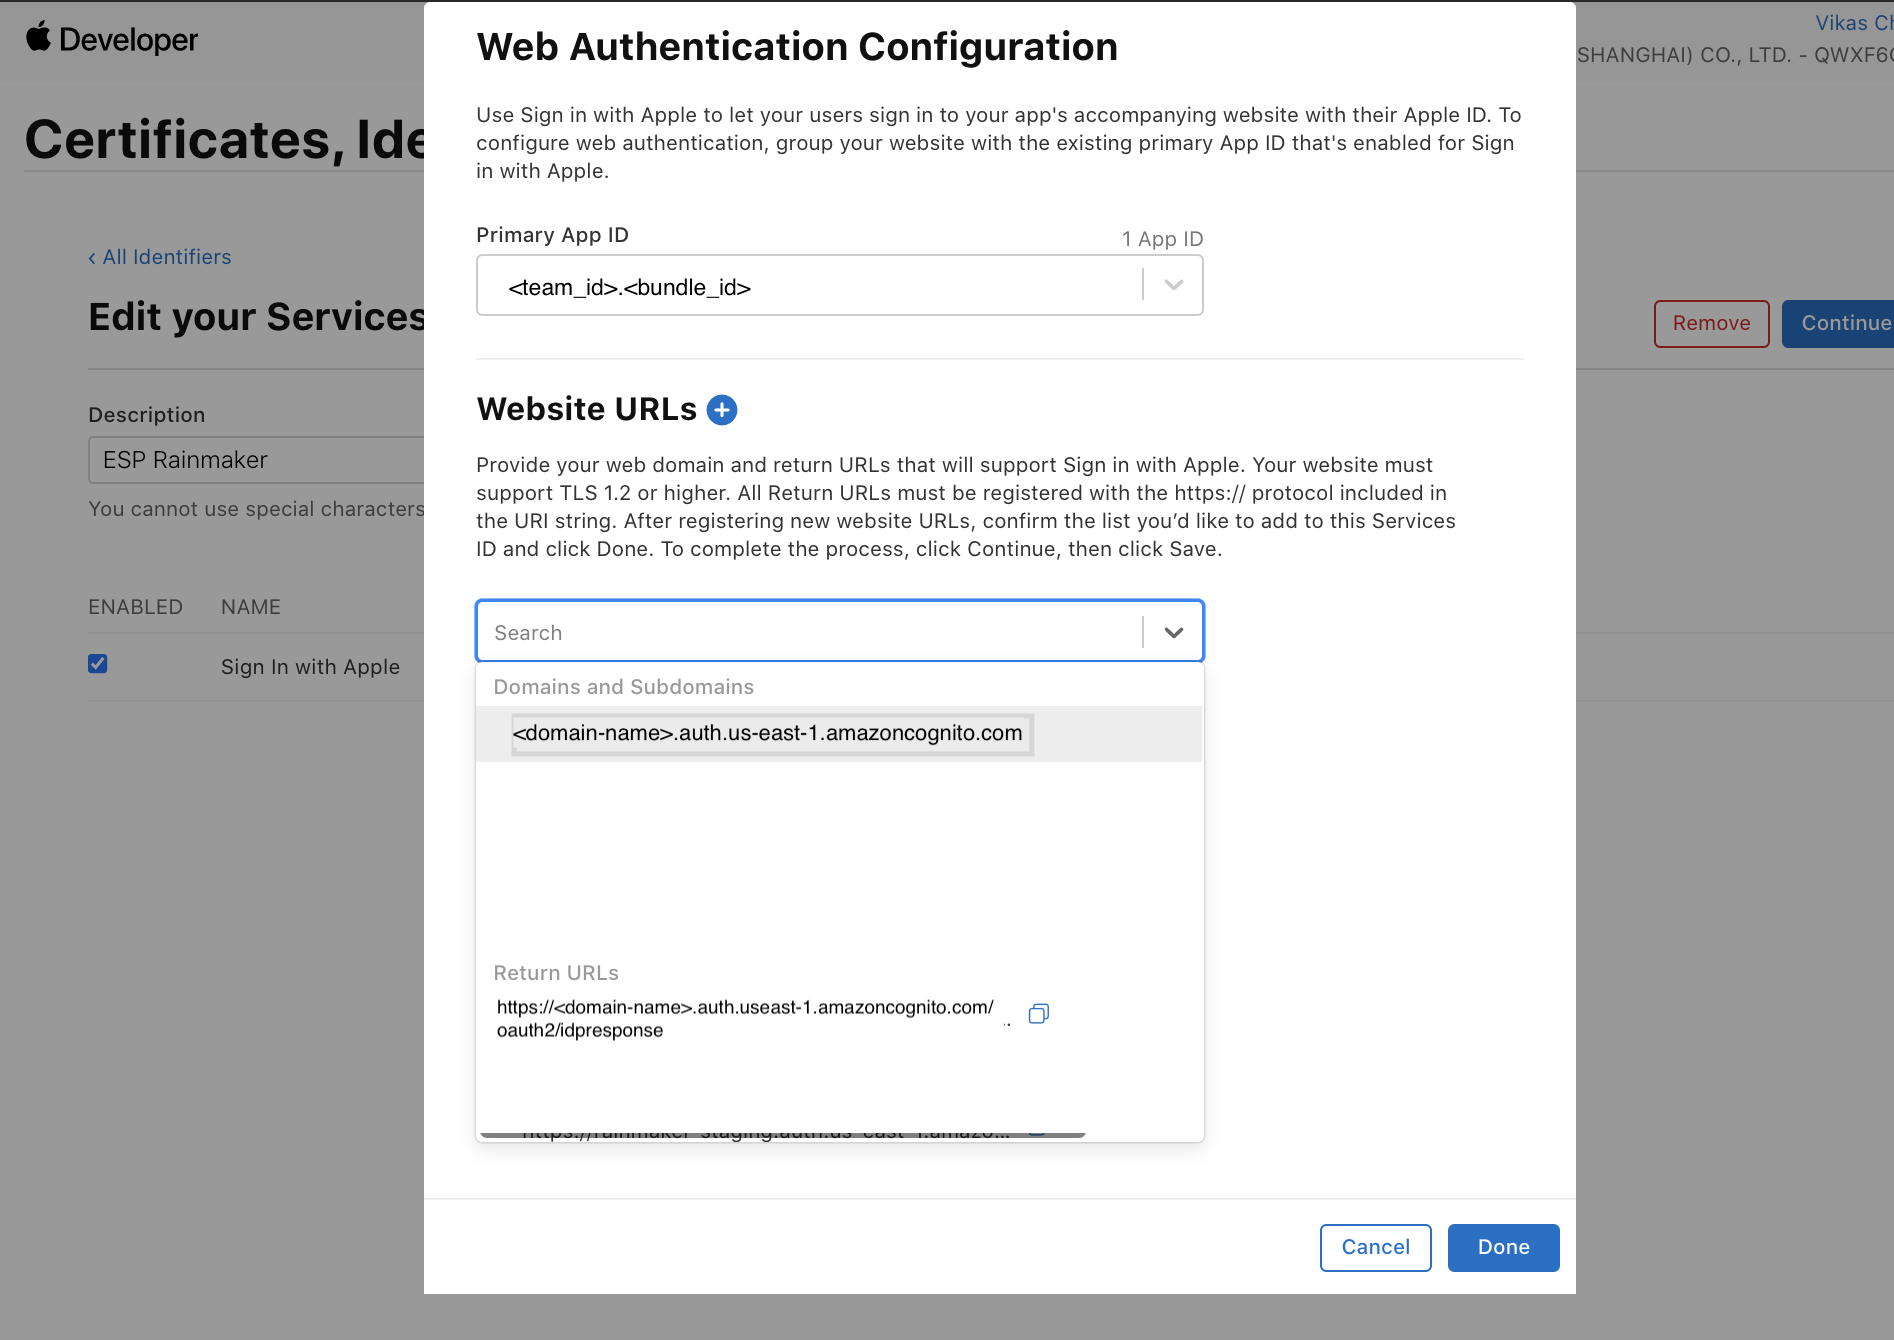
- Configure your domain.
Standard RainMaker
- Enter your Amazon Cognito domain
https://<your-company-domain>.auth.<aws-region>.amazoncognito.comas shown below.
This is taken from Configure Cognito Domain.
OAuth-only RainMaker
- Enter your HTTP Base URL (without stage)
- Return URLs.
Standard RainMaker
- Enter your Amazon Cognito domain:
https://<your-company-domain>.auth.<aws-region>.amazoncognito.com/oauth2/idpresponse as shown below.
This is taken from Configure Cognito Domain.
Remember to add /oauth2/idpresponse behind your custom Cognito domain.
OAuth-only RainMaker
- Get your HTTP API Endpoint.
- Redirect URI:
{HTTP API Endpoint}/cognitocallback. The domain here should be the one created in AWS Cognito. The return URL should behttps://<domain>/oauth2/idpresponse.
:::
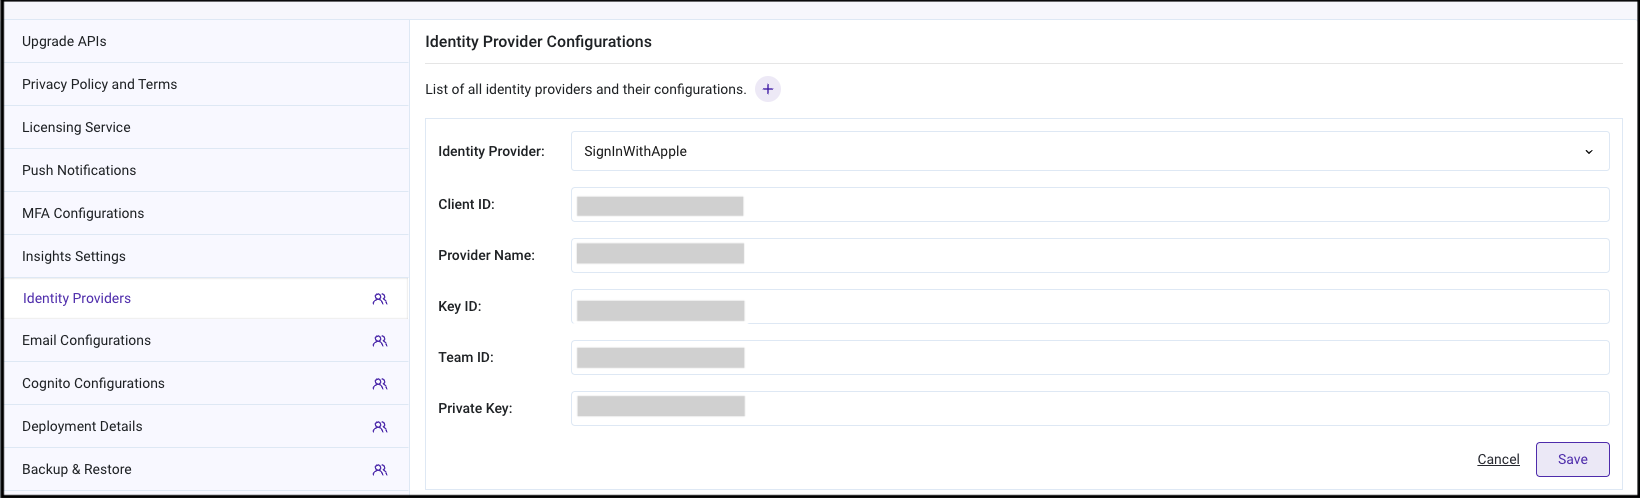
Configure Apple as Identity Provider via the RainMaker Dashboard
- Log in to RainMaker Dashboard with your admin account. Go to
Deployment Settings.
- Go to the
Identity Providerstab.
- Click the
+icon to add Identity providers configuration. - Choose
SignInWithApplefromIdentity Providerdropdown. - Provide
Client ID(i.e., services ID noted in step 15 of Configurations in Apple Developer Account section). - Enter "Apple" as
Provider Name. - Provide
Key IDnoted in step 1 and 10 of Configurations in Apple Developer Account section. - Provide
Team IDnoted in the step 1, Creating App ID. - Provide content of
Private Keyfile downloaded in step 10 of Configurations in Apple Developer Account section.
Enable Apple as an Identity Provider
This is not relevant for OAuth-only RainMaker.
- Log in to RainMaker Dashboard with your admin account. Go to
Deployment Settings.
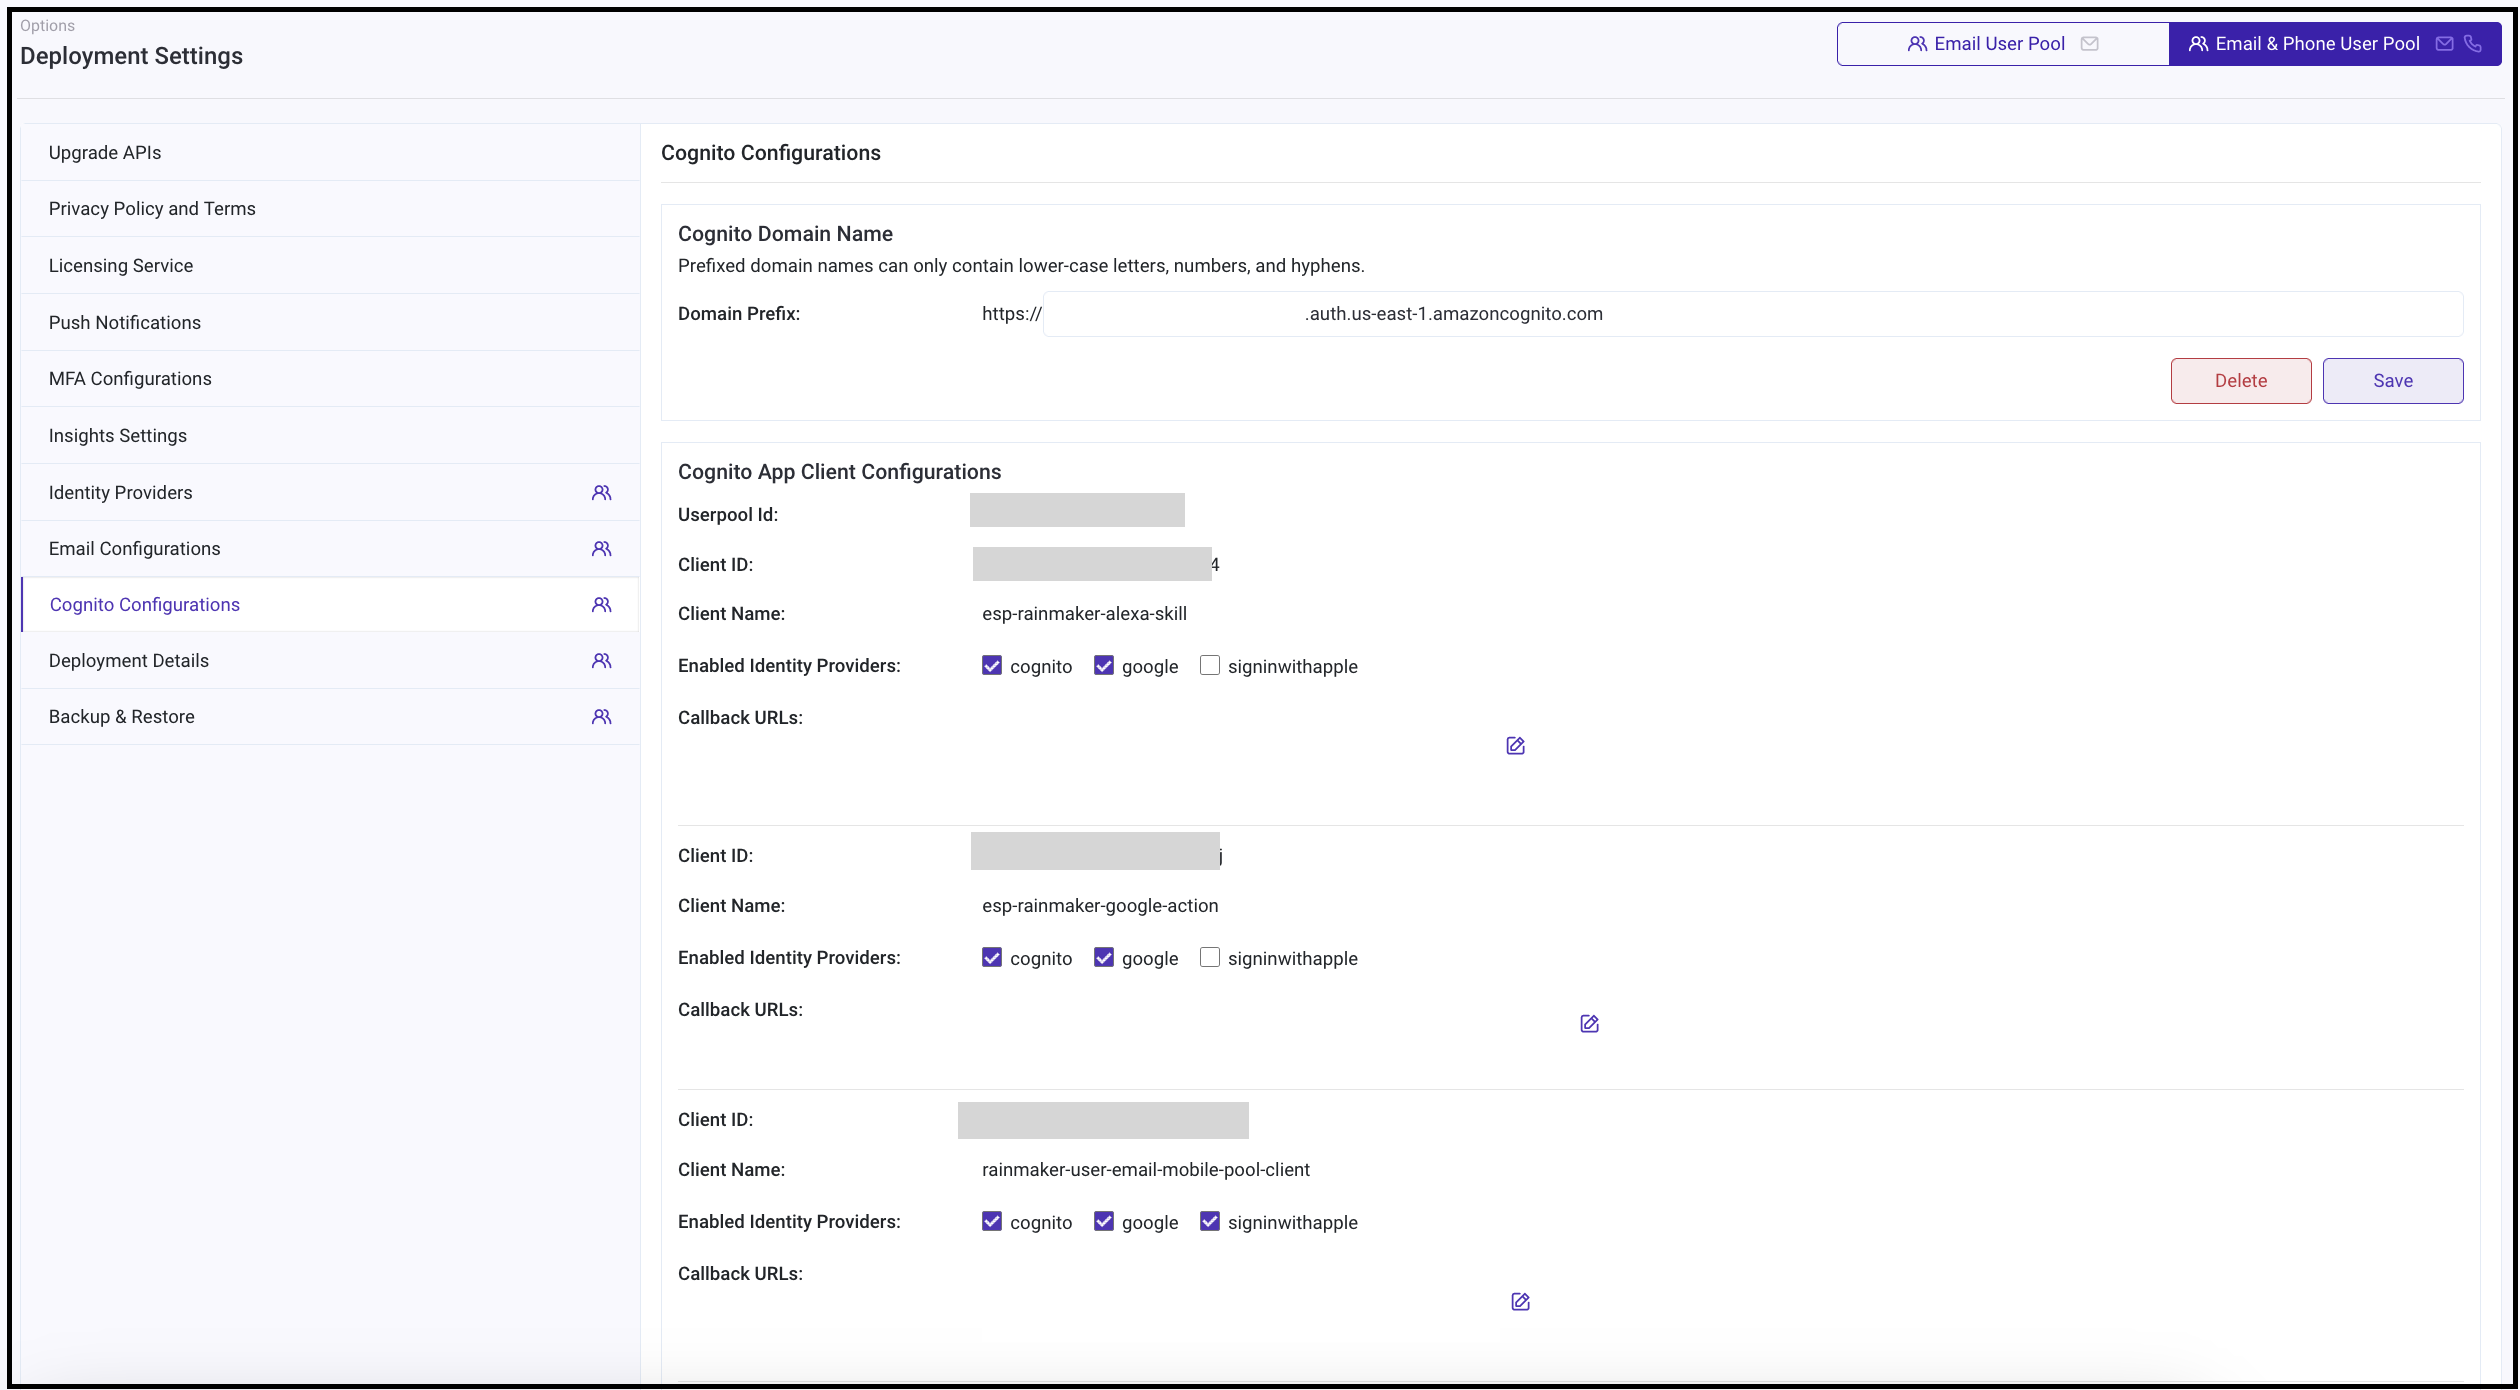
- Go to the
Cognito Configurationstab.
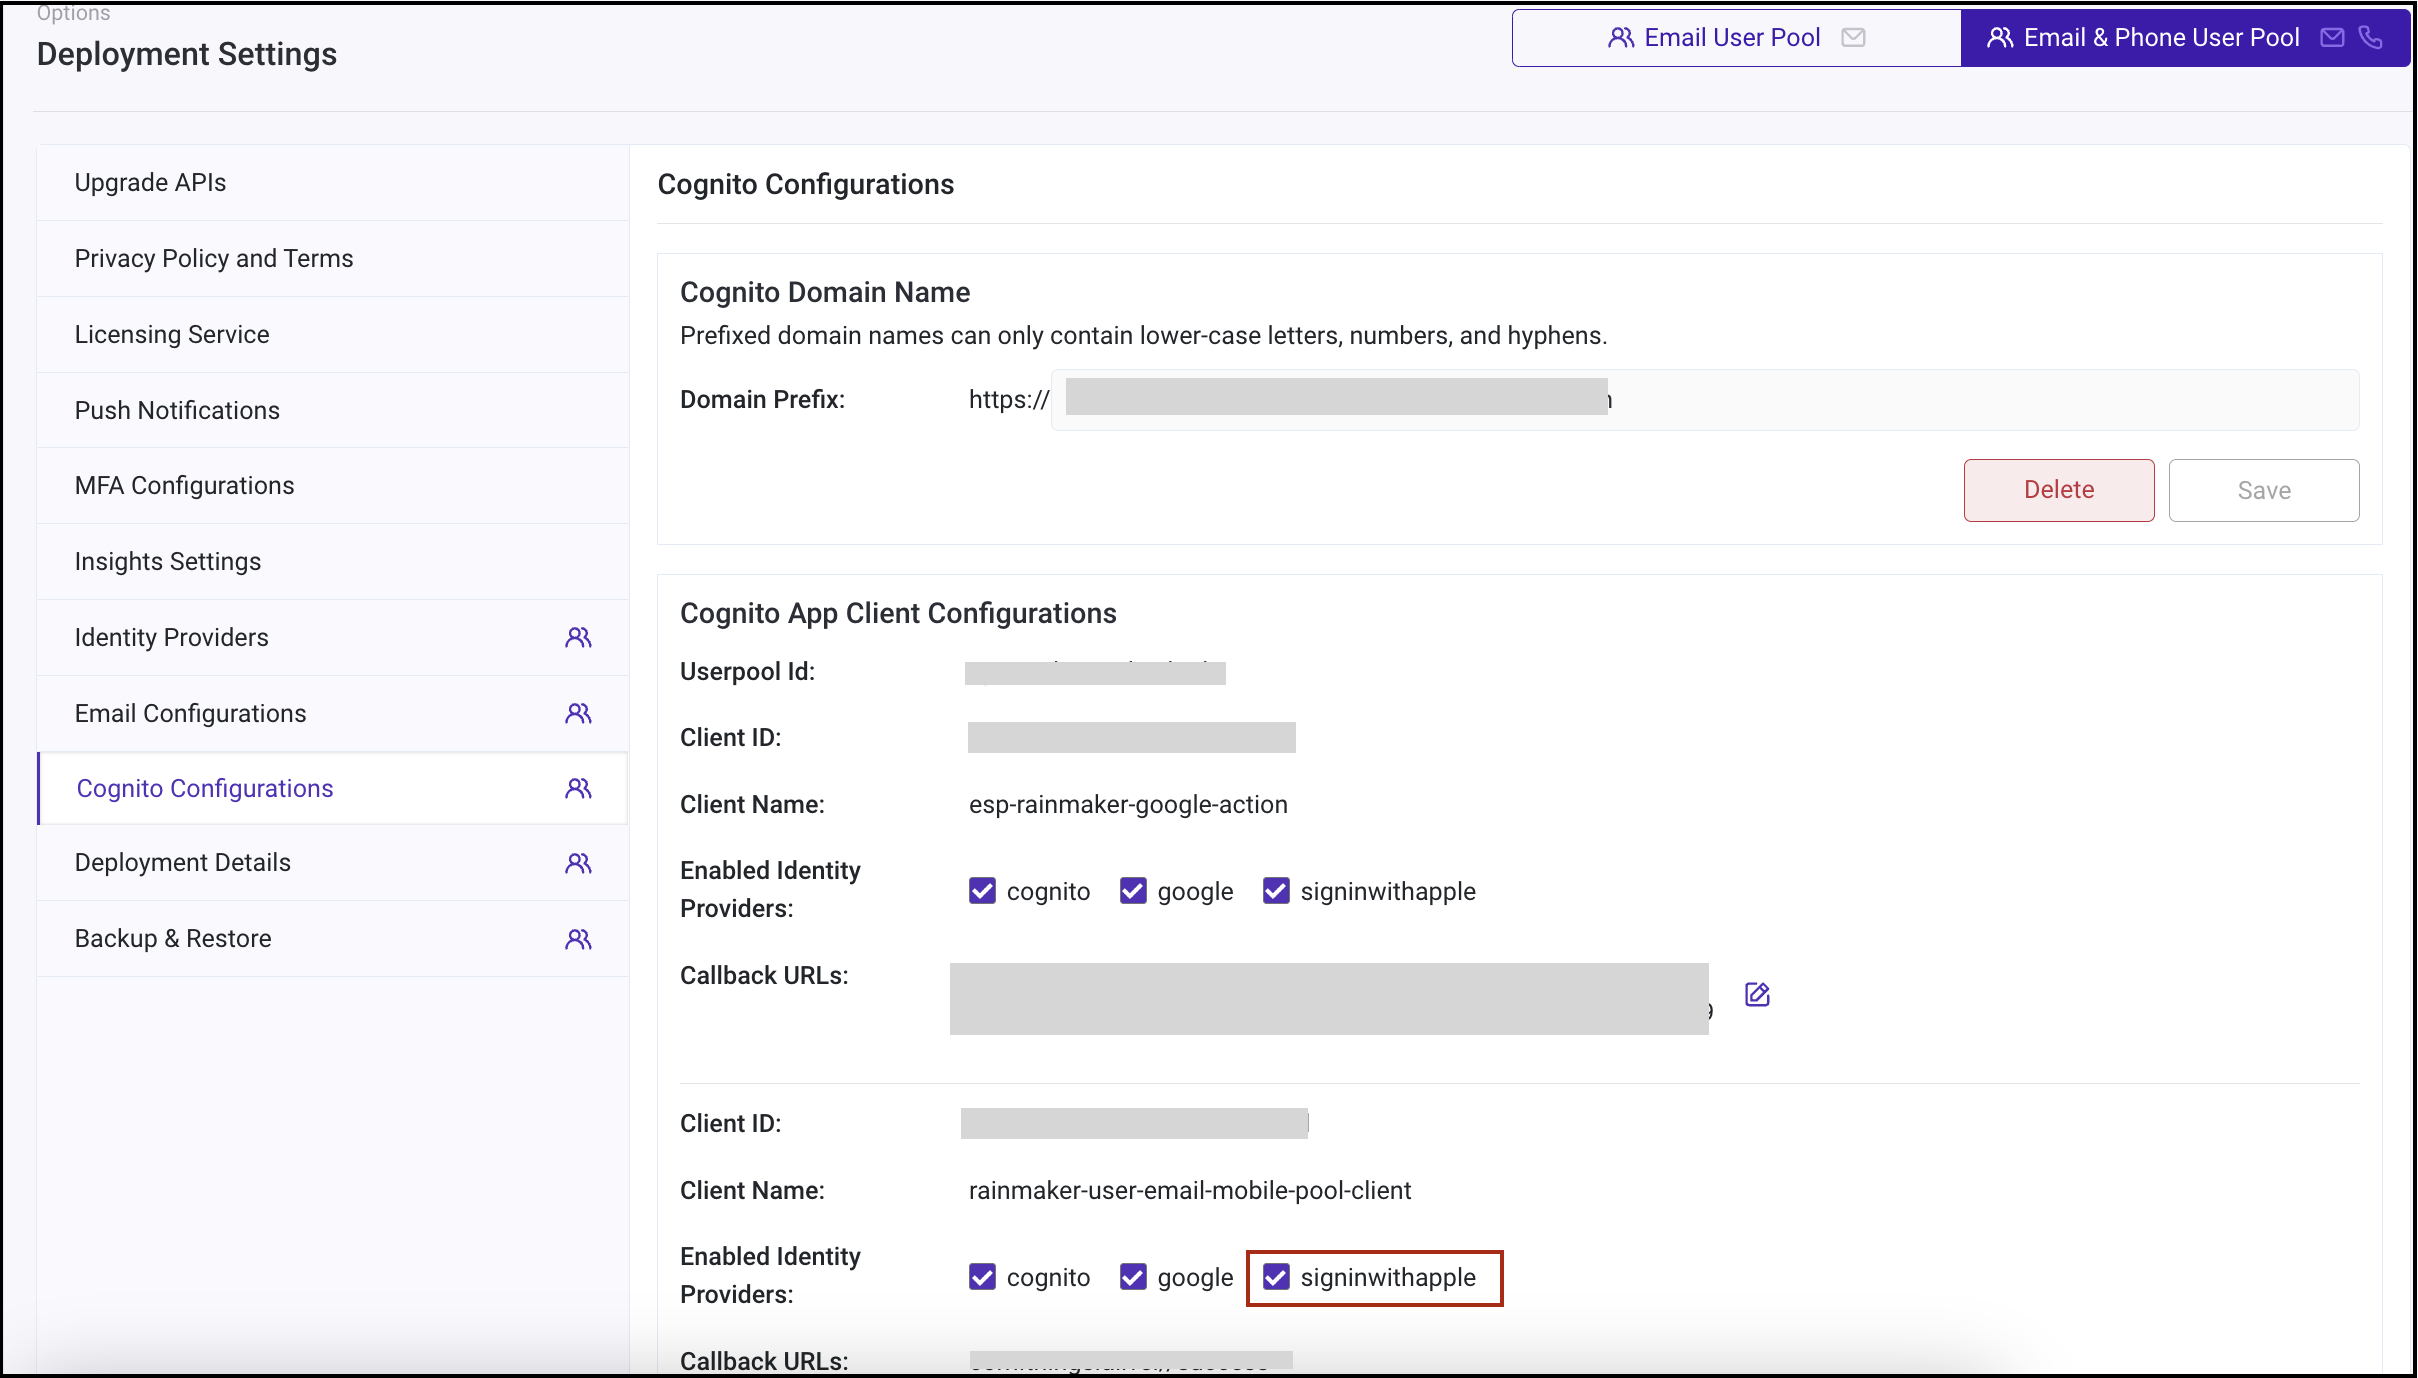
- Enable the
signinwithappleidentity provider for clients as per your requirements. This will enable users to sign in using Apple to the respective clients.
Configure callback URL (Redirect URIs)
Callback URL indicates where the user is to be redirected after a successful sign-in using third party authenticating services. After the user successfully signs-up using one of these third party authenticating services, the user will be redirected to one of these URLs.
If users are to be redirected to your phone app, you should form the callback URL for your app. To form the callback URLs (Redirect URLs) for iOS app, please check Creating Redirect URL.
Configure the callback URLs in RainMaker dashboard with steps given here: Configure Cognito Callback URL.
Verifying Sign-in With Apple
For OAuth-only RainMaker, refer these steps instead.
This section describes the steps to verify if the Sign-in with Apple is configured correctly.
- Log in to AWS Console, go to
Amazon Cognito>User pools, and get the list of all user pools.
- Click the
rainmaker-user-email-mobile-pool.
- Go to
App integration>App Client Lists.
- Click
rainmaker-user-email-mobile-pool-client, here you will get the App client information.
- Scroll down and click
View Hosted UI.
- In the launched Hosted UI, you will be shown multiple options as shown below:
-
Click
Continue with Apple. -
Enter your Apple ID and the password.
-
After you click the
Nextbutton, you will be redirected to the callback URL configured in the Cognito App client settings and you will see an authorization code in the browser URL.
Note: In this example, we have configured Espressif’s home page, so the redirection happened to this page.
Email Relay Service
Apple’s private email relay service is used by privacy-conscious users that keep their personal email address private when setting up an account. In order to send email messages through the relay service to these users, you will need to register your outbound email domains, subdomains, or email addresses. All registered domains must create Sender Policy Framework (SPF) DNS TXT records in order to transit Apple’s private mail relay.
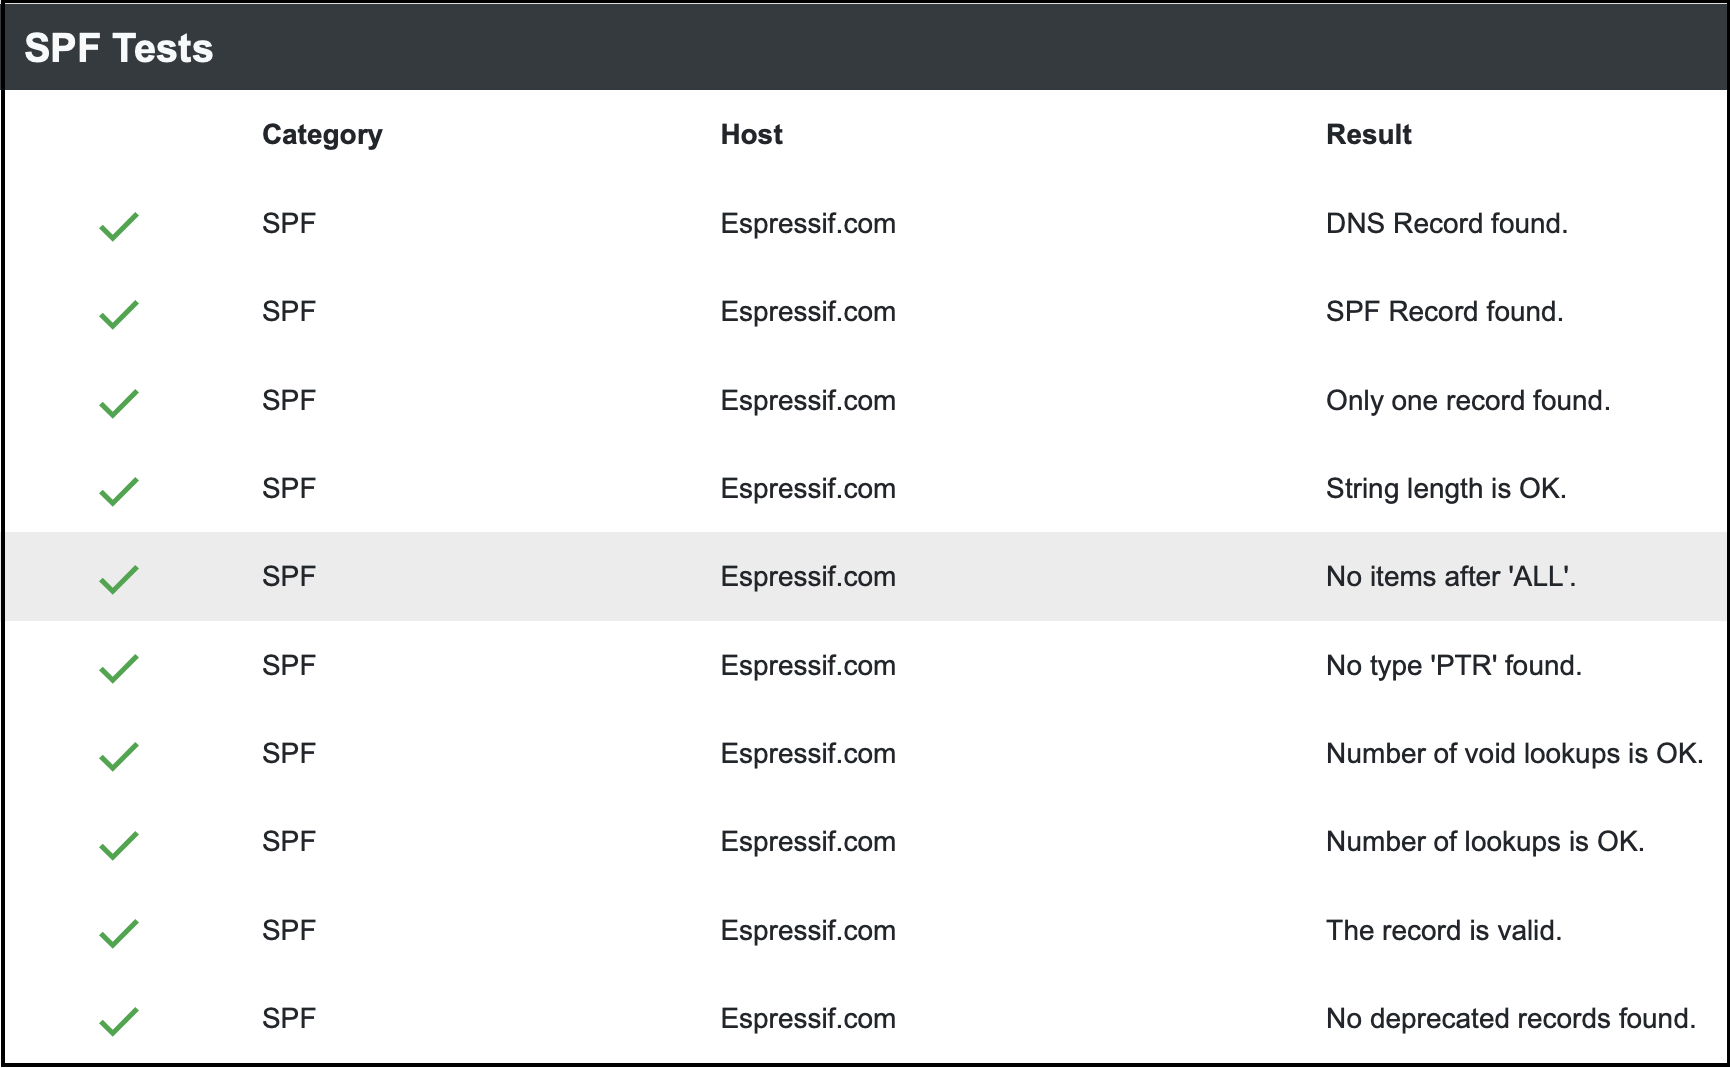
To check if your organization email domain has an SPF record:
- Go to https://dnschecker.org/spf-record-validation.php.
- Enter you email domain and click
validate. - You would see the output as below as you scroll down. This means that the SPF record exist for your email domain.
Steps to add a Domain:
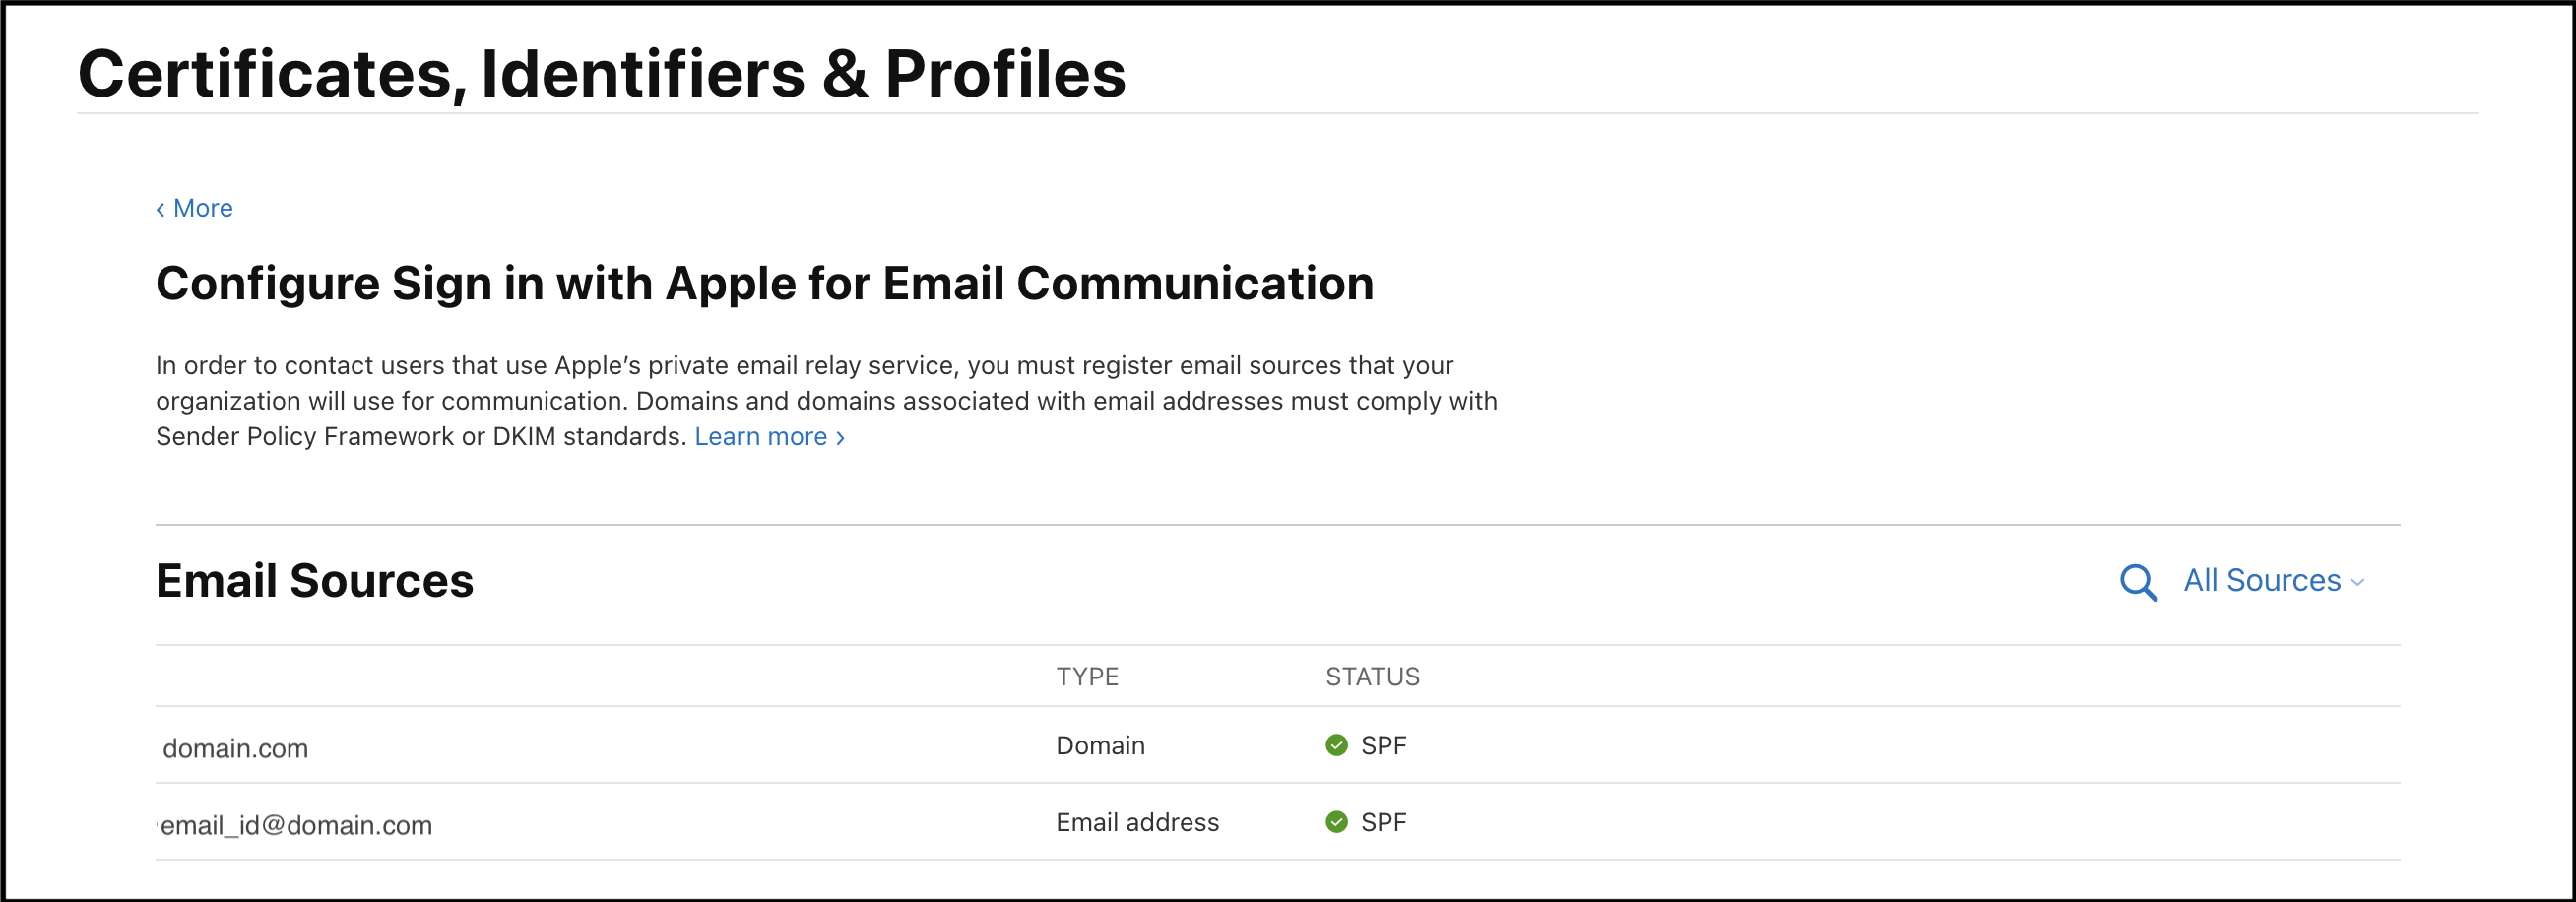
- In
Certificates, Identifiers & Profiles, selectMorefrom the sidebar, and clickConfigure Sign in with Apple for Email Communication. - In the
Email Sourcessection, click the+button in the upper-left corner. - Enter a comma-delimited list of domains, subdomains and unique email addresses that will be used for email communication and click
Next. - Confirm your entered email sources and click
Register. - The below table will display if the registered email source passed an SPF check.
Sign in with WeChat (Optional)
Prerequisites
RainMaker China must be deployed in the cn-north-1 region.
Create a Developer Account
- Go to https://open.weixin.qq.com/.
- Sign up for a verified enterprise account if you have not registered yet.
- A one-time review fee is required (approximately 300 RMB at the time this document was written).
- Follow the detailed steps here:
https://developers.weixin.qq.com/doc/oplatform/en/Third-party_Platforms/2.0/operation/open/create.html - The approval process takes approximately 3–5 business days.
- Once approved, your account will be ready as shown below:

Create a Client in WeChat
App Client
- For Android, you will need the following details:
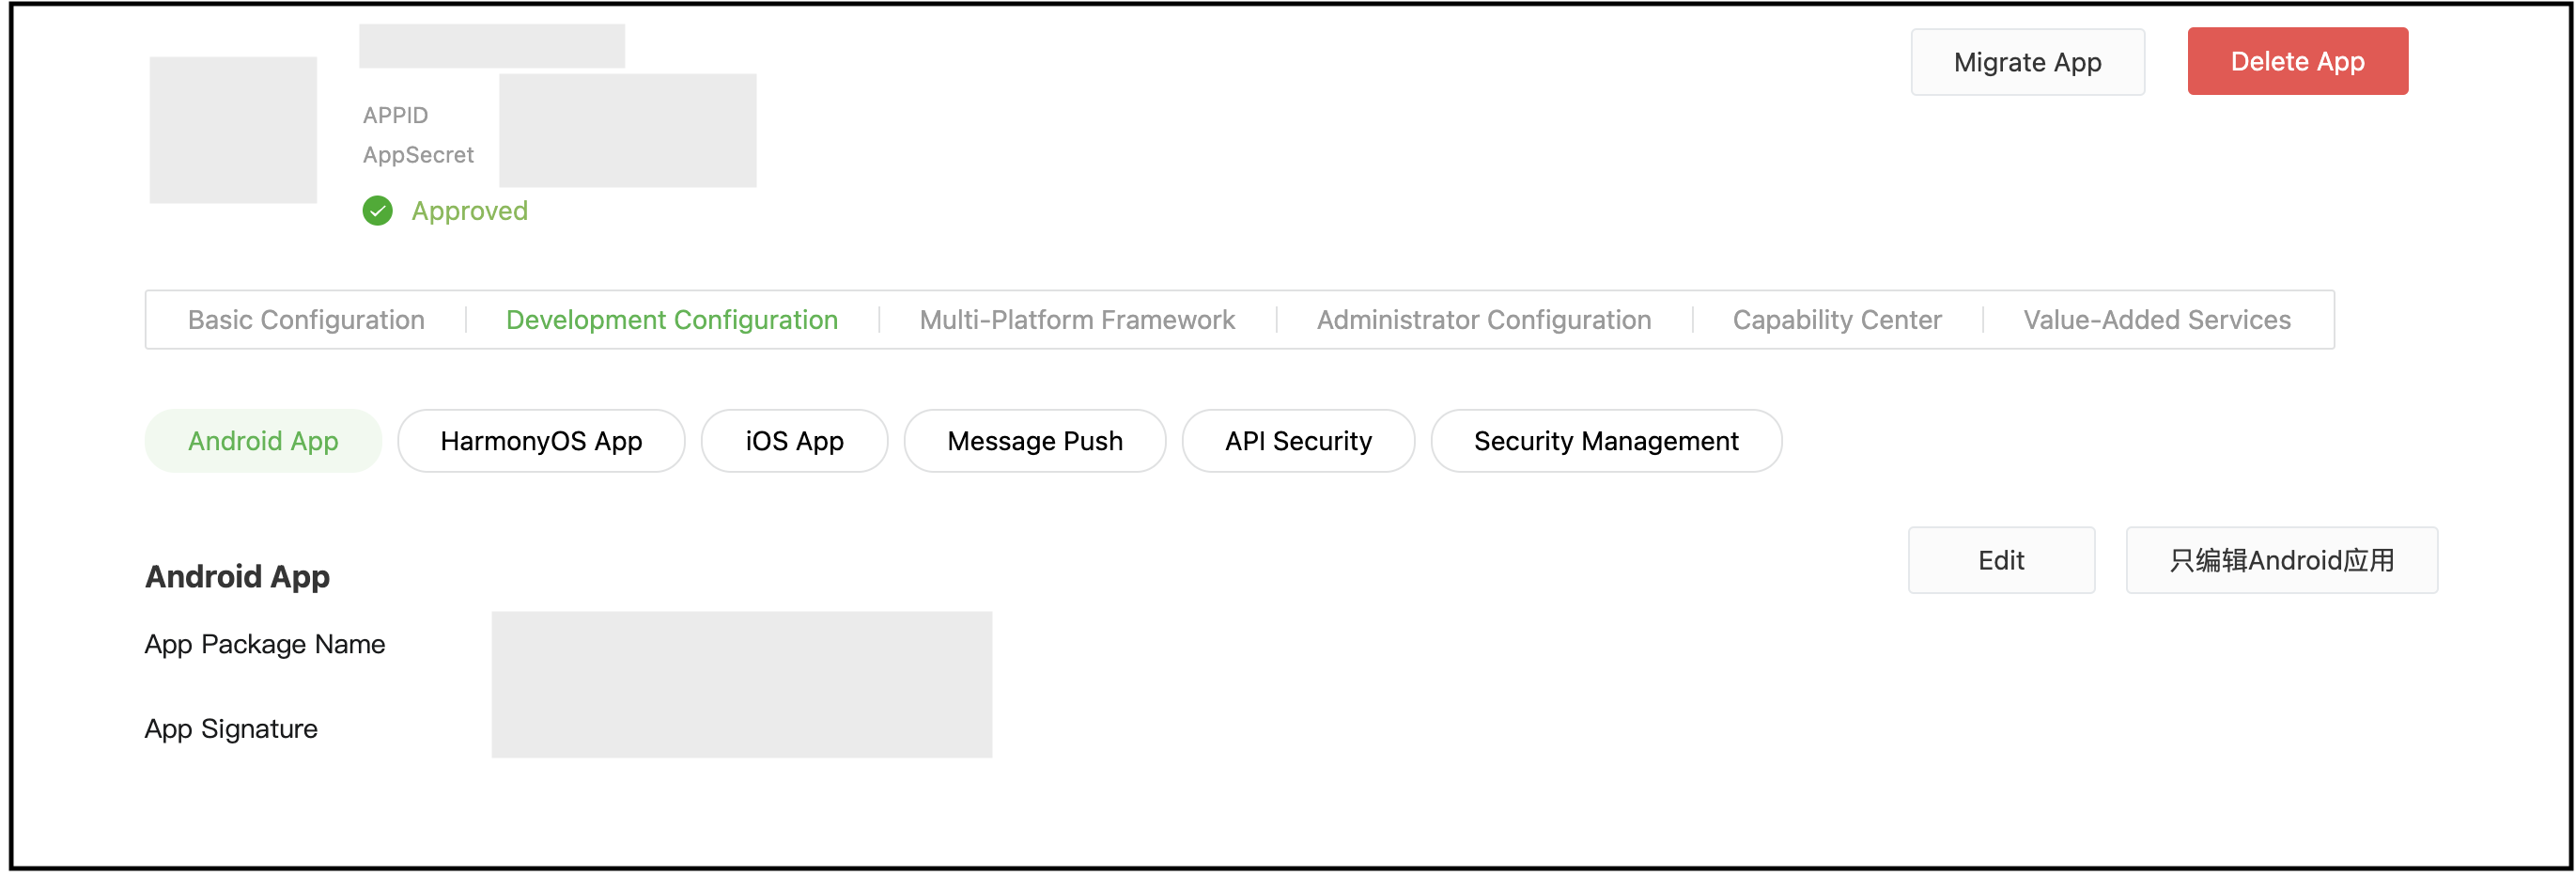
You must provide the APK signer certificate's MD5 digest.
- For iOS, you will need the following:
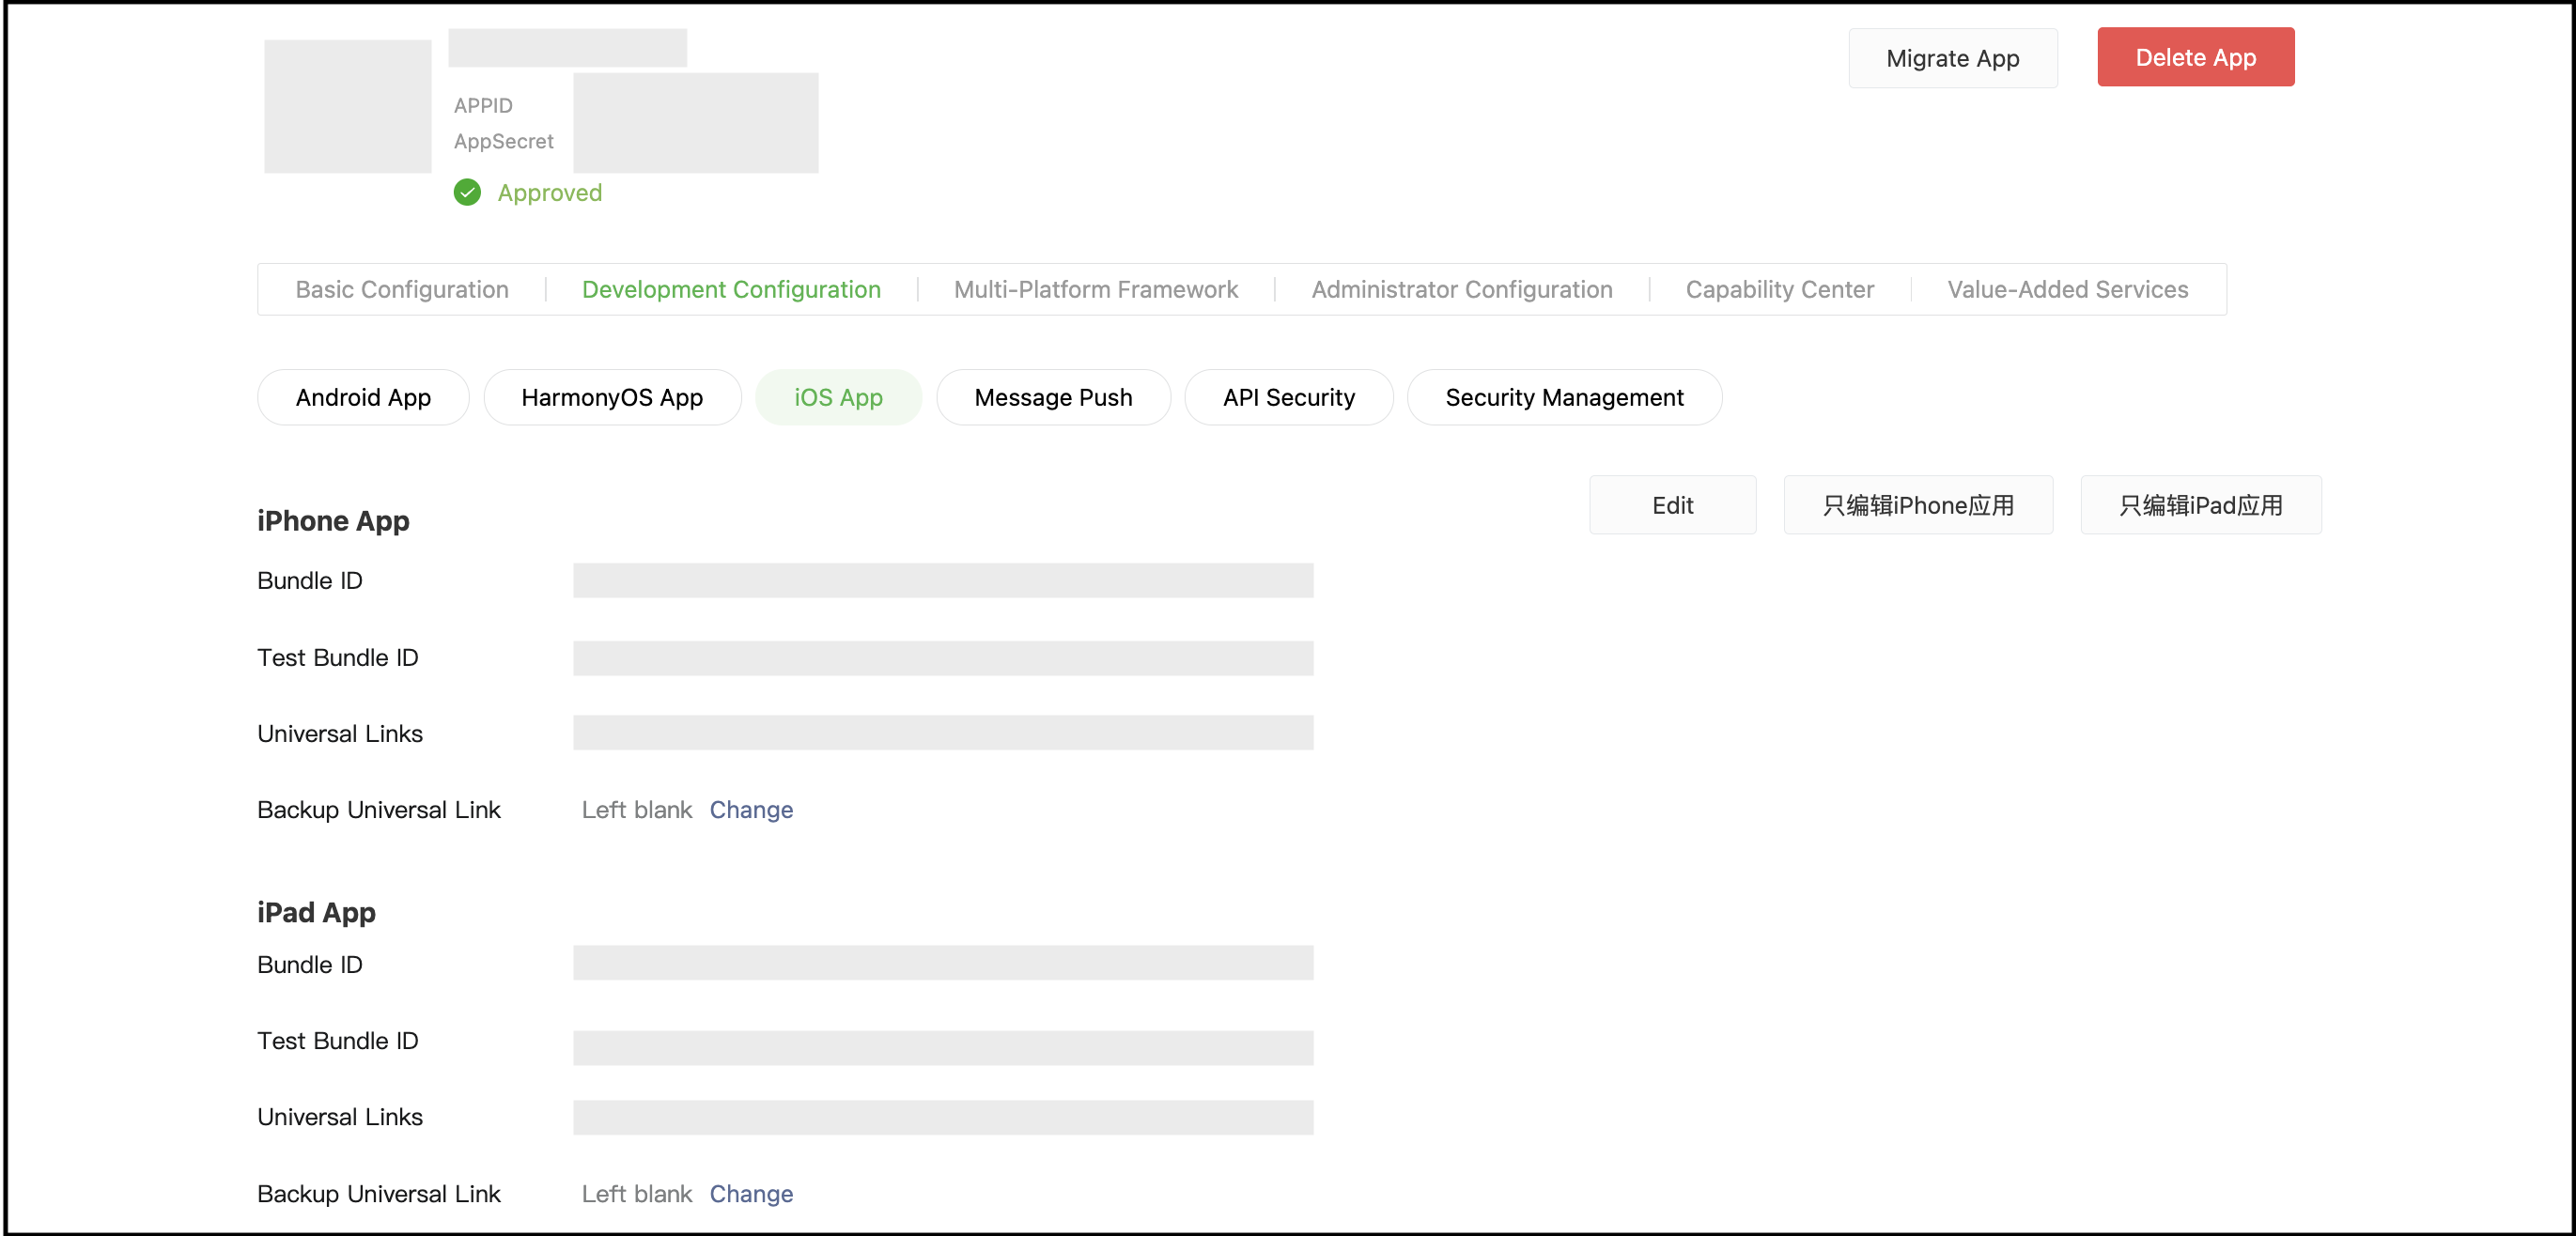
A universal link for the App is required. Follow these steps to create a universal link.
- Select the App type: 工具-设备管理 (Tools-Device Management)
- Follow the steps here:
https://developers.weixin.qq.com/doc/oplatform/en/Third-party_Platforms/2.0/operation/open/create.html - The approval process takes approximately 1–7 business days.
- Upon approval, you will receive an AppID and AppSecret.
Create a Provider in RainMaker
- Use the RainMaker API. Refer to the example for "WeChat" and enter the AppID and AppSecret obtained in the previous step.
- Create a provider for the App with with
provider_type: WeChat
RainMaker Phone App Configuration
Ensure that the redirect URIs for both Android and iOS are added to the client configuration. For more details, refer to this guide.
Android
- In the
local.propertiesfile:isChinaRegion=trueisMatterSupported=false
- In the
AndroidManifest.xmlfile:your_app_id=WeChat app id
iOS
Refer to https://github.com/espressif/esp-rainmaker-ios/blob/master/RegionConfig.md.
Note: When calling the Token API, please add the flag
wechat_token_only=true.
Please get in touch with the ESP RainMaker support team (esp-rainmaker-support@espressif.com) to deploy or set up China specified deployment requirement.