

4. Open the ESP RainMaker Classic installer and set up the account
ESP RainMaker isn't deployed yet. In this step you open the ESP RainMaker Classic installer — the part of ESP CloudHub that deploys ESP RainMaker Classic into your AWS account — make sure the account has access to ESP RainMaker releases, and pass the account checks before your first deployment.
Step 1 — Open the account's products
On a connected account, click Manage. This opens the account's products page, where you choose which ESP product to work with.
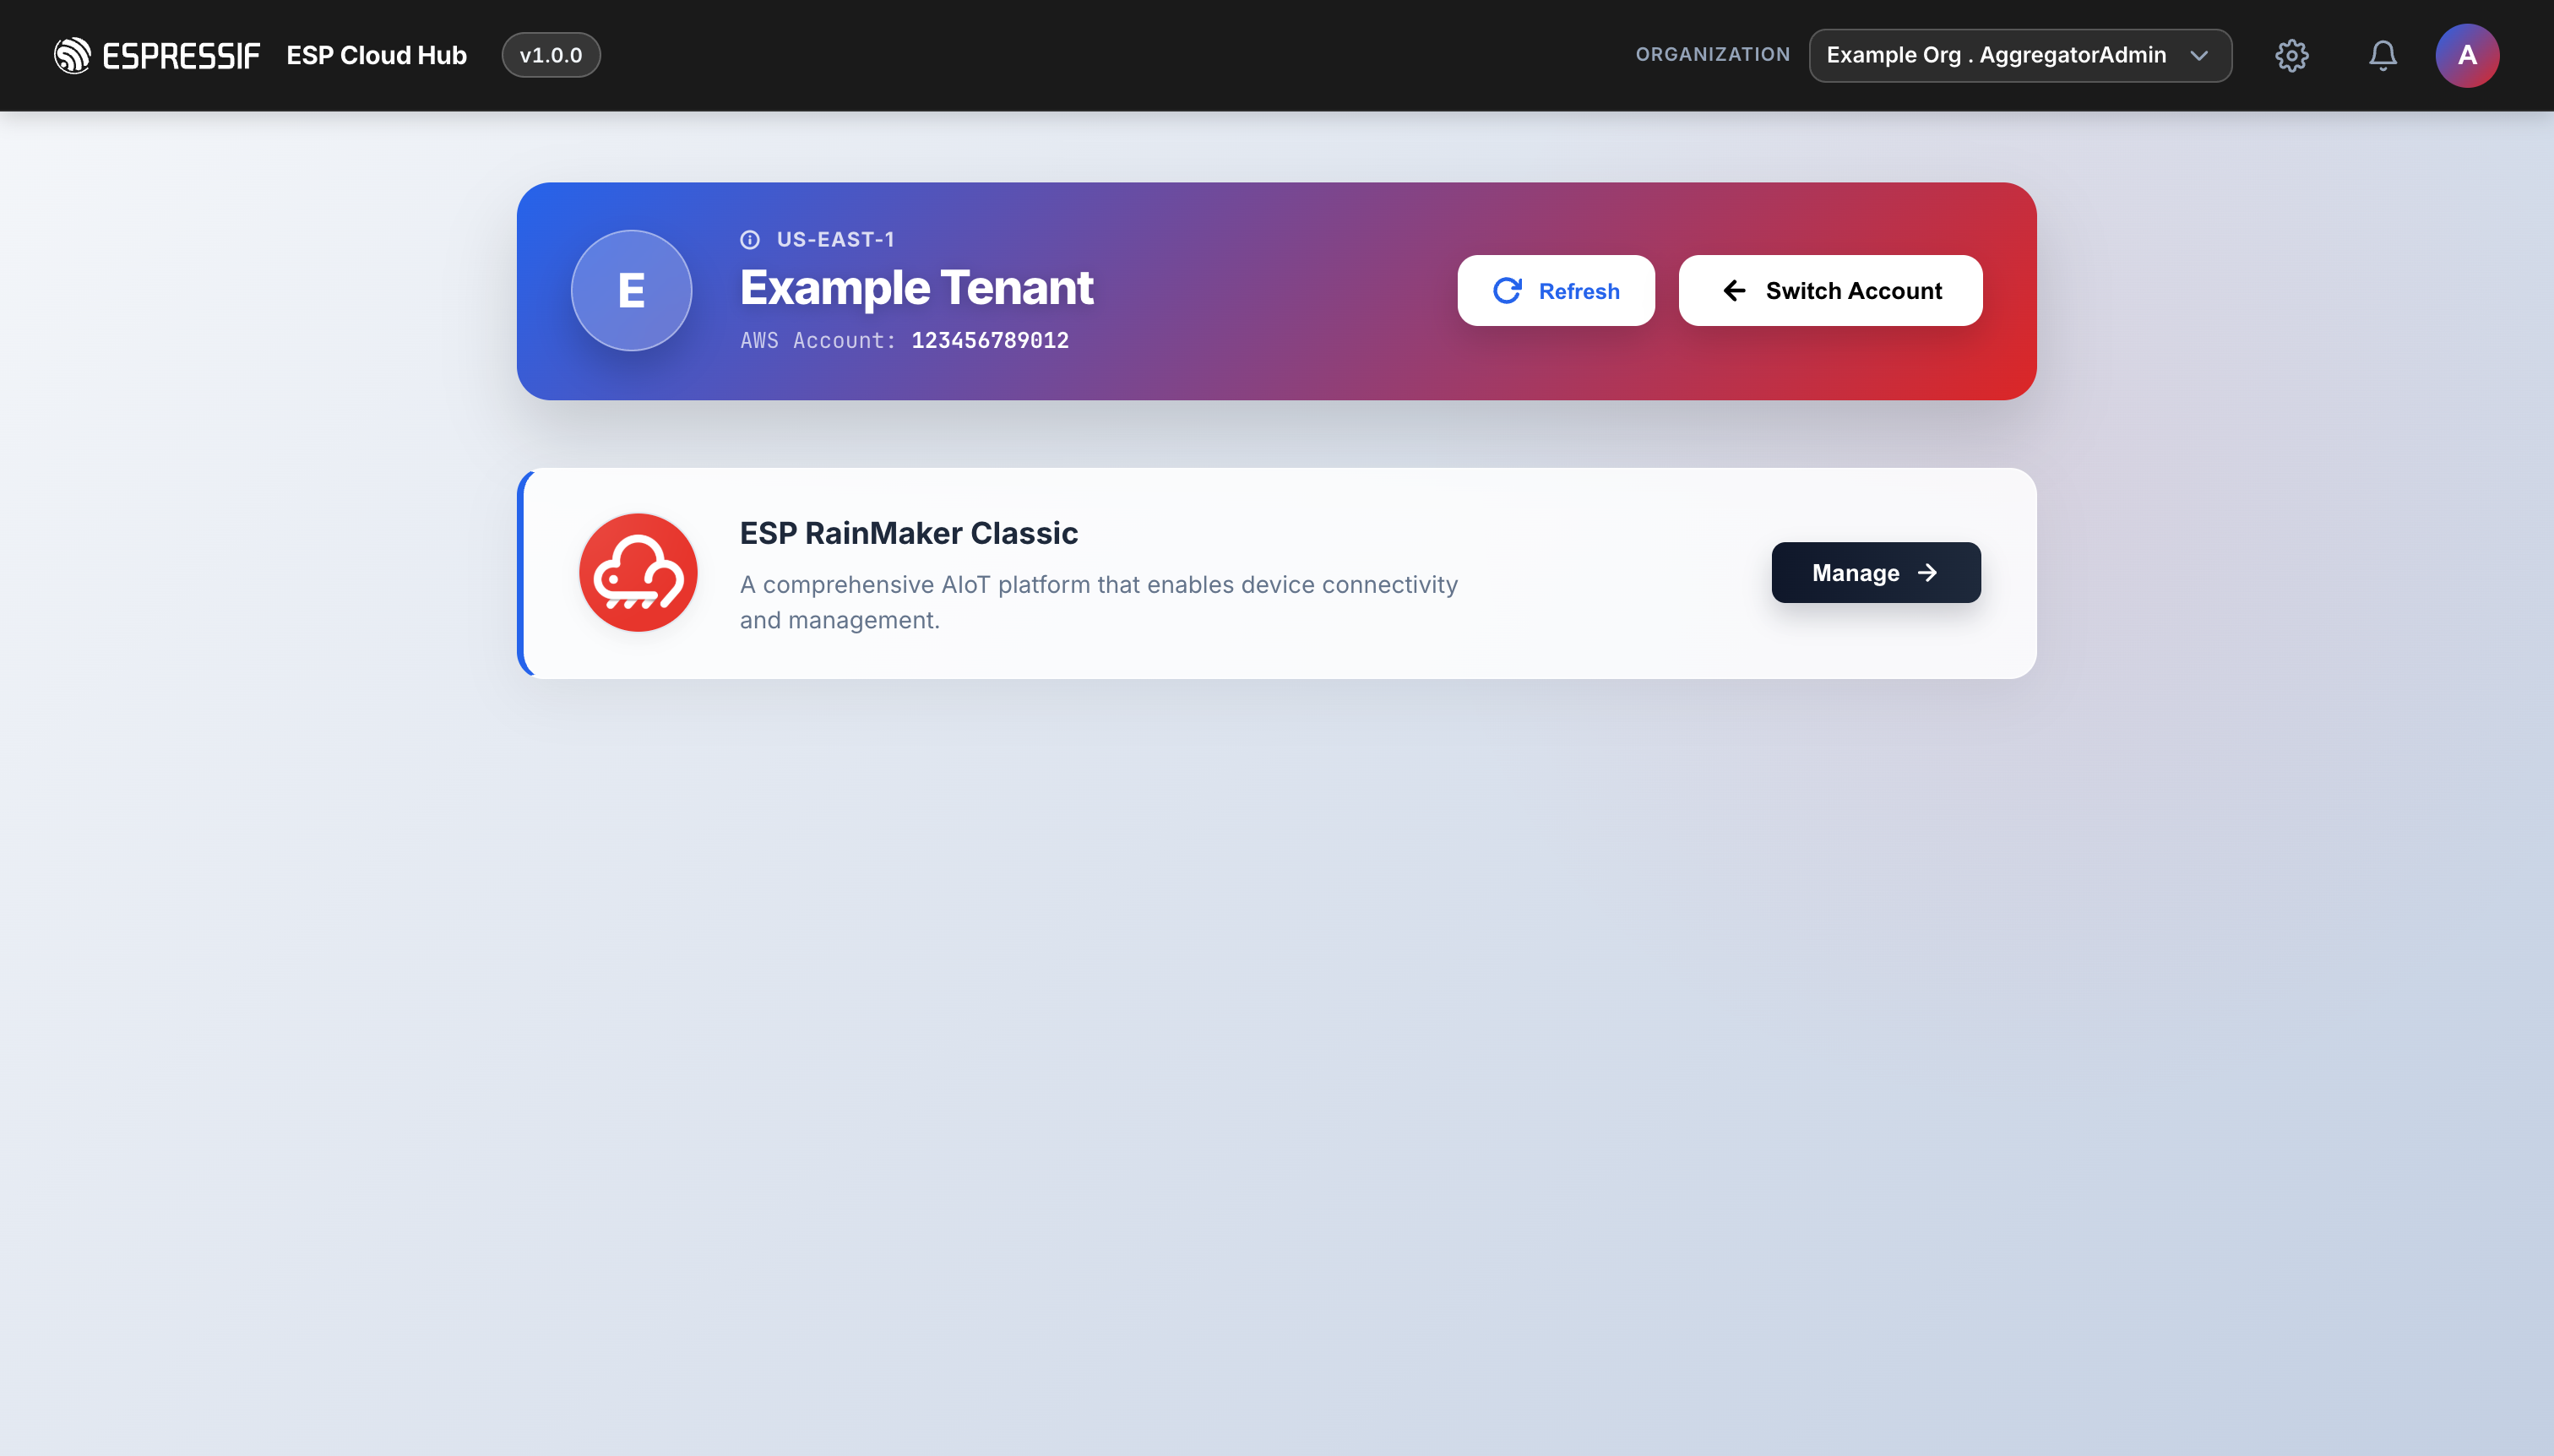
Look at the button on the ESP RainMaker Classic card:
| Button | Meaning | What to do |
|---|---|---|
| Manage → | Everything is in place. | Click it and go to Step 3. |
| Request access | Espressif has not yet enabled ESP RainMaker releases for this AWS account. | Follow Step 2. |
| Read only | The account is enabled, but your role in this organization can only view. | You can open the installer but not deploy. Ask your organization's administrator for a role that can deploy — see Roles & access. |
Step 2 — Get access to ESP RainMaker releases
ESP RainMaker versions are published by Espressif, and each AWS account must be enabled before ESP CloudHub can list and deploy them. You do this once per AWS account.
- On the ESP RainMaker Classic card, click Request access. The button changes to Details copied — the request, including your AWS account ID, is now on your clipboard.
- Paste it into an email to esp-rainmaker-support@espressif.com and send it from your work email address.
- When Espressif confirms that the account is enabled, reload the products page. The button changes to Manage →.
Access is granted per AWS account. If you later add another AWS account to ESP CloudHub, request access for that account as well.
Step 3 — Welcome
Click Manage → on the ESP RainMaker Classic card. This opens the ESP RainMaker Classic installer. The first time you open it for this account, a welcome dialog confirms the account is connected and asks you to run setup.
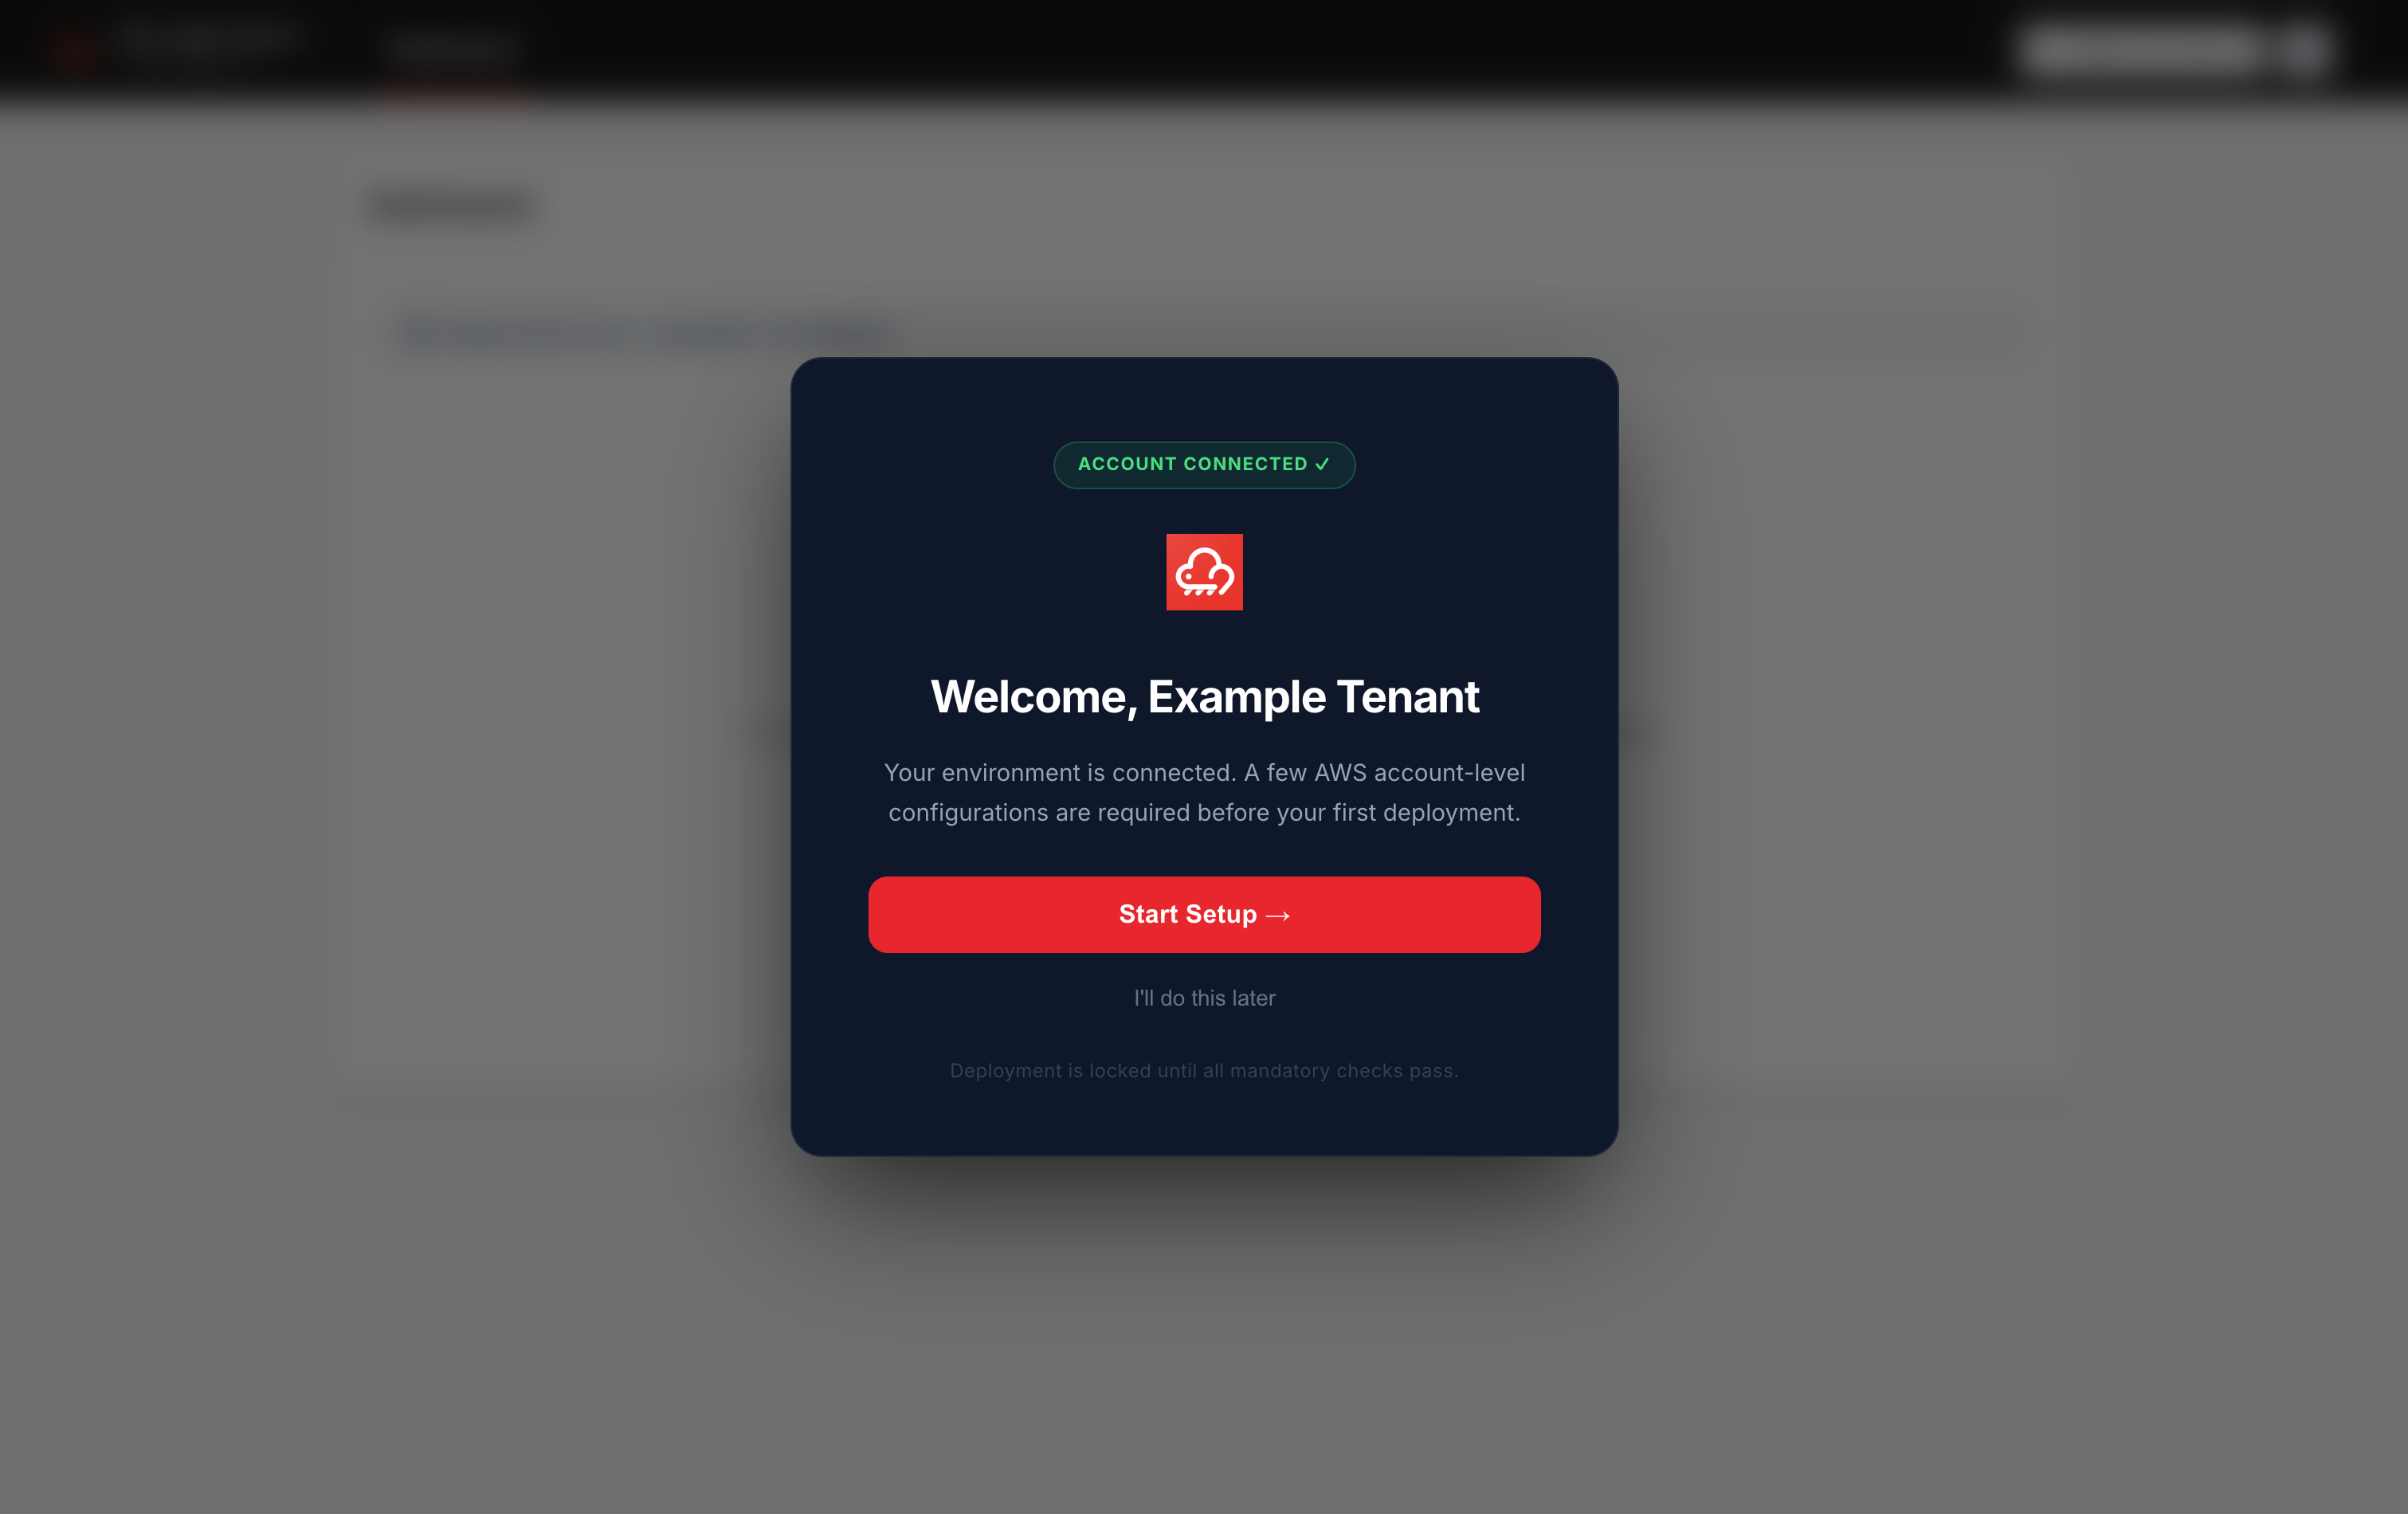
Click Start Setup →.
Deployment stays locked until all mandatory checks pass. You can choose I'll do this later, but you won't be able to deploy until setup is complete.
Step 4 — Prerequisite validation
The installer checks that your AWS account, in the region you chose, is ready for ESP RainMaker — email (Amazon SES), SMS (Amazon SNS) and compute (AWS Lambda concurrency).
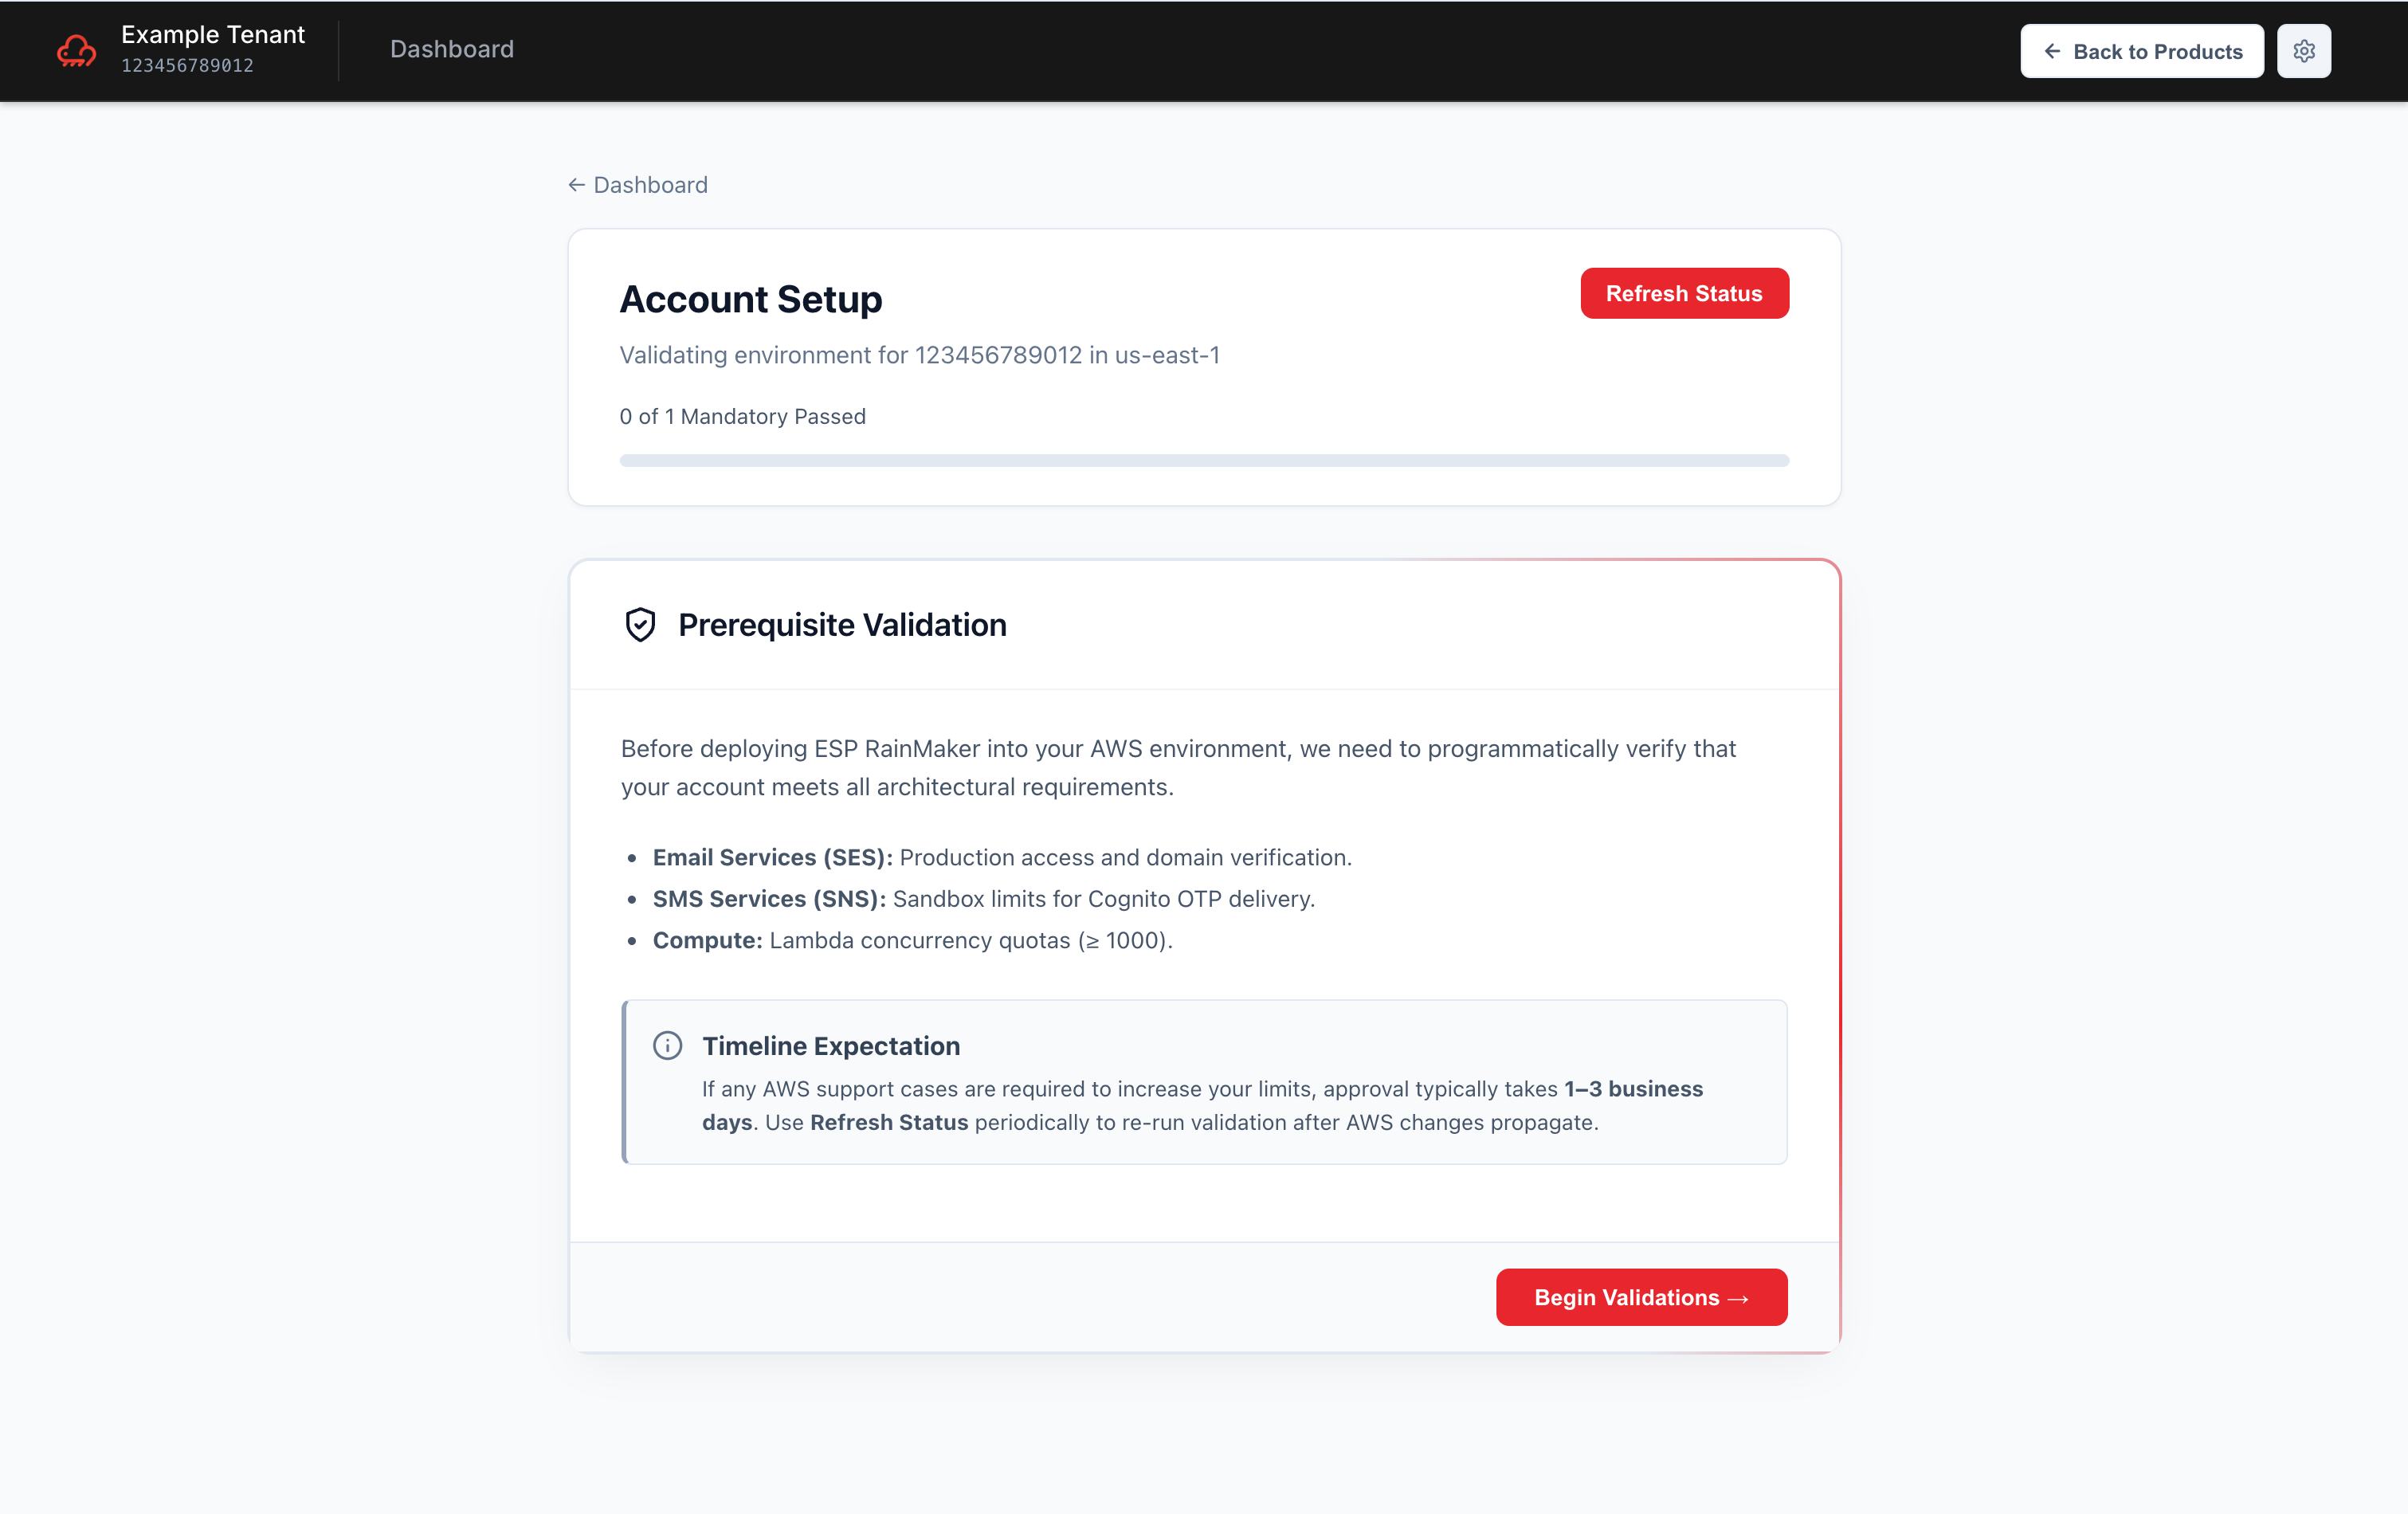
Click Begin Validations → to run the checks.
Only one check is required: SES Production Access (your account must be out of the Amazon SES sandbox). The others are optional.
SES production access is requested from AWS (Open AWS Support ↗ on the card) and usually takes 1–3 business days. Click Refresh Status after AWS approves.
Step 5 — Review results and skip optional checks
Each check shows its status. The mandatory check must pass; optional checks can be skipped.
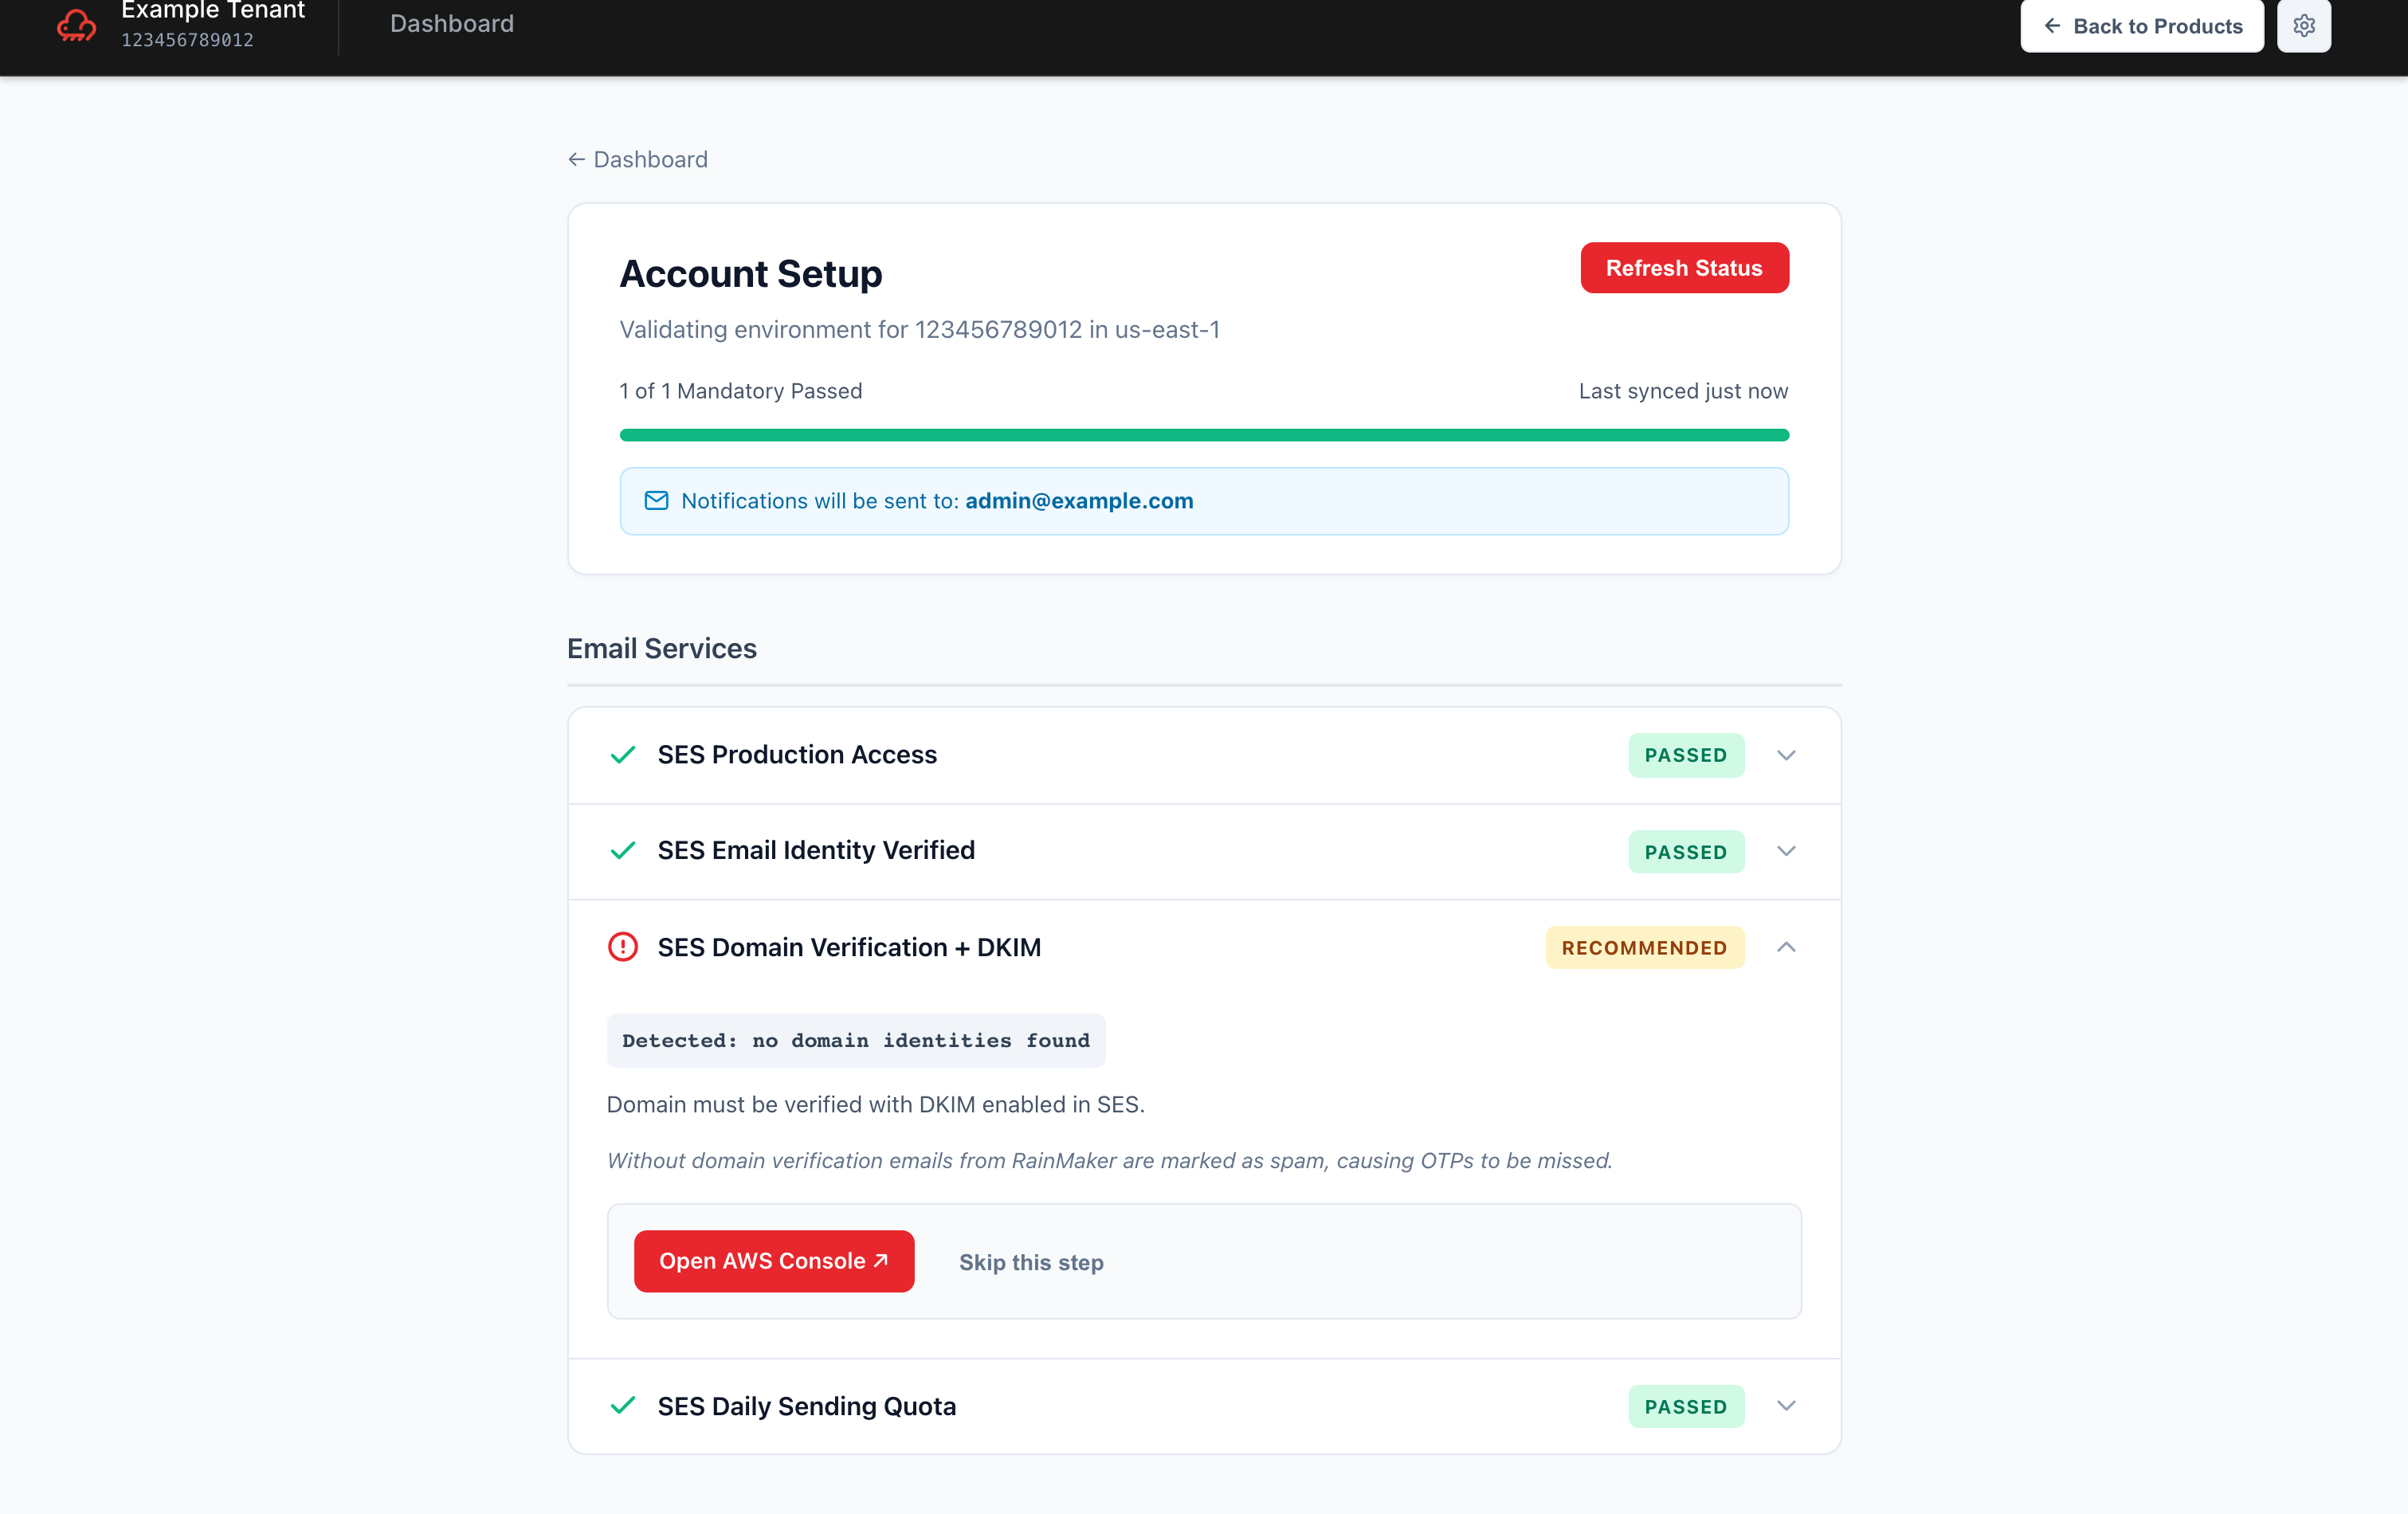
For an optional check, click Skip this step to move on, or fix it now with Open AWS Console.
Read the consequence shown on a card before you skip it. For example, skipping SES Domain Verification + DKIM means RainMaker emails may be marked as spam, so users could miss sign-up codes. Fix optional items before you go to production.
Step 6 — ESP CloudHub checks for an existing deployment
Once all mandatory checks pass, the installer looks for an ESP RainMaker deployment that already exists in this AWS account. You don't need to answer anything or know any version — it reads the version from your stacks.
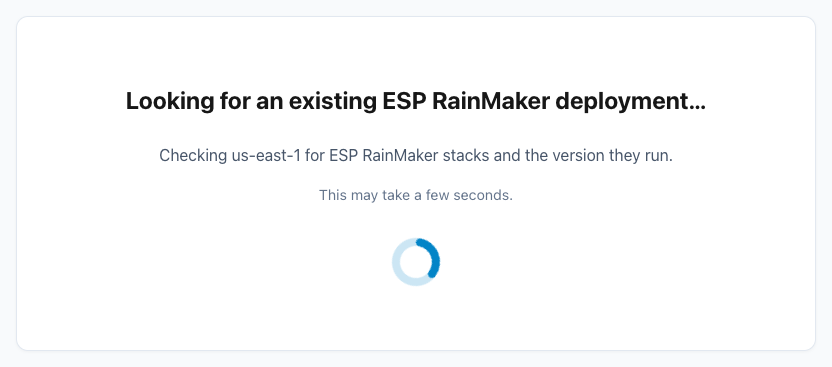
-
Nothing found — the usual case for a new account. Click Continue to deploy and go to Step 7.
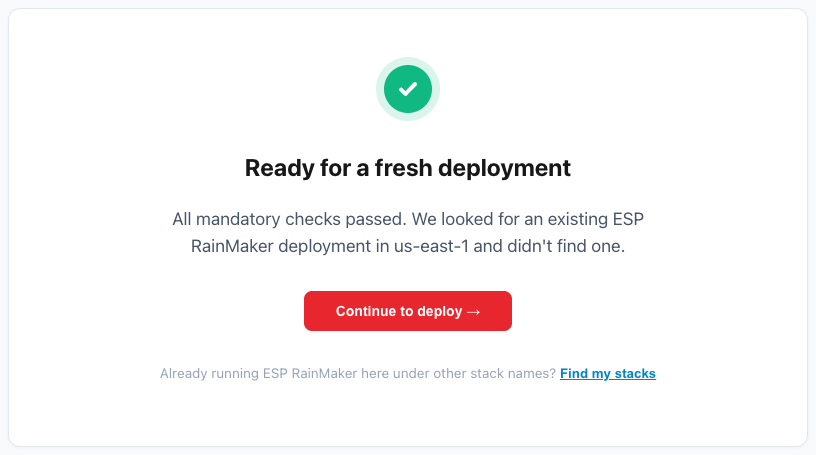
If ESP RainMaker is already running here under other stack names, click Find my stacks instead — see Import an existing RainMaker deployment.
-
A deployment found — the installer shows what it found so you can import it. Follow Import an existing RainMaker deployment.
Step 7 — Create your first deployment
You land on the installer's dashboard for this account, with no deployments yet.
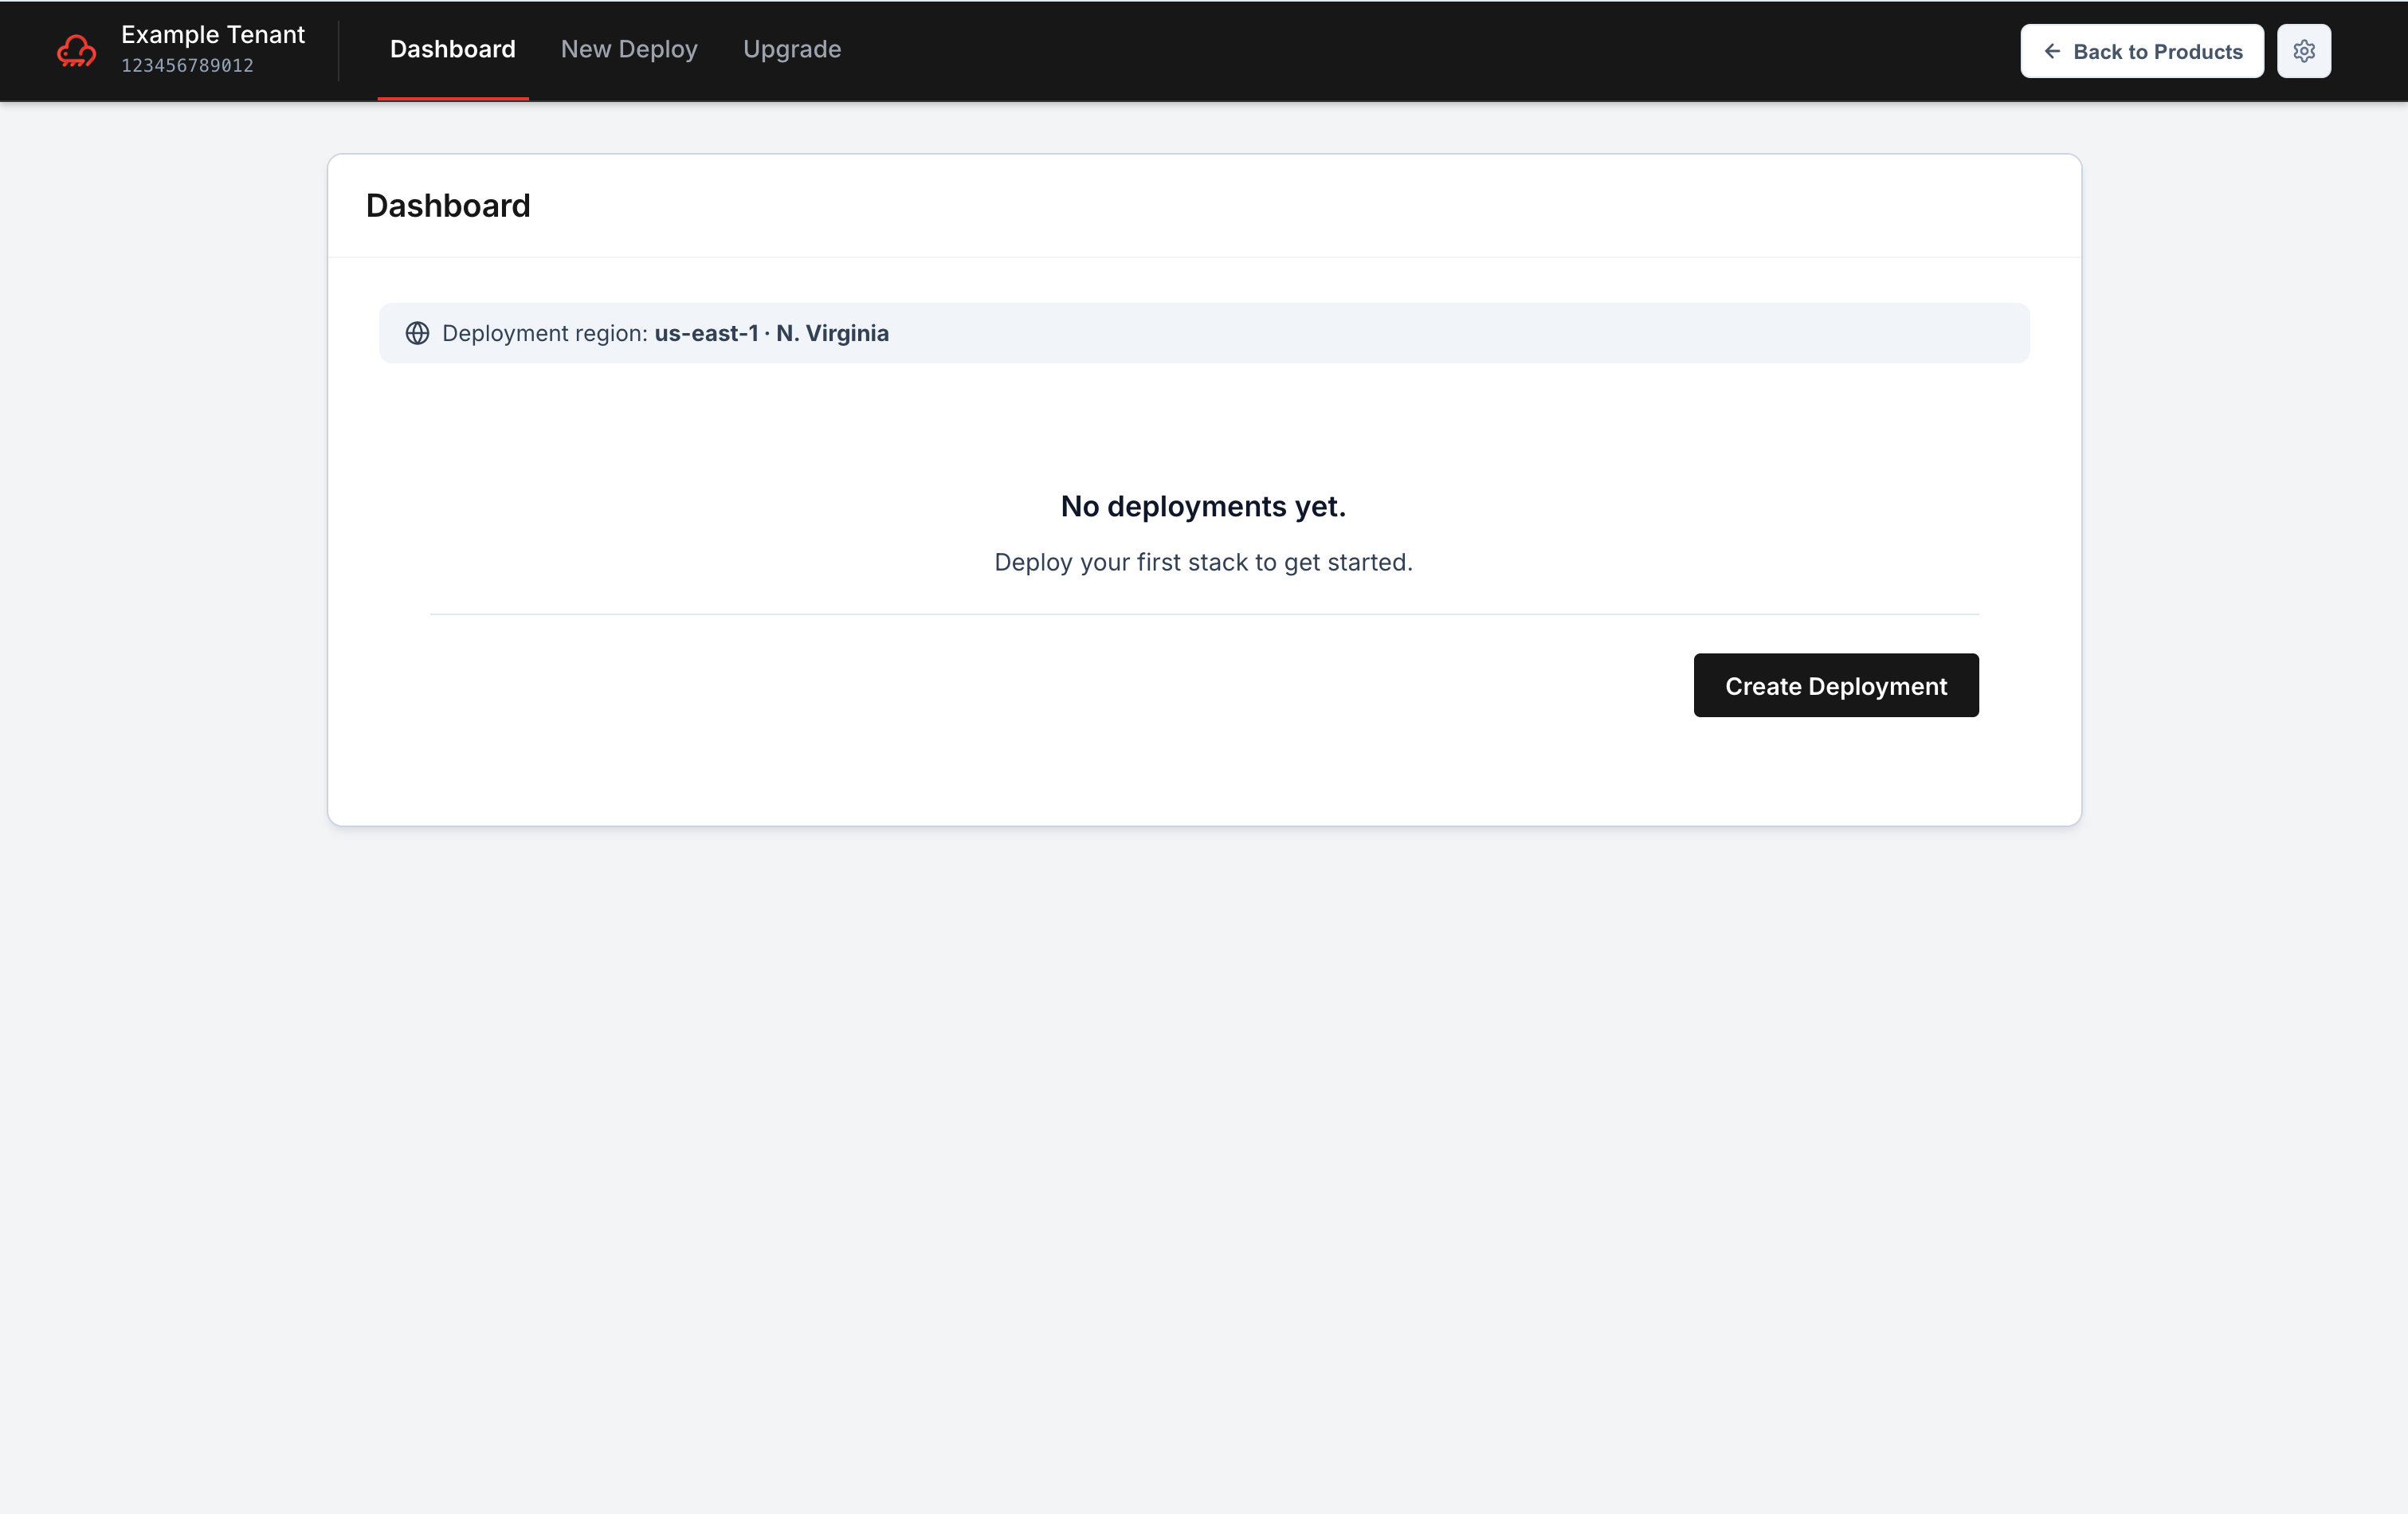
Click Create Deployment to start the deploy wizard.