

8. Integrate Alexa & voice assistants
Once your deployment is complete, you can add voice control so your users can operate their ESP RainMaker devices through Amazon Alexa and Google Home.
This step is optional and is done after a successful deployment. You can come back and do it at any time.
Start from the dashboard
On the tenant's dashboard, find the Add Voice Assistant row — "Let users control their devices with Alexa & Google Home." Click it to begin.
A short intro dialog (Voice Assistant Integration) previews what you're setting up and checks that your deployment supports it. Click Continue to open the guided setup.
The guided setup shows the precise, up-to-date instructions and the exact values to use for your deployment. Follow each step on the dashboard as shown — the outline below tells you what to expect, but the on-screen guidance is authoritative.
The guided setup (4 steps)
The Voice Assistant page walks you through four steps:
- Sign-in domain — configure the sign-in domain used for account linking.
- Create consoles — create the Alexa (and/or Google) developer console entries the integration needs. You choose which assistants to integrate — Alexa, Google, or both (keep at least one).
- Configure — enter the credentials the integration requires (for example the Alexa client secret / Google private key). These are held in memory only for the setup.
- Review & Deploy — review everything and deploy the voice-assistant stack.
Move through the steps using the on-screen stepper. Each step's guidance is tailored to the assistants you selected in step 2.
Confirm the integration
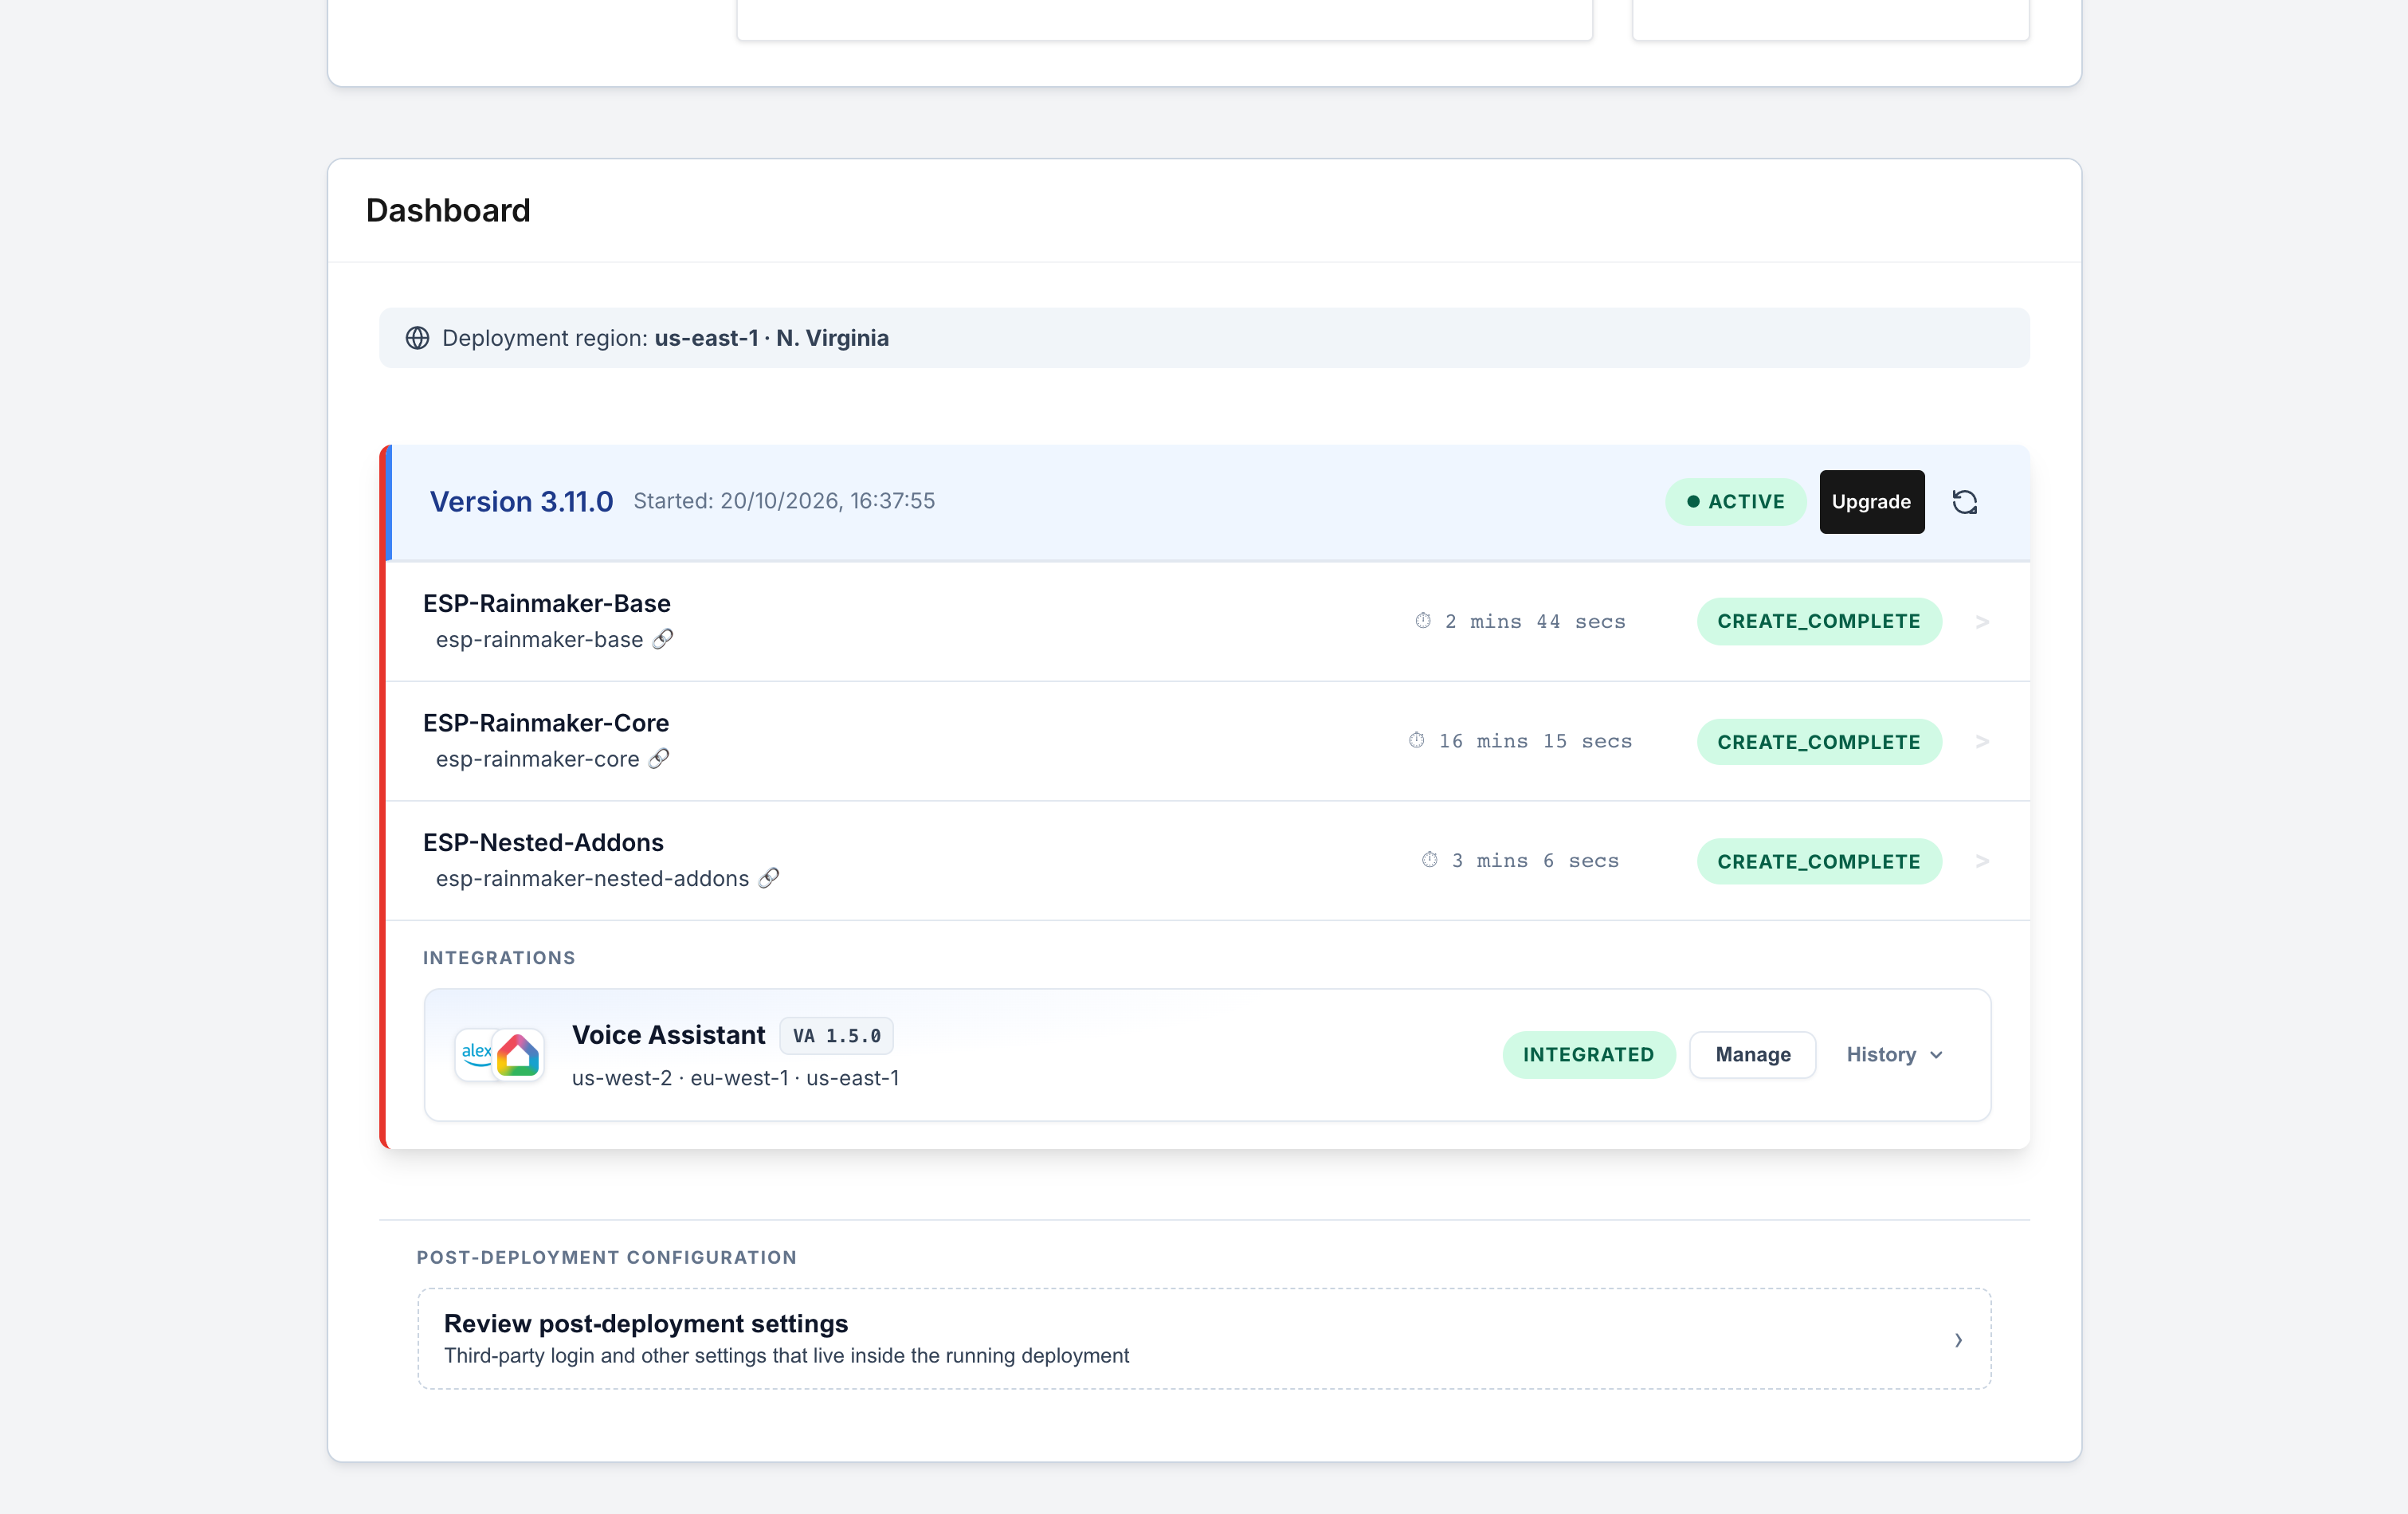
When the voice-assistant deployment finishes, the dashboard's voice-assistant row changes from Add Voice Assistant to show Integrated along with the deployed VA version.
If the integration is reported as unavailable or blocked, the page explains why (for example, your deployment doesn't include the required support). Resolve the stated cause, then return and run the setup again.