推送通知服务
推送通知 (Push Notifications) 服务用于向用户发送有关 RainMaker 的事件通知。在安卓和 iOS 中使用这一服务分别需要在通知设置中配置 FCM 和 APNS 环境。
在安卓中配置推送通知服务
-
为安卓应用配置推送通知服务,请参阅推送通知设置。
-
前往 Firebase 控制台选择您的项目。在左侧导航栏中点击齿轮图标,然后选择
Project settings。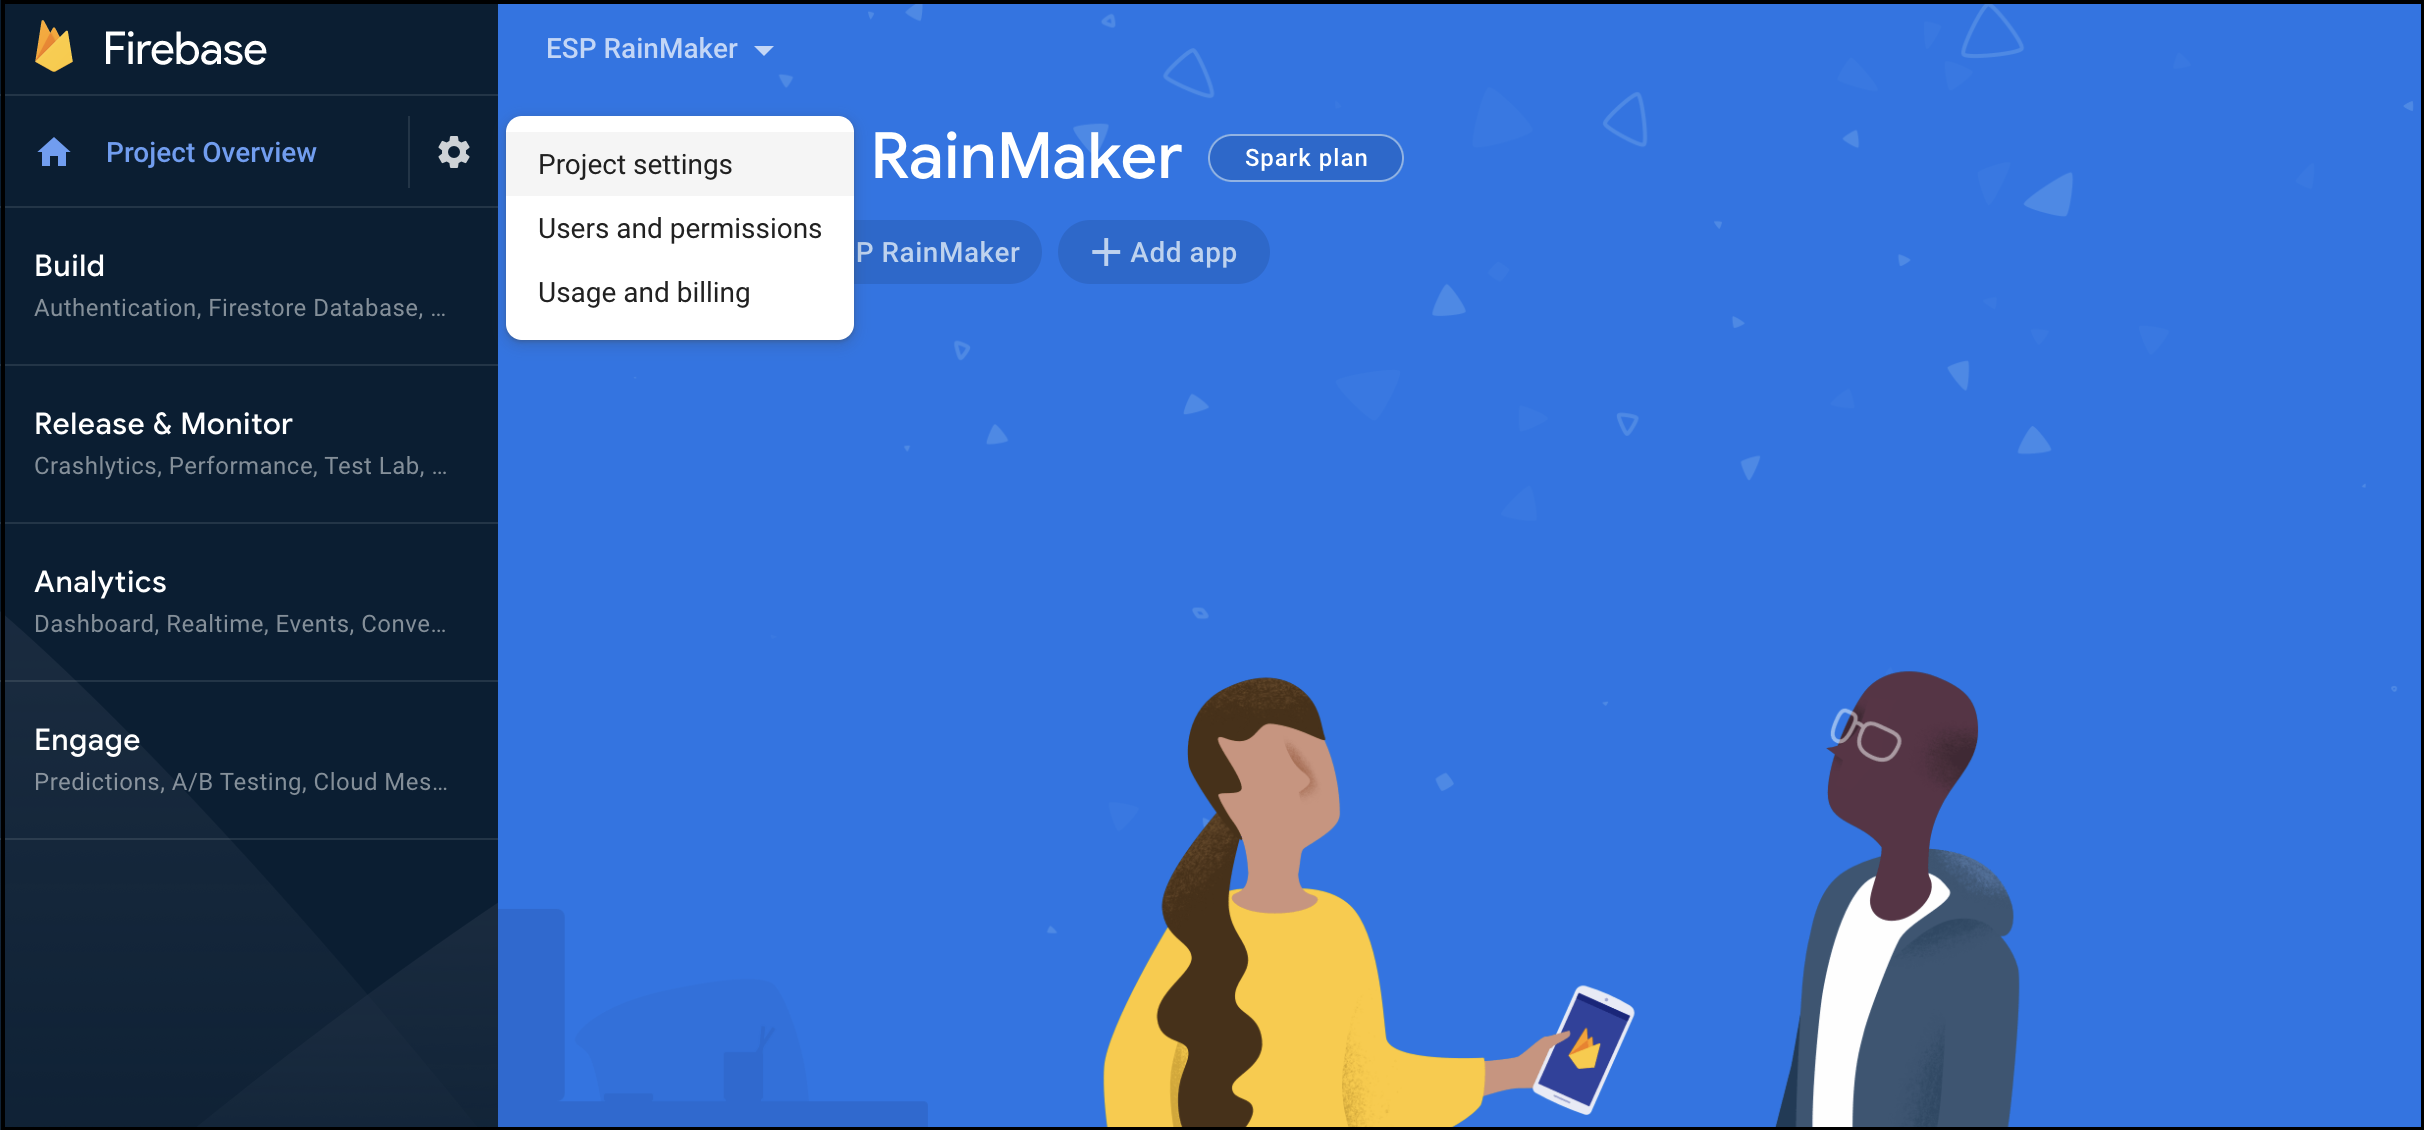
-
前往
Service accounts,点击Generate new private key,请将其复制到剪贴板。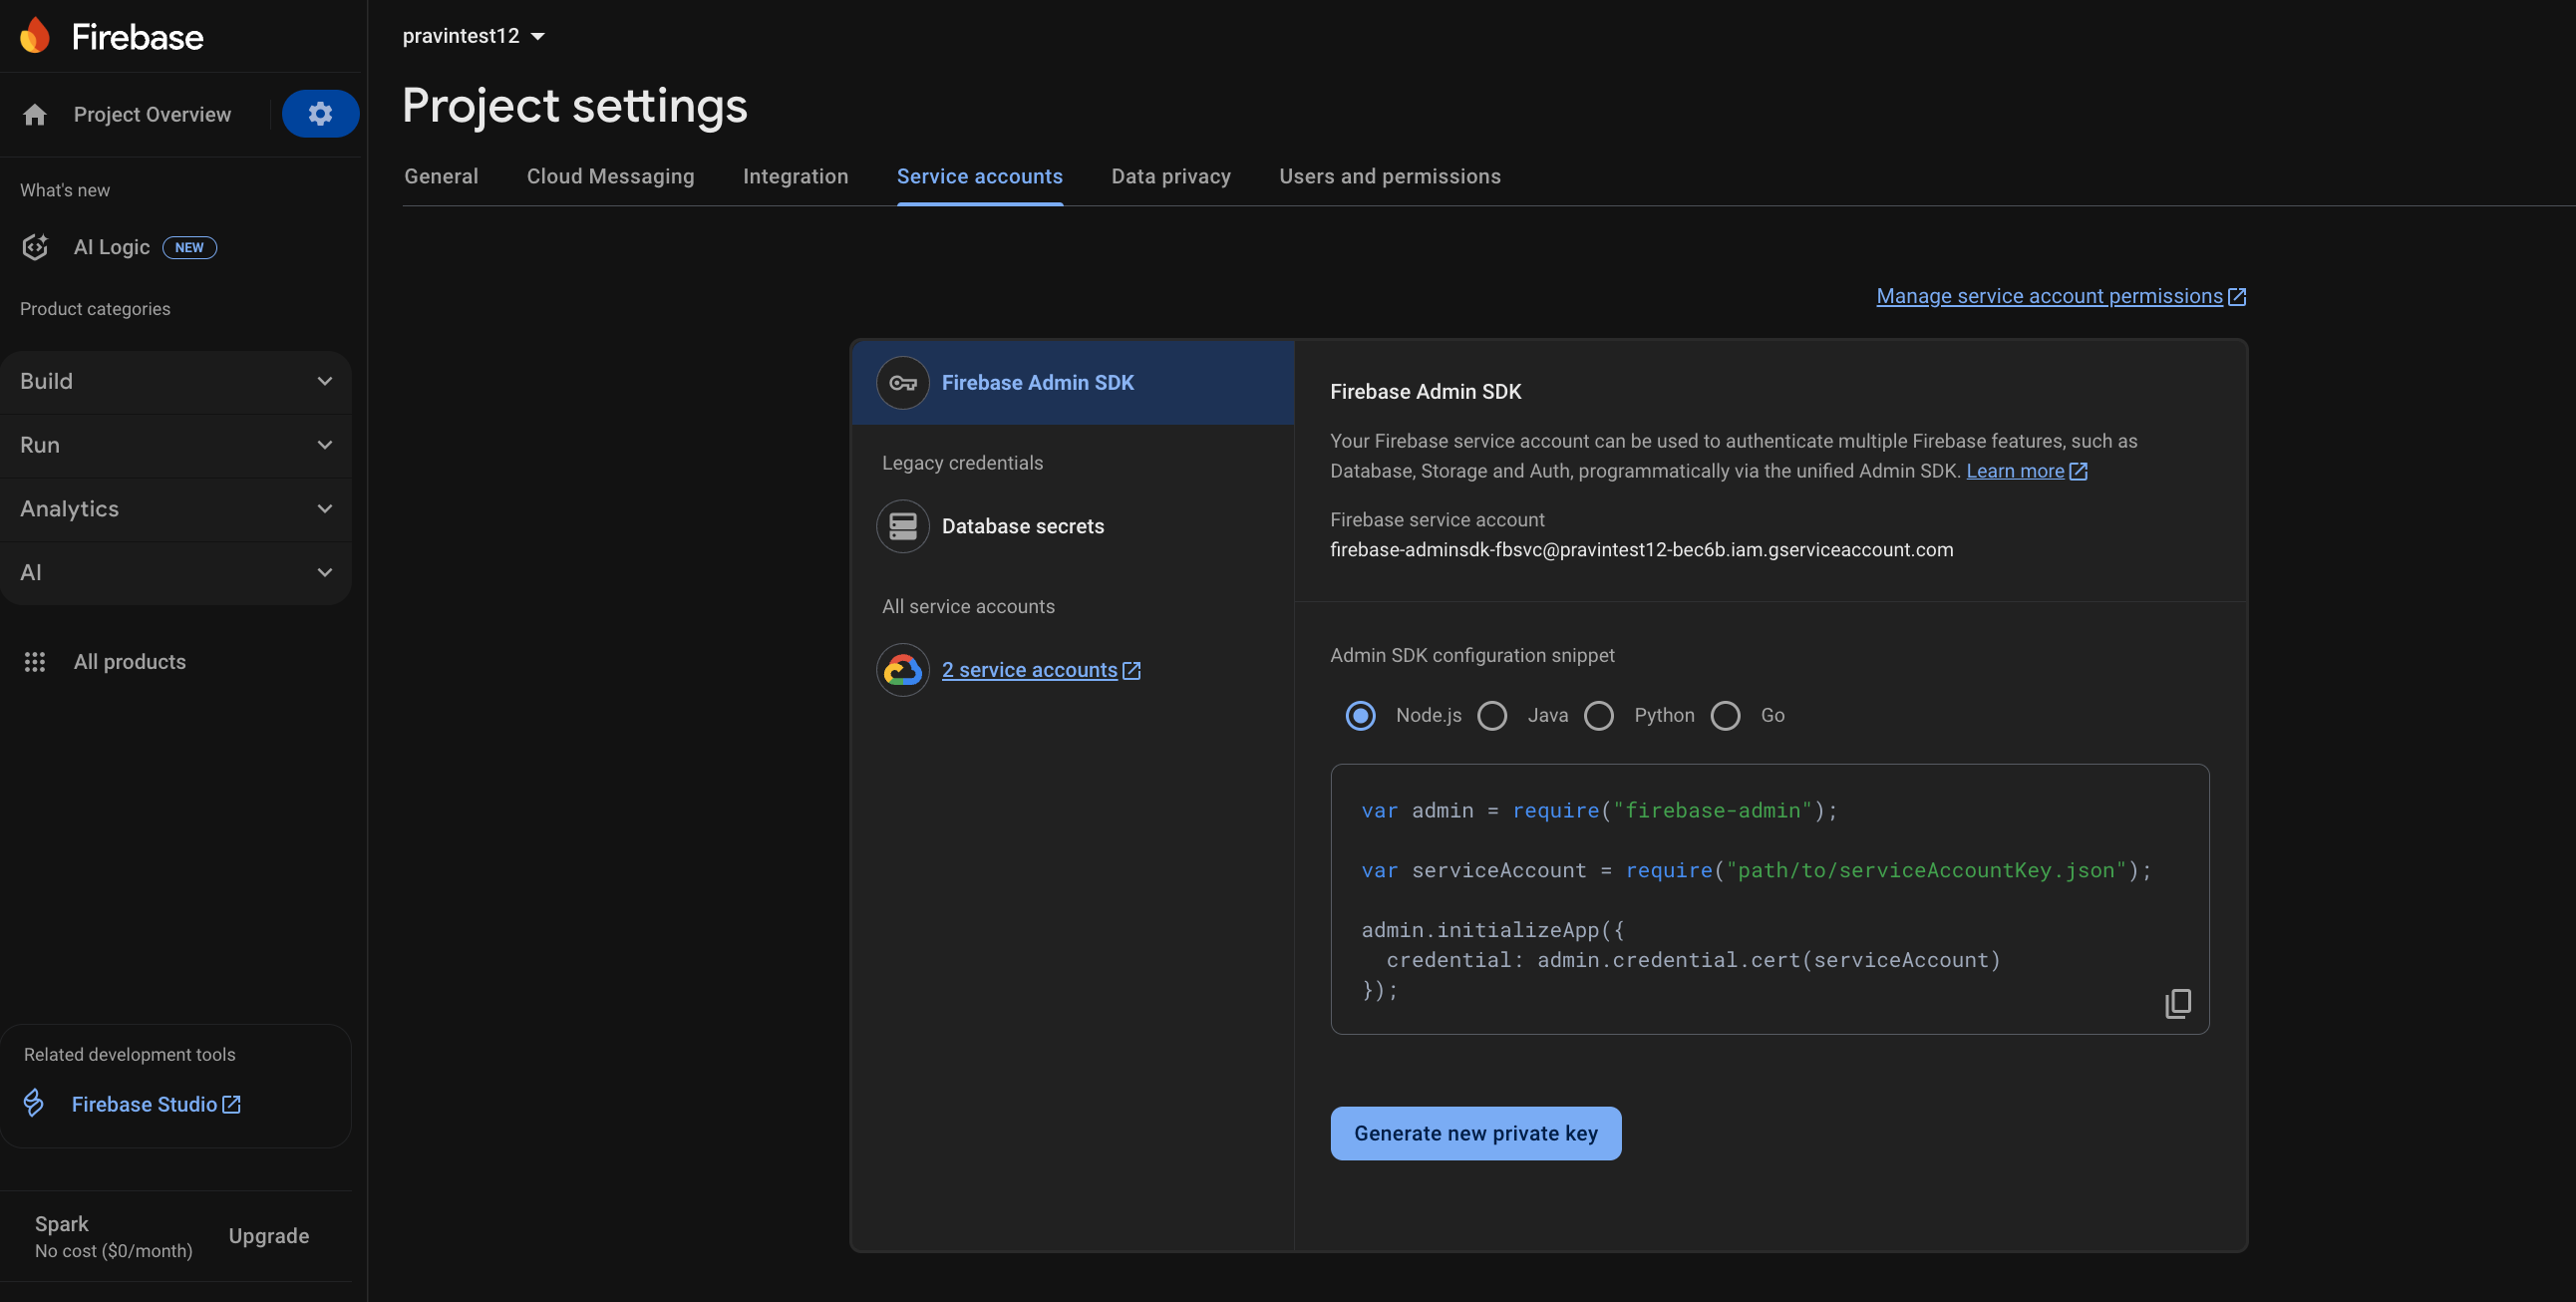
-
用管理员账号登录 RainMaker 管理面板。打开
Deployment Settings>Push Notifications。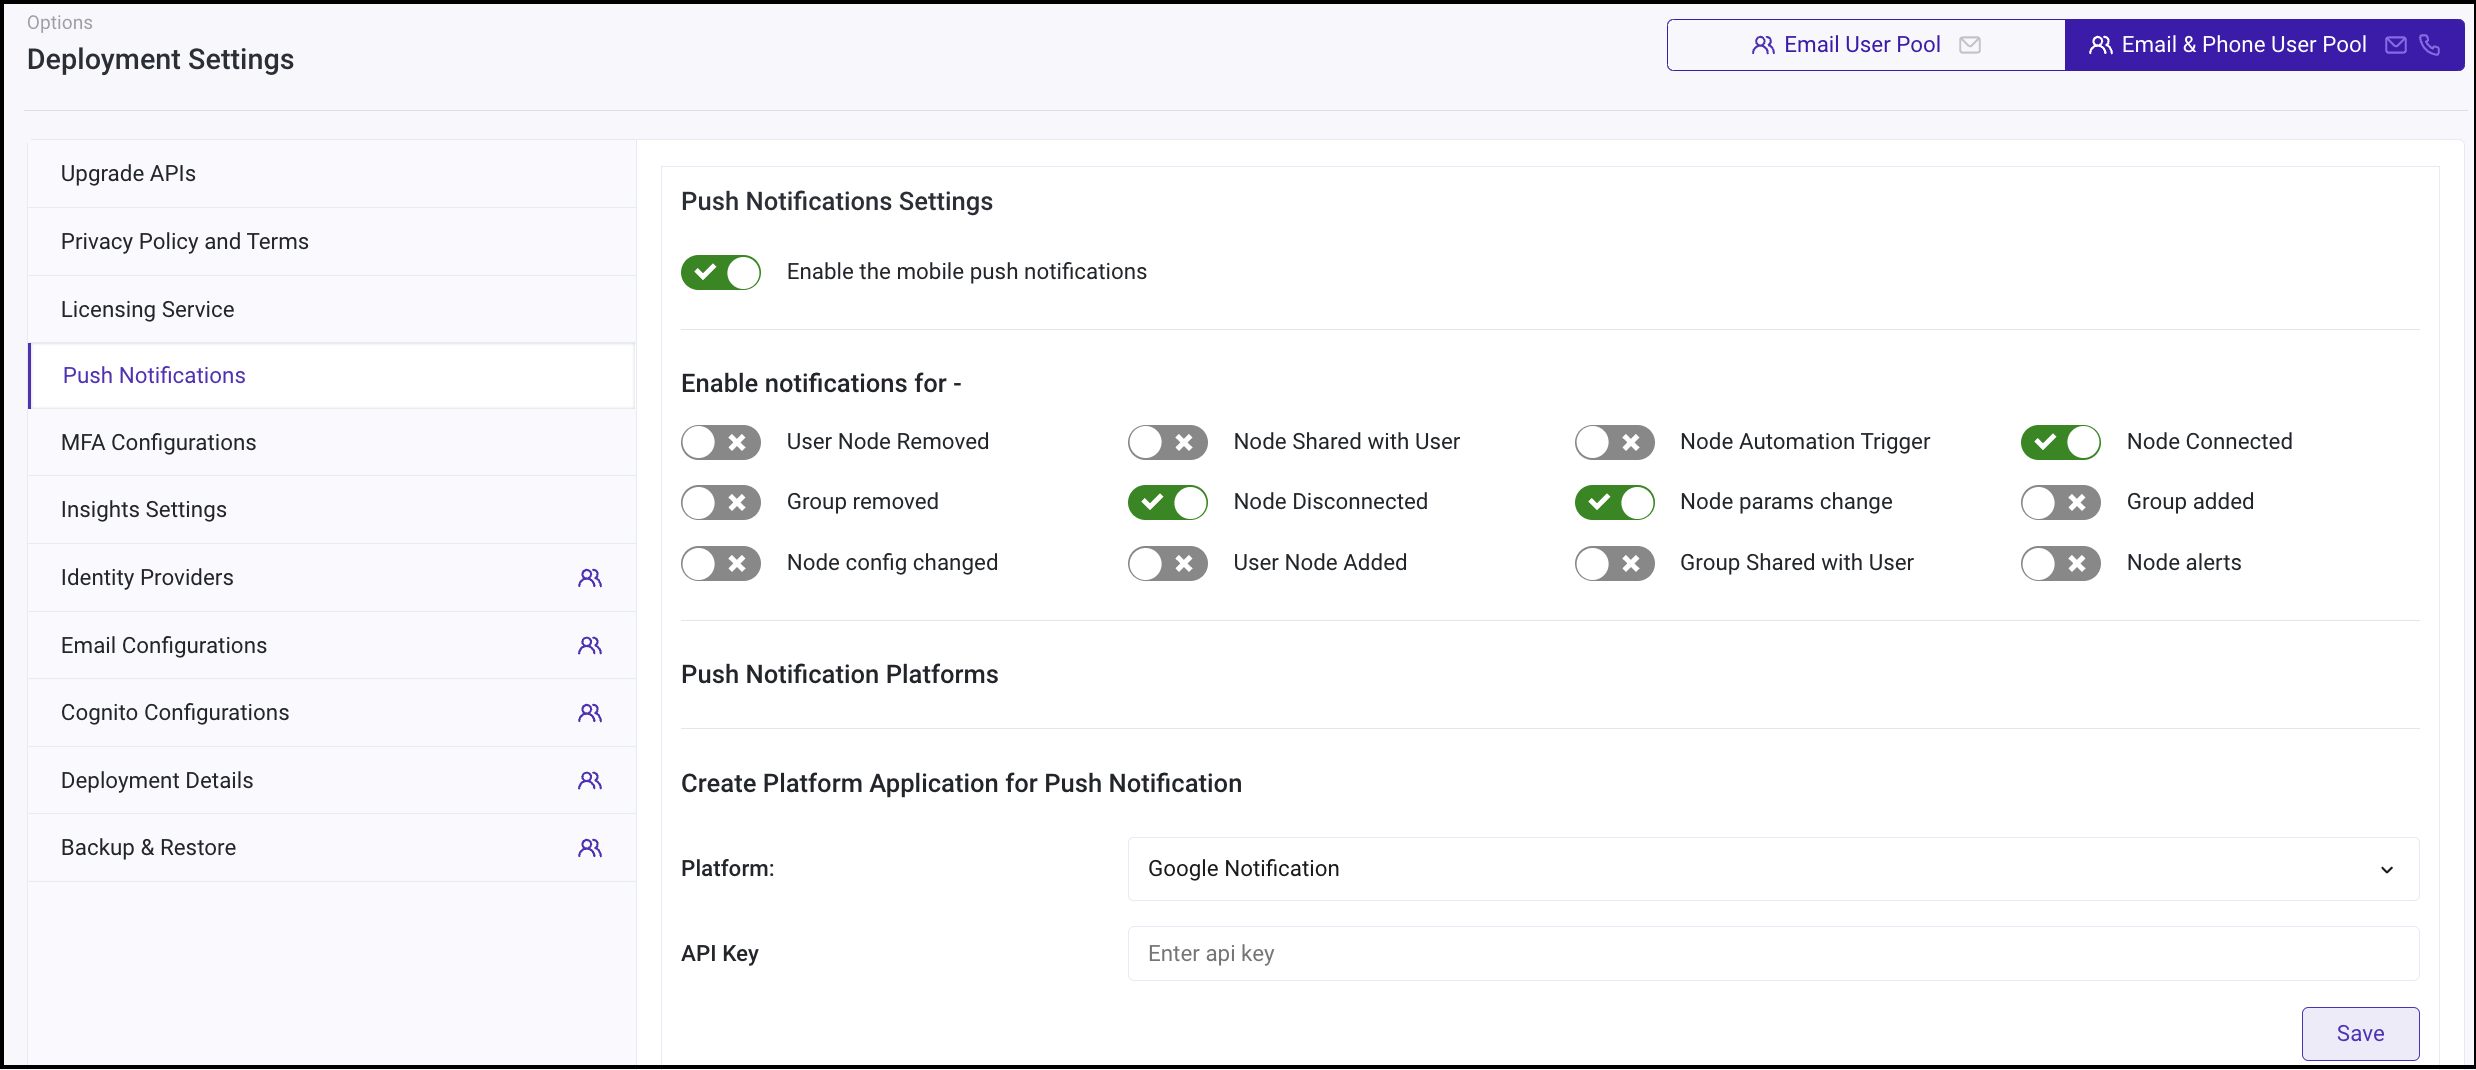
-
创建新的平台应用程序。选择类型为
Google Notification。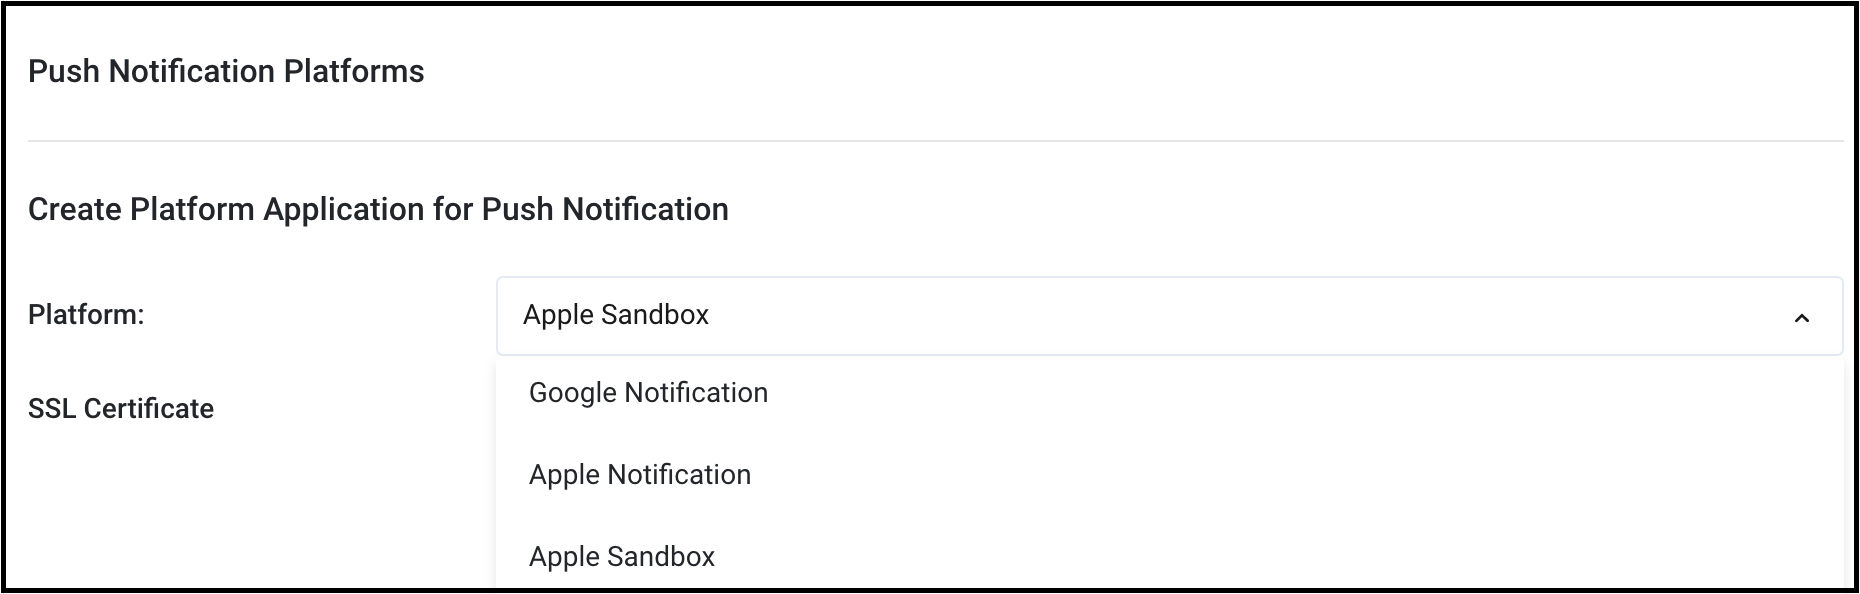
-
输入步骤 3 复制的整个文件内容,点击
Save。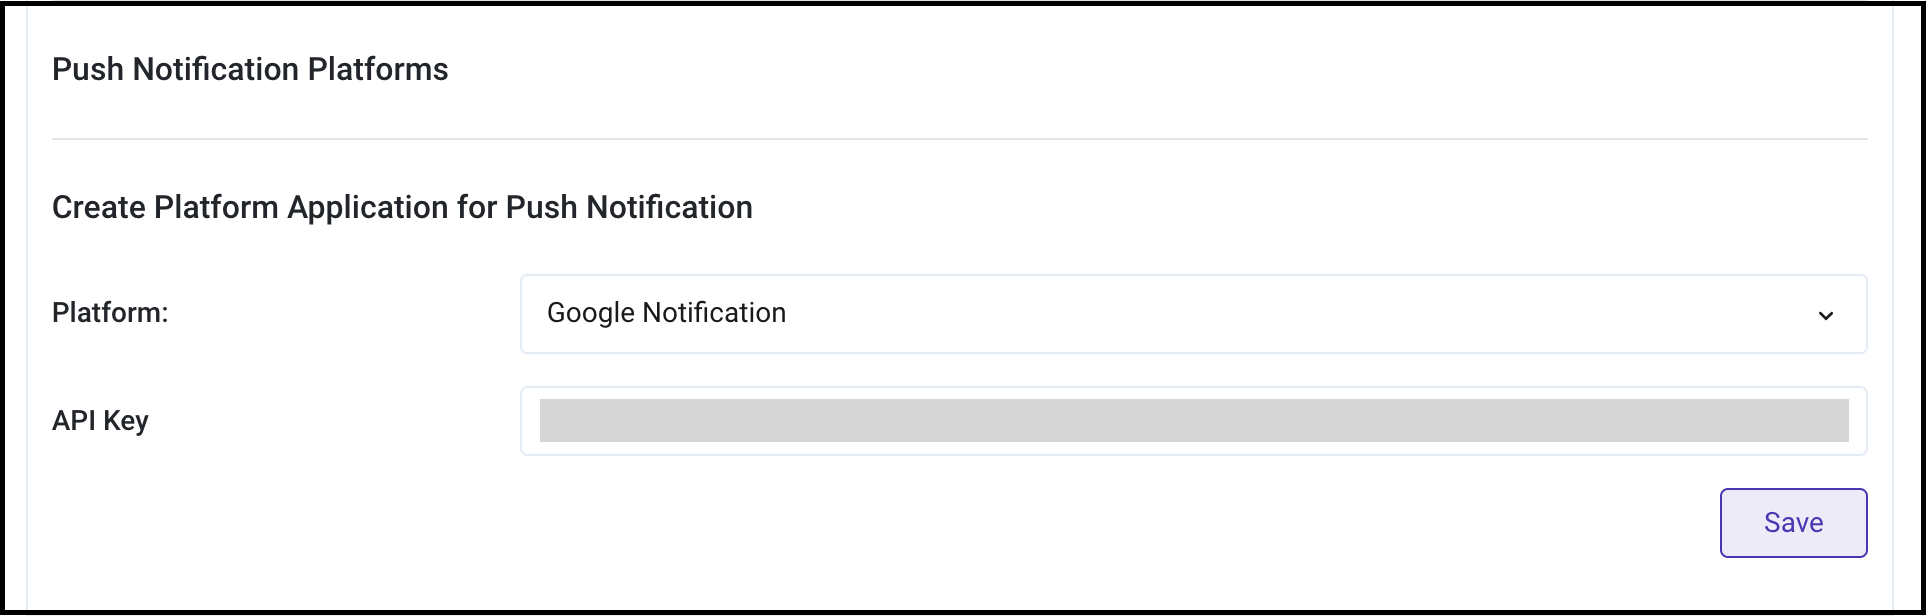
-
现在可以启用推送通知服务了,具体启用步骤请参阅启用通知推送。
在 iOS 中配置推送通知服务
-
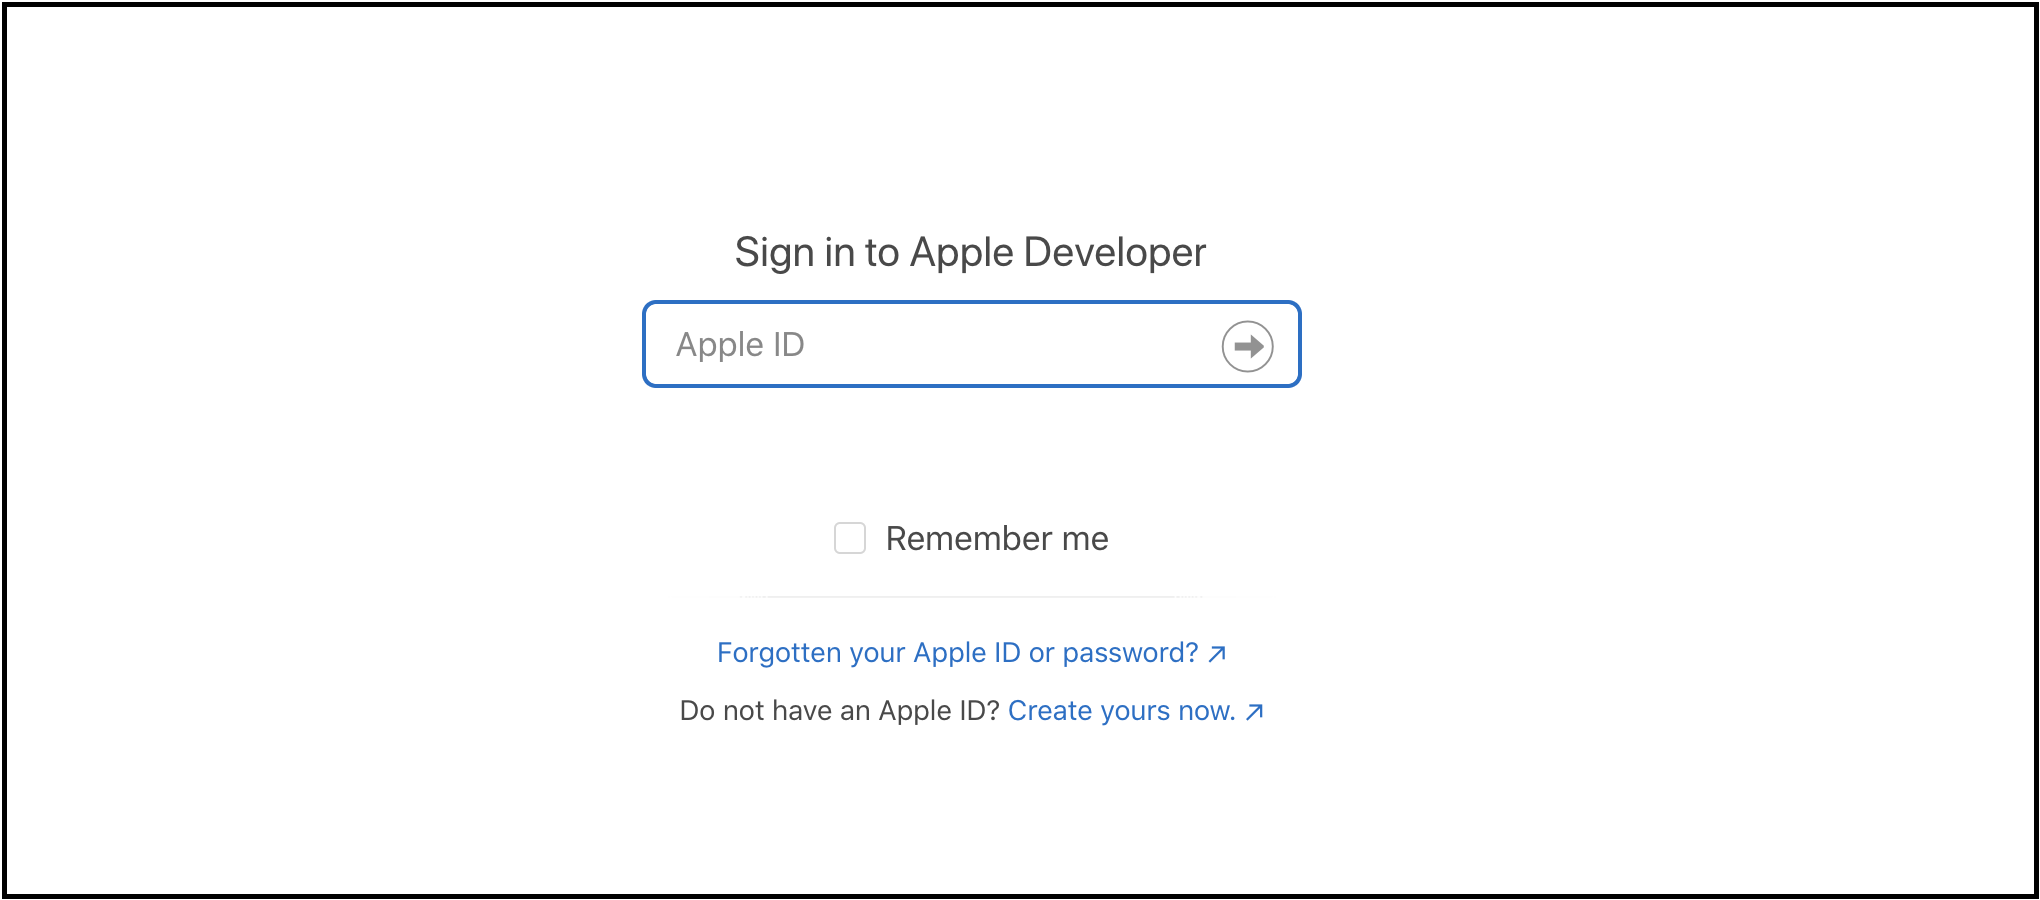
登录苹果开发者账号。
-
启用此服务需要用 App ID。若尚未创建,请前往 Apple Developer 控制台创建新账号,具体步骤请参阅在苹果开发者控制台创建应用 ID。
-
打开
Certificates一栏,点击+。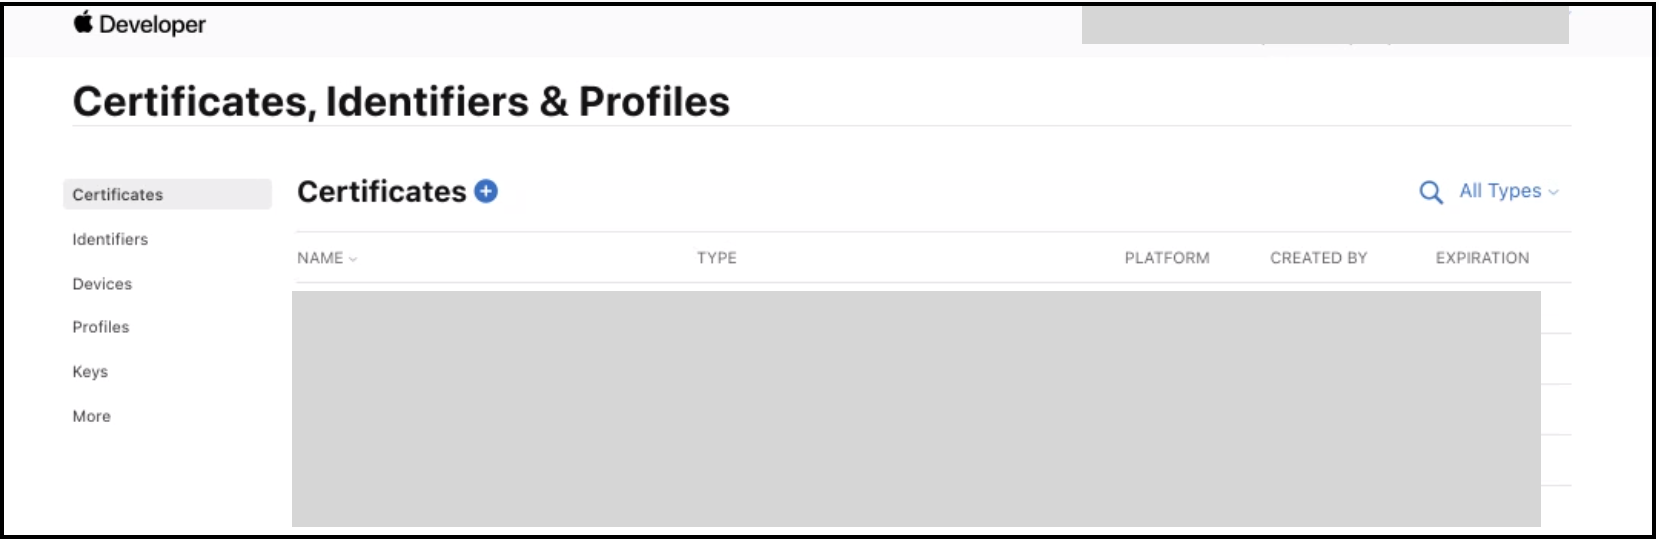
-
为推送通知服务创建新的证书,请选择
Apple Push Notification service SSL (Sandbox & Production)并点击Continue。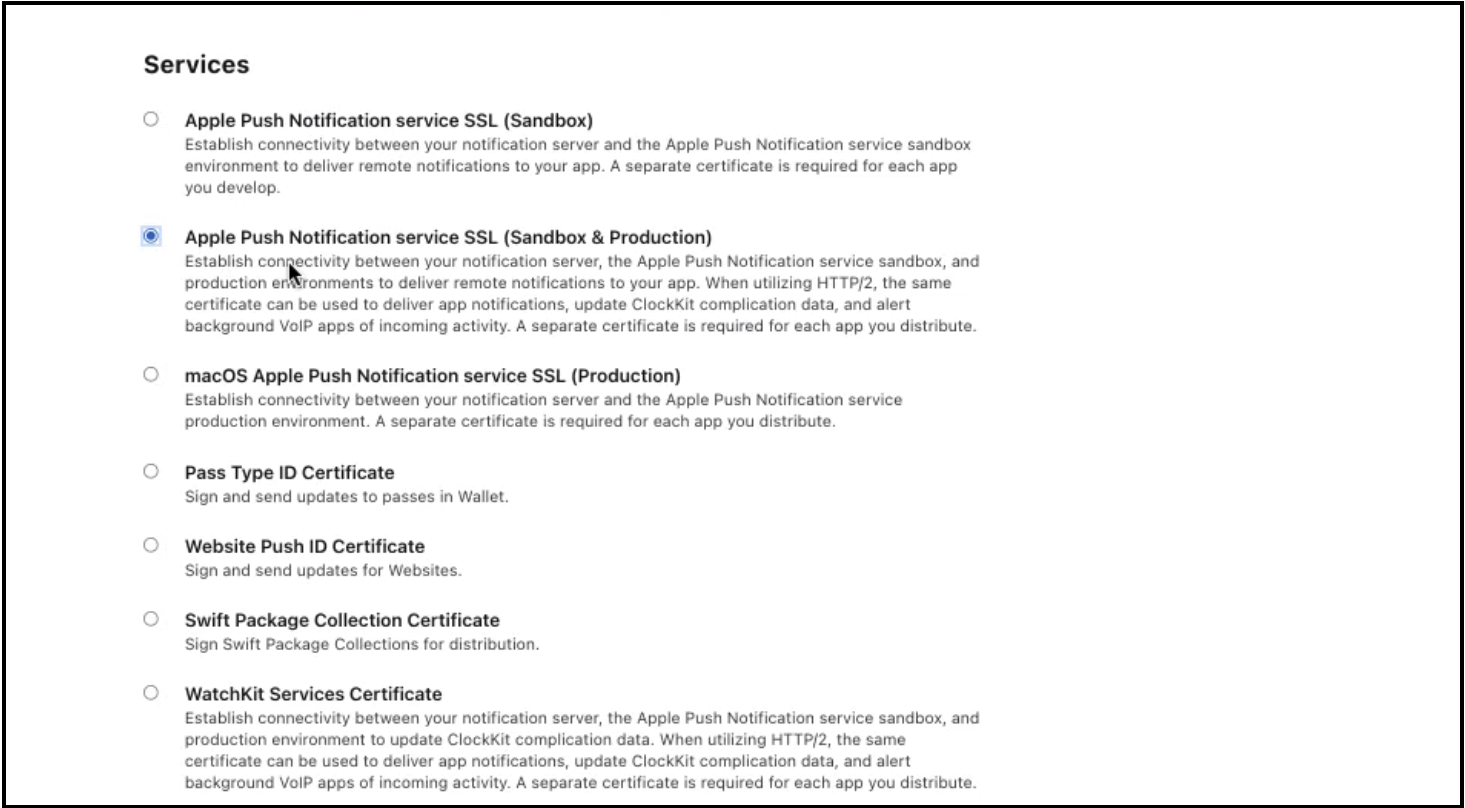
-
选择应用程序的 App ID 并点击
Continue。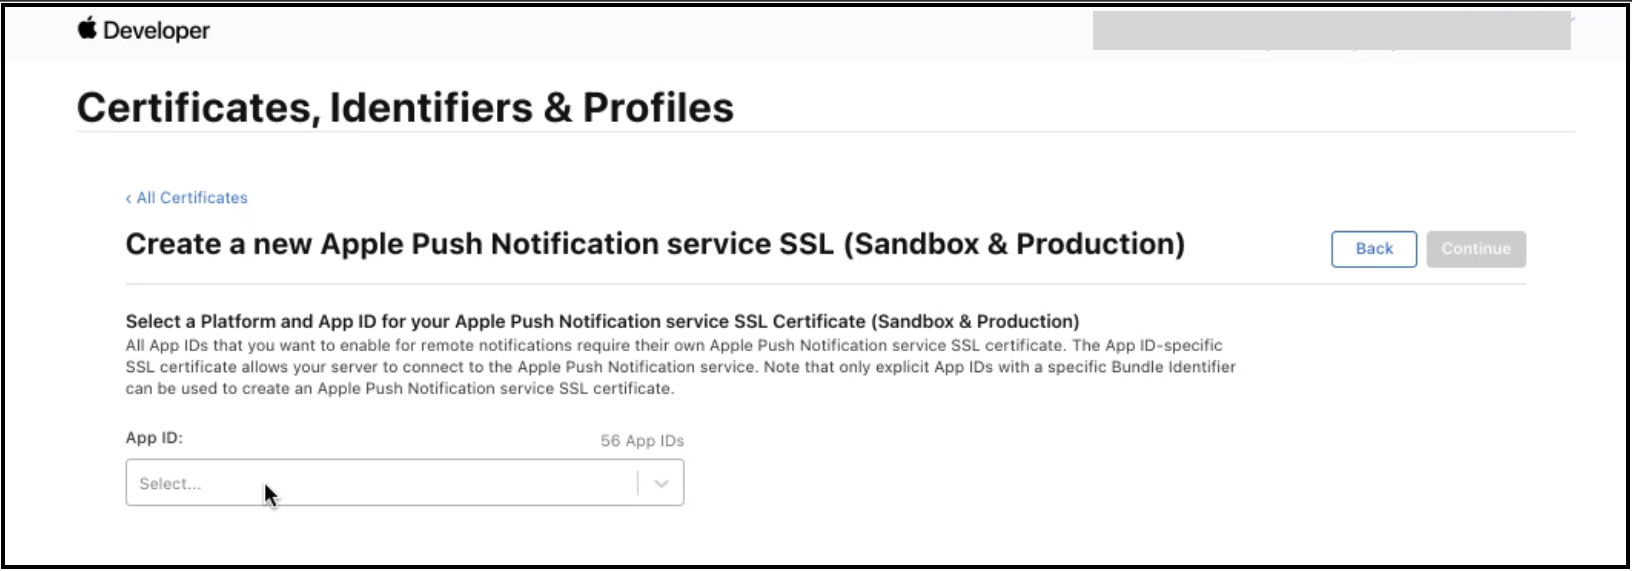
-
接下来需要创建
Certificate signing request (CSR)。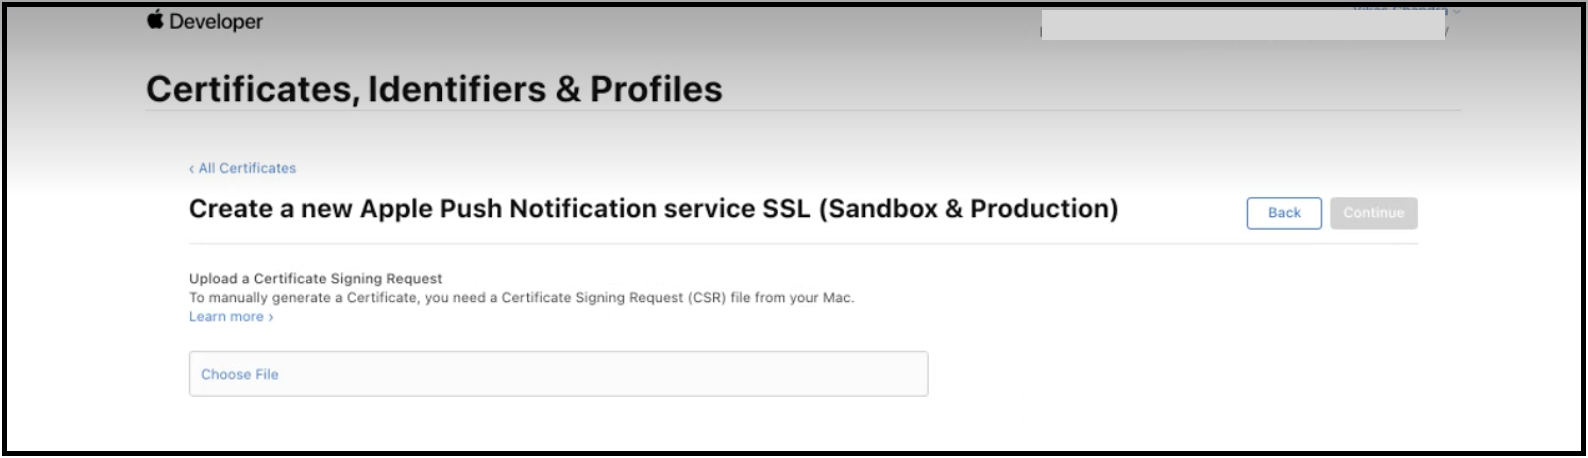
-
打开
Keychain Access工具栏,选择Certificate Assistant>Request a certificate from a Certificate Authority。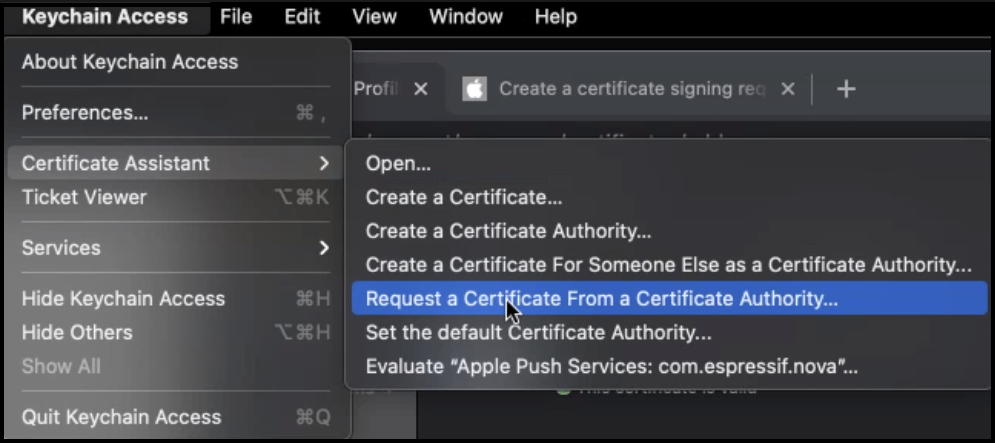
-
在
Certificate Assistant对话框中,找到User Email Address一栏并输入电子邮件地址,CA Email Address一栏无需填写。选择Saved to disk并点击Continue以保存证书。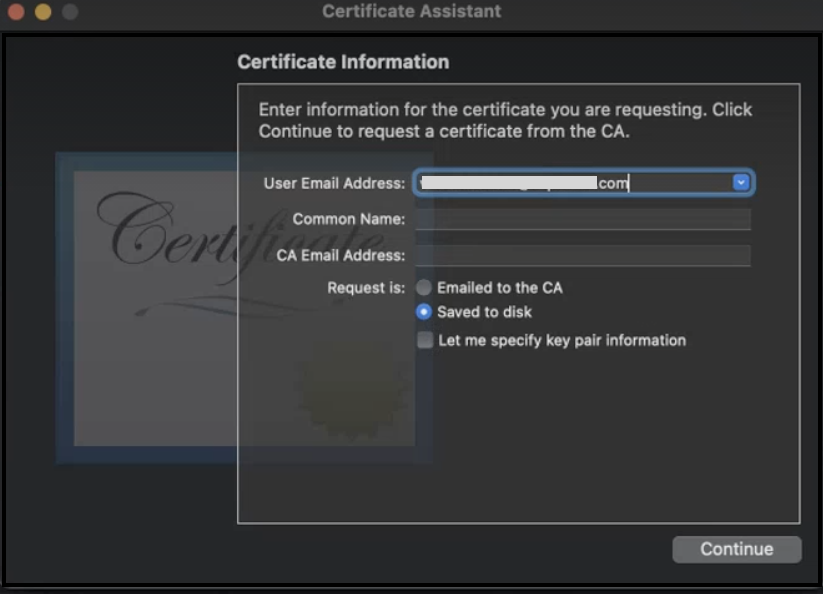
-
上传 CSR。

-
证书已经成功创建,可以使用
Keychain Access下载并查看。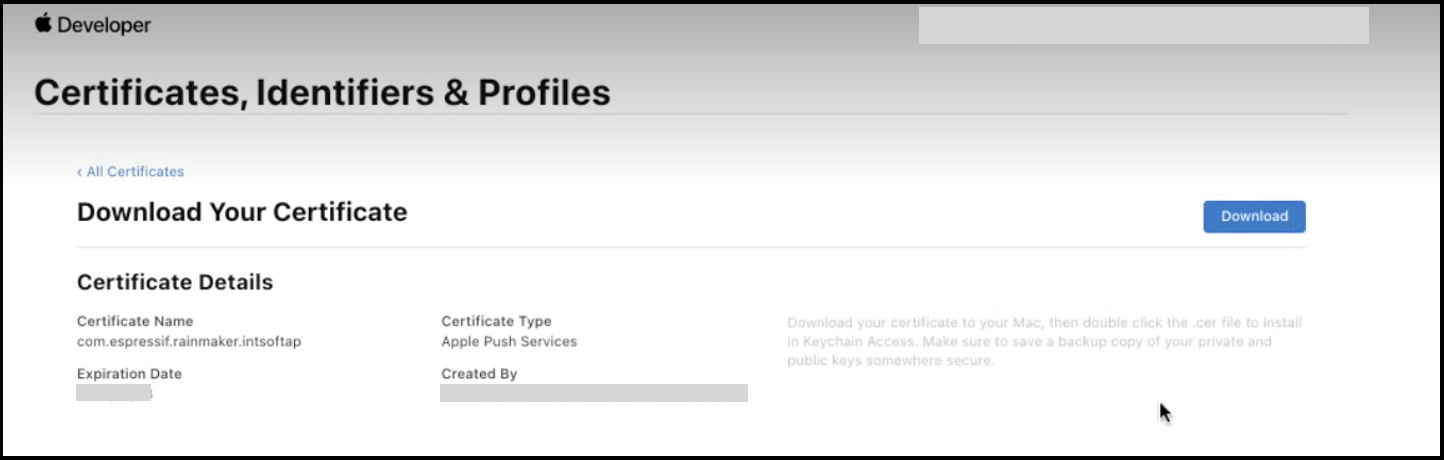
-
从
Keychain Access导出证书,格式为p12。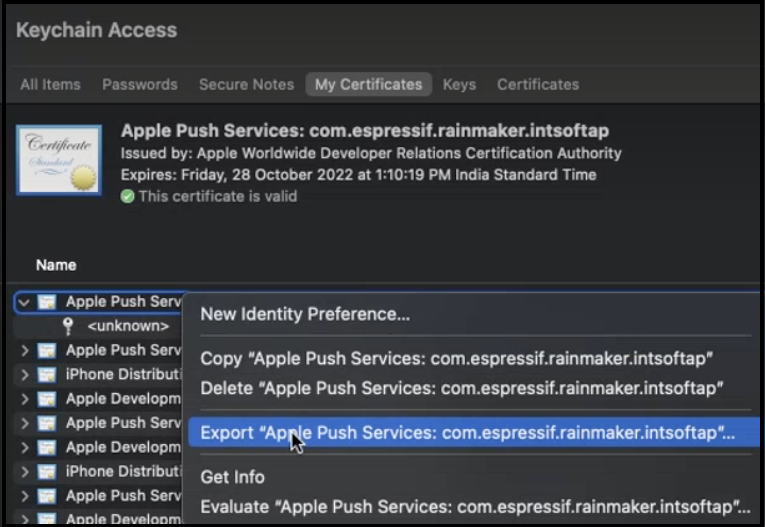
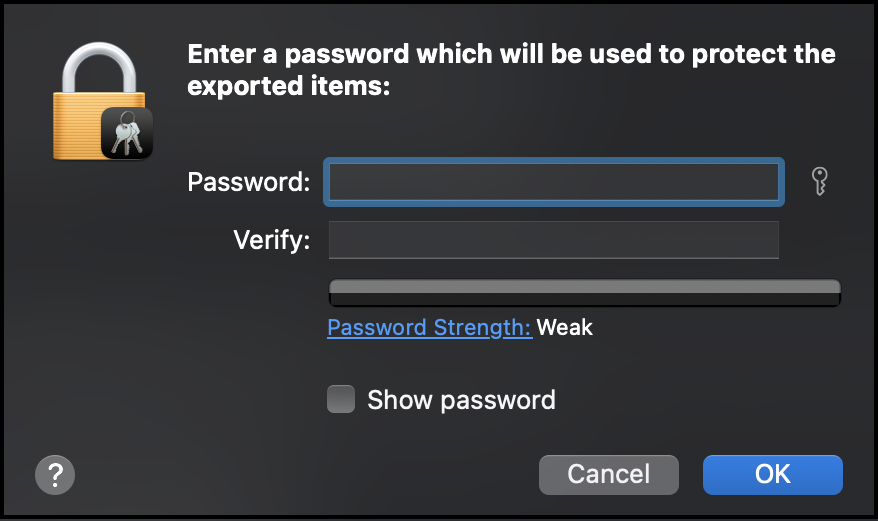
无需设置密码来保护导出的证书。
-
启动通知推送需要 SSL Certificate 和 Private Key。 使用以下命令可获取 SSL Certificate。
openssl pkcs12 -in yourP12Certificate.p12 -clcerts -nokeys
使用以下命令可获取 Private Key。
openssl pkcs12 -in yourP12Certificate.p12 -nocerts -nodes
-
用管理员账号登录 RainMaker 管理面板。打开
Deployment Settings>Push Notifications。 -
创建新的平台应用程序,选择类型为
Apple Notification (APNS)。 -
将步骤 12 中获取的 SSL Certificate 和 API Key 粘贴至此处,点击
Save。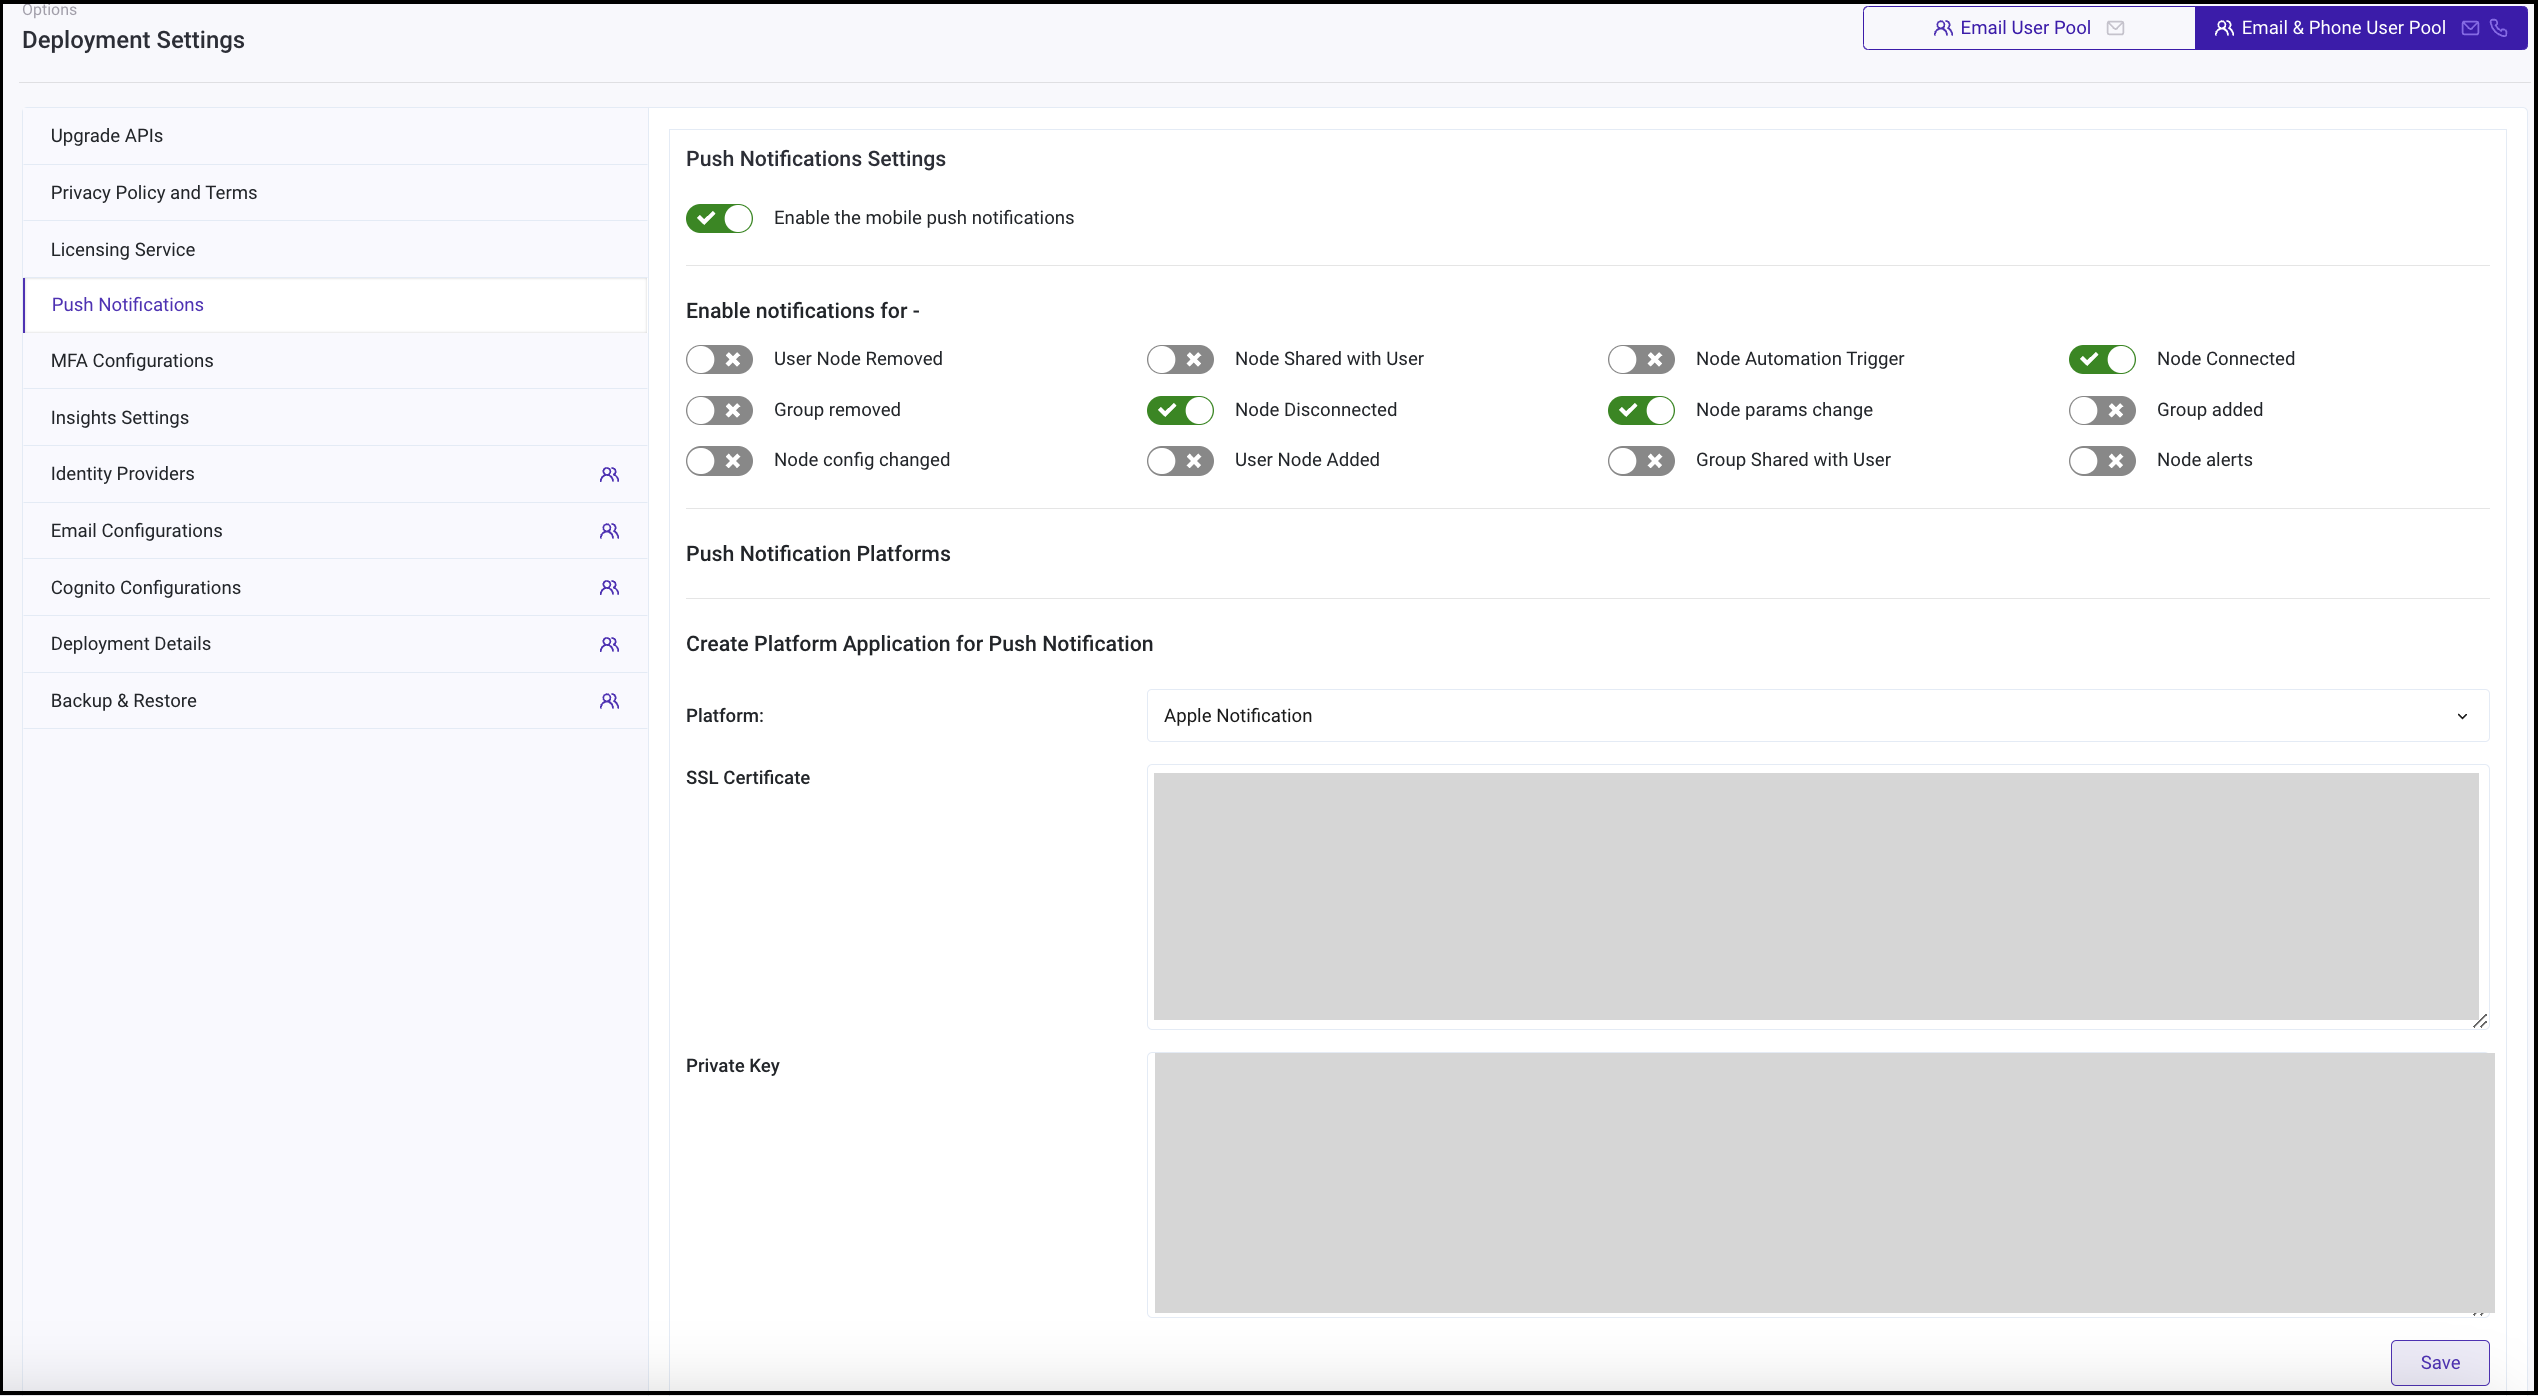 备注
备注该证书也可用于沙盒和生产环境。沙盒环境用于测试通知和调试,APNS 用于分发。您可以重复步骤 13 和 14,选择类型为
APNS_SANDBOX,为沙盒环境设置推送通知。 -
现在可以启用推送通知服务了,具体启用步骤请参阅启用通知推送。
启用通知推送
-
用管理员账号登录 RainMaker 管理面板。打开
Deployment Settings>Push Notifications。 -
使用切换键启用推送通知。您可以自定义启用推送通知的事件。
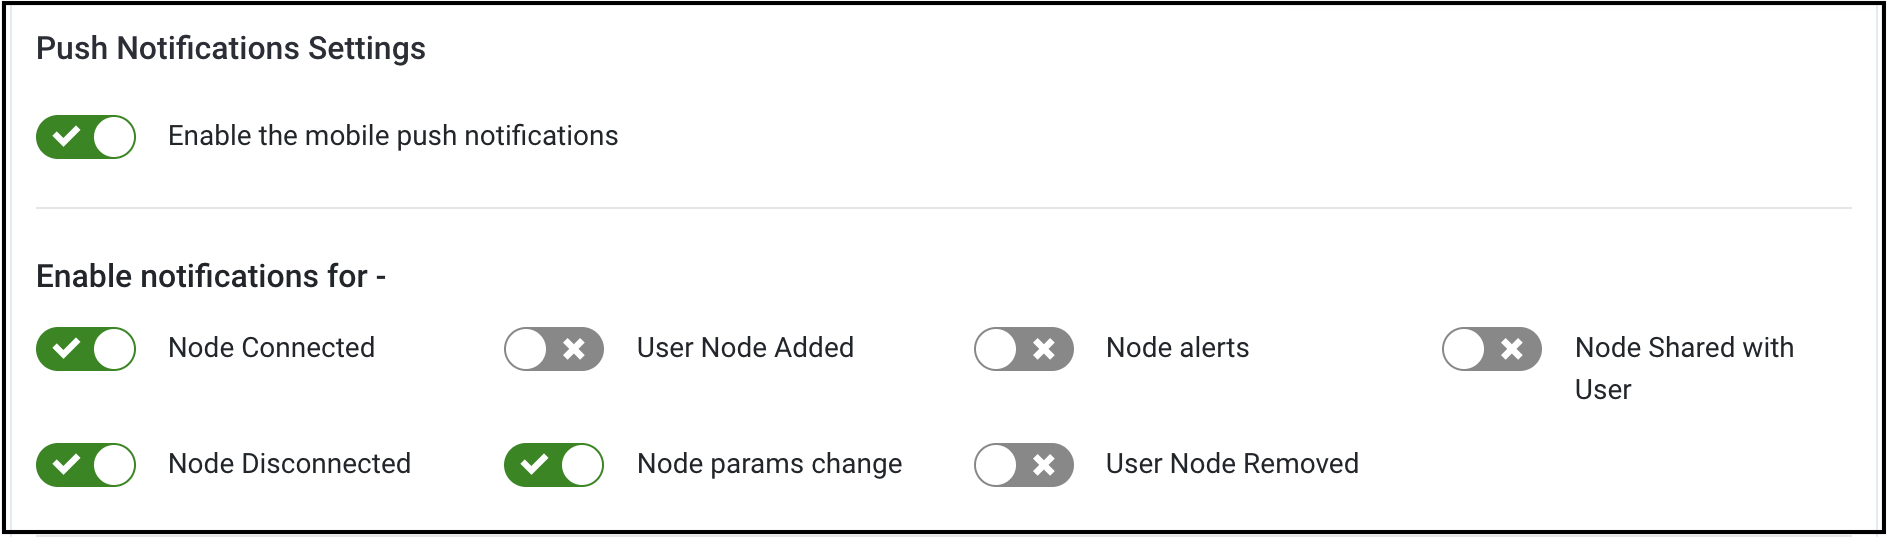 备注
备注使用同样的切换键也可以禁用推送通知。
Customizing Push Notification Templates
Follow these steps to configure your custom push notification templates:
- Log in to the RainMaker Dashboard and navigate to the
Push Notificationssection withinDeployment Settings.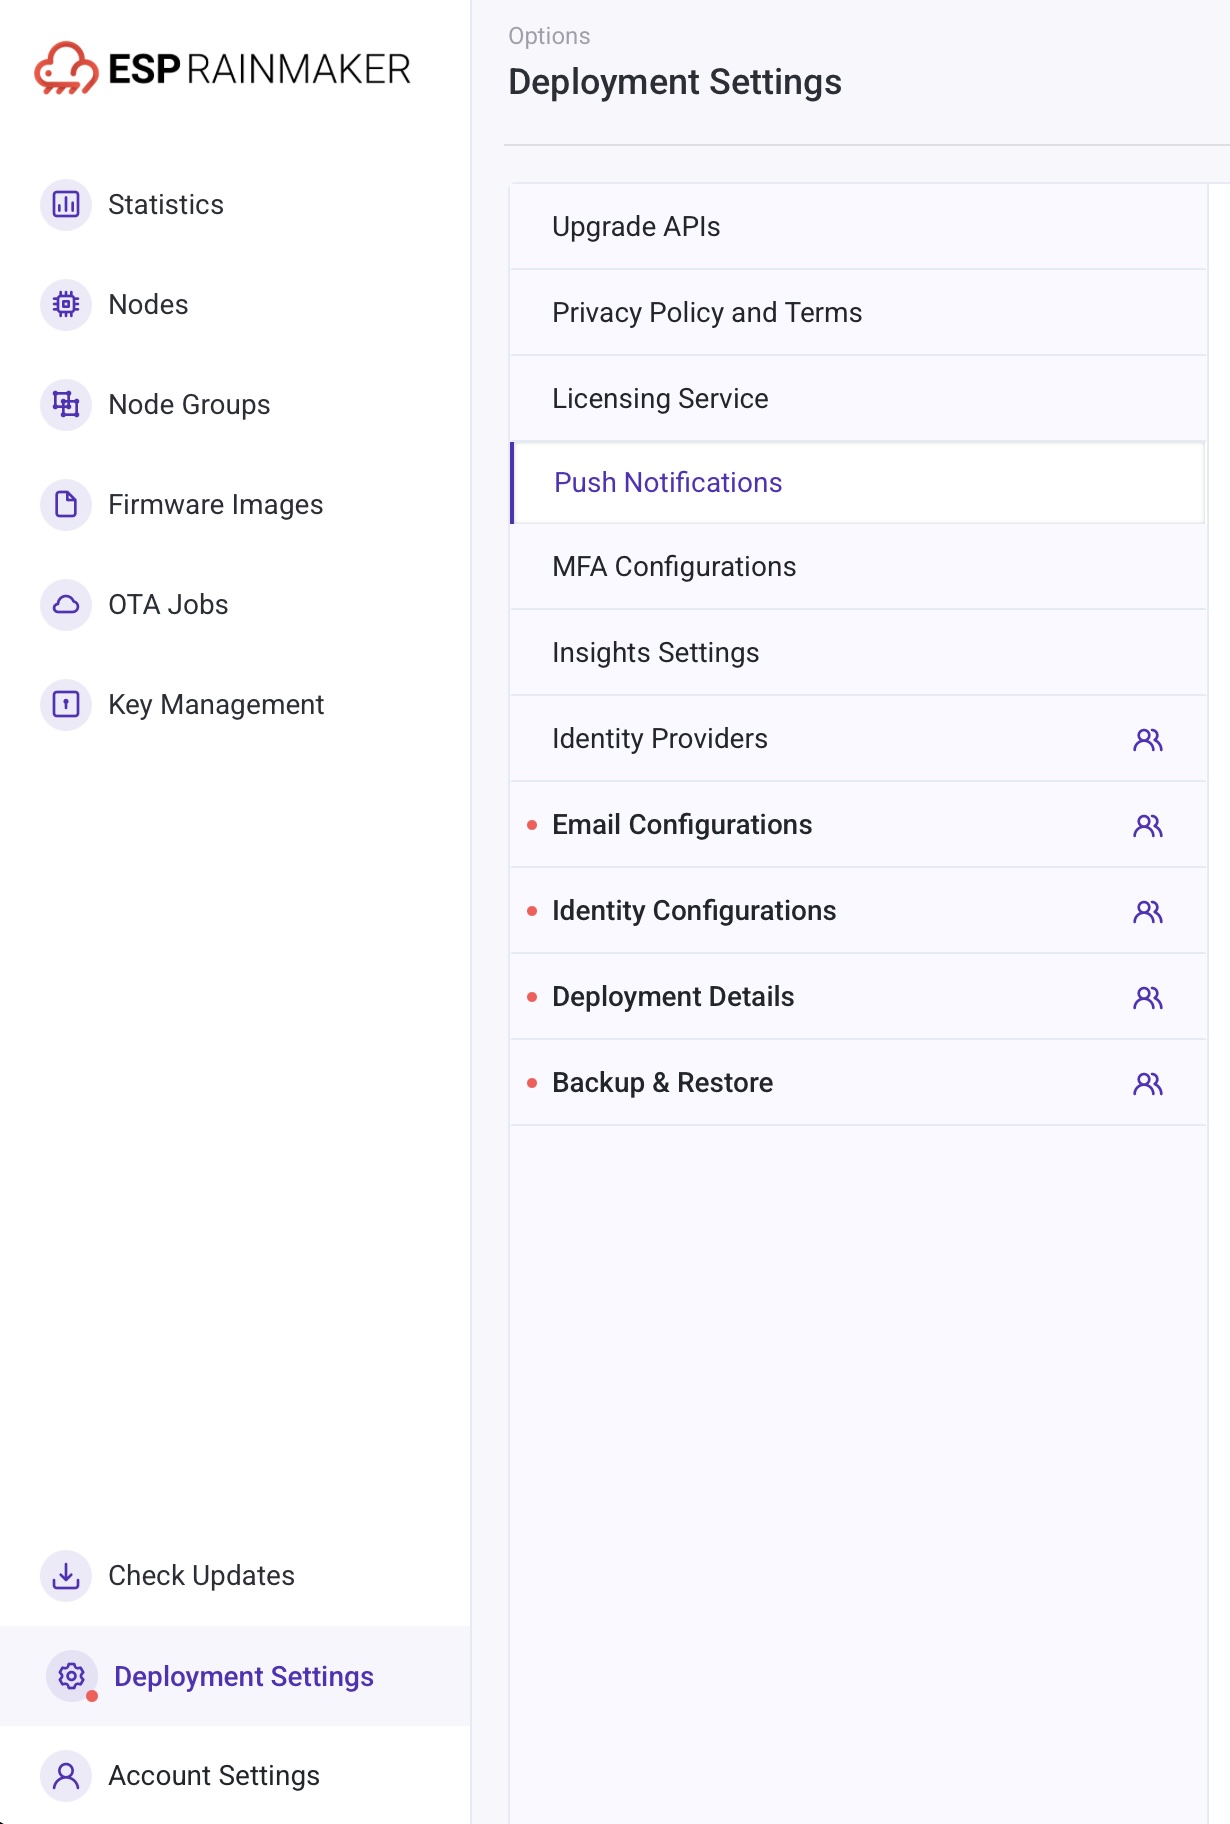
- Configure the common message title and save your changes by clicking the
Update Push Notification Templatebutton.
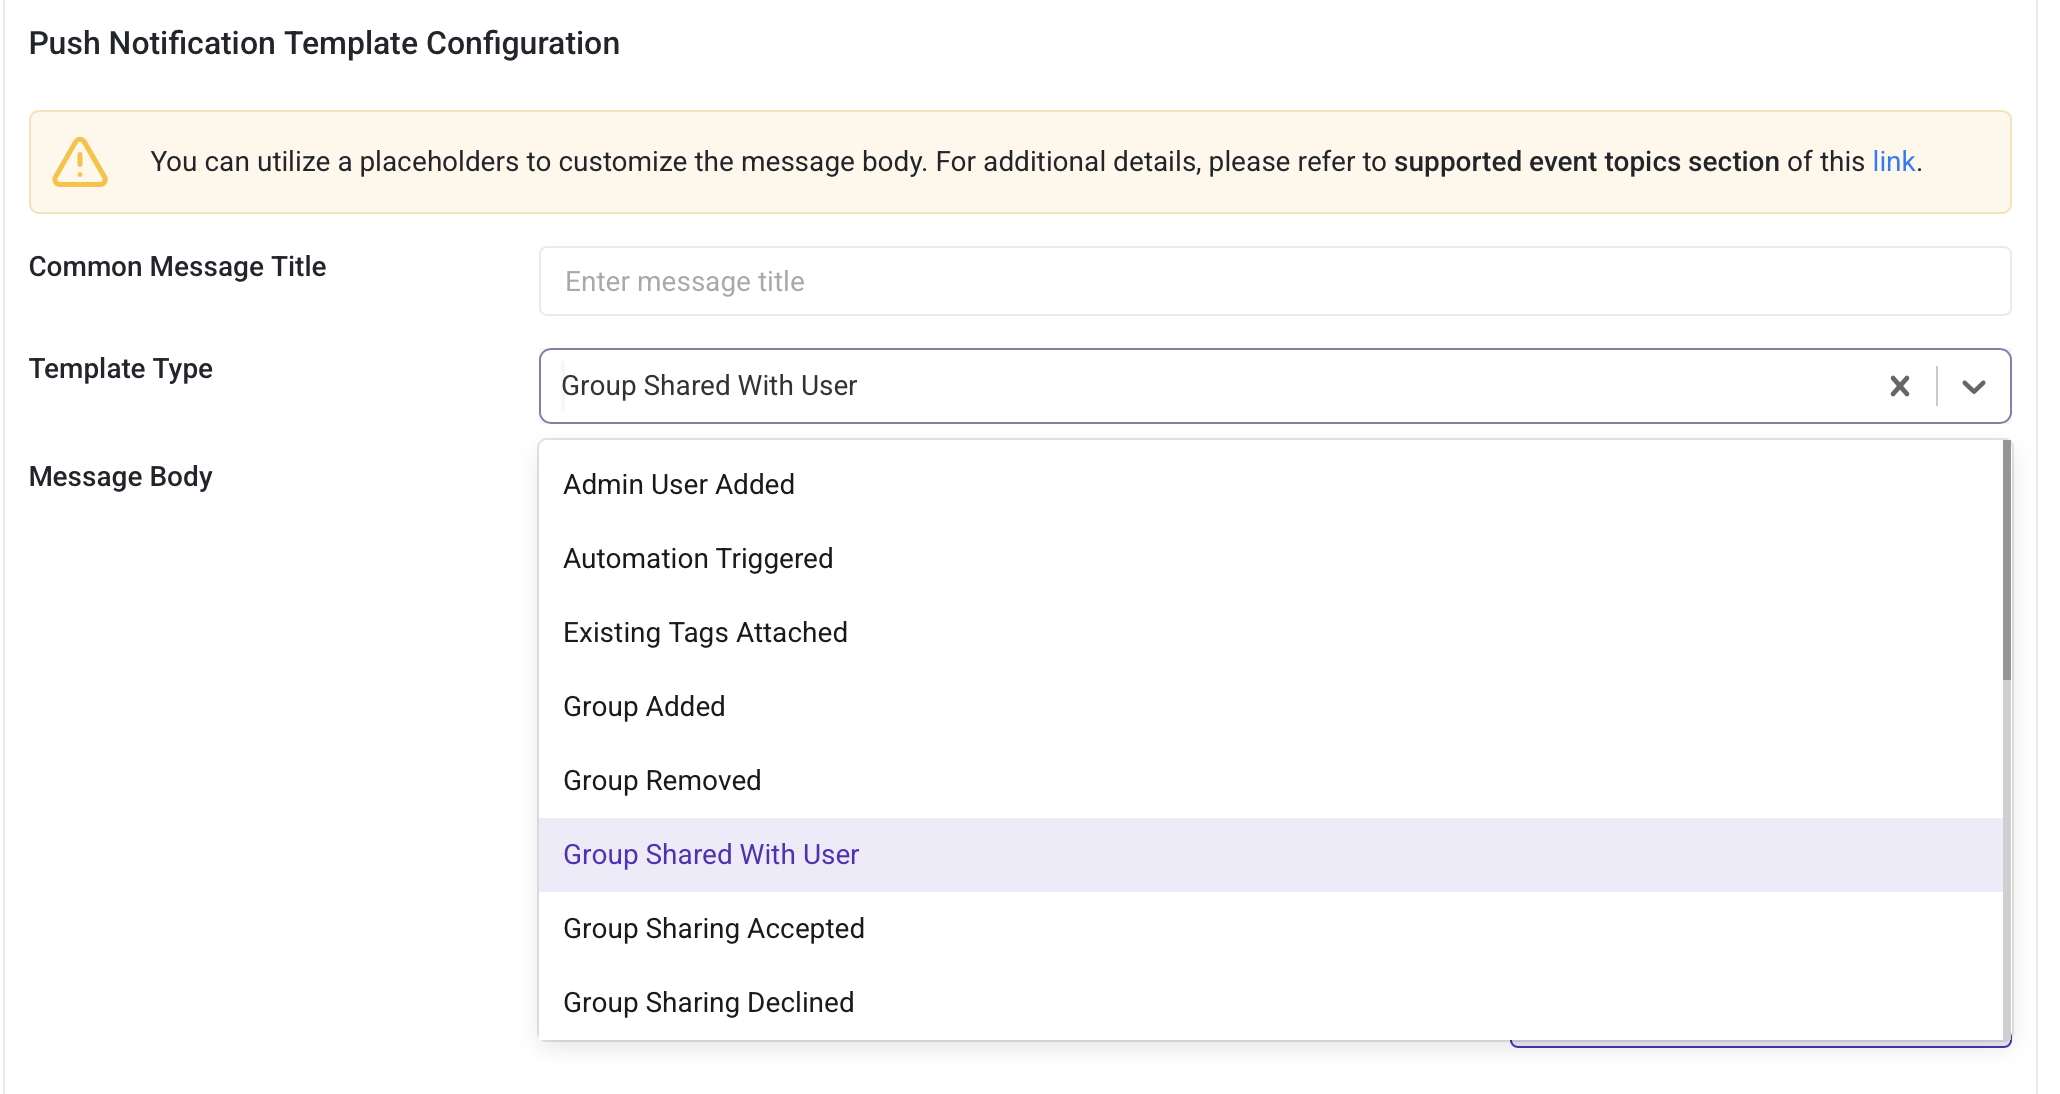
- To configure custom message bodies, select the template to configure (e.g. Group shared with User).
- Update the template fields by entering your desired Message Body.
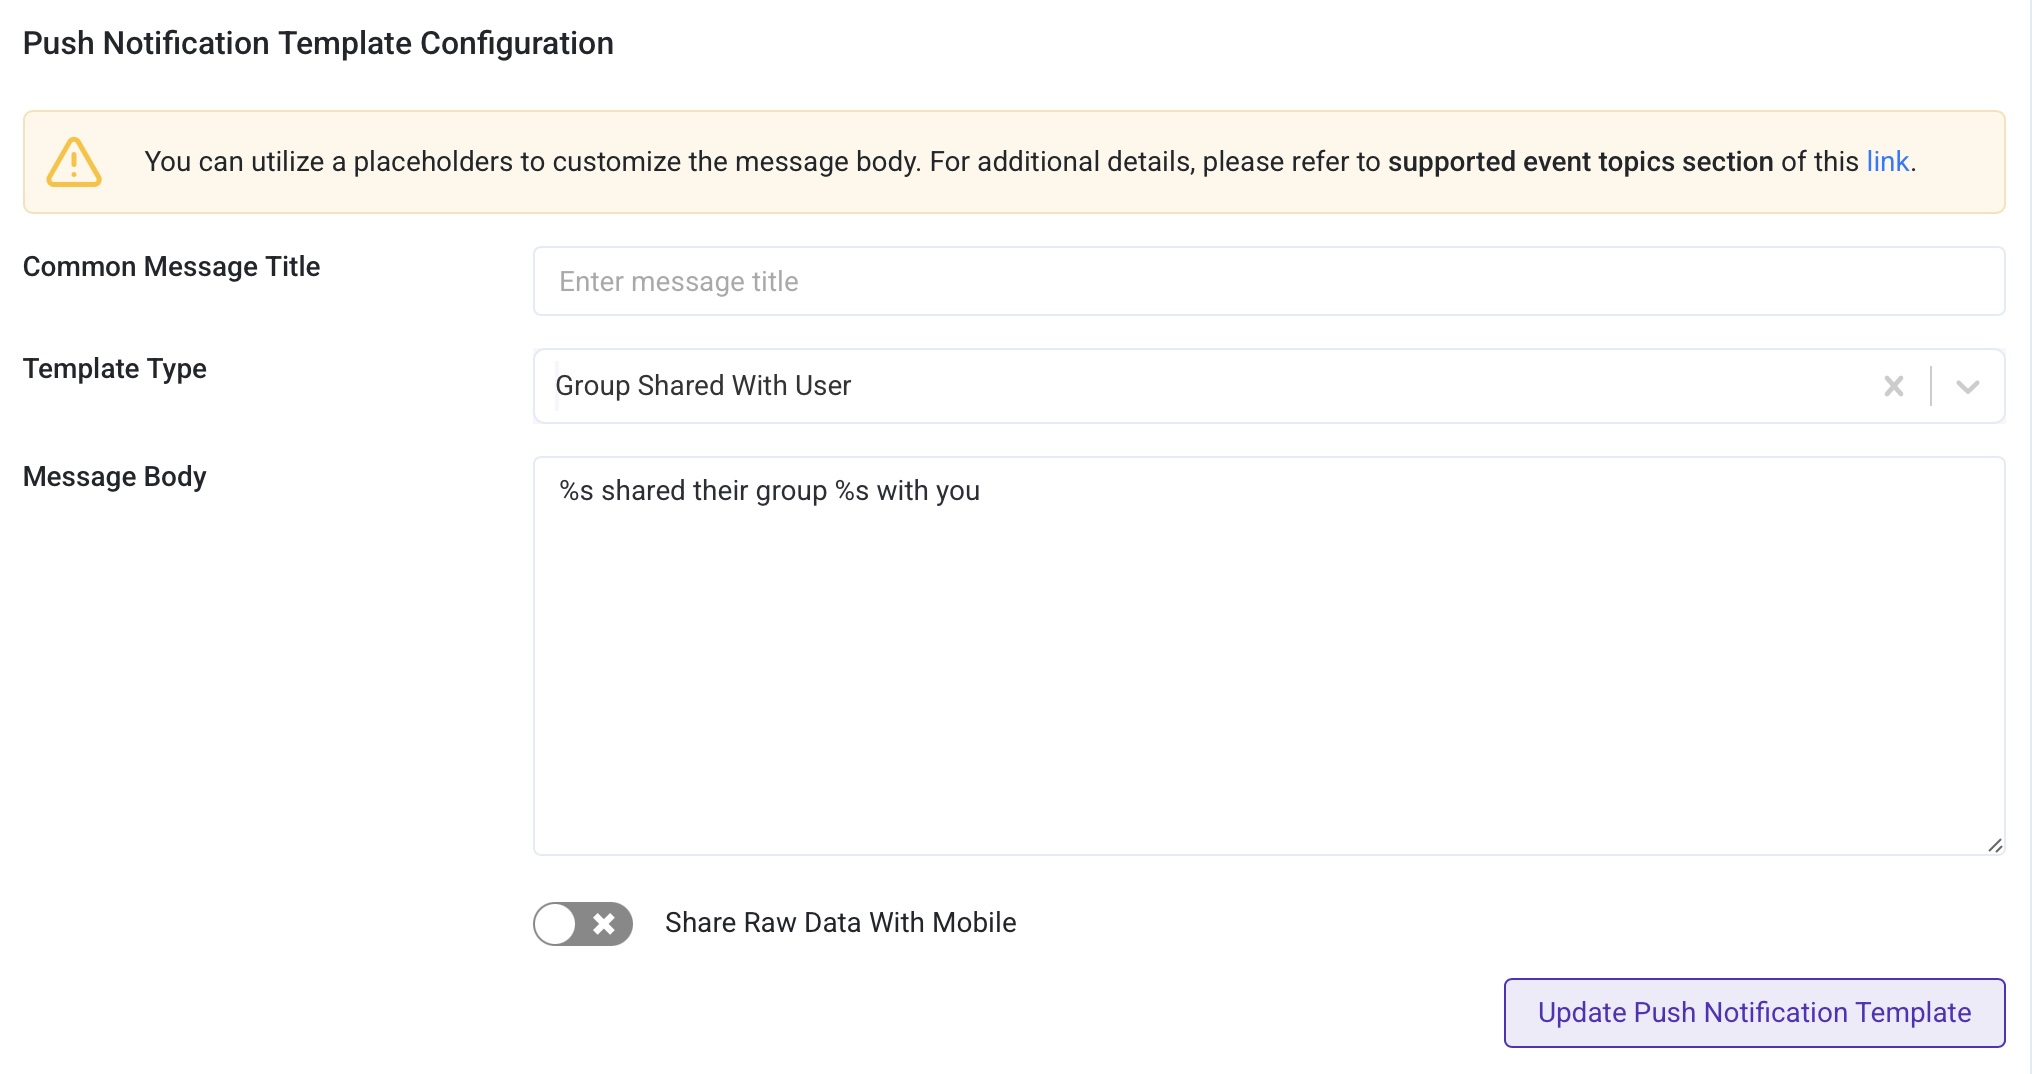
- Click
Update Push Notification Templateto save your changes. - Verify that the updated template appears correctly on the dashboard and that notifications are functioning as expected.